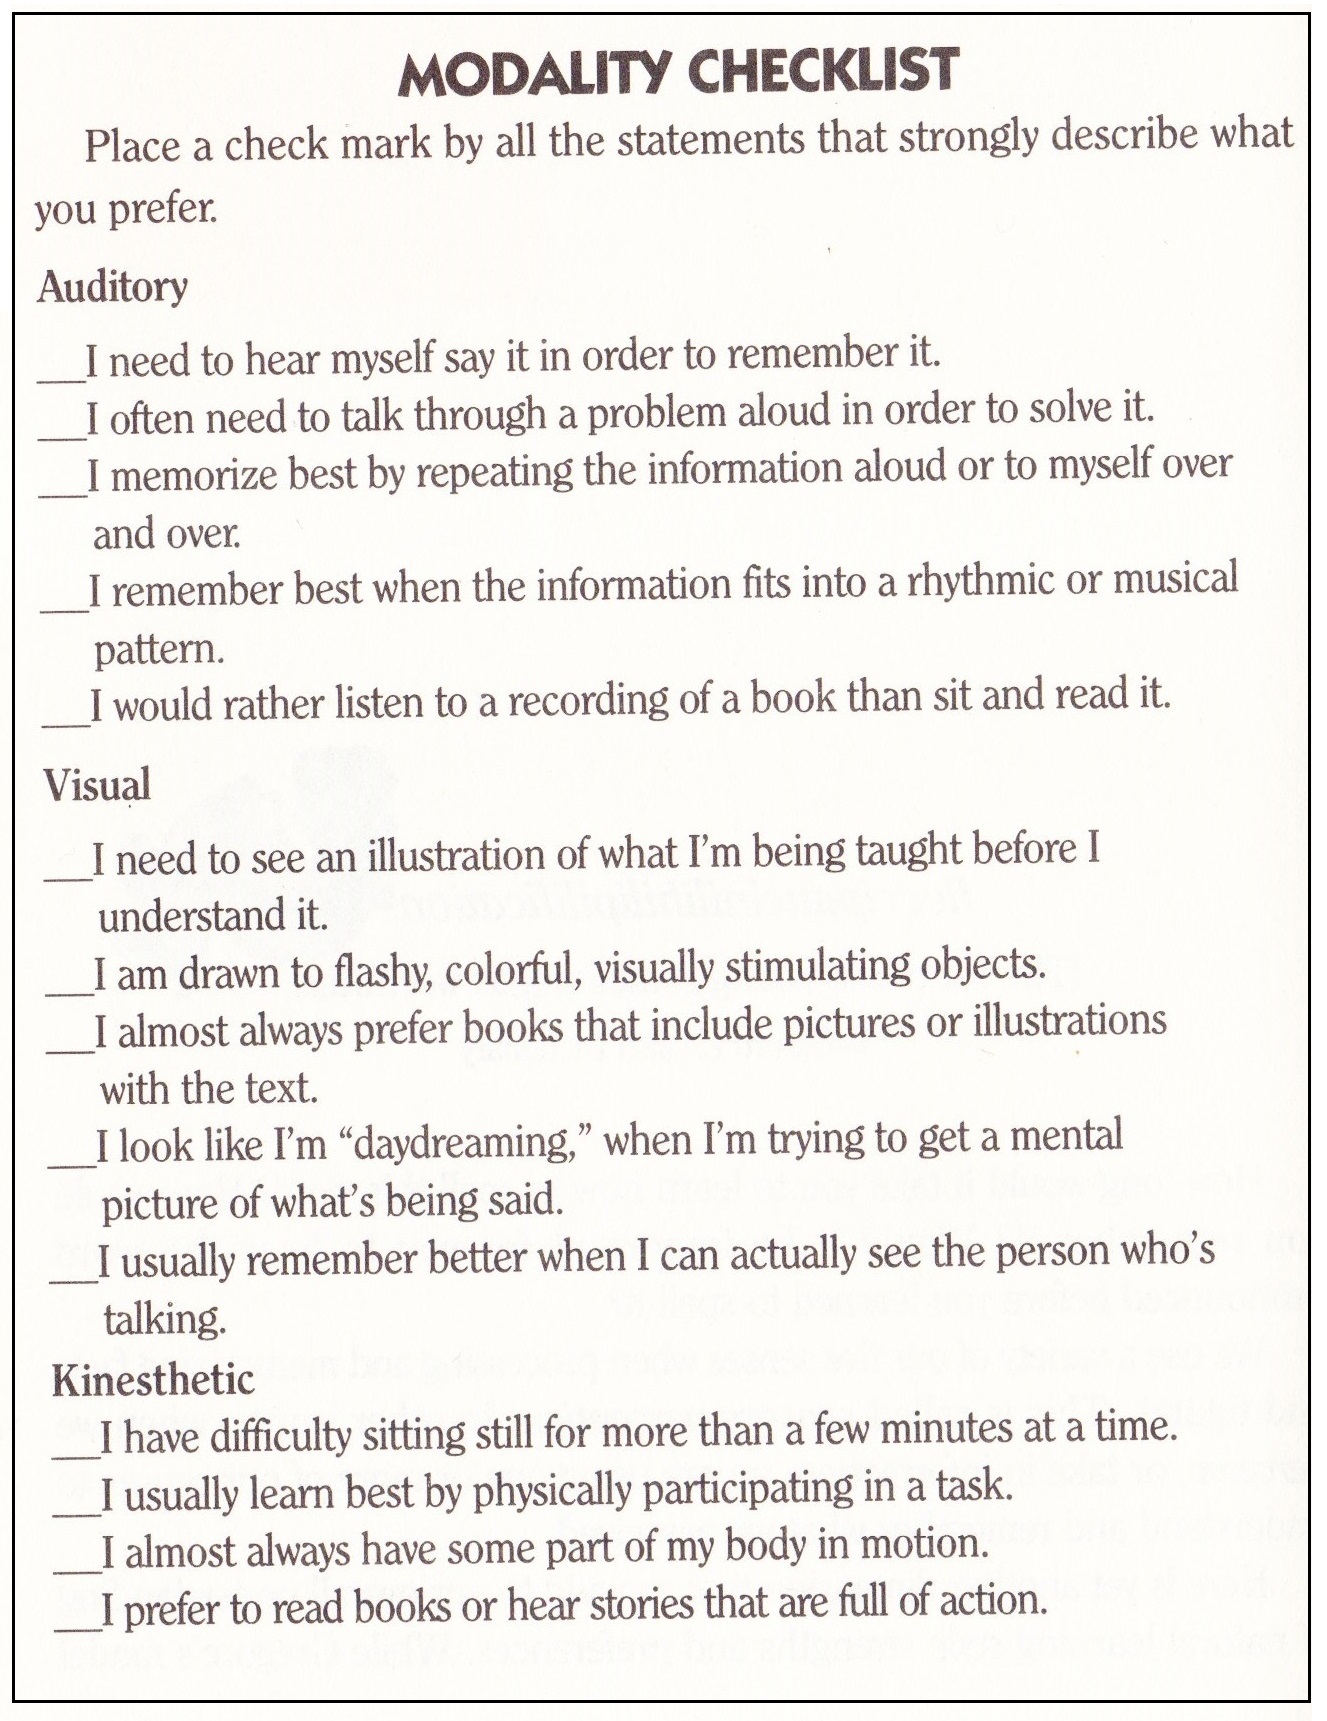
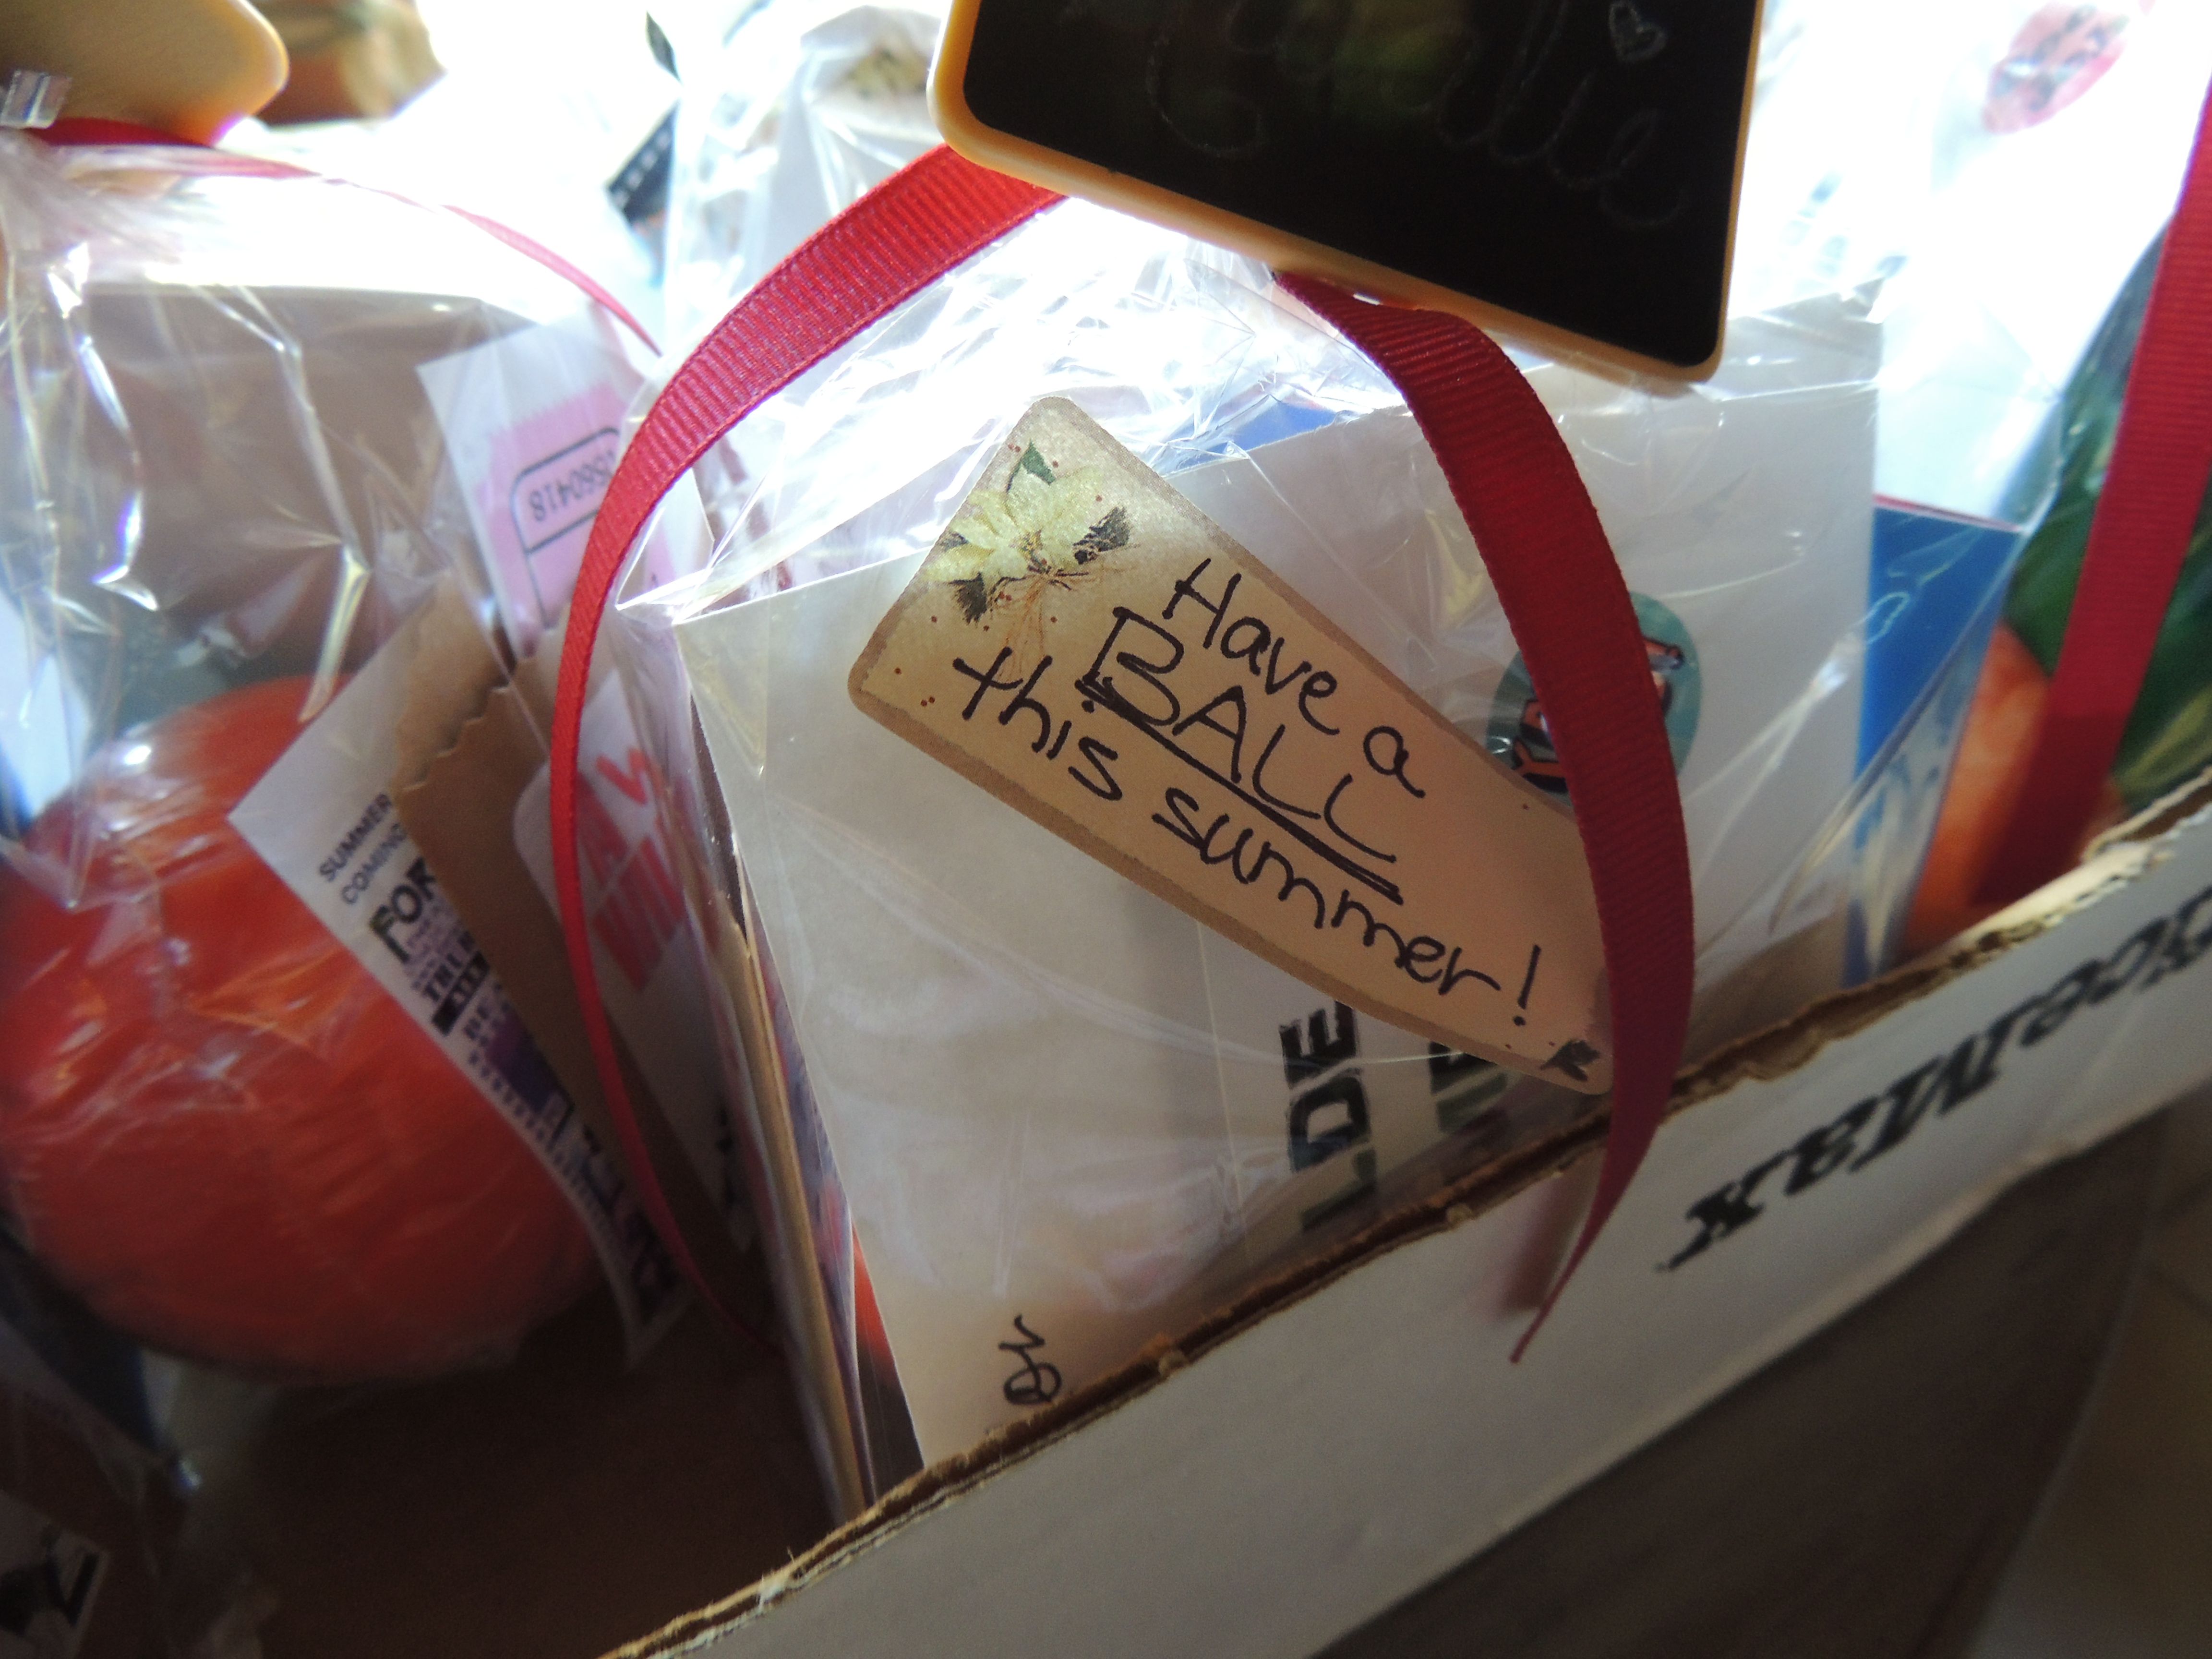
Soooooooo… Each summer I try to think of creative ways to seize the moments with my grandchildren. The first year I focused on skill building/tutoring type stuff and learning styles (see my School’s Out for Summer blog post). The next year I went with daily themes/ boredom busters (see Summer Survival Guide). This year my focus has been on Summer Reading.
I wanted to get them some fun books they would want to read, but realized fairly quickly that picking books is a little more complicated than you would think, if you want to be successful. For instance, did y’all know that the reading level of books is usually printed near the bar code? Yeah, I had no clue. But, in all fairness it isn’t obvious. It’s like a secret code that only a few privileged people get to know about – such as an alphabet letter inside a triangle, or something like RL:2.1. A child’s reading level, I’ve discovered through much research, is super important when picking books, because it will directly affect their enthusiasm for reading. When developing a love for reading in a child the books cannot be too easy or too difficult, and therefore it is super important to get that part right. I’ll explain more of what I’ve discovered about the reading level codes and such in just a minute.
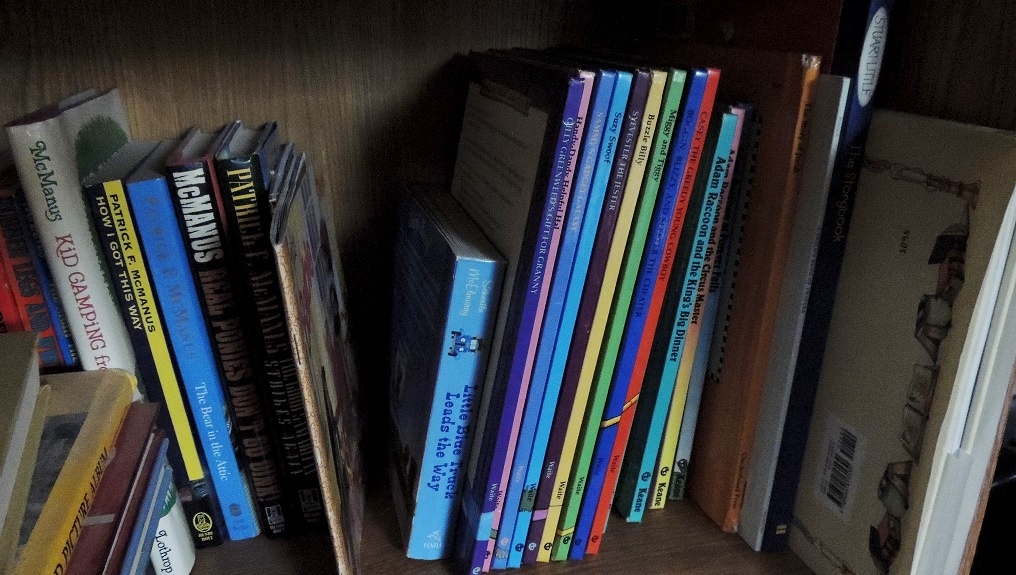
In the meantime, I began my book search at Amazon.com, first gathering several highly rated, award/medal winning, quality books that were at my granddaughter’s reading level into my shopping cart. I probably ended up with about 30 or 40 books. After that, the next time she was over for a visit, I grabbed her up in my lap and we went through each and every one of those books, read the back covers together and flipped through the pages, weeding out the ones she was less interested in until she had picked her top ten. Some of the books were thicker and would take longer for her to read, some were thinner books that could maybe be read in an evening; some were dog stories, a couple were Roald Dahl, and so on. After giving her the opportunity to do the picking, you can imagine how excited she was for those books to come in. And now that they have, the child has been a reading fiend ever since, and her sister also. Her first pick: James and the Giant Peach.
Great choice, because Roald Dahl books have a ton of other trappings and odds and ends to go with them. So many have been turned into movies – which makes for a perfect celebration activity when the kid finishes a book, plus there are activity sticker books, a crazy Revolting Recipes cookbook (two actually) with recipes for all the wierd foods featured in his books, a dictionary which includes the crazy made up words he uses in his books, and there’s even a cute video game app (free) featuring the Twits that is super fun, if a little bit nerve-racking for kids!!!!! There’s even a Roald Dahl website with even more to offer, like a Party Pack for his 100th birthday celebration, and the subsequent Party Packs for his next two birthdays (2017 & 2018), which includes crossword puzzles, word searches, coloring pages, drawing activities, games, classroom decorations, party hats, invitations, and so much more. All of which are great for public school classrooms, home-school classrooms, and generally support a child’s enthusiasm for his books.
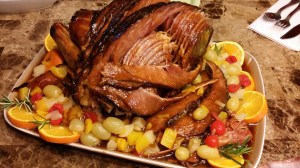
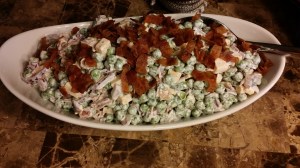
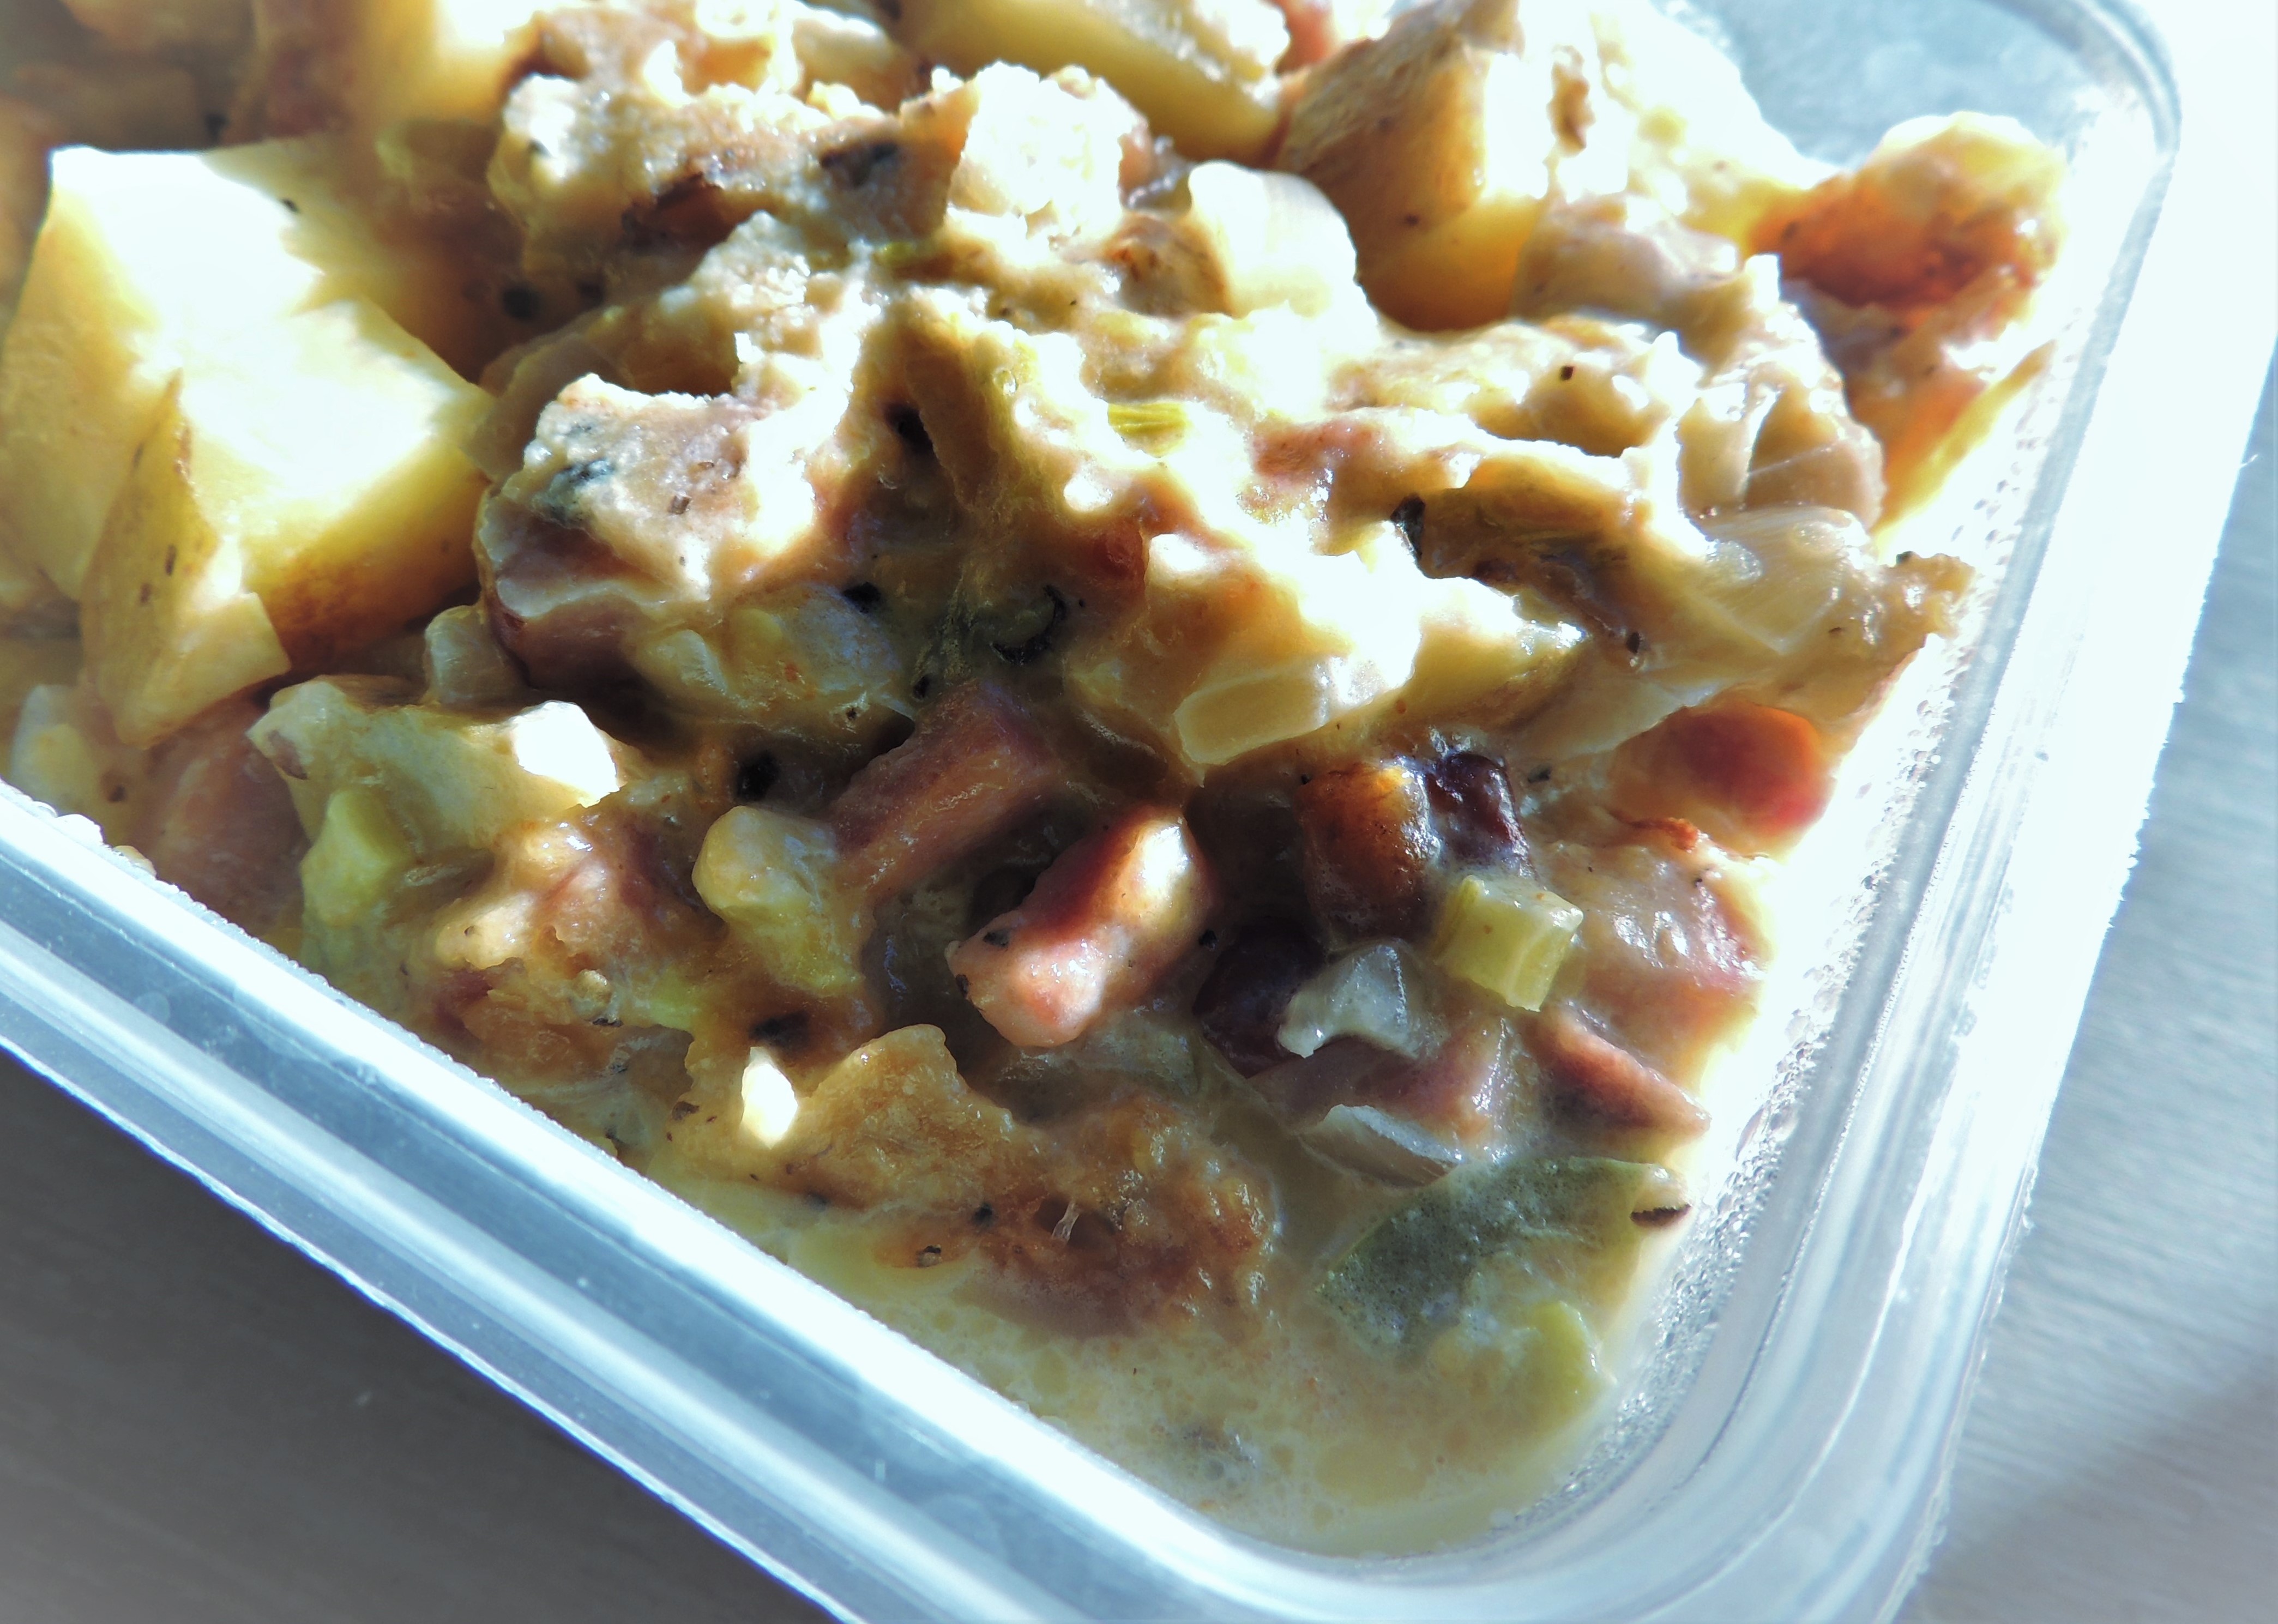
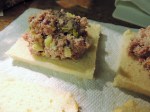
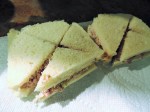
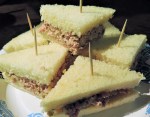
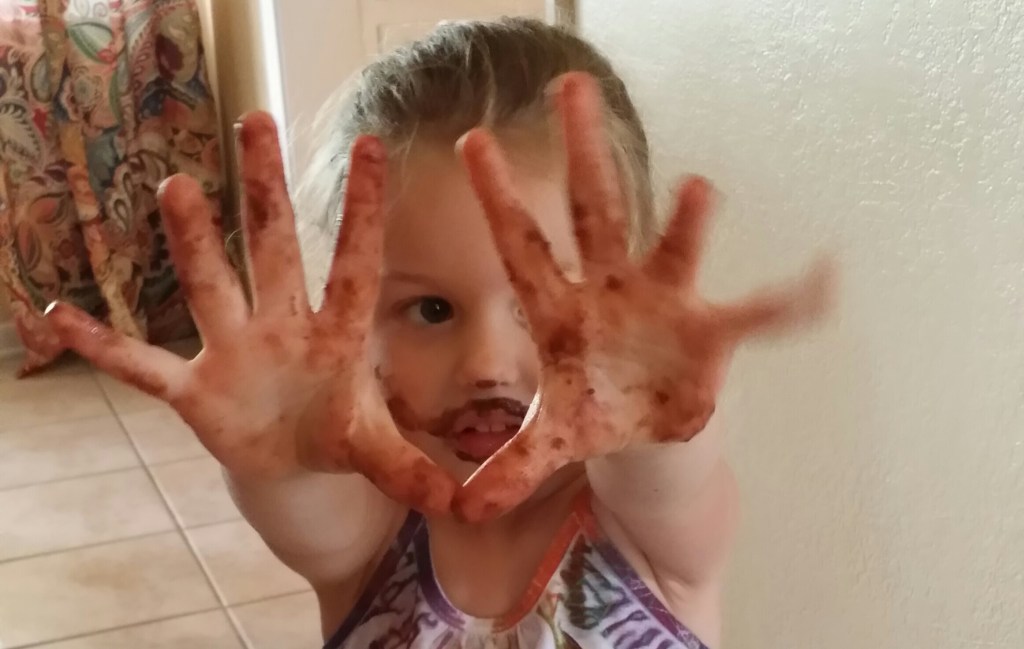
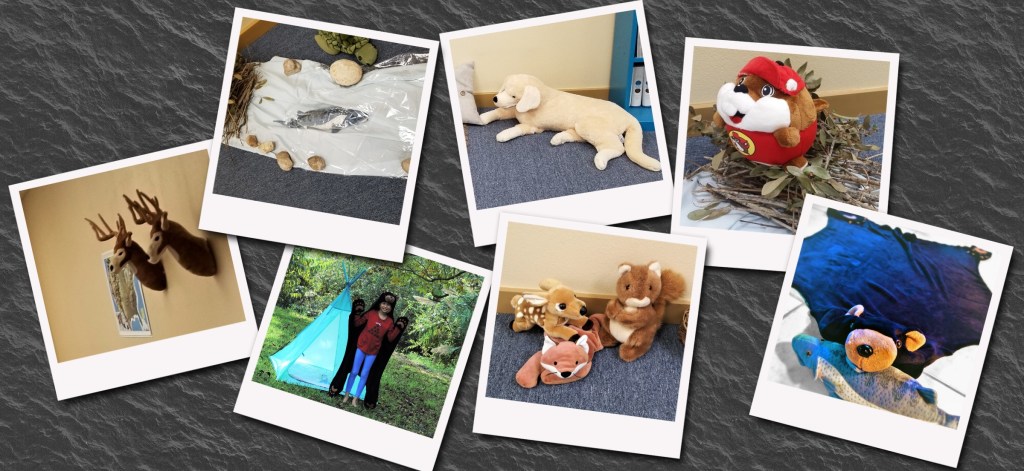
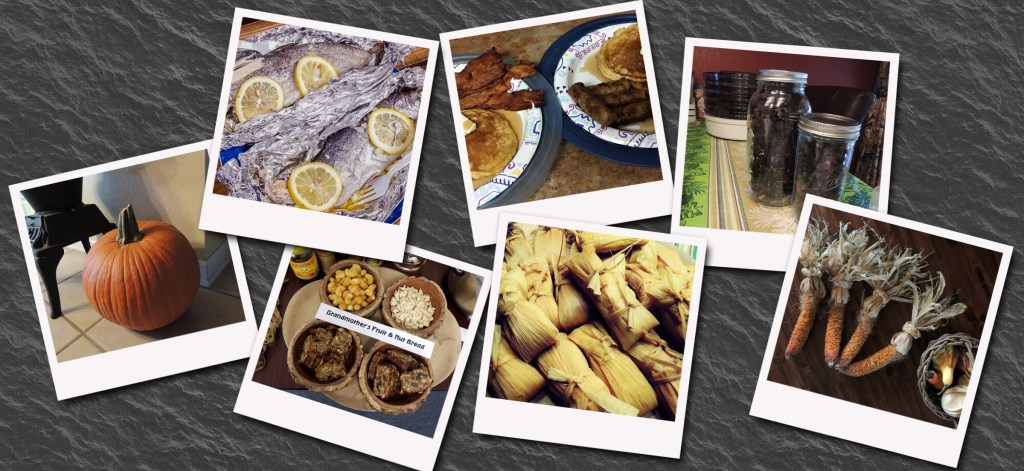
This is one of the activities we did together recently as a family after my granddaughter read James and the Giant Peach:

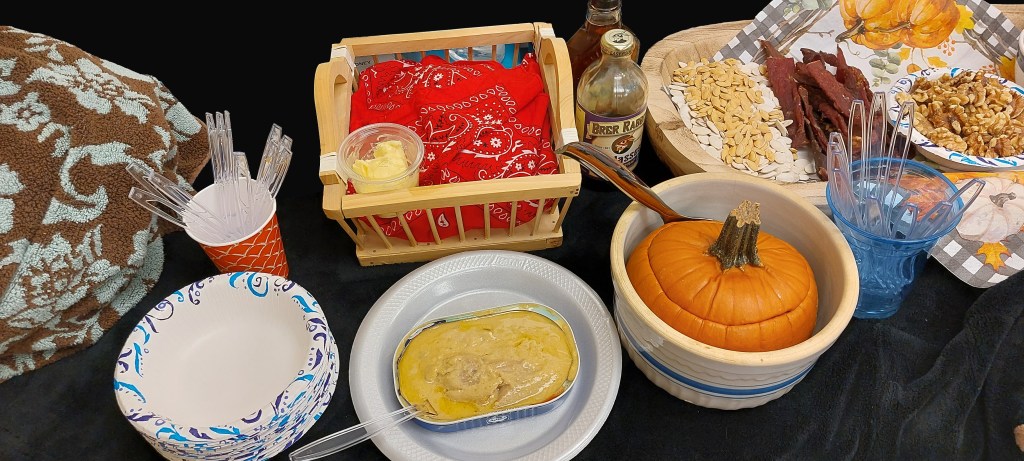
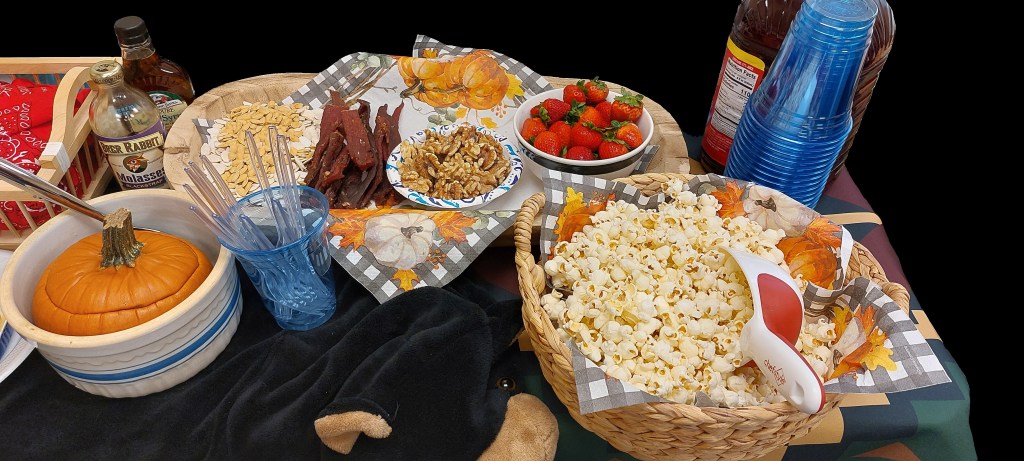
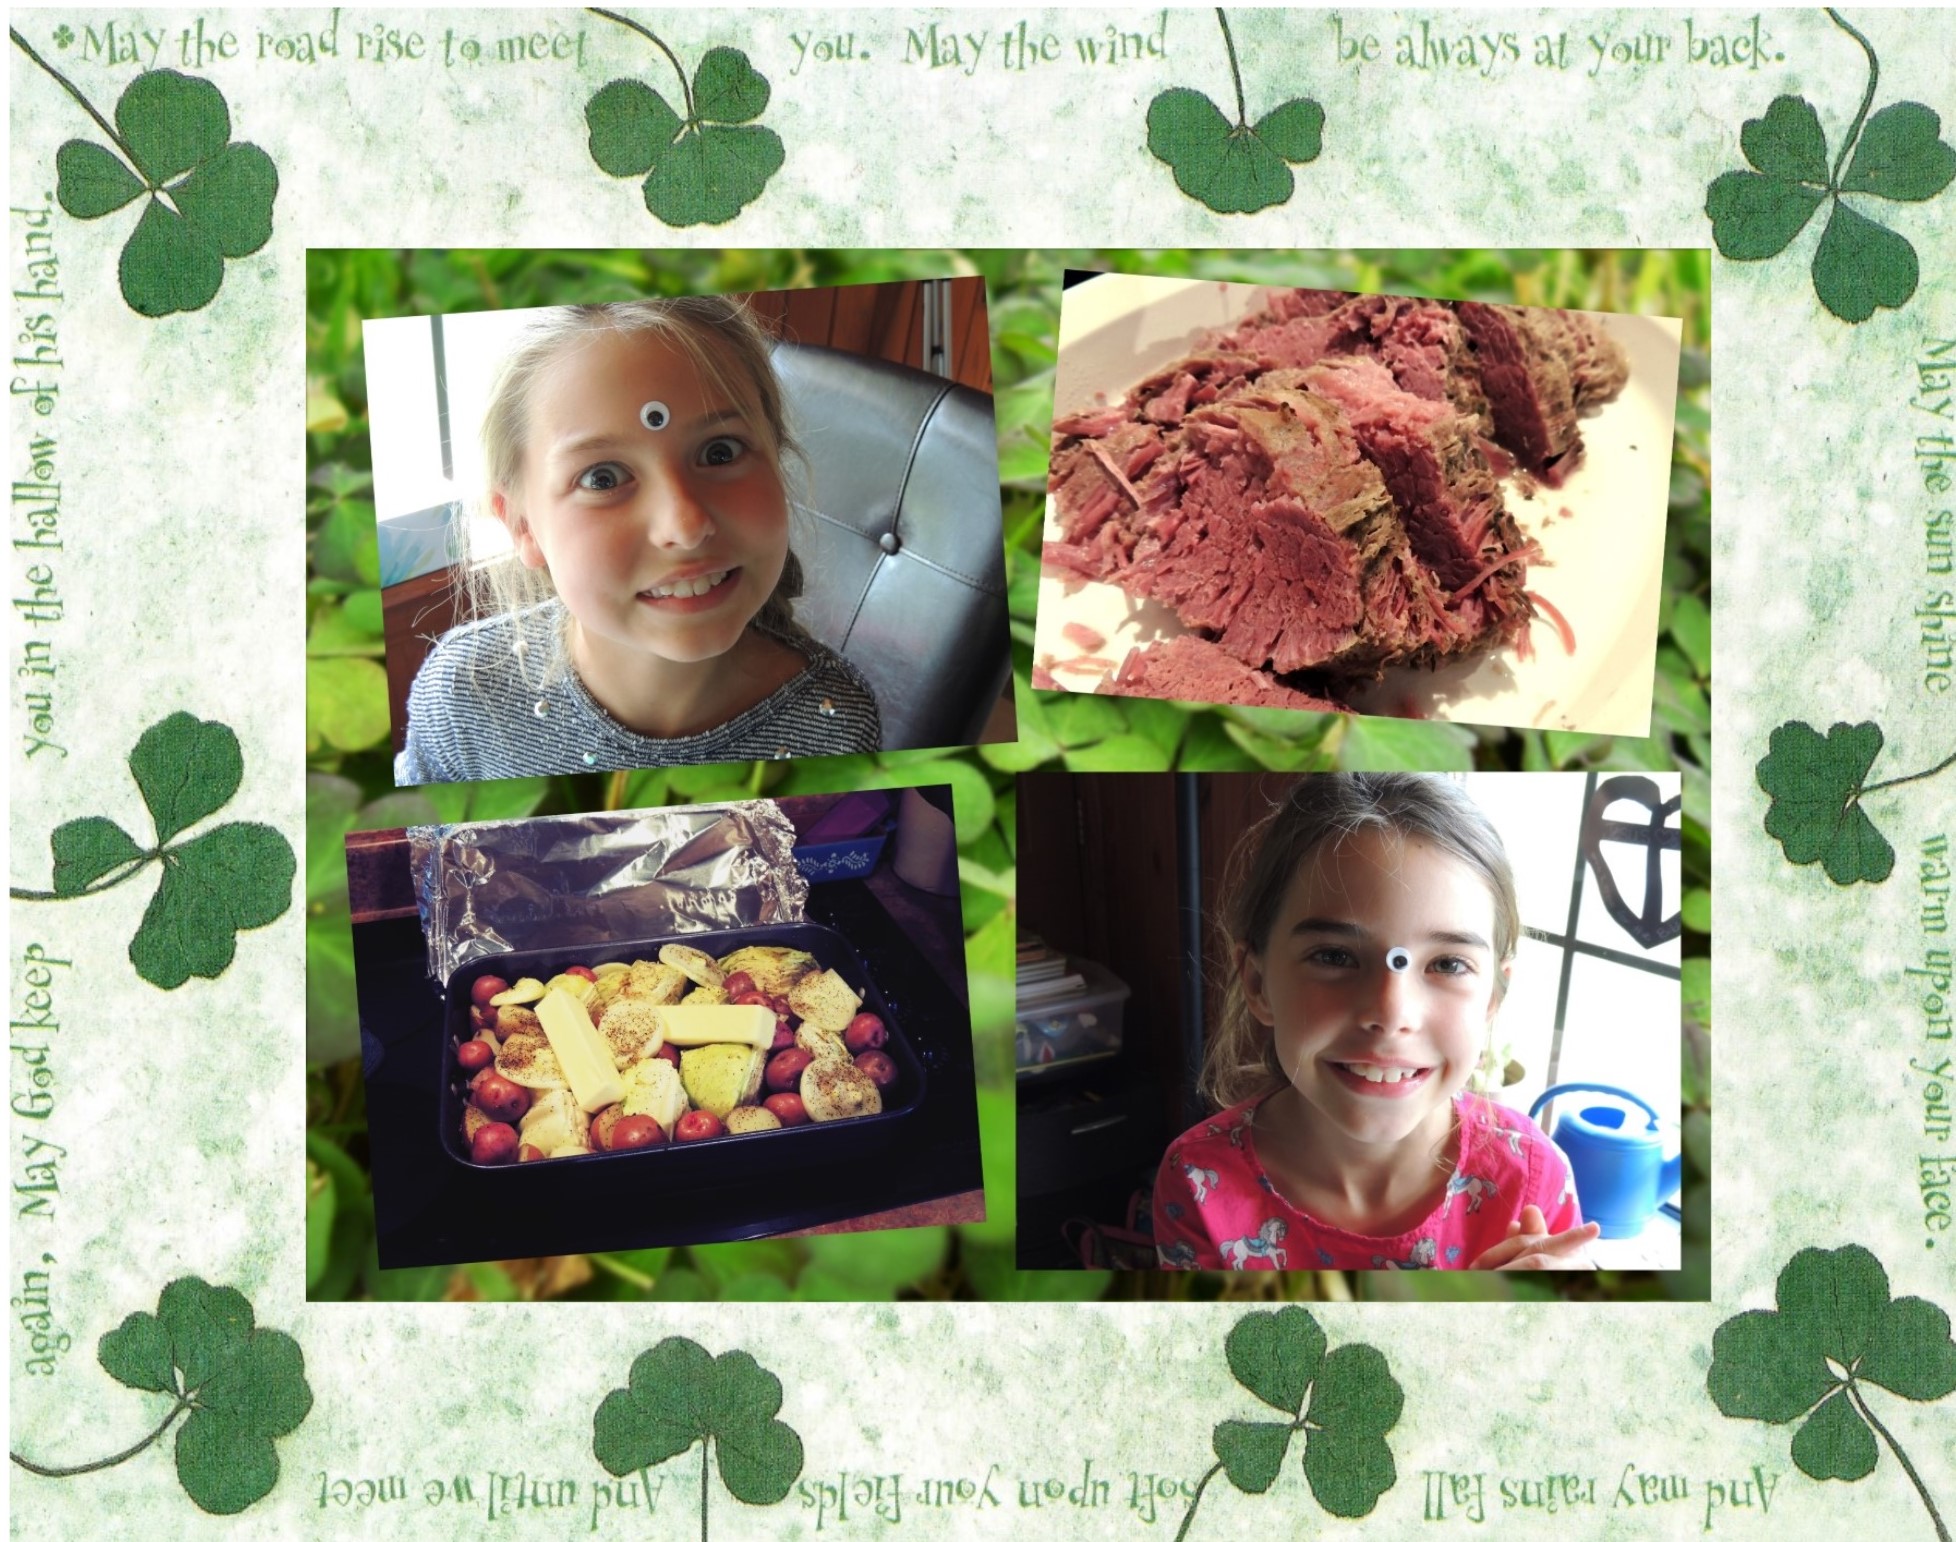
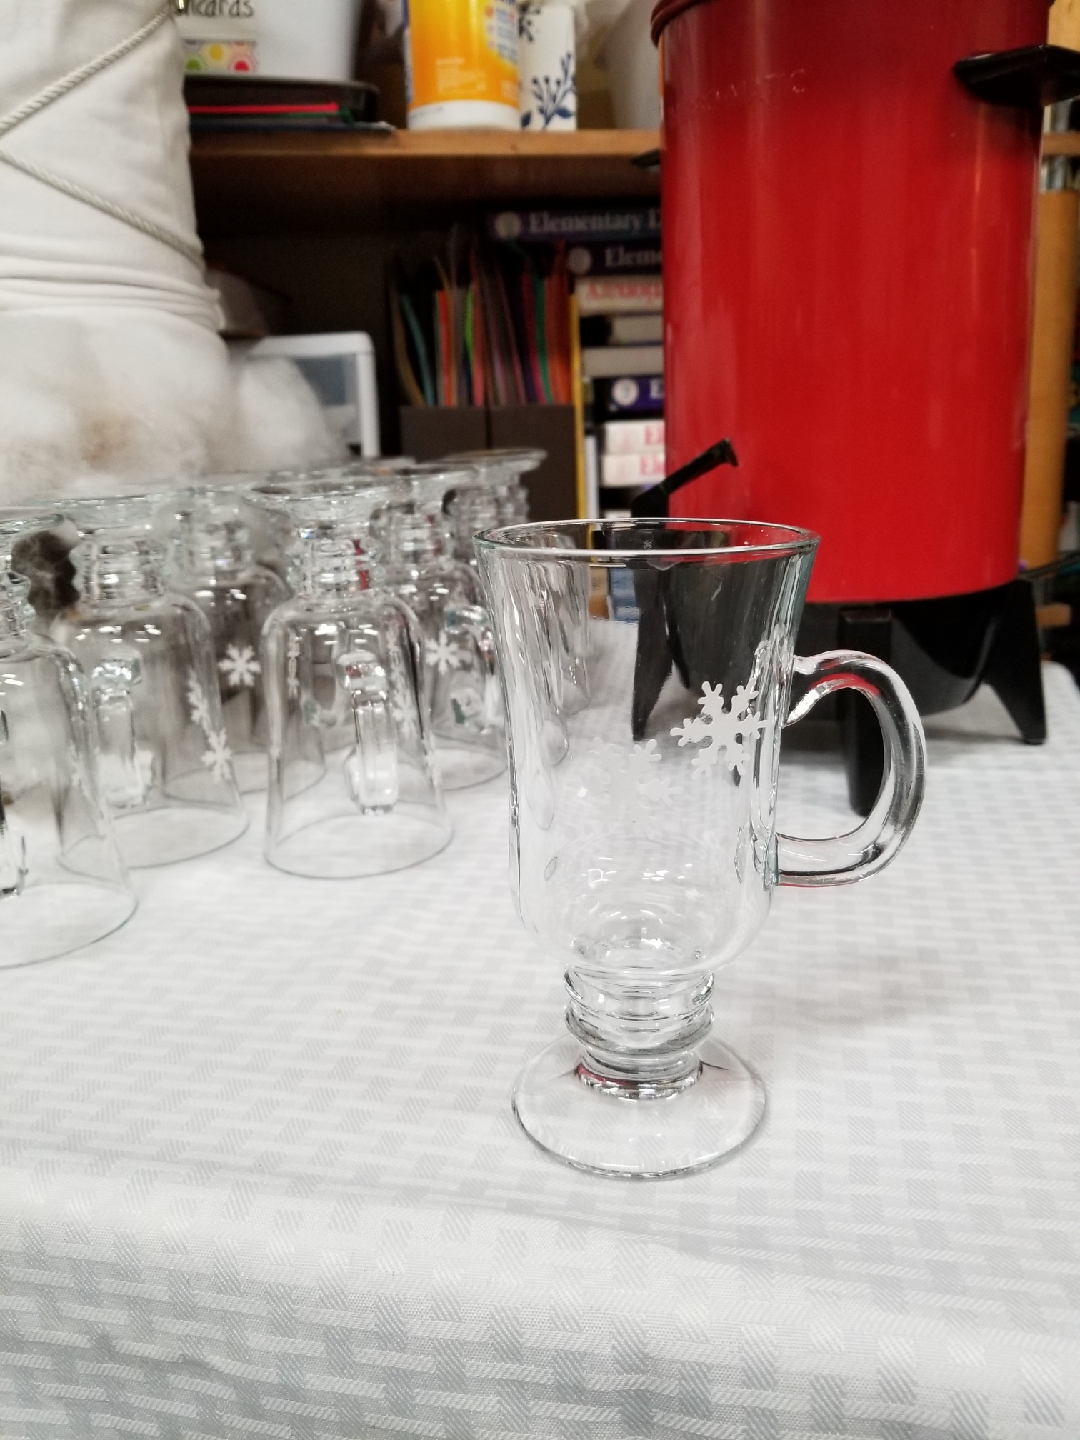
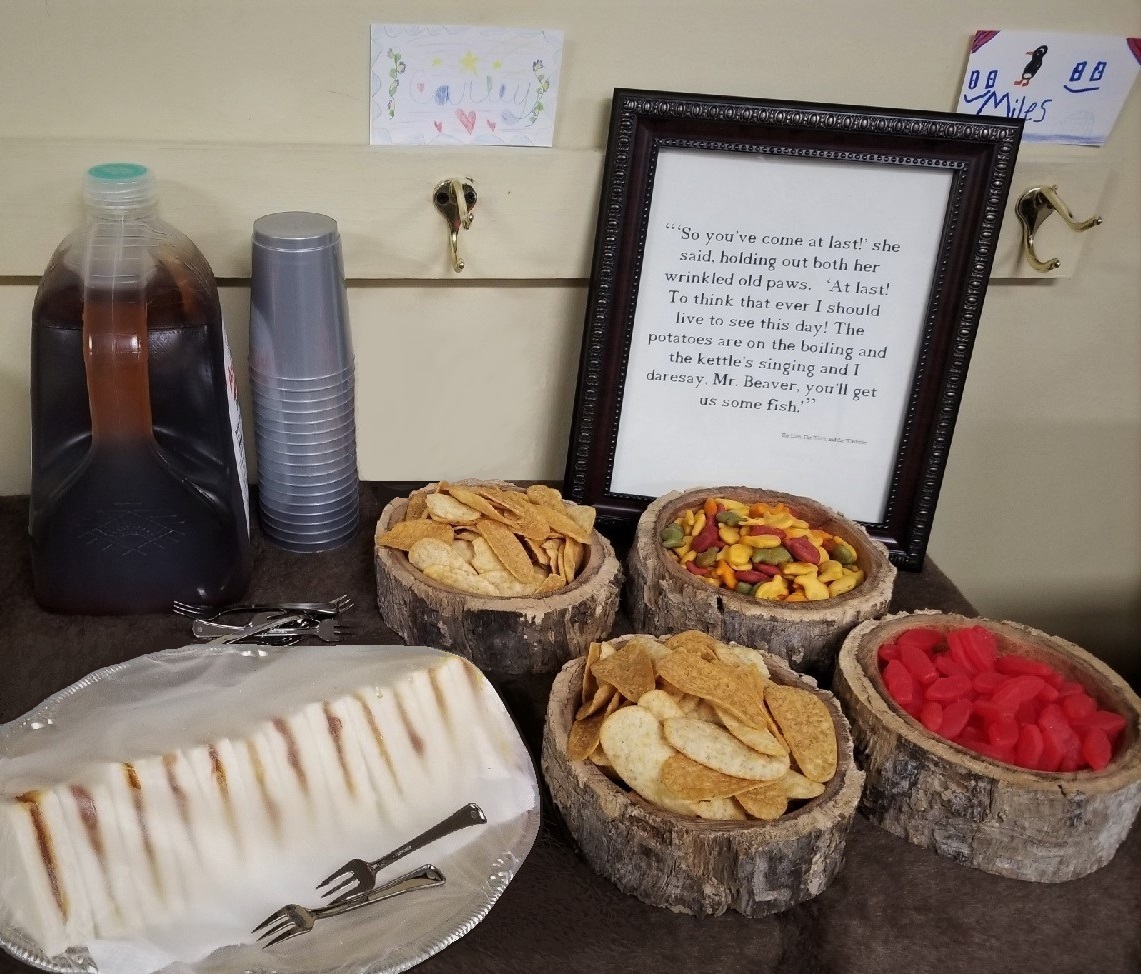
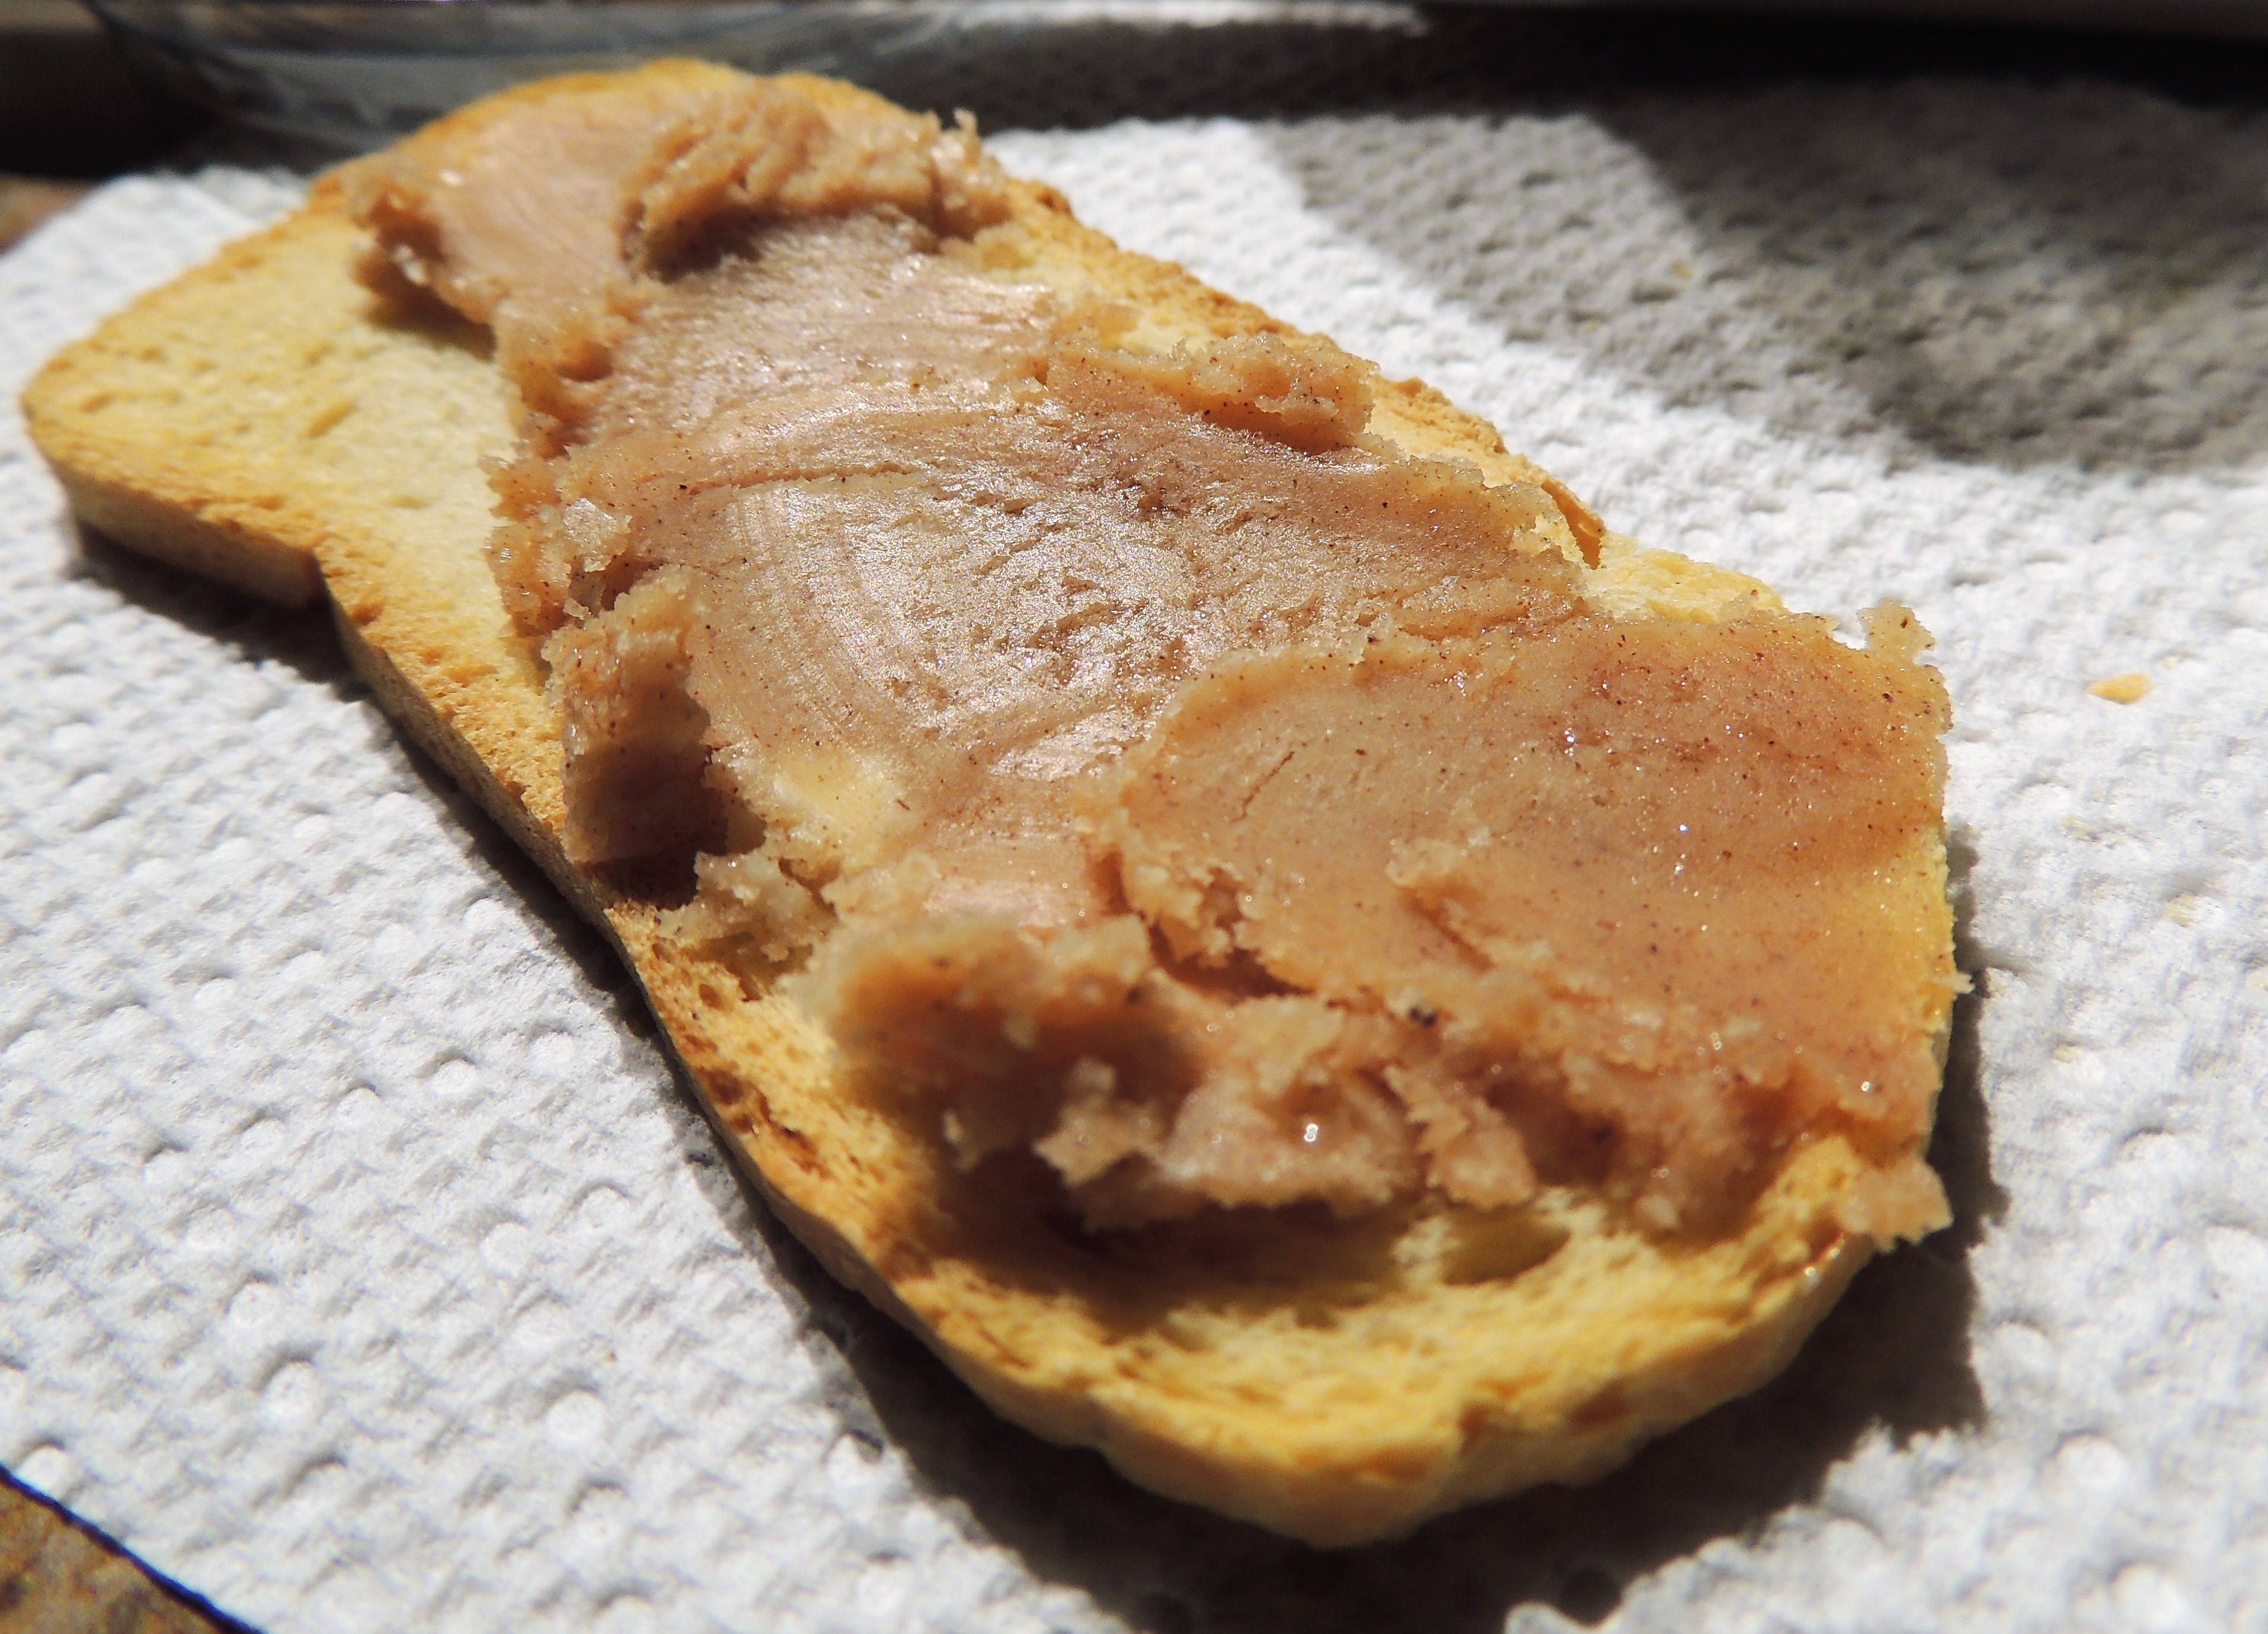
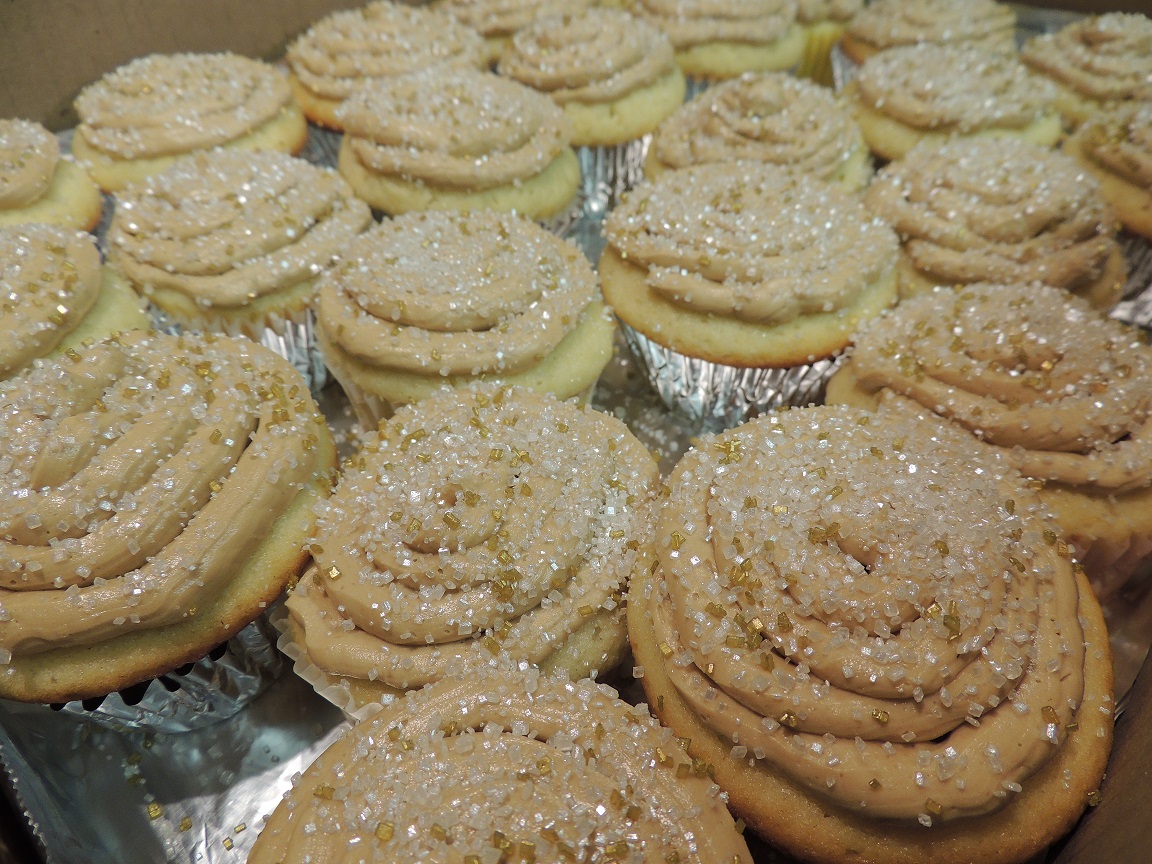
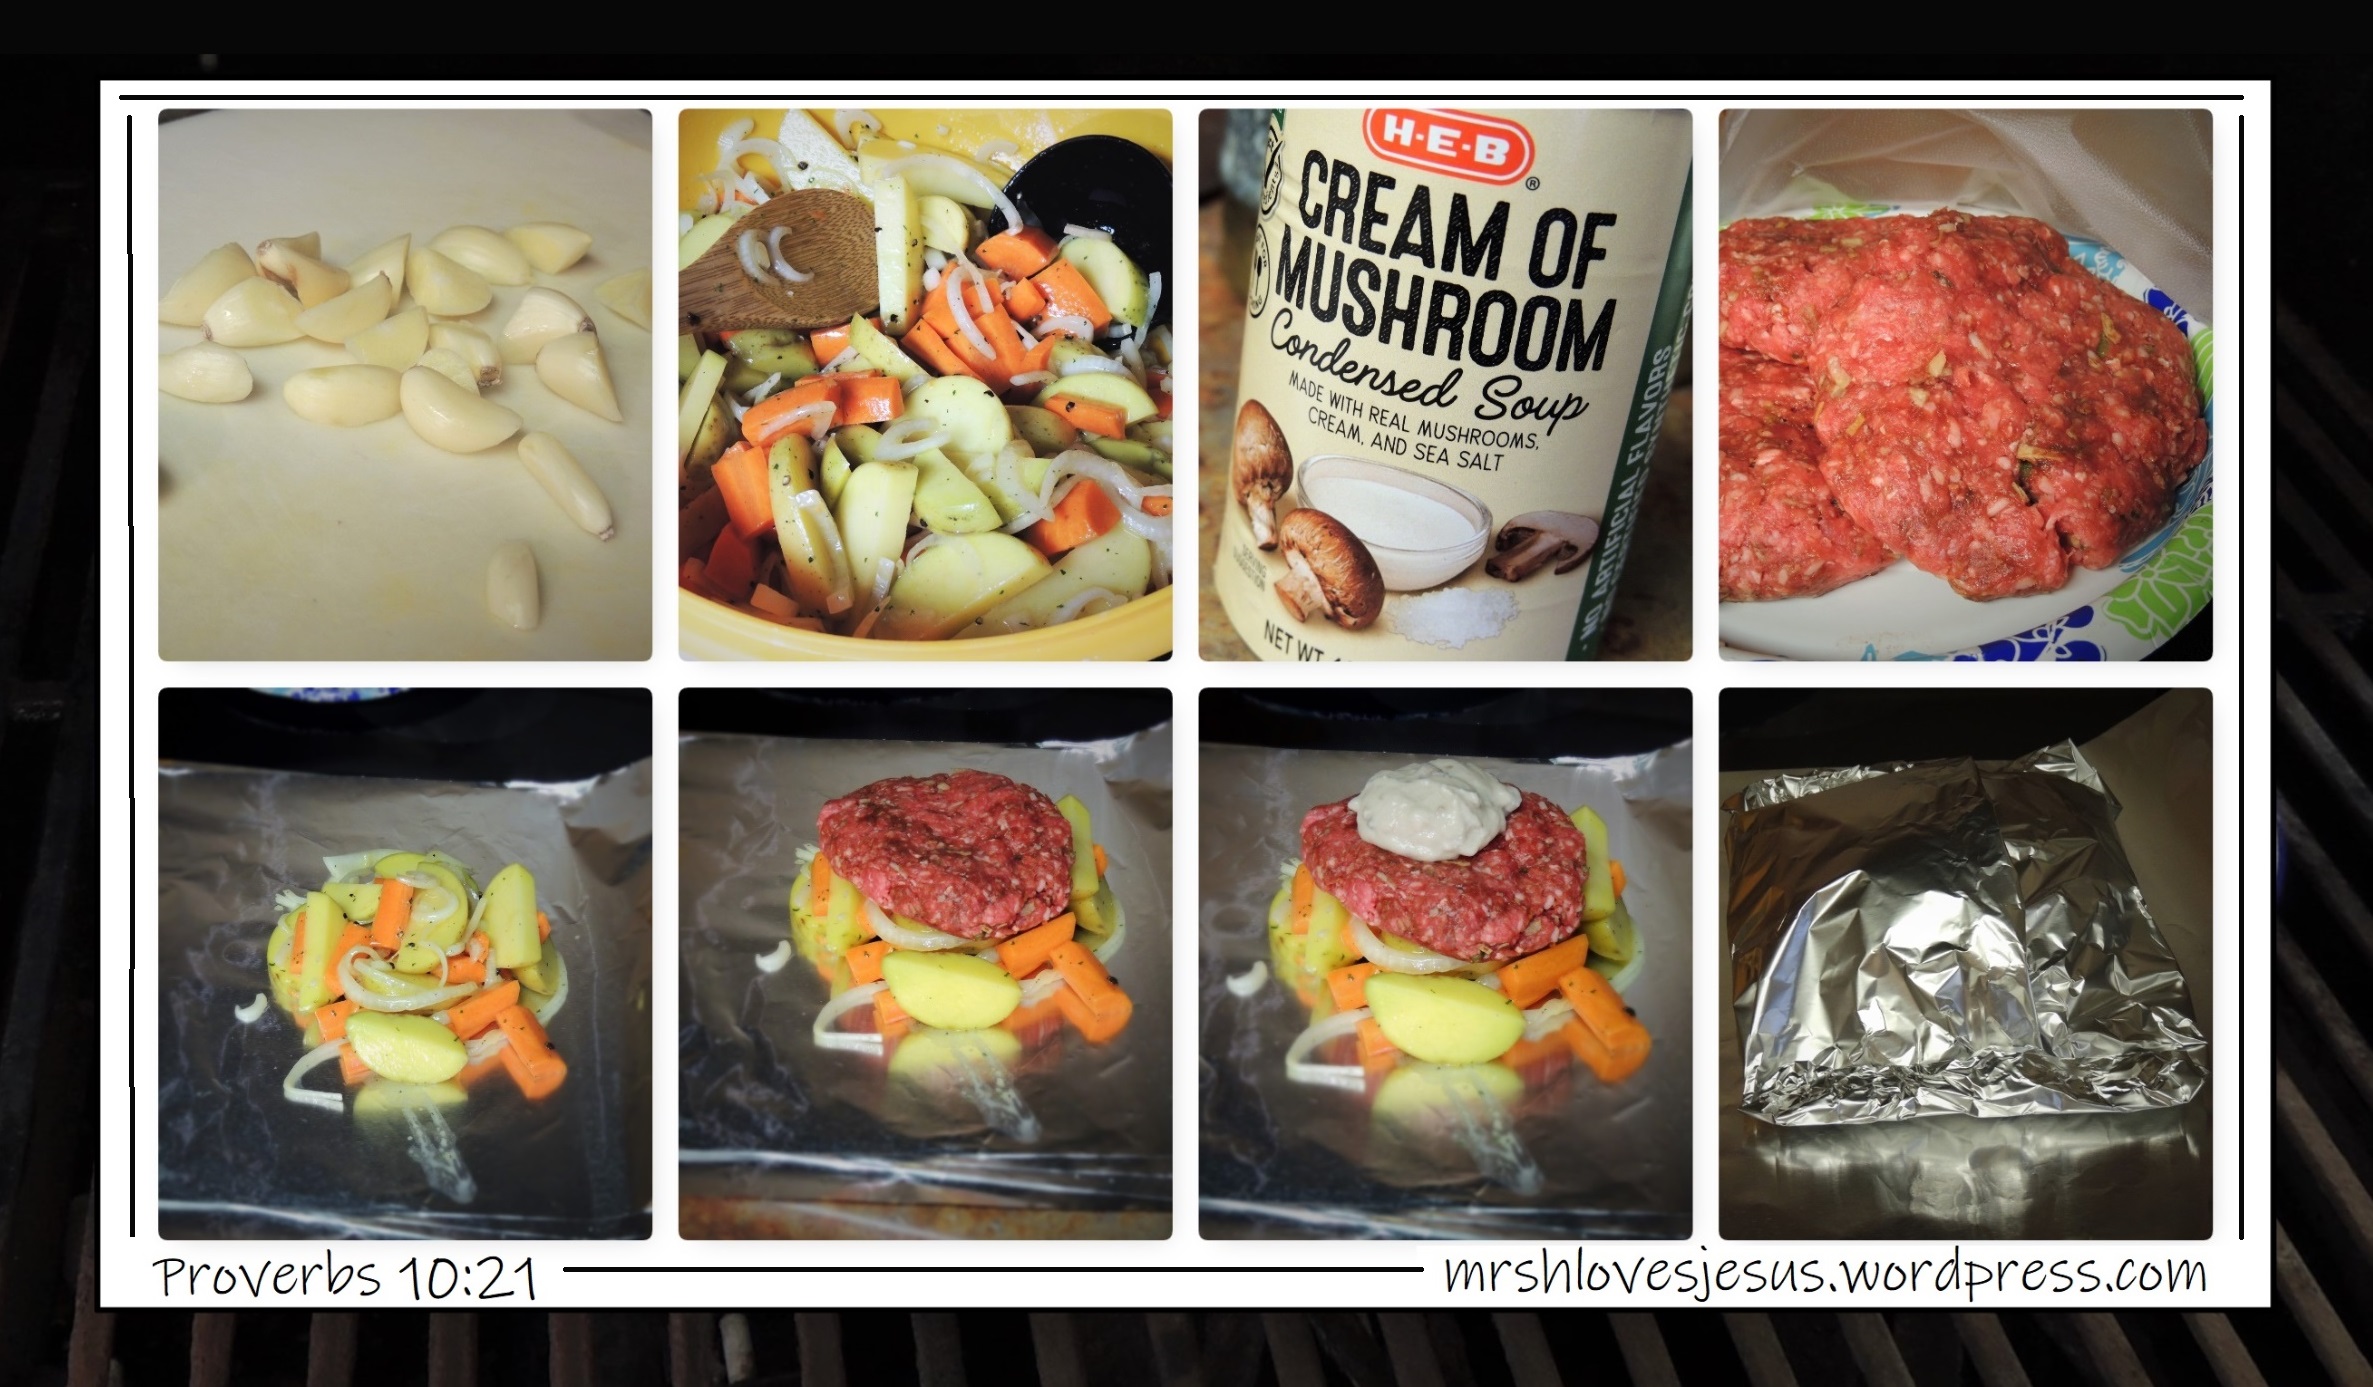
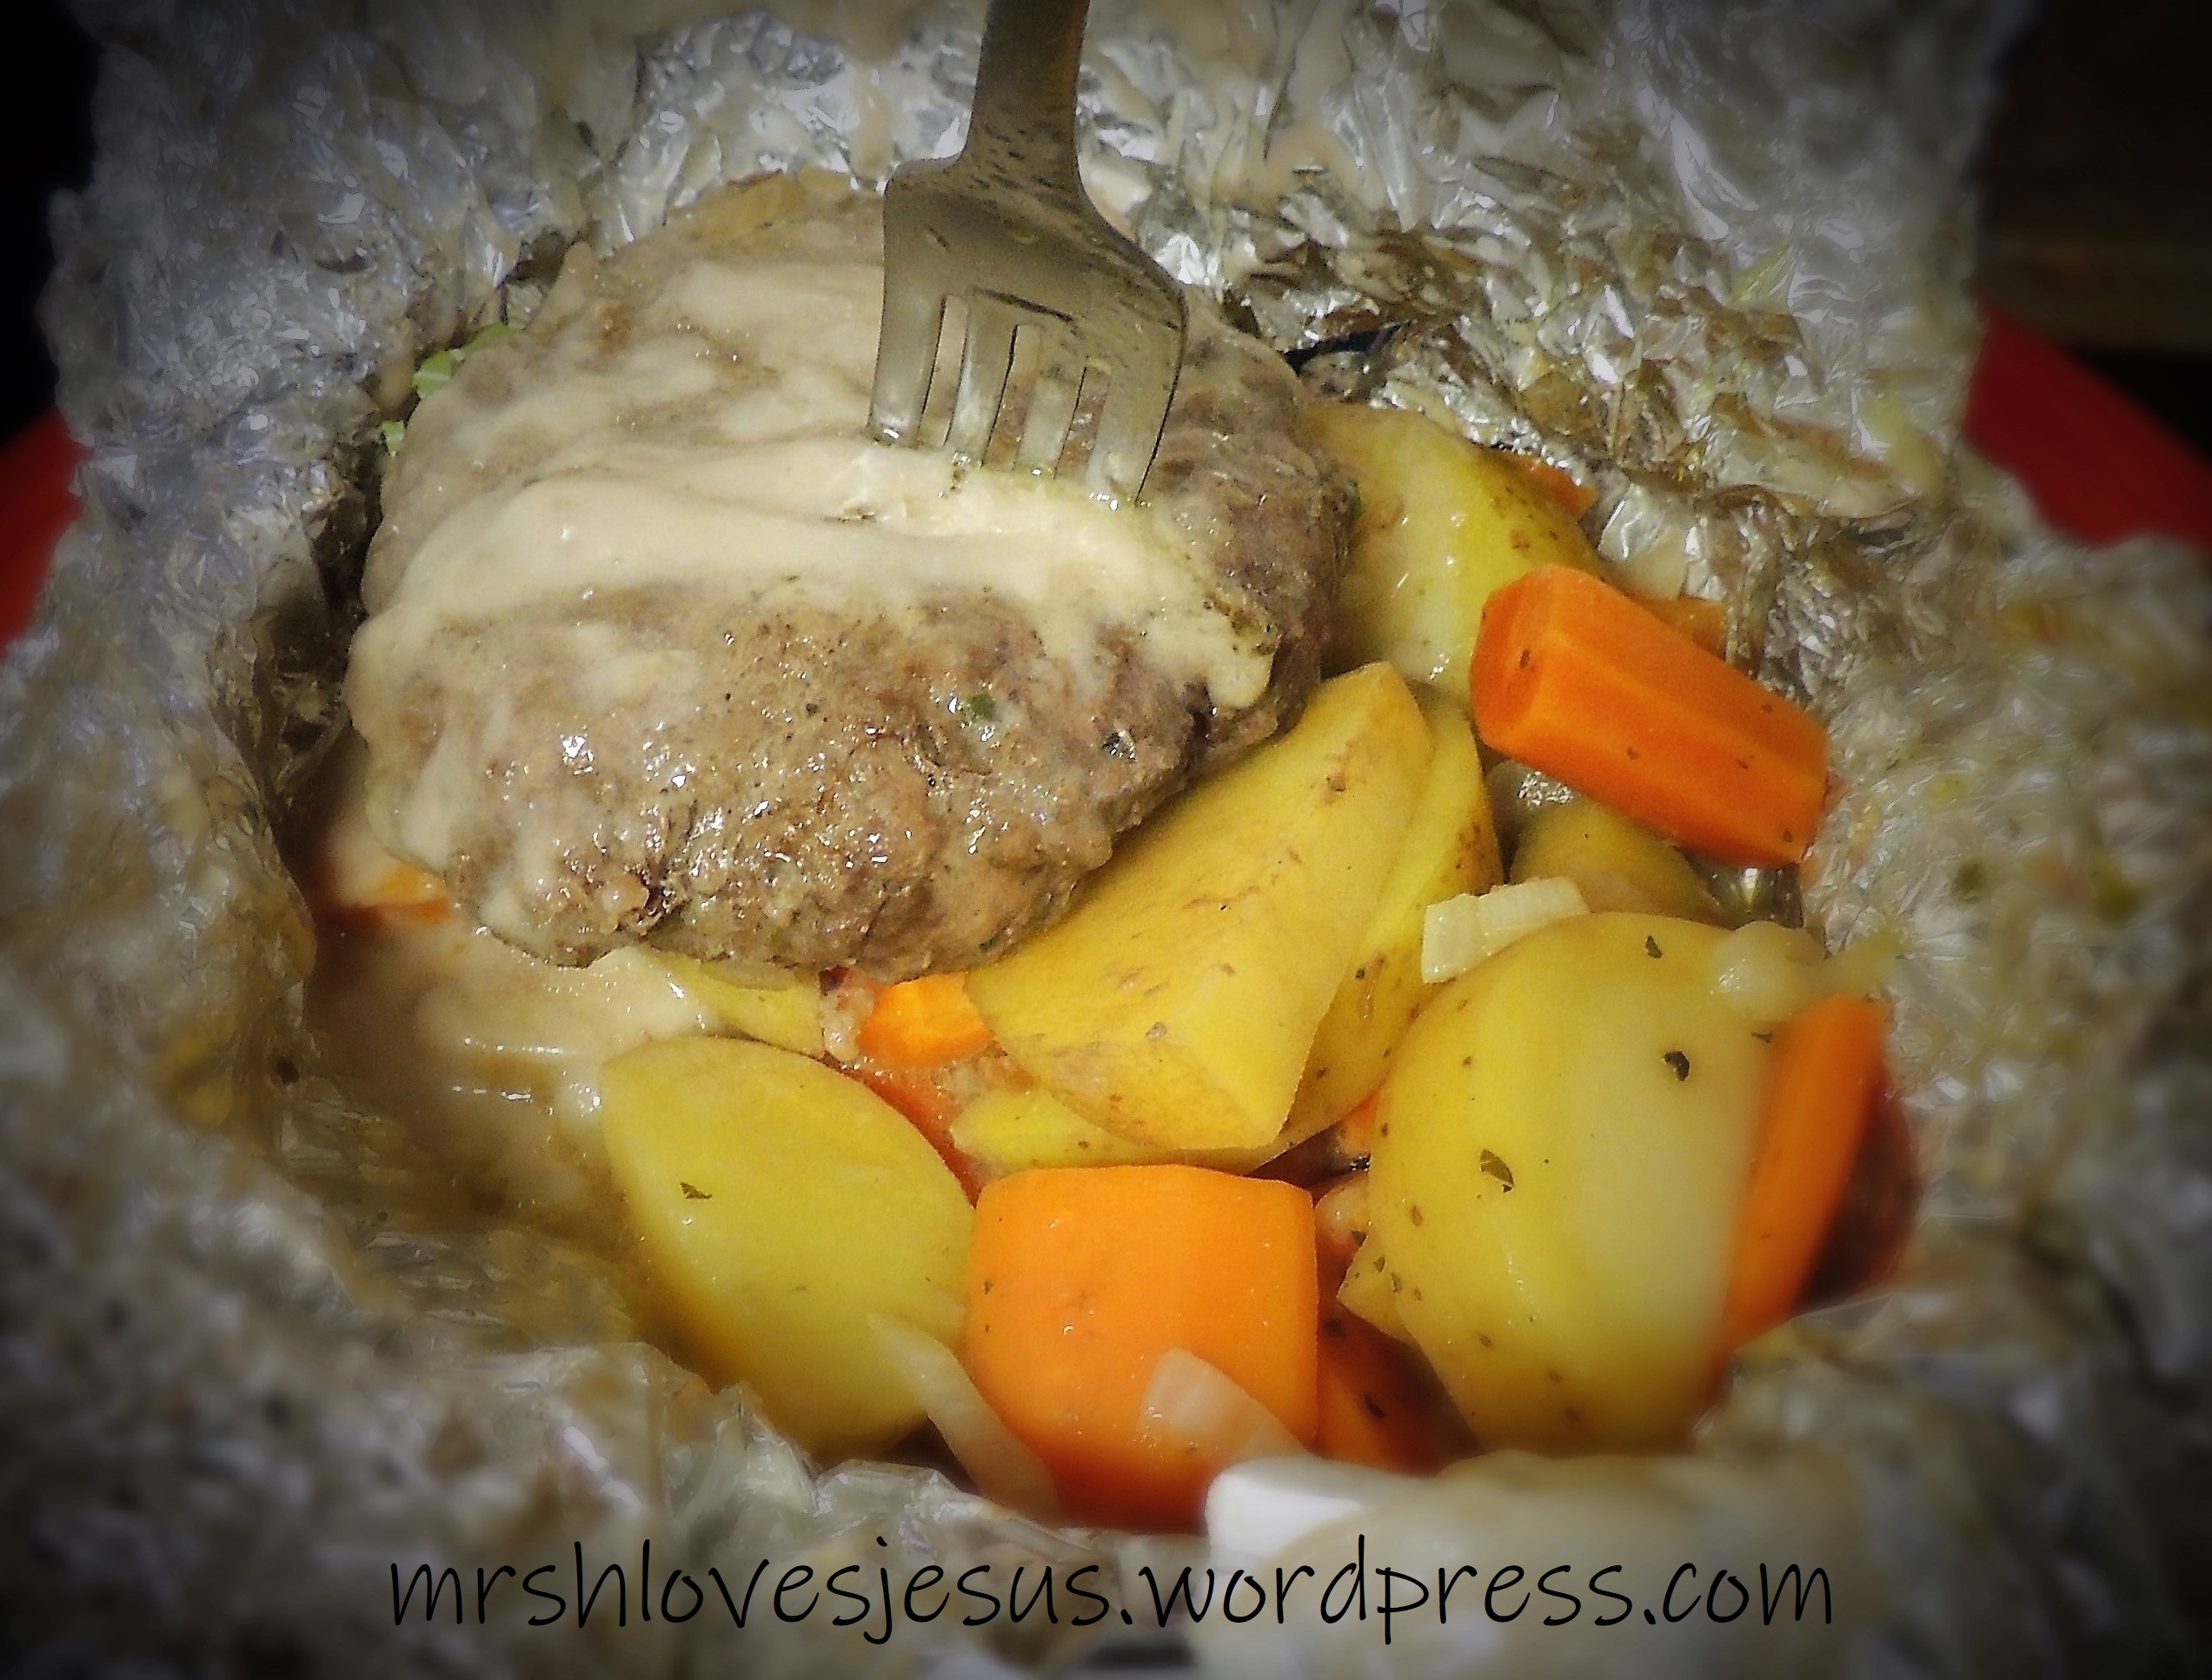
I surprised her with this “family supper” one night. The Revolting Recipes cookbook is loaded with recipes that are intended to be made together with the child. (I did a little ad-libbing with my renditions of the foods. I made a gravy for my Mud Burgers, rather than serving them on buns. I used my own deviled egg recipe for the Stink Bug’s Eggs, and rather than an apple for the Hot Frogs I used peach halves – in keeping with the peach theme, and they would have been even more delicious with grilled fresh peaches rather than the canned peaches, plus I let them swim in warmed tapioca – “frog eye soup” – rather than pudding).
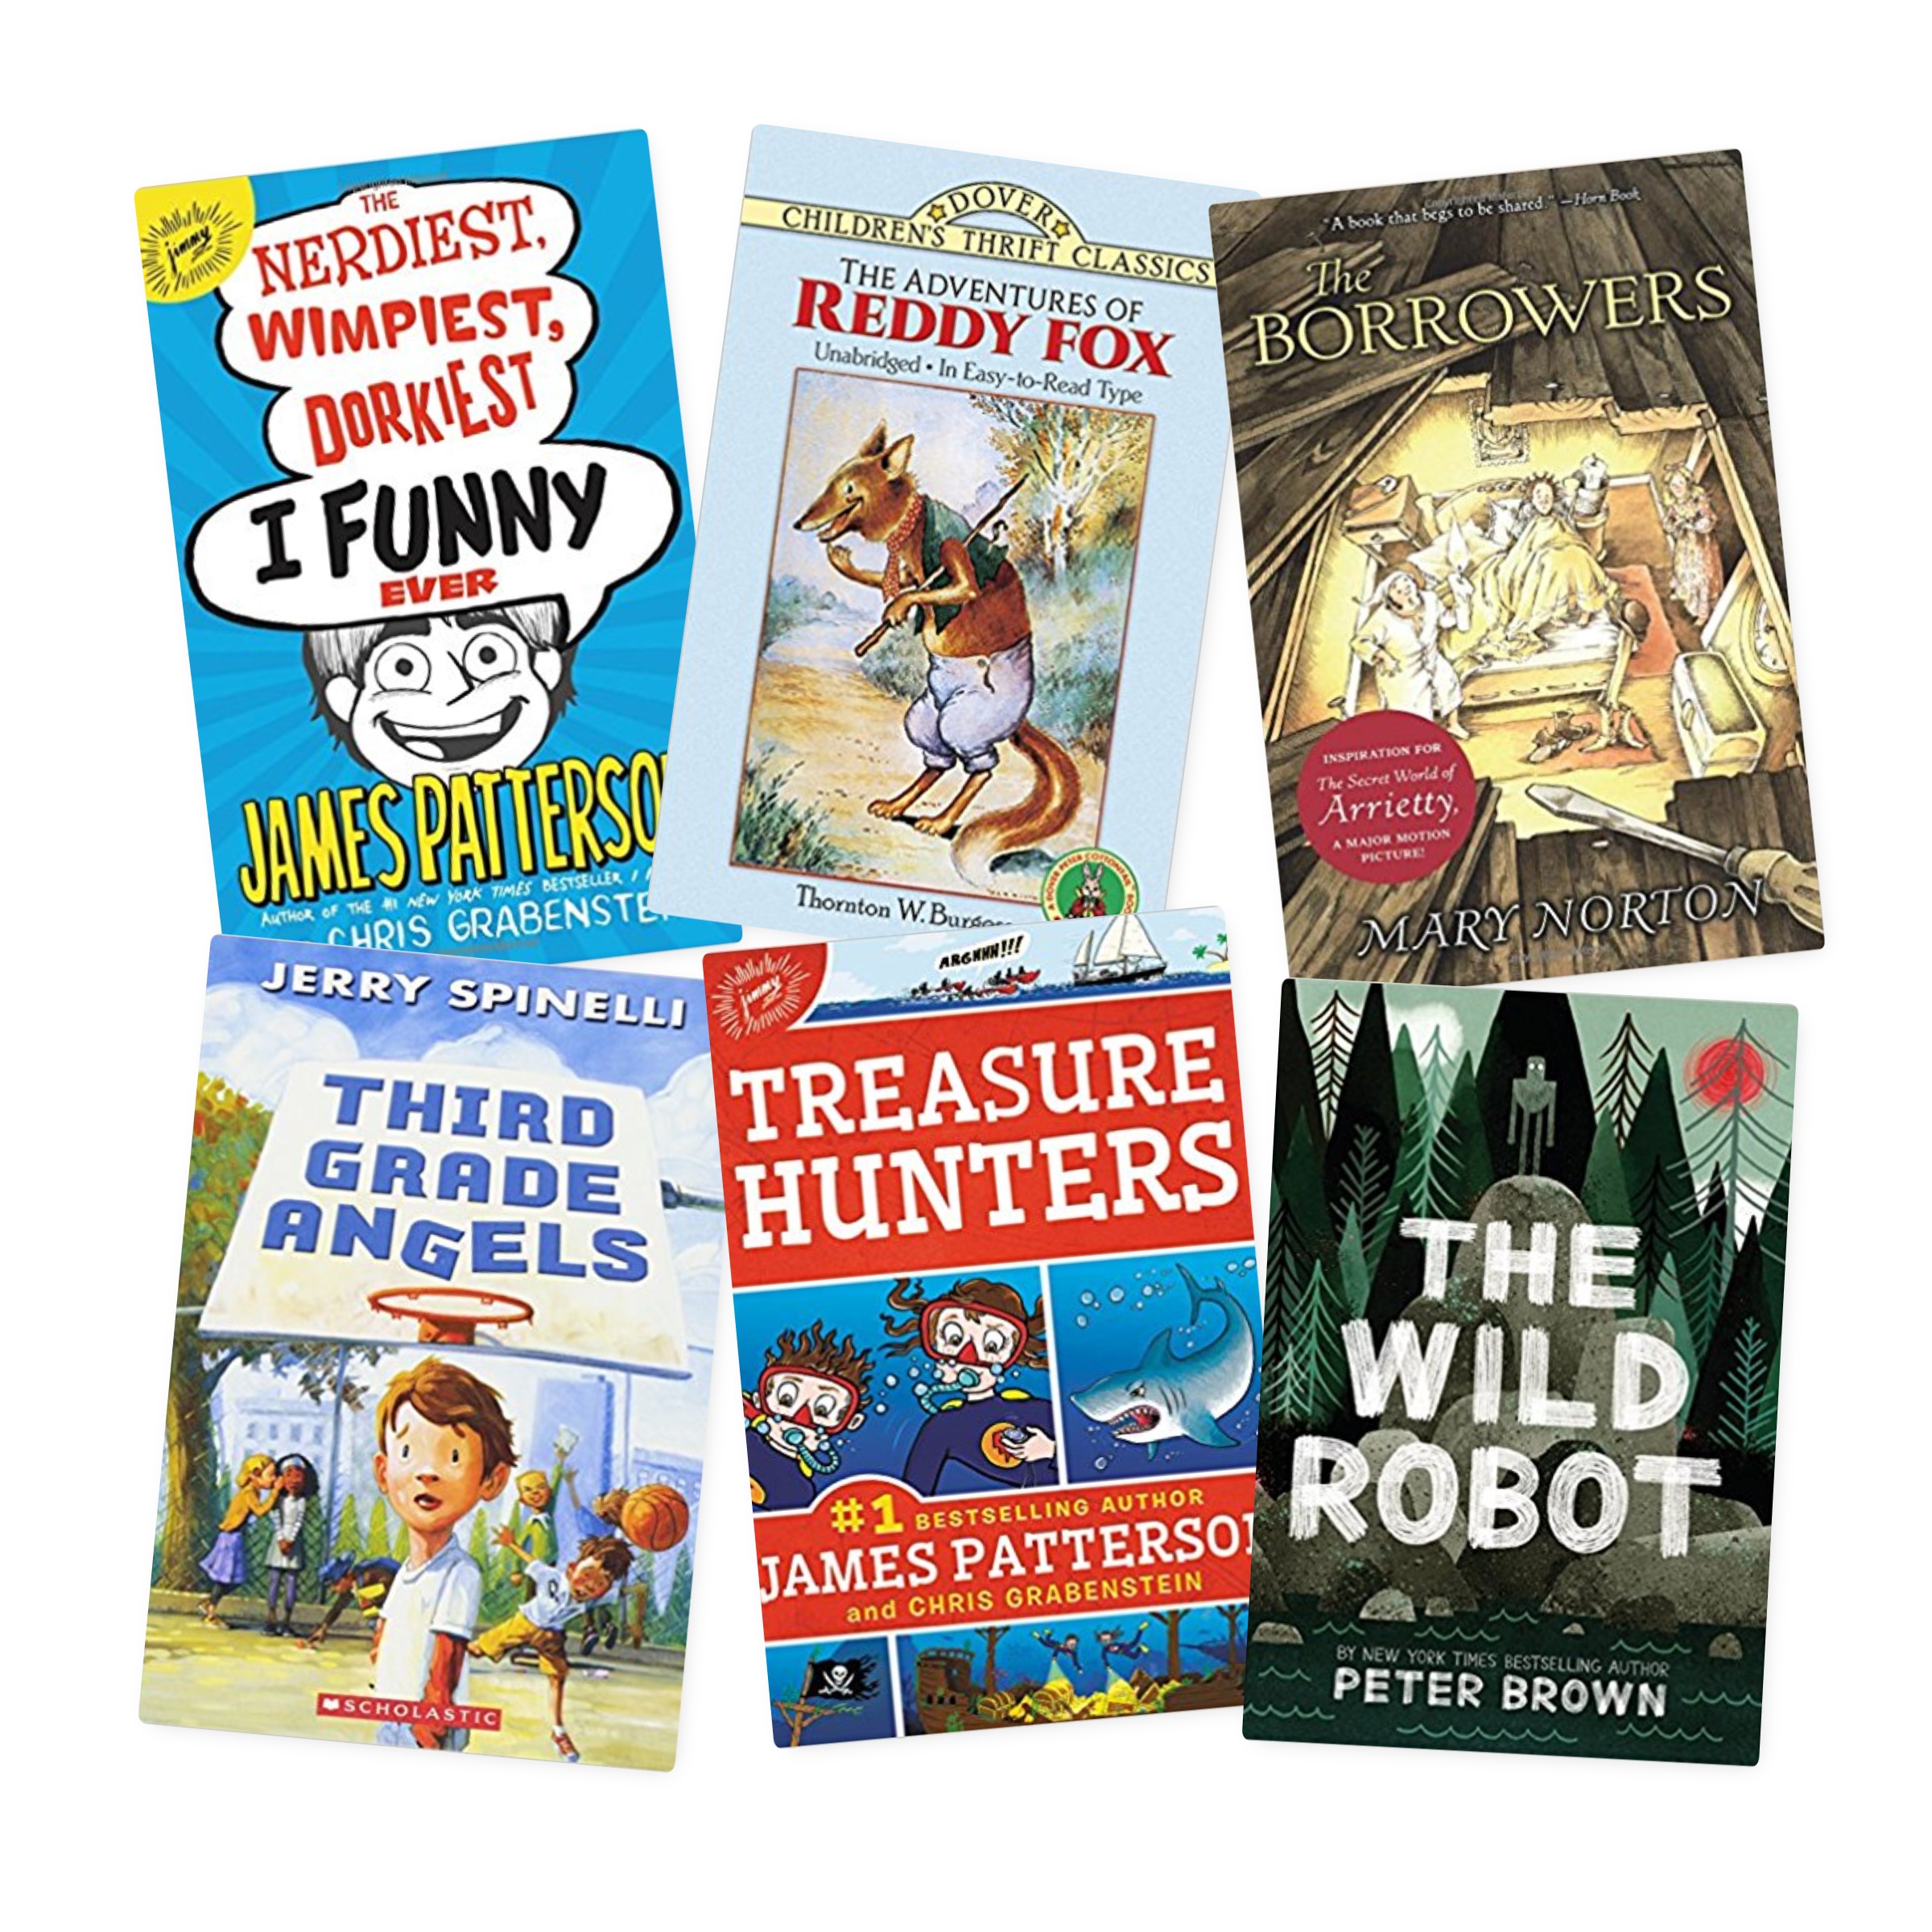
And did you know James Patterson writes kid’s books now? Many are highly rated on Amazon. My granddaughter thought Dog Diaries would be fun to read, and she was right; she can’t wait to read it every night before bed, and tells her mom and me all about what she read because it is so funny and entertaining!!!
So, this is what has inspired my blogging today. I just wanted to pass along the knowledge I’ve discovered, and some terrific ideas that have worked really well for us.

ASSESSING READING LEVEL
Most modern chapter books show a reading level somewhere on the bar code label (or the inside pages at the front of the book). Poof *mind blown* I did not know this, did you? Look for either a number such as RL: 2.1, OR a letter inside of a triangle. The example RL: 2.1 translates to Reading Level: 2nd grade, 1st month. If the bar code shows a letter inside of a triangle, this is the Fountas & Pinnel reading level system. In this system A-C is Kindergarten levels, D-J is First Grade, K-P is Second Grade, Q-T is 3rd Grade, U-W is 4th Grade, X-Y is 5th Grade, and Z is 6th Grade and into middle school. There is also a Lexile measurement, but it is a little more complicated. (Note: if you really want to be an expert on your child’s reading level and ability, visit Reading Rockets).

So now, when we are out shopping with our kids and they run to us with a book they want to read, we can quickly decide if it is anywhere near their right age level or not.
If you can’t find the reading level on the book anywhere and you happen to have your smart phone with you, you can check it at the Accelerated Reading website (arbookfind.com). If the book title comes up, it will give you the reading level.
It is also helpful to check the reading levels of the last few books our kids have read and talk to them about them. Who were the characters? What was the story about? Was it easy to understand? Was there anything in the story you didn’t understand? Were there any words that you didn’t know how to pronounce, or that you didn’t know what they meant? Was the story hard to follow? If the last few books that they read were pretty easy for them (matched their grade level), the child was motivated to read them all the way to the end, and is able to tell you lots of details about them, chances are they were a pretty good reading level fit. Armed with this information, we might want to challenge them to go a little bit harder with their next book. It will add words to their vocabulary among other things. BUT NOTE that if a book is too easy children will lose interest out of boredom, and if a book is too hard for them to understand the child will lose interest out of frustration. Finding books that match their reading level is crucial to fostering a love of reading in them.
If you are looking for a way to more officially test your child’s reading level, I found websites that offer free reading level assessments, like: macmillanreaders.com/level-test/
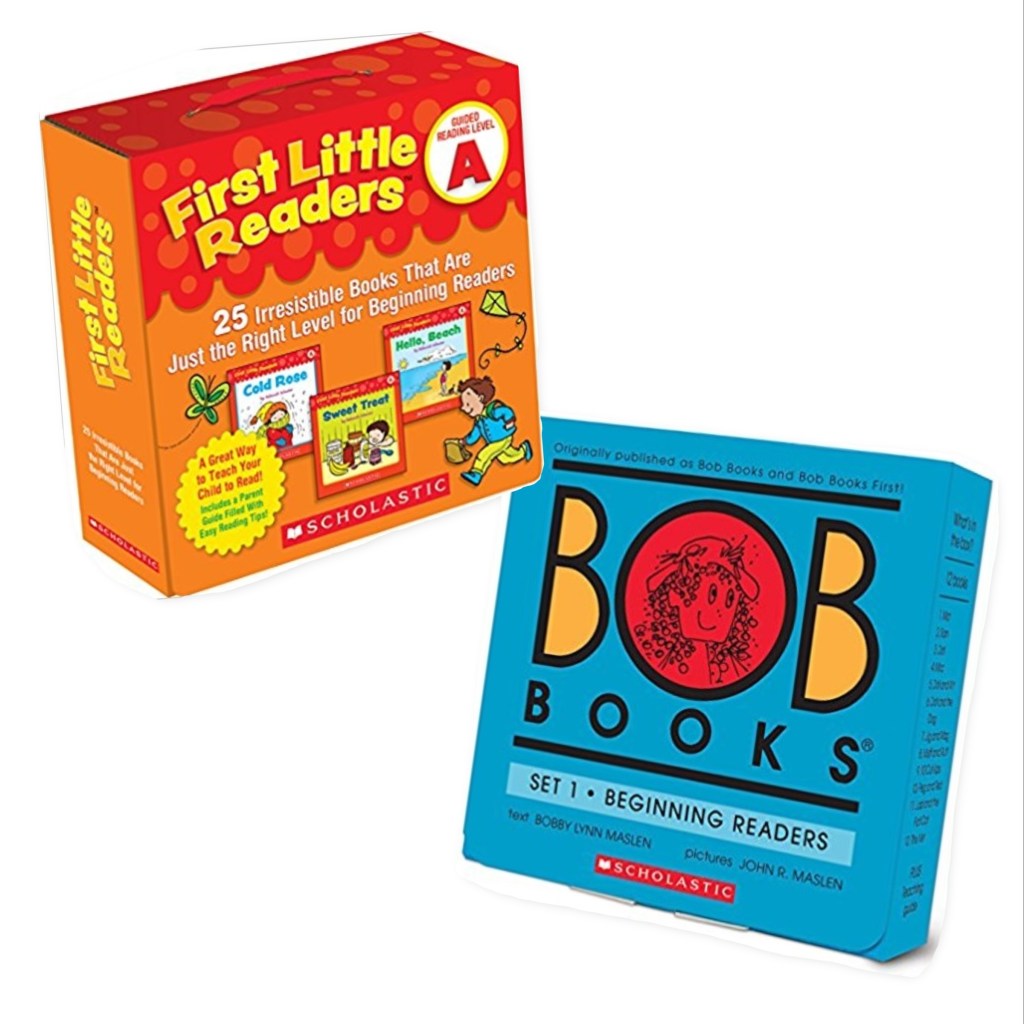
If a book is on your child’s correct reading level and aimed at her interests, and is also well written and entertaining to her, she will at least be tempted to read it without a lot of coaxing on your part!!!!! My youngest grandchild was struggling with confidence issues. She didn’t think she could read so she didn’t even want to try, but I knew she recognized letters and that she had the skills to sound out words. So I picked up these beginning readers and they were just the ticket. The very first page offered words she recognized and words that were easy to sound out. When she realized she could read her confidence skyrocketed. These little readers were not only filled with beginning sight words she was familiar with and easy words she could sound out (at her reading level), but they are “irresistible” as advertised. Not only can she read them, she comprehends what she is reading, which is very exciting!!!!!
There are also ways to sweeten the deal, incentives to help motivate and encourage kids when their attention span is waning, which I’ll delve into in detail a little further down!!!! Biggest thing to remember is that this is NOT SCHOOL! There are no time constraints. There is no test at the end. There is no right or wrong way to read – our kids have the luxury of getting to read books they got to pick, which they can read by themselves, or if they would rather we can read them together. Reading should be FUN not a chore. It should be exciting, not drudgery. I sooooo want my enthusiasm to spark their enthusiasm. I want to be a cheerleader and a good role model.

ASSESSING LITERARY VALUE OF BOOKS
Caldecott and Newberry give “medals” to books with high literary value. You can also Google: Notable Children’s Books or Literature and see what comes up.
After you’ve nailed down their correct reading level, next make a pile of medal winning books (online shopping cart -or- brick & mortar bookstore), and finally go through the pile of books together. Flip through the pages and see how long it is and how small the print is. Read the back covers. Read a few pages. Narrow down the giant pile to about ten books that most interest them. And then…

ASSESSING SUBJECT MATTER
Once you have the giant world of children’s books pared down to a child sized pile of quality literature that matches her interests and reading level, you can weed out the ones that might have objectionable content. Obviously there is really only about one or two ways to go about this. One, is to read the books ourselves before we let our kids read them. The bonus for this way is that it comes in handy later when we want to ask them questions about the book to access their comprehension, or come up with follow-up activities.
The second, is to read reviews at websites we trust the opinions of. Perhaps, like me, you are concerned with certain subject matter being appropriate and would like a good Christian review? In that case, you might find the following websites helpful:
RedeemedReader.com (Children’s Book Reviews for Christian Parents)
www.cbn.com/entertainment/books/new-christian-book-reviews.aspx
ccbreview.blogspot.com/
https://www.commonsensemedia.org/book-reviews
https://www.christianforums.com/threads/childrens-book-review-warriors.7328543/
https://www.pluggedin.com/book-reviews/
These websites will usually alert parents to subject matter which might be offensive, controversial, or a maturity level that we would prefer to preview and prepare our kids for ahead of time.
* * *
DON’T FORGET – FIND A GOOD BEDTIME STORY BOOK
Depending upon our kids’ ages, we might want to consider also picking up a great story book that we can read to them. Everything I’ve read says it is good for kids to hear books read to them by someone who reads really well. It is bonding as well as skill building. I remember as a kid what a great reader my mom was, how soothing her voice was, and how much I looked forward to the nights when she had time to read bedtime stories to my sisters and me. She had a big book of bedtime stories that included Tall Tales, Fairy Tales, Aesop’s Fables, and Classics, like Black Beauty, Swiss Family Robinson, and Peter Rabbit. The fluid way she read, her voice inflection, her own enthusiasm for the stories, made them come right off the pages and into my imagination. I wanted to grow up to read just like her.

These are a few such books:
A Treasury of Children’s Literature (Hardcover) by Armand Eisen
The Book of Virtues, A Treasury of Great Moral Stories
The McElderry Book of Aesop’s Fables (Hardcover) by Michael Morpurgo (Author), Emma Chichester Clark (Illustrator)
American Tall Tales (Hardcover) by Mary Pope Osborne (Author), Michael McCurdy (Illustrator)
* * *
ACTIVITIES AND REWARDS
Some kids are naturally attracted to reading and will take to it like a duck in water. Oh glorious days! Others are more math minded, or science minded, or just lazy. It’s not a lost cause to get them to want to read, it’s just a matter of getting creative to find the subject matter that will hook them. Finding books about kids with their similar likes and dislikes is one way to do it. Maybe comic books would be more their thing. Maybe reading to them instead of beating our head against a wall trying to get them to read on their own?
Motivating our kids to read by letting them picking great books of interest to them is one way, but also following up their efforts with fun activities is, well, jam on the peanut butter…is chocolate syrup on the ice cream… is icing on the cake!
In trying to make reading fun for my grandkids I had to ask myself, “What makes reading fun for me?” I’m one who hated (all caps, bold letters, double underlined, and triple exclamation mark – HATED!!!) reading in school, and I am still not a huge book reader as an adult. I do however enjoy Bible study. Family history research, old photographs, and pedigree charts. I like audio books when I’m going to be stuck in the car for a long drive. It is more motivating to me to read if I am part of a book club or something that involves fellowship and food once a week. I like historical fiction. I enjoy mysteries. I like stories like the Little House books – I’m not sure what that genre is, biographies or dramas maybe? I honestly prefer children’s books because they are a quick read and I have a short attention span. I don’t like horror, romance, science fiction, or fantasy. I love writing and illustrating so much more than reading. Our kids are not so different in their likes and dislikes and tastes from us. Sometimes all it takes to motivate a kid is to give them opportunities that are so appealing they can’t resist.
Kids who like to read might find it enjoyable to have a favorite little nook to read in. Maybe a secluded space by a window, with a shag area rug, a bean bag chair or giant stuffed animal to lounge on, and a groovy free-standing lamp sitting next to it, tucked away in a secret corner of the attic, or in a tree house, or a lovely little bench in the garden? Maybe our child would enjoy reading with soft noise in the background or music – classical music, piano or guitar music, or white noise like thunder, lightening, and rain, or ocean waves, or gentle wind?
Kids who don’t ever sit still long enough to read might enjoy taking a drive through pretty country, looking out the window with binoculars and listening to an audio book that captures their imagination? Or, rather than listening to the audio book in the car, they would prefer to listen while we all as a family do some project together, like draw, or color, or paint, or clean a room?
When my kids were little I created opportunities for us to get out and read. We would pack up some drinks and snacks, and a big blanket, and we’d head to a shady, secluded spot in one of our city’s huge sprawling parks, or we’d drive up to a lookout or back country road on the mountain with our snacks and big blanket. Sometimes we’d invite grandma to join us, and spend an afternoon browsing magazines, perusing cookbooks, or thumbing through whatever print material that suited our fancy that day – even puzzle books, quiz books, illustrated dictionary, and catalogues counted.
Sometimes what kids hate about reading (me) is having books chosen for them, with subject matter that isn’t the least bit interesting to them, not to mention all the painful formalities of the classroom – oral book reports, testing, reading out loud, etc. UGH! Maybe they just have ants in their pants and can’t sit still long enough to get into a book. Perhaps just creating an environment that is geared toward their unique dispositions might just help them blossom into the burgeoning reader we are hoping for them to be??? We just need to find that gateway drug that gets them hooked. 🙂
Maybe all my kid needs is to get to go to the library or book store once a week and hang out looking at all the books available to them there? Or, maybe it is getting to do an activity that is featured in a book they are reading – especially if it’s one they never heard of before (playing a game of marbles, catching butterflies in a net, making a cane pole and trying to catch fish with it, floating on a raft, flying a kite, building a tree house or fort, etc.)? Perhaps the introductions to such new discoveries will trigger something in them?
In my research, I came across this comment in a thread of a post on Facebook and it is just too apropos not to pass along:
“Jon David Groff writes: As a junior/senior high school English Language Arts teacher, I have stopped doing the traditional novel study. After reading The Book Whisperer, by Donalyn Miller, one summer, I went out and gathered together a decent classroom library. Come September, I told students that we would no longer do a formal novel study. They loved it. Then I told them they’d instead have a goal to read 40 book — one a week. They were not happy.
However, they could read what they wanted, didn’t have to write reports or assignments on what they read, would have some class time dedicated to reading, had no marks whatsoever tied to how many books they read or didn’t read, could abandon books they didn’t like, books over 350 pages counted as two books, and they could get books from wherever they wanted.
Most kids loved it. One grade 12 boy that year came to me after two weeks and said he’d finished the first book of his life and wanted the second in the series. I had a parent come to me at After a Christmas and day on vacation her daughter insisted on taking books into restaurants even though she’d never liked reading before. I now play ball on a team with a student who graduated who has thanked me for getting her into reading by using this approach.
I’ve since reduced the book count to 20 books a year — one every two weeks. I read when students read. They keep a book journal online that tracks their genres, book totals, and a any comments they want to make. I do also. I report their book count on each report card (but there’s still no grades) and use their own reflections about reading to help parents understand if they are happy having read 50 books or 5 for the year. For some, those 5 books are more than they’ve read over the previous 5 years. For others, their 50 books is a bit of a disappointment.
Last year, I began a monthly book challenge, completely optional, and most having nothing to do with reading speed. Challenges like, “carry a book EVERYWHERE for the month” or read in the craziest place and get a pic or vid (staff voted on the winner), or read to another person under age 10 or over age 60 — bonus entries for length of time, groups of three or more, and if they were strangers (haha). Every month I’d take those who chose to participate and entered them in a draw for a $15 Chapters-Indigo gift card.
Next year, my grade 8 students will participate in a Gamification class that attempts to do a lot of crosscurricular between LA and Social. They will have mutant powers and travel through history to stop a villain. And they will need to read a book about time travel in order to adopt that method of time travel for their own. They’ll create a visual text of the time travel method. But again, the choice of book will be there’s. (If you have any suggestions or want to donate books on Time Travel to my classroom library, please please please let me know. My summer reading is all time travel books and I’m trying to scrounge up enough books for 55 students, which means roughly 75 books if I’m going to be able to offer choices. That’s a lot of books and money.)
I’m trying to make reading fun and done in a way that adults read rather than the way school typically make kids read. Because even I don’t like reading books I’m told I have to in order to write a test based on someone else’s opinion of the book. We learn our curriculum using short stories, short films, movies, poetry, non-fiction, and other types of texts. We save books for enjoying, sharing, discussing . . . and actually reading!
*I’m sorry for the long response, but I wanted to share what I’m doing and to let others know that not all teachers are happy doing things the traditional way.”
MORE IDEAS
»Encourage your kids to spy out new words and perhaps make a word-journal. We could even pay them for every 10 words they find that they didn’t know how to pronounce or what it meant before, and let them choose what to do with the money. We could make those new words into a game where we are all challenged to use those words, like a secret word a day game, in sentences with other family members. Remember on Pee Wee’s Playhouse where they would have a secret word and any time someone said that word, bells and whistles would go off. Yeah, maybe kind of like that!
» If our child chooses a book that has been made into a movie, we can reward the completion of the book by going to the movie, or renting the DVD and making a family movie night out of watching it. Maybe set it up as a backyard movie with a popcorn bar and root beer floats, and even let them invite their friends, or extended family, if they want.
» Choose an activity from the book to do together as a family (ie. Maybe the people in the book went out for Chinese food and ate something unfamiliar – like dim sum, or there was a horse race, or a dog parade, or the family went camping by a lake or on the beach, or there were racecars, or star-gazing, or gymnastics/dance/skating, or fishing, or picking berries and baking a pie, or watching/playing a ball game, or making Indian crafts, or growing a garden, or visiting a museum, etc.). If the story was about an artist, maybe the family would like to take an art class together? If it was about a nurse or fireman, perhaps the family would like to take a CPR class together or visit a hospital/firestation/police station? If it had a part in it about sailing on a boat (I’m thinking of Stewart Little) – maybe find a nearby sailing regatta to attend?
» If the book was a spy book, we could send the child on a spy adventure. Give them a pen and notebook and camera and let them do some detective work to see and report back on what the family cat does all day, or who mows the lawns in the neighborhood and on what days, or what time the mailman delivers the mail each day and how much of that mail is advertisements (junk). We could reward them with a puzzle book and some fancy mechanical pencils.
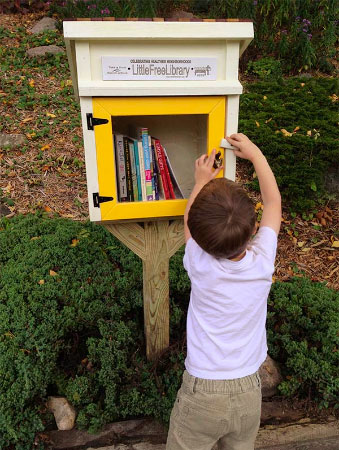
» Does your town have a few Little Free Libraries tucked away here and there in various neighborhoods or public parks near you? The kids might enjoy making a habit of taking their unwanted books and trading them or donating them to a Little Free Library. Sometimes if there is a bench nearby one of these Little Free Libraries, its fun to just sit and look through some of the books rather than take them.
» Pin a world map on the wall and locate where the stories take place. Then rent a travel video of the places and watch it together. Or pin-up a history timeline and locate the time period when the stories each took place. And then find what other things were happening in the world during that time, or how things are done differently now than they were then. We could visit an antique store, or spend a morning going to yard sales and trying to find knick-knacks or dress-up clothing from that time period that they kids could use to create their own backyard play with.
» Allow our kids to change their mind about a book, and move on to something else if it is boring or too difficult to get into.
» Maybe comic books are your kid’s thing!
» Perhaps a children’s Bible Study is right up their alley. The Quest by Beth Moore is one suggestion, and Kay Arthur has written some as well.
» Maybe our whole family would love listening to an audio book to pass the long miles of a road trip vacation? Take along a sketch book so they can doodle while we all listen, or take along a craft (needlepoint, crochet, knitting, weaving, whittling, yarn and finger games like Cats-eye, bead necklaces, friendship bracelets, tying flies, kenetic sand, playing solitaire on an i-pad, or watching out the window to spot eye-spies on a checklist/scavenger hunt) that can be done on one’s lap while listening. Or encourage the kids to make up a story to tell to all of us using story cards (like Tell Tale, Story War –included here only for a suggestion on how to play such a game, or Create-a-Story Board).
» We could give the kids an opportunity to write their own stories, and make their own books, with homemade book covers (cloth/scrapbooking paper/wall paper samples and cardboard), let them take and add pictures, or draw illustrations. Help them to make a rough draft, use some of the new vocabulary words they’ve learned, do some editing, and then re-write it in their very best handwriting. The books, if they are very well done, would make great gifts for grandparents at Christmastime, or a great gift for their teachers at Back-to-School night in the fall, or just to keep as a keepsake in their baby books forever.
Okay, well, I guess that’s all I’ve got for us for now. I hope I’m not coming across as a know-it-all. Far be it for me to tell anyone else what to do when I don’t even have it figured out for myself yet. Just gathering my research into one place, and sharing it with the hopes that you feel as encouraged and empowered as I do now to foster a love of reading in our precious kiddos over the summer, and hopefully for the rest of their lives! God richely bless you!!!!!
“Train up a child in the way he should go, and when he old he will not depart from it.” Proverbs 22:6


 Penguin Rice Crispy Treats
 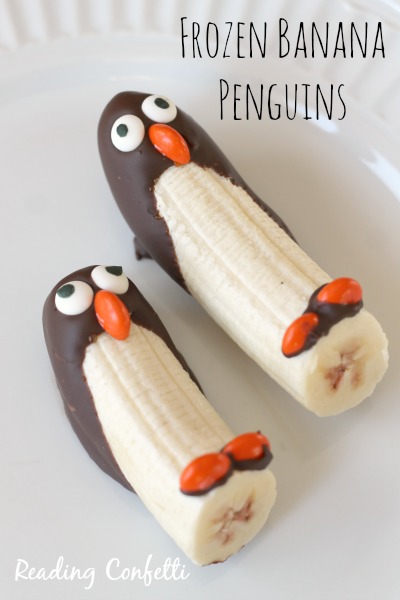 Penguin Banana Snacks
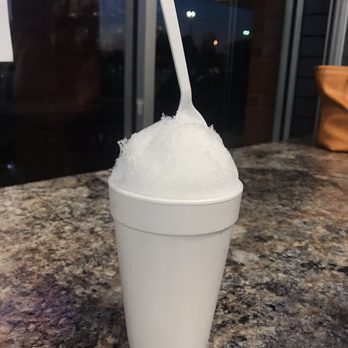 Snowcones in a cup – our little school happens to have a snowcone machine – hurray!!!!


 I was given the opportunity recently to make a bunch of tissue paper flowers for a school project. I had so much fun with it honestly, and thought, these sure would make a beautiful decoration, or they could be used for head garlands (as pictured here) which are pretty popular in Texas, or Homecoming Mums (another Texas thing), or to decorate Derby hats, or for a garden tea party, or luau, or
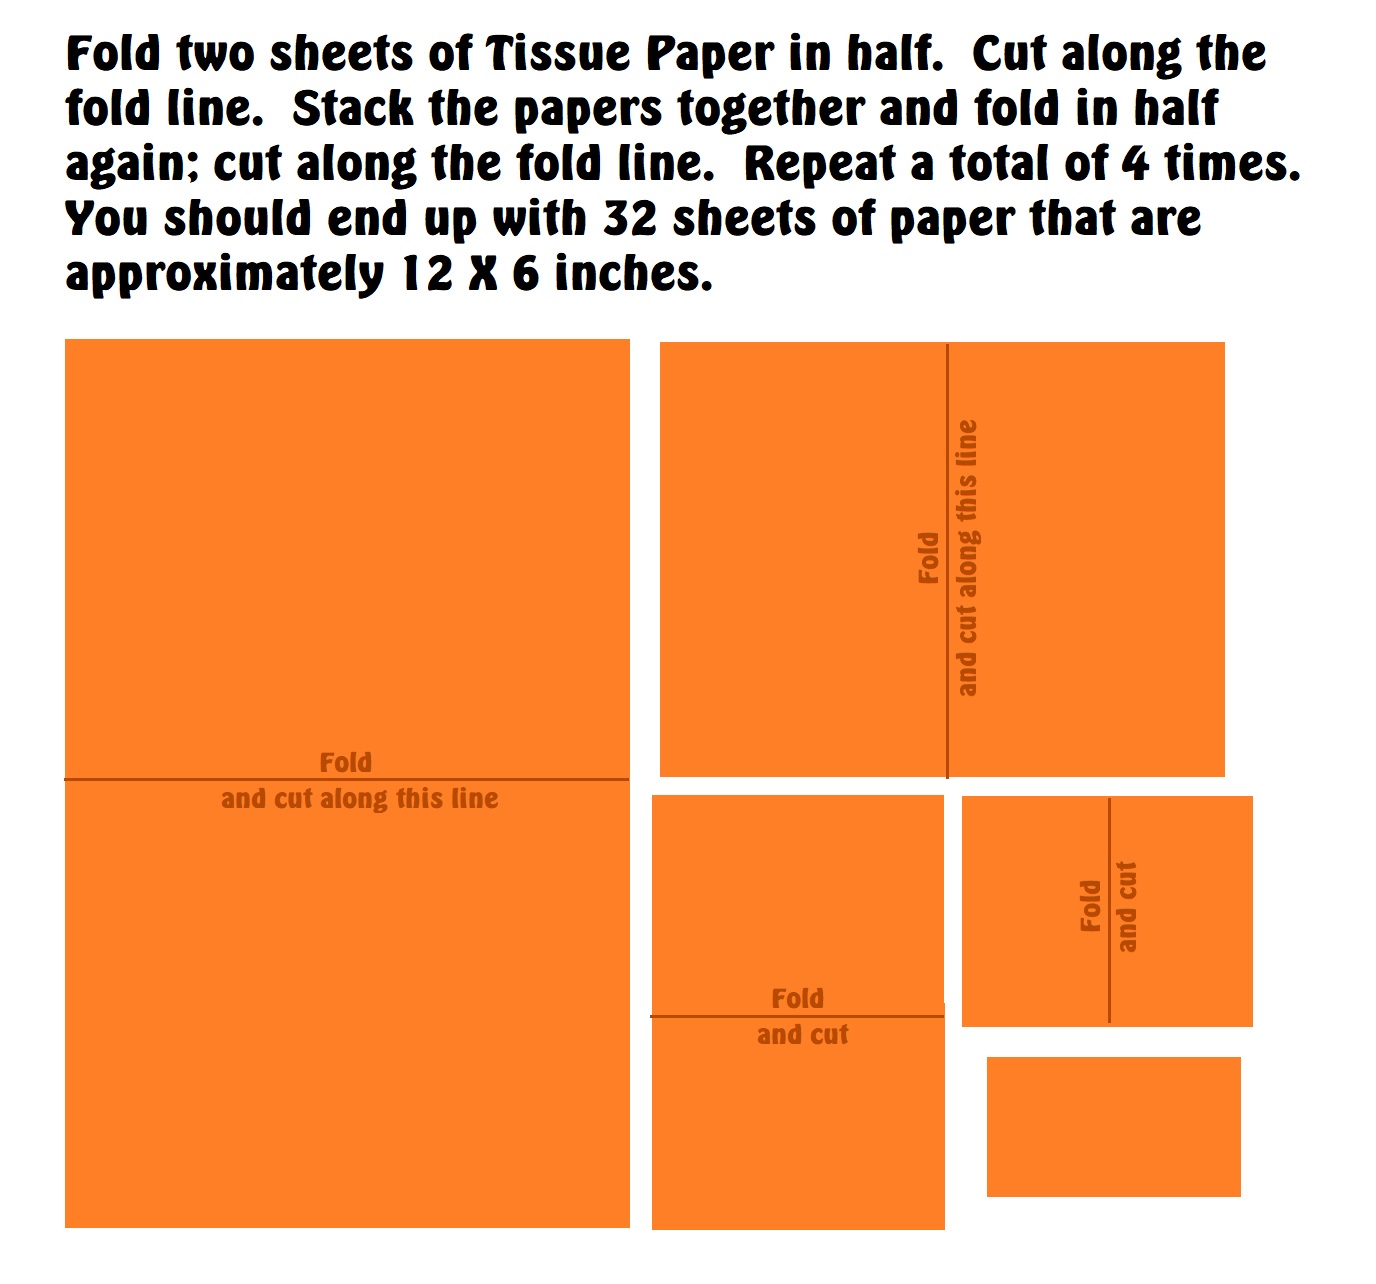

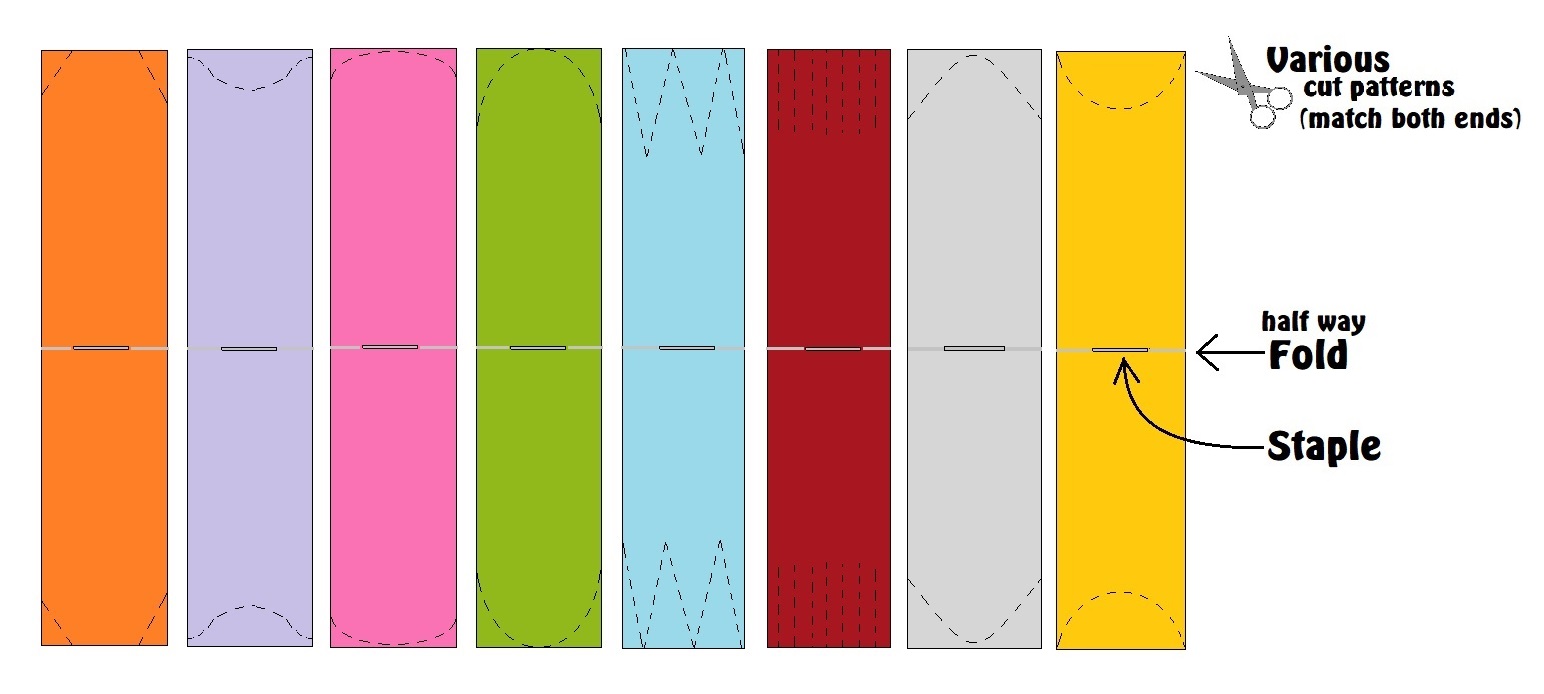

 The center pom kind of makes a flower that looks like a cactus flower. You can do the same sort of thing with green tissue going out the bottom to look like the bud part of the bloom (just cut it with deep zig zags instead of the fringe). You can also experiment with various cuts, and you can also layer two colors of tissue together to make more interesting options. Here are some samples of the flowers I made. They turned out soooooo pretty?
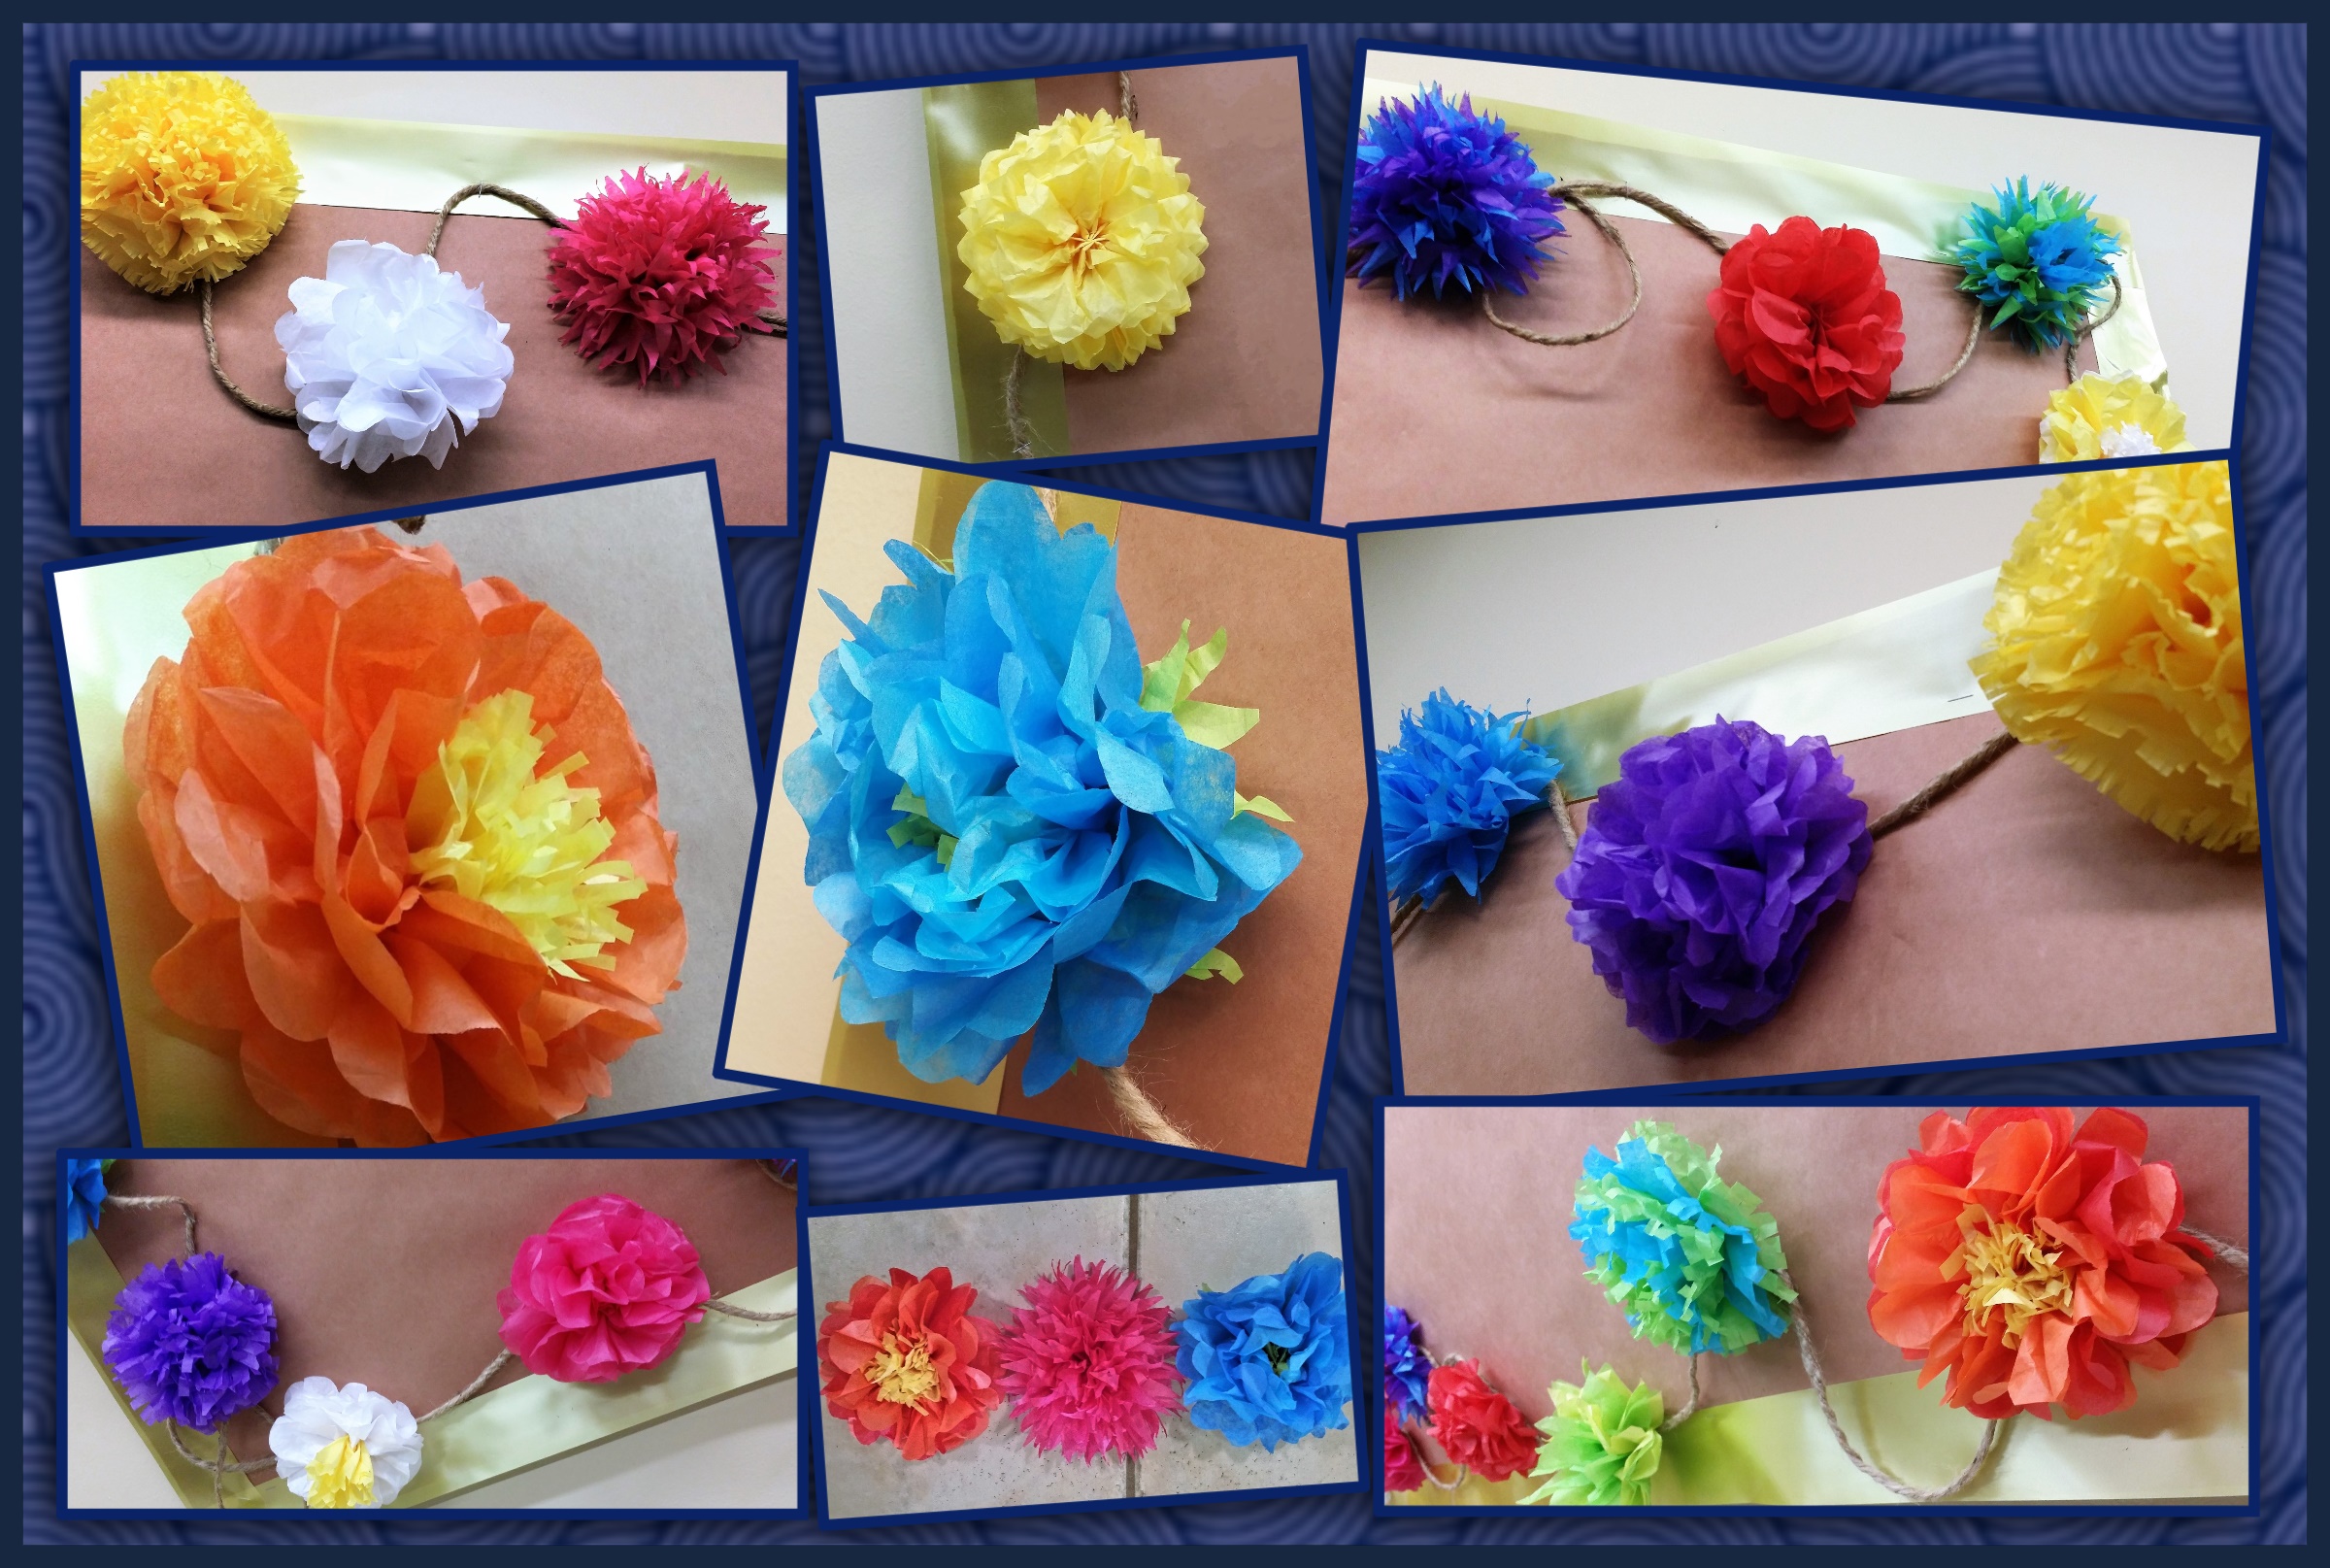


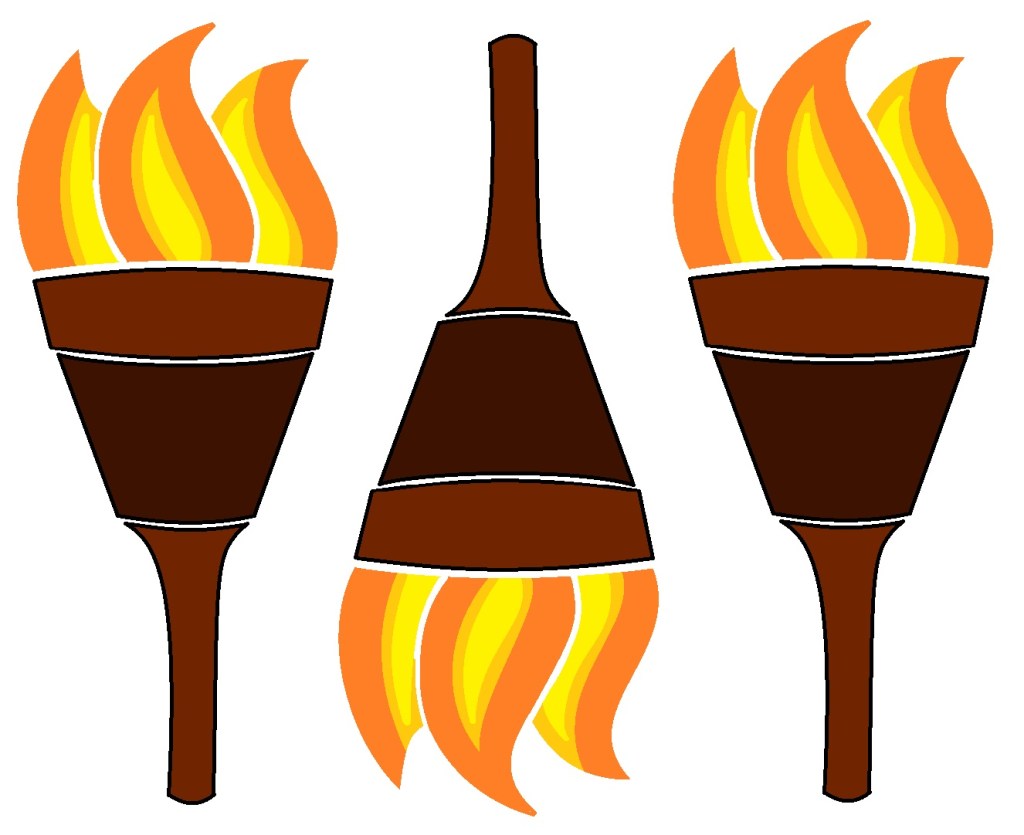


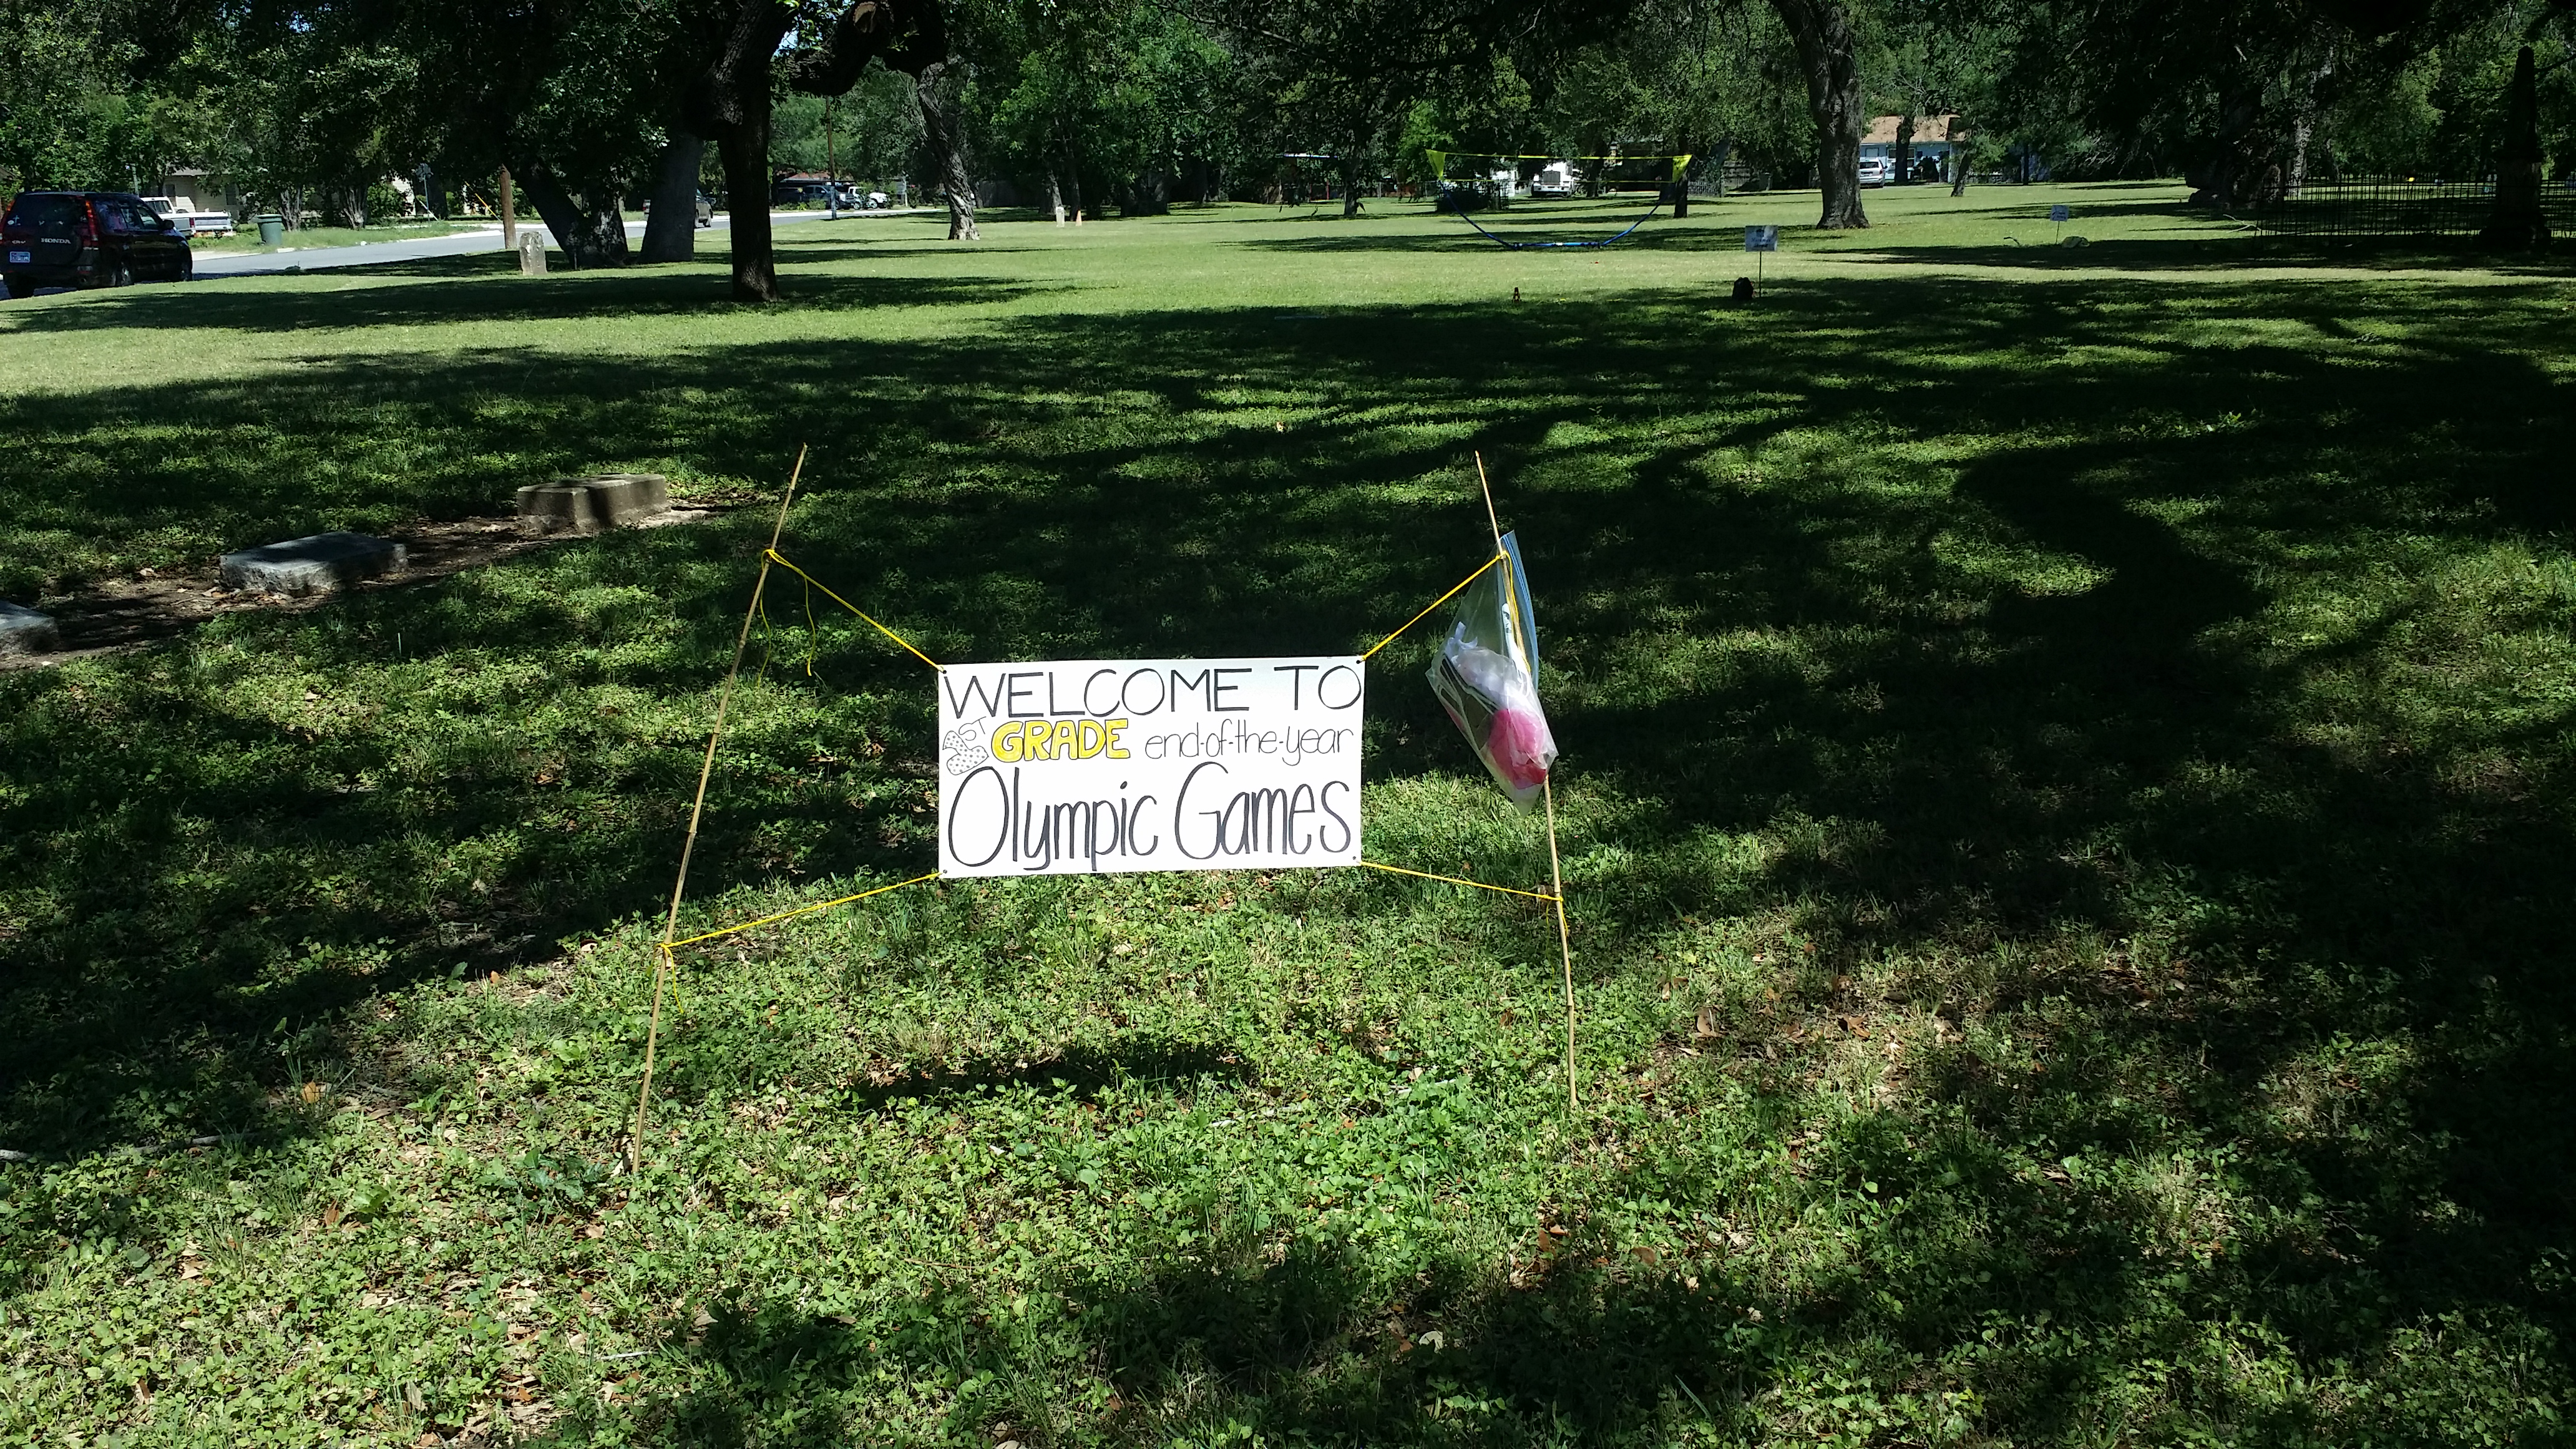


 Summer’s comin’! Are you ready? This was another bulletin board I dreamed up for my grandkid’s school.


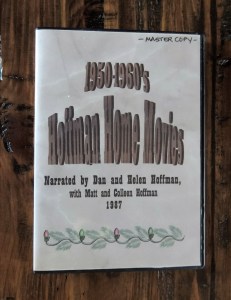 Something our family DOES have, and I can tell you is an enormous treasure, is a compilation of my husband’s folks old home movies that they took on an old 8mm recorder. They had the movies transferred to VHS when that was the most modern thing, and gave us a copy. But as hubby and I were watching these silent movies, we realized that much of those people and places were unknown to us. So the next time his parents visited us we asked them to sit down and watch it with us and tell us where all those places were and who the people are. I set up a cassette recorder to record their narration. Many years later I took the old silent VHS and the narration on the cassettes and put them together on DVD. Then I made several copies and gave them as Christmas gifts for our family. It was the very next Christmas after grandpa had died and you can’t image what a treasure it was to the whole
  family to get to hear grandpa’s voice again, and laugh at his sense of humor, especially since the family had no idea we’d ever gotten that sound tract.
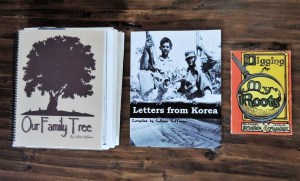 My husband’s dad served in Korea, and wrote letters home to his parents a couple times a week. We found the letters a while back, along with a bunch of pictures he took while in boot camp and on the front lines. We also were fortunate to get to inherit his army coat, a hat, and medals, maps, and various other personal objects from the war, along with the flag that was presented to the family at his funeral, and the bullet casings from the 21 gun salute. Altogether the letters and photos, and photos of the objects made a wonderful book that is and shall forever be a cherished keepsake for generations.
 get her recipe! Get ALL her recipes, and make them into a cookbook. My husband’s family actually collected recipes from everyone in the family one year and made a family cookbook for all of us. We all contributed, and we all paid for our own copies of the book, and it is very much a prized possession of mine to this day. Each person that contributed recipes also told a story to go with it, like if it was the first meal they made for their husband, or if it was their mother’s favorite thing that they made, etc.
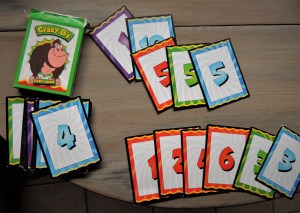
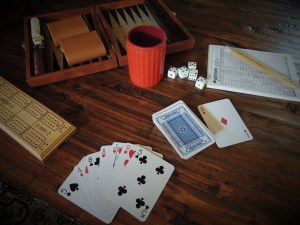 favorite game to play, and if he could beat her he felt like it was a real accomplishment. Grandma was apparently very good at Yatzee. My grandma liked to play cards, and her game of choice to play with us kids was Rummy. She also showed us how to play Solitaire and let us play at the table while she cooked and baked. I also remember making card houses in the living room, using the carpet to help hold the cards in place. My sisters and I made elaborate card houses, some more fragile than others. Does your grandma or grandpa have a favorite game they like to play. Ask if you can come play it with them one afternoon. Or, take them to play Bingo, or Pinochle or Bridge at the Senior Center, dominoes, Cribbage, or take them bowling, or to play miniature golf, or darts. You might find out they’re pretty darn good at it.