Grandma strikes again!
Have I mentioned lately how blessed I am to have grandchildren? Better still, to have grandchildren living in the same town. I’m telling you…life just doesn’t get any better. The good LORD sure knew what He was doing when He created grandchildren. And mine are such happy, fun-loving creatures, my cup runneth over.
❤
Well, once again, I was invited, by my oldest granddaughter’s teacher, to throw a party for their history class. Not only was I thrilled to get to do it, but in sharing the details with you I’m getting to relive all the best moments. I was disappointed though, that I was given such short notice I barely had time to gather my thoughts let alone make authentic foods, so we had to improvise on most of it. But don’t worry, if you dropped by for recipes and party ideas I have all of that information below, and hopefully next time I’ll get a little more notice so I can make it all authentic – which is the thing that truly makes my tail wag.

–
What is a “Bring & Braai,” you may be asking? Well, basically it is what we in America would call a Backyard Barbeque (cook-out). In South Africa it is traditional for the guests to bring beverages, side dishes, snacks, and whatever meat they want to eat. The host is in charge of providing the backyard and doing all the grilling. It is such an integral part of South African culture that they even have an annual holiday to commemorate it. And, you know how Chevrolet used to have a little ditty in their commercials here in the States that went… “Baseball, Hotdogs, Apple Pie, and Chevrolet” to epitomize all things American? Well, in South Africa they had the same tiny tune but with these words: “Braaivleis, Rugby, Sunny Skies, and Chevrolet.” (Braai is short for Braaivleis, which in Afrikaans means “roasted meat”). Let me tell you, they are serious about their Braai!!!!

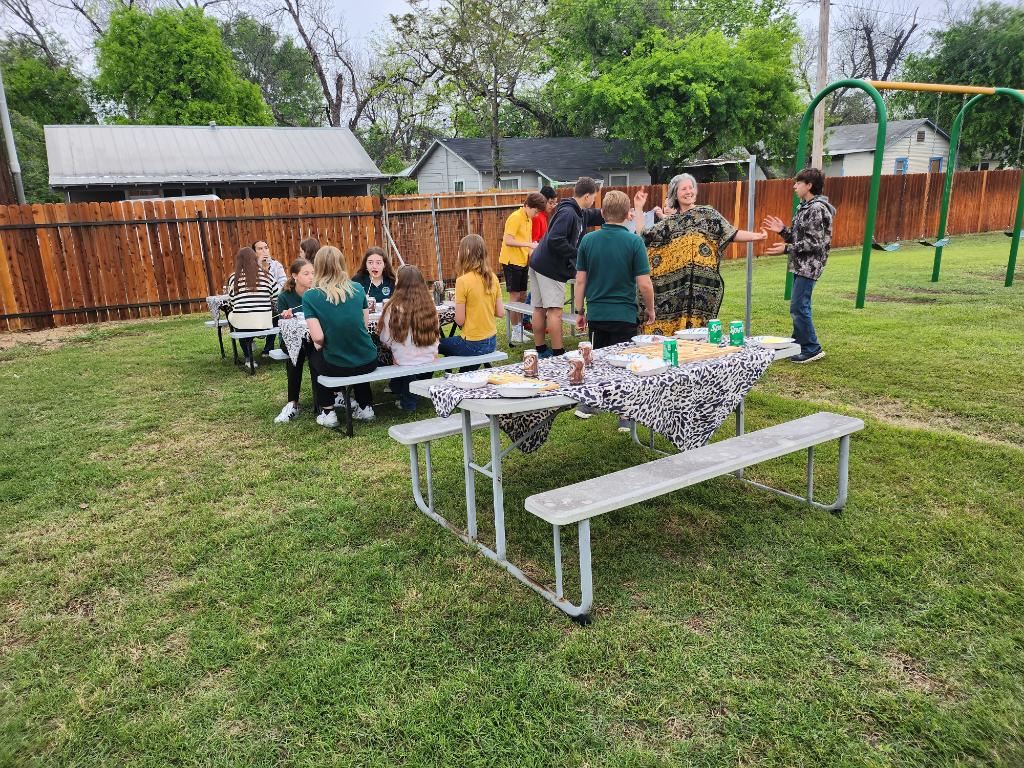
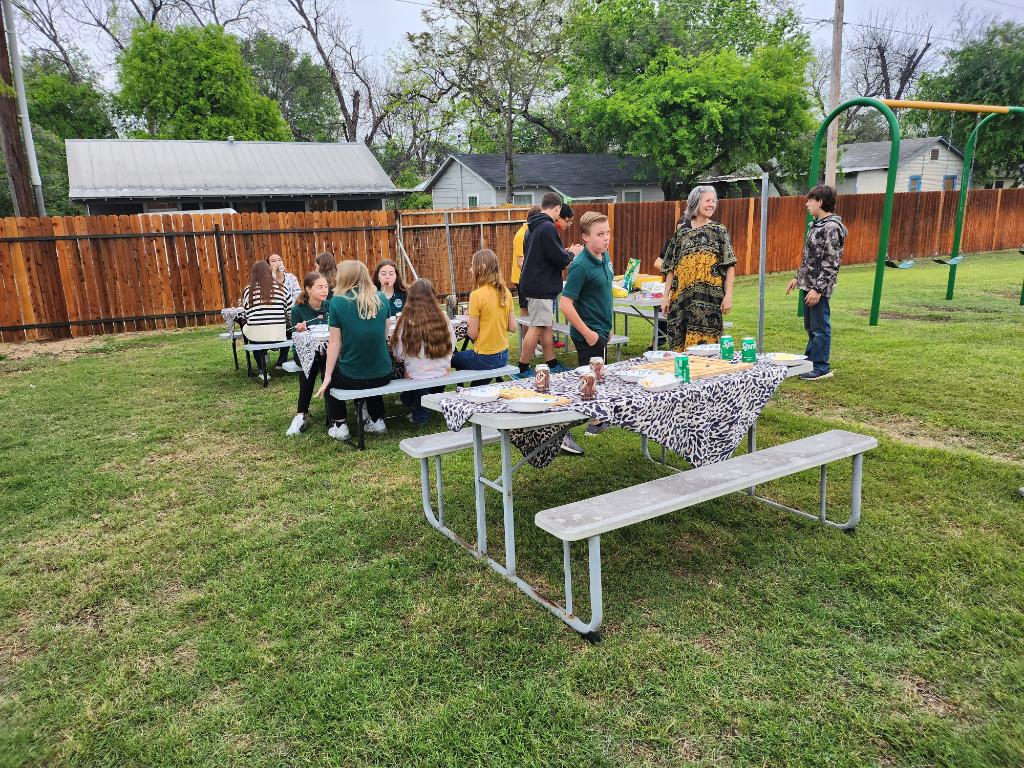
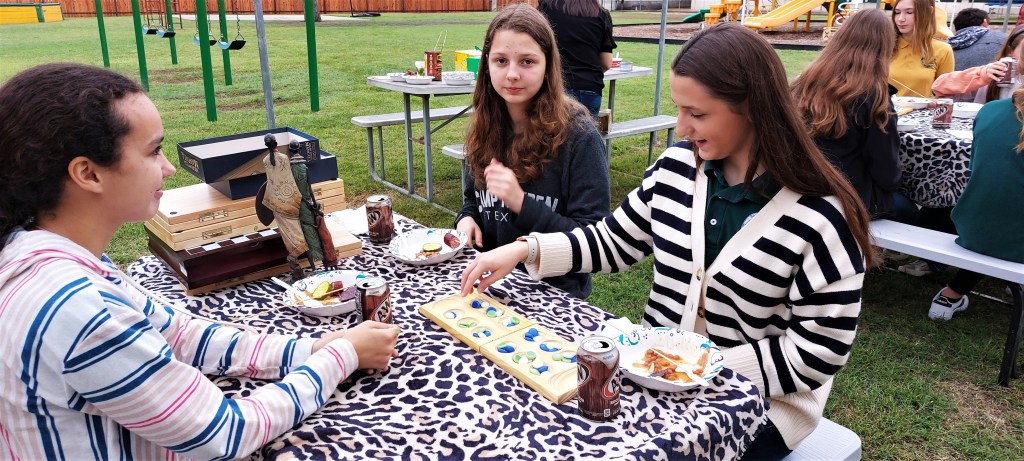
So, the students were learning about Colonial Africa 1750-1950, and to culminate their studies it seemed perfectly appropriate to celebrate with a “Bring & Braai.” We held our little shindig out on the back playground. I drug all the picnic tables over and set them together, covered them with animal print tablecloths, and put some African art objects as centerpieces. I set out Mancala games for each pair of students and set up my little Weber grill with charcoals (wood is preferred in South Africa but charcoals are an acceptable alternative). I put a Soweto Gospel Choir CD in the boom-box, tossed an African Dashiki Kaftan (dress) over my clothes, and gleefully welcomed my guests.


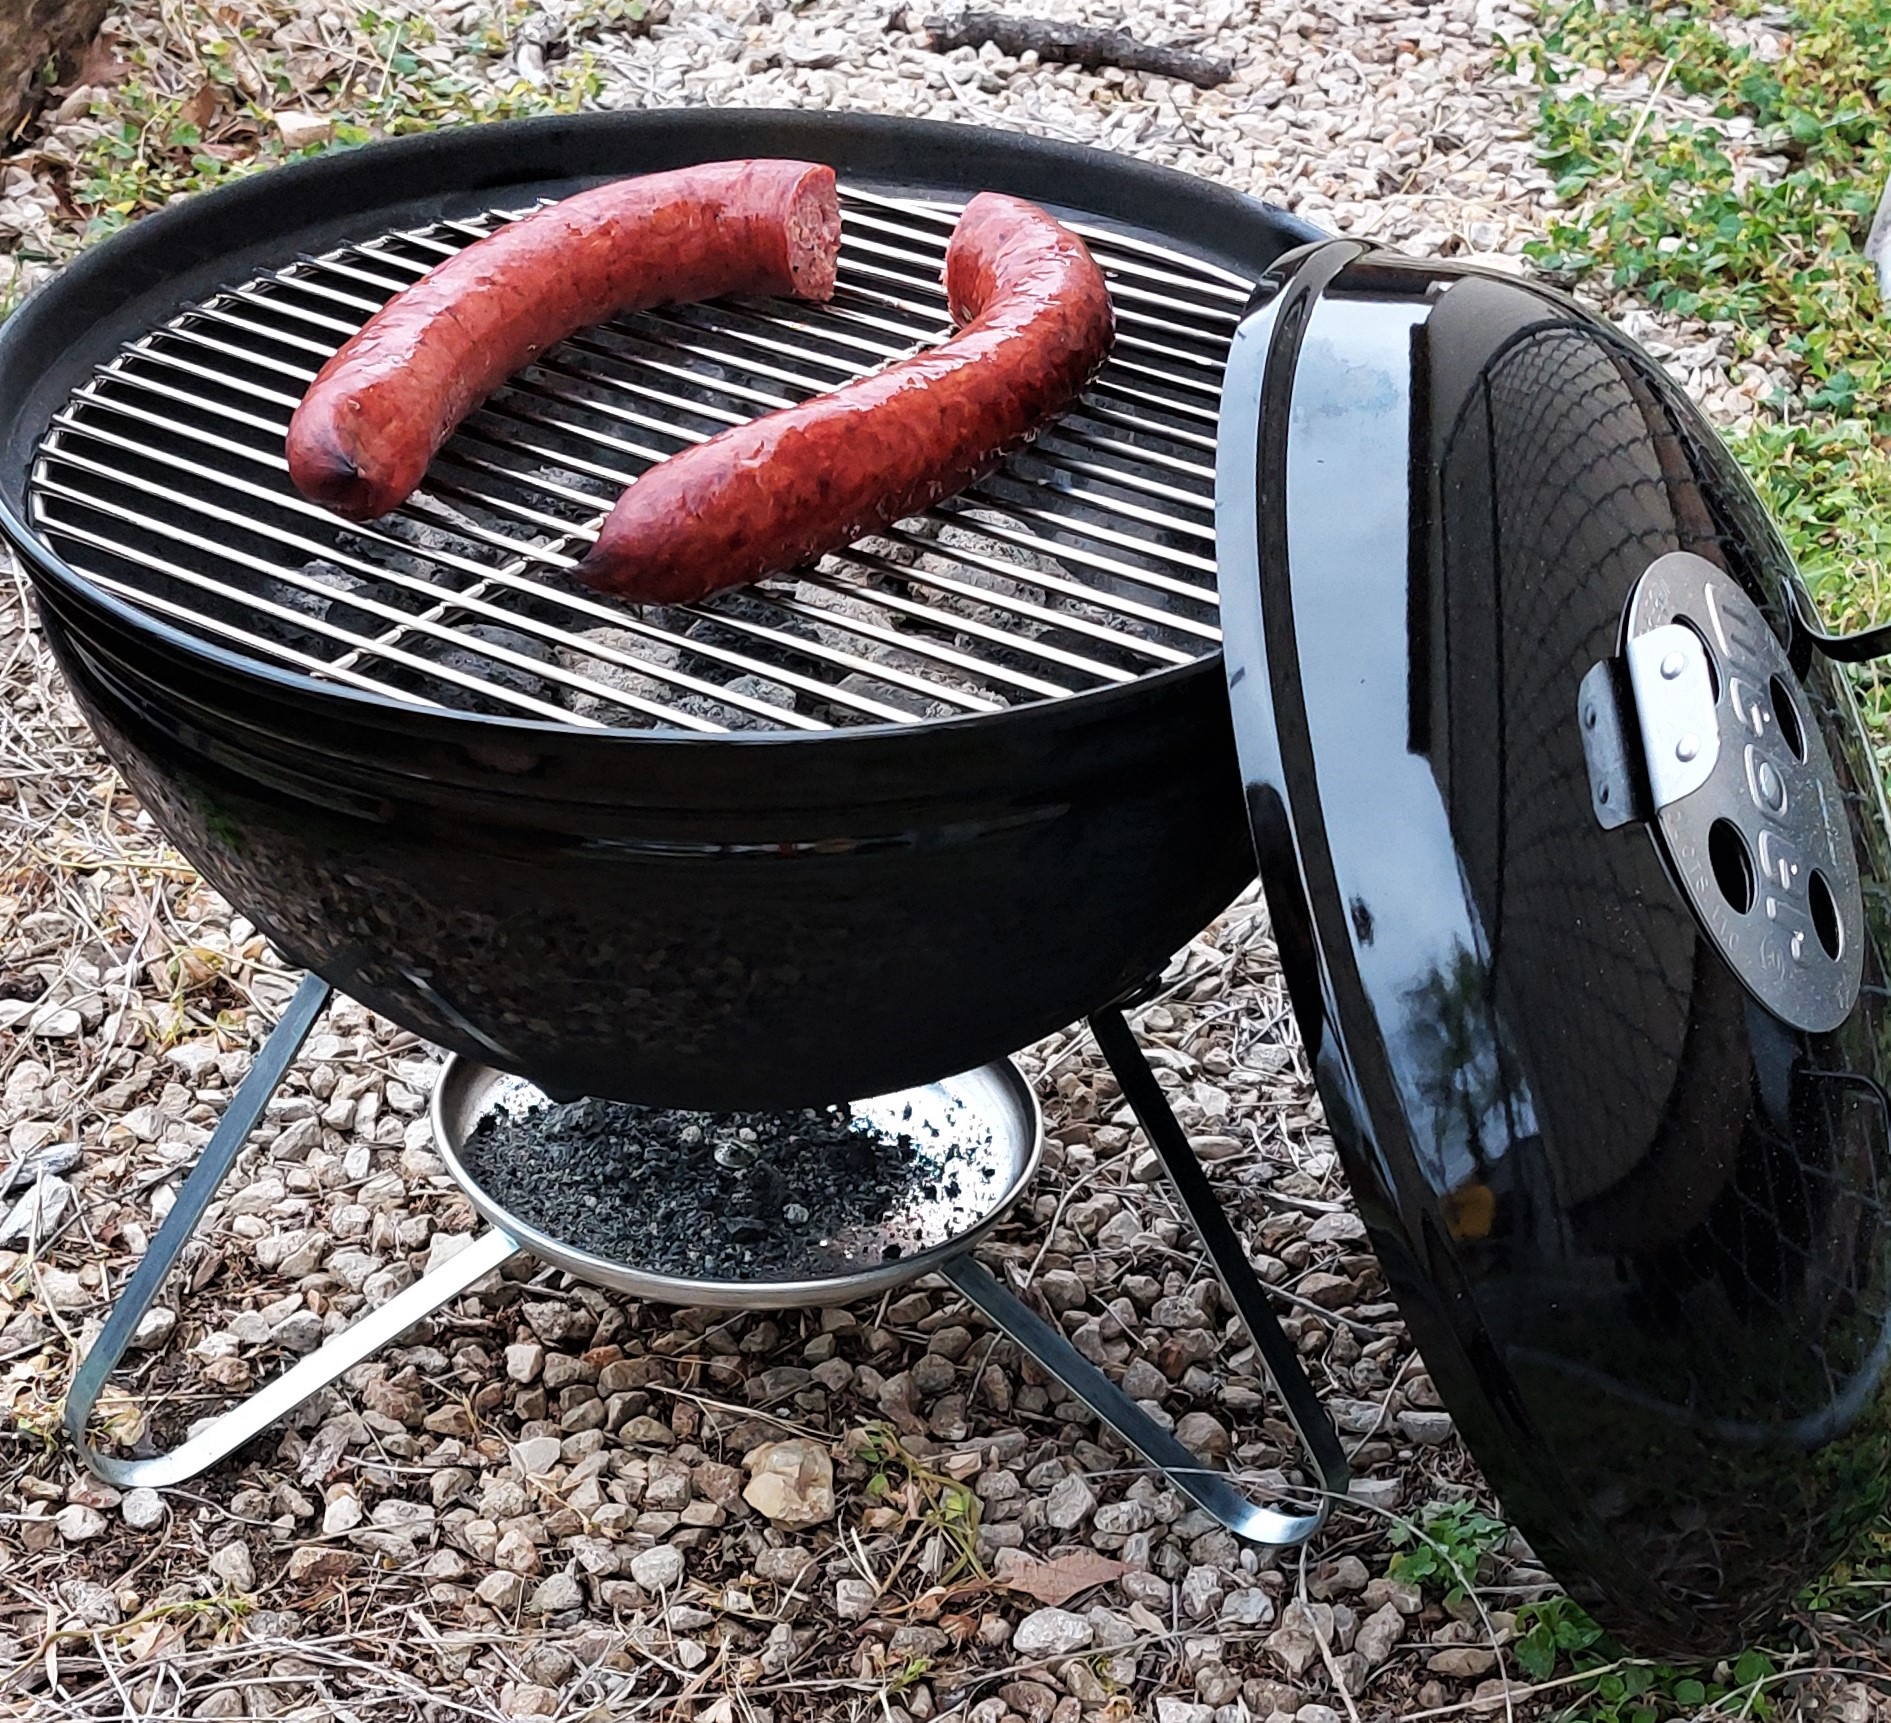
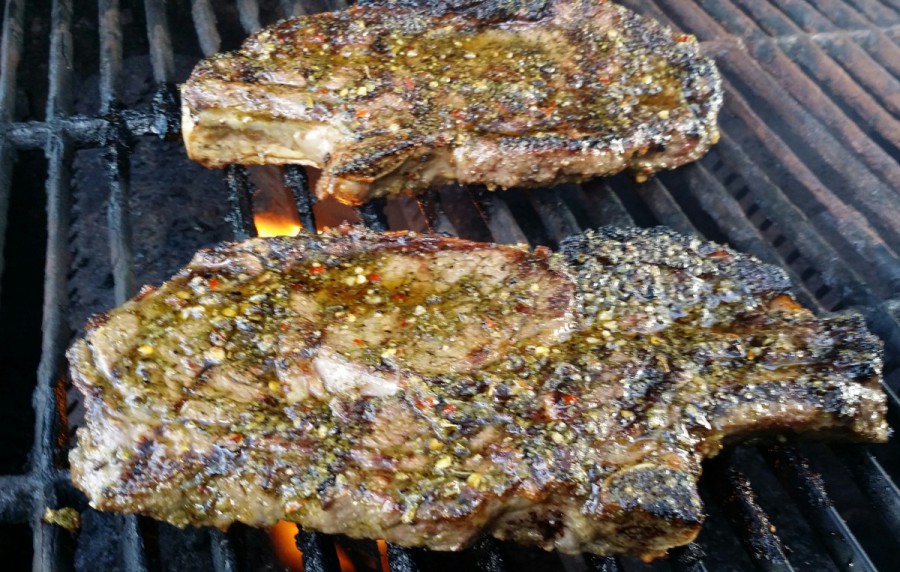
The students arrived with their foodstuffs in hand (chips and dips, sodas, etc.) and we set them out on the buffet table. I informed them a little bit about what a South African Bring and Braai is, and then I started my sausage braaiing (grilling). I explained that cooking the meat is always the man’s job but that in this case we had to improvise. In true Braai fashion, the women always gather in the kitchen to make the salads, sides, and snacks, while the men congregate around the grill and indulge in their manly chit chat. The only time a woman is allowed near the grill is to deliver snacks to the men and then be on her way back to the kitchen. (LOL!)
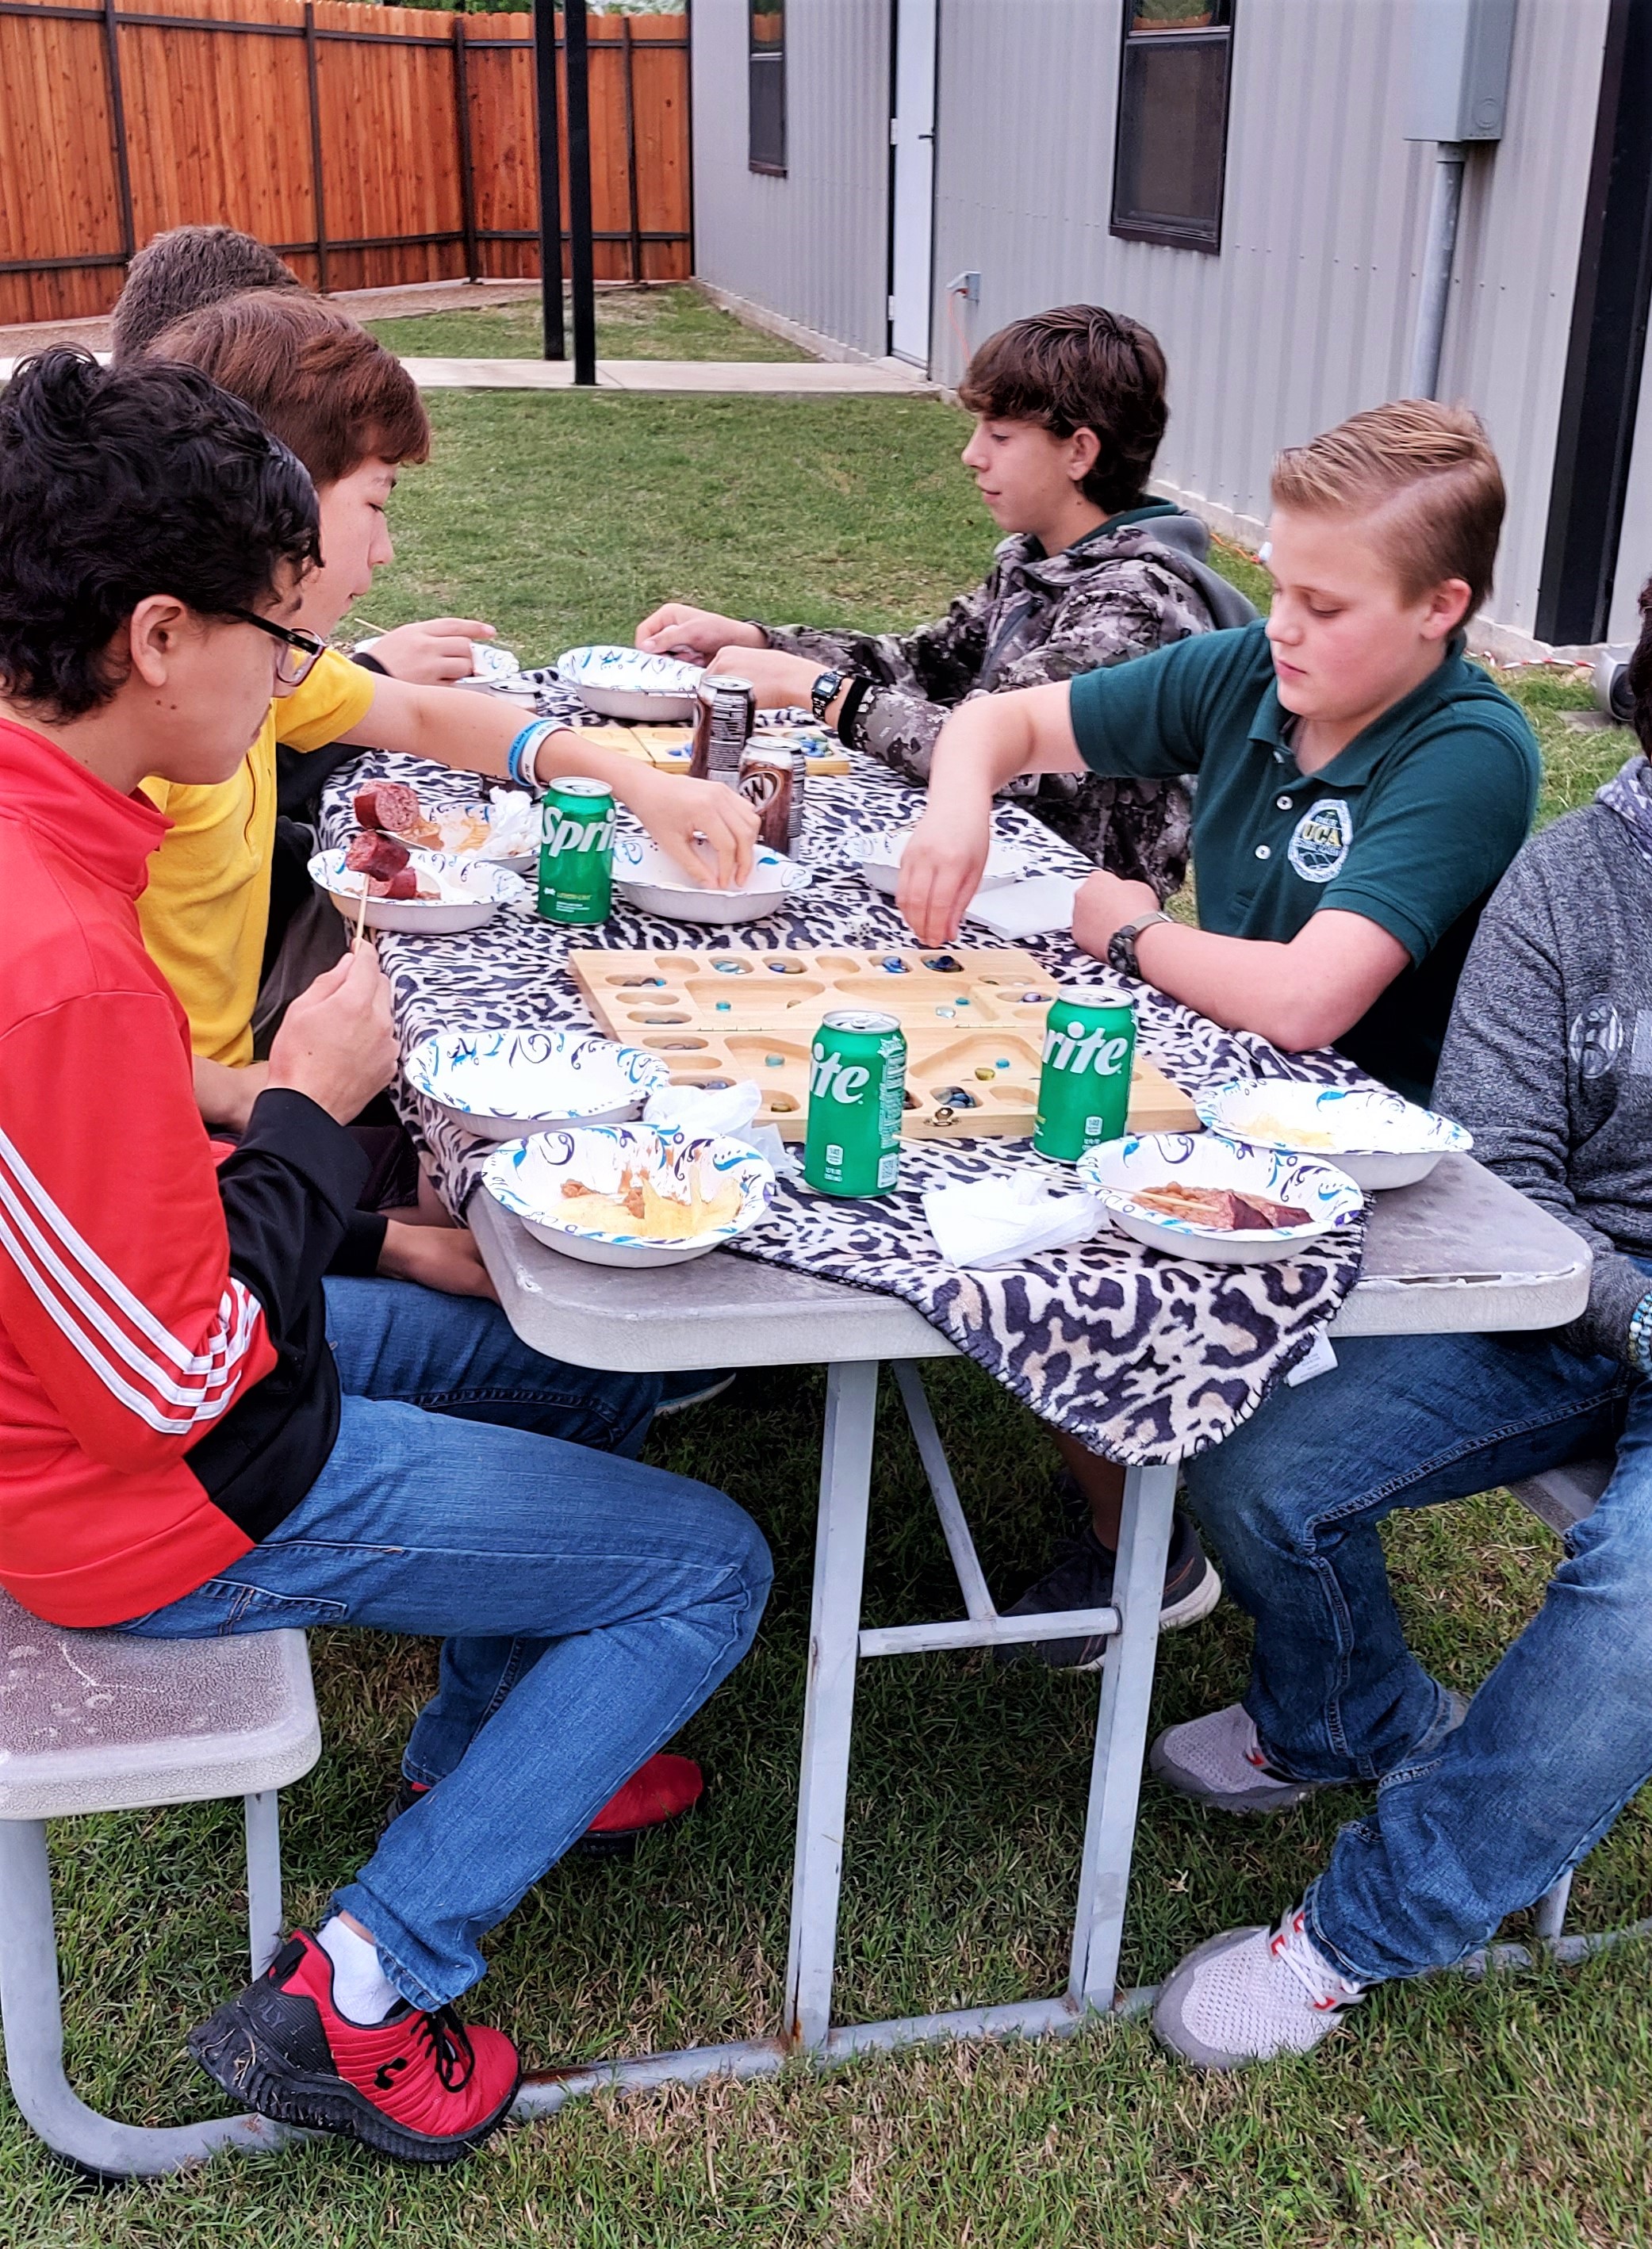

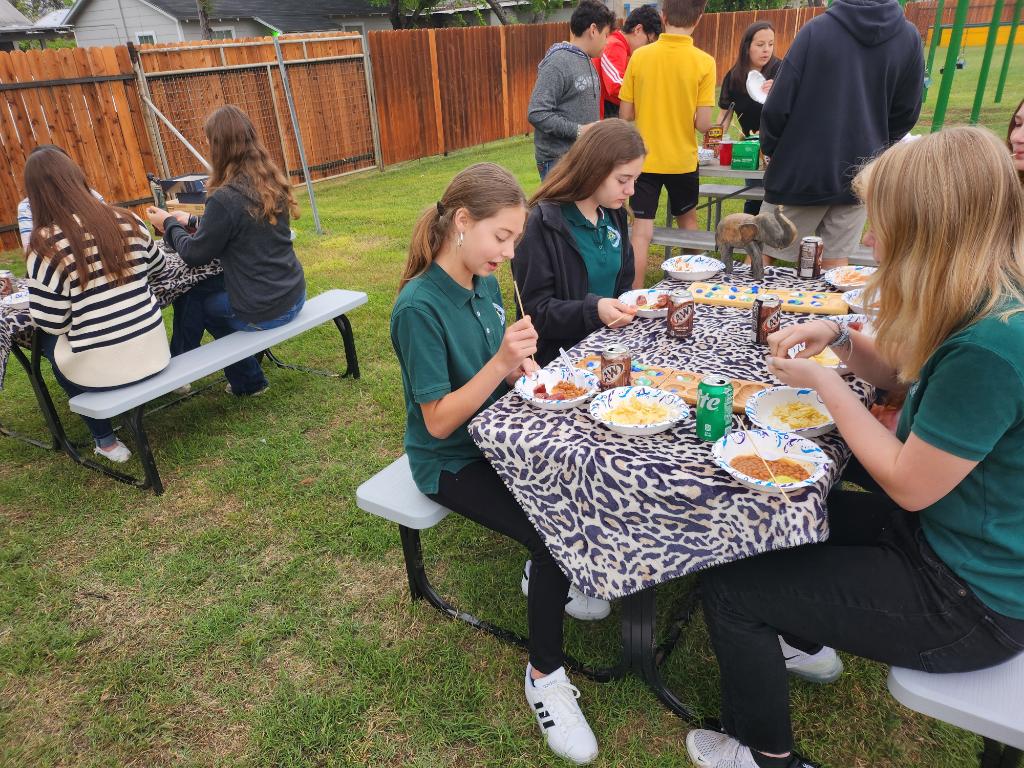


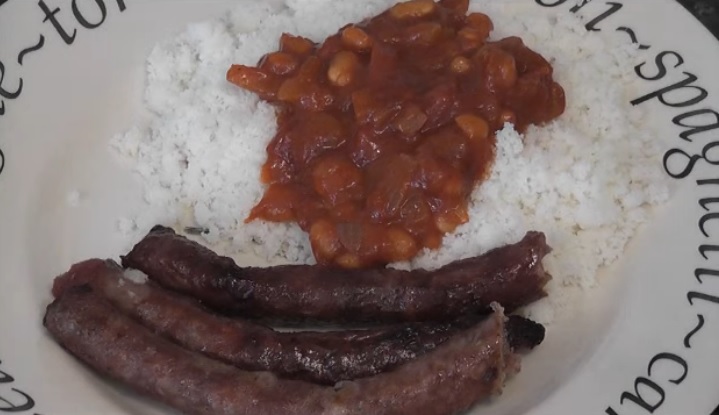
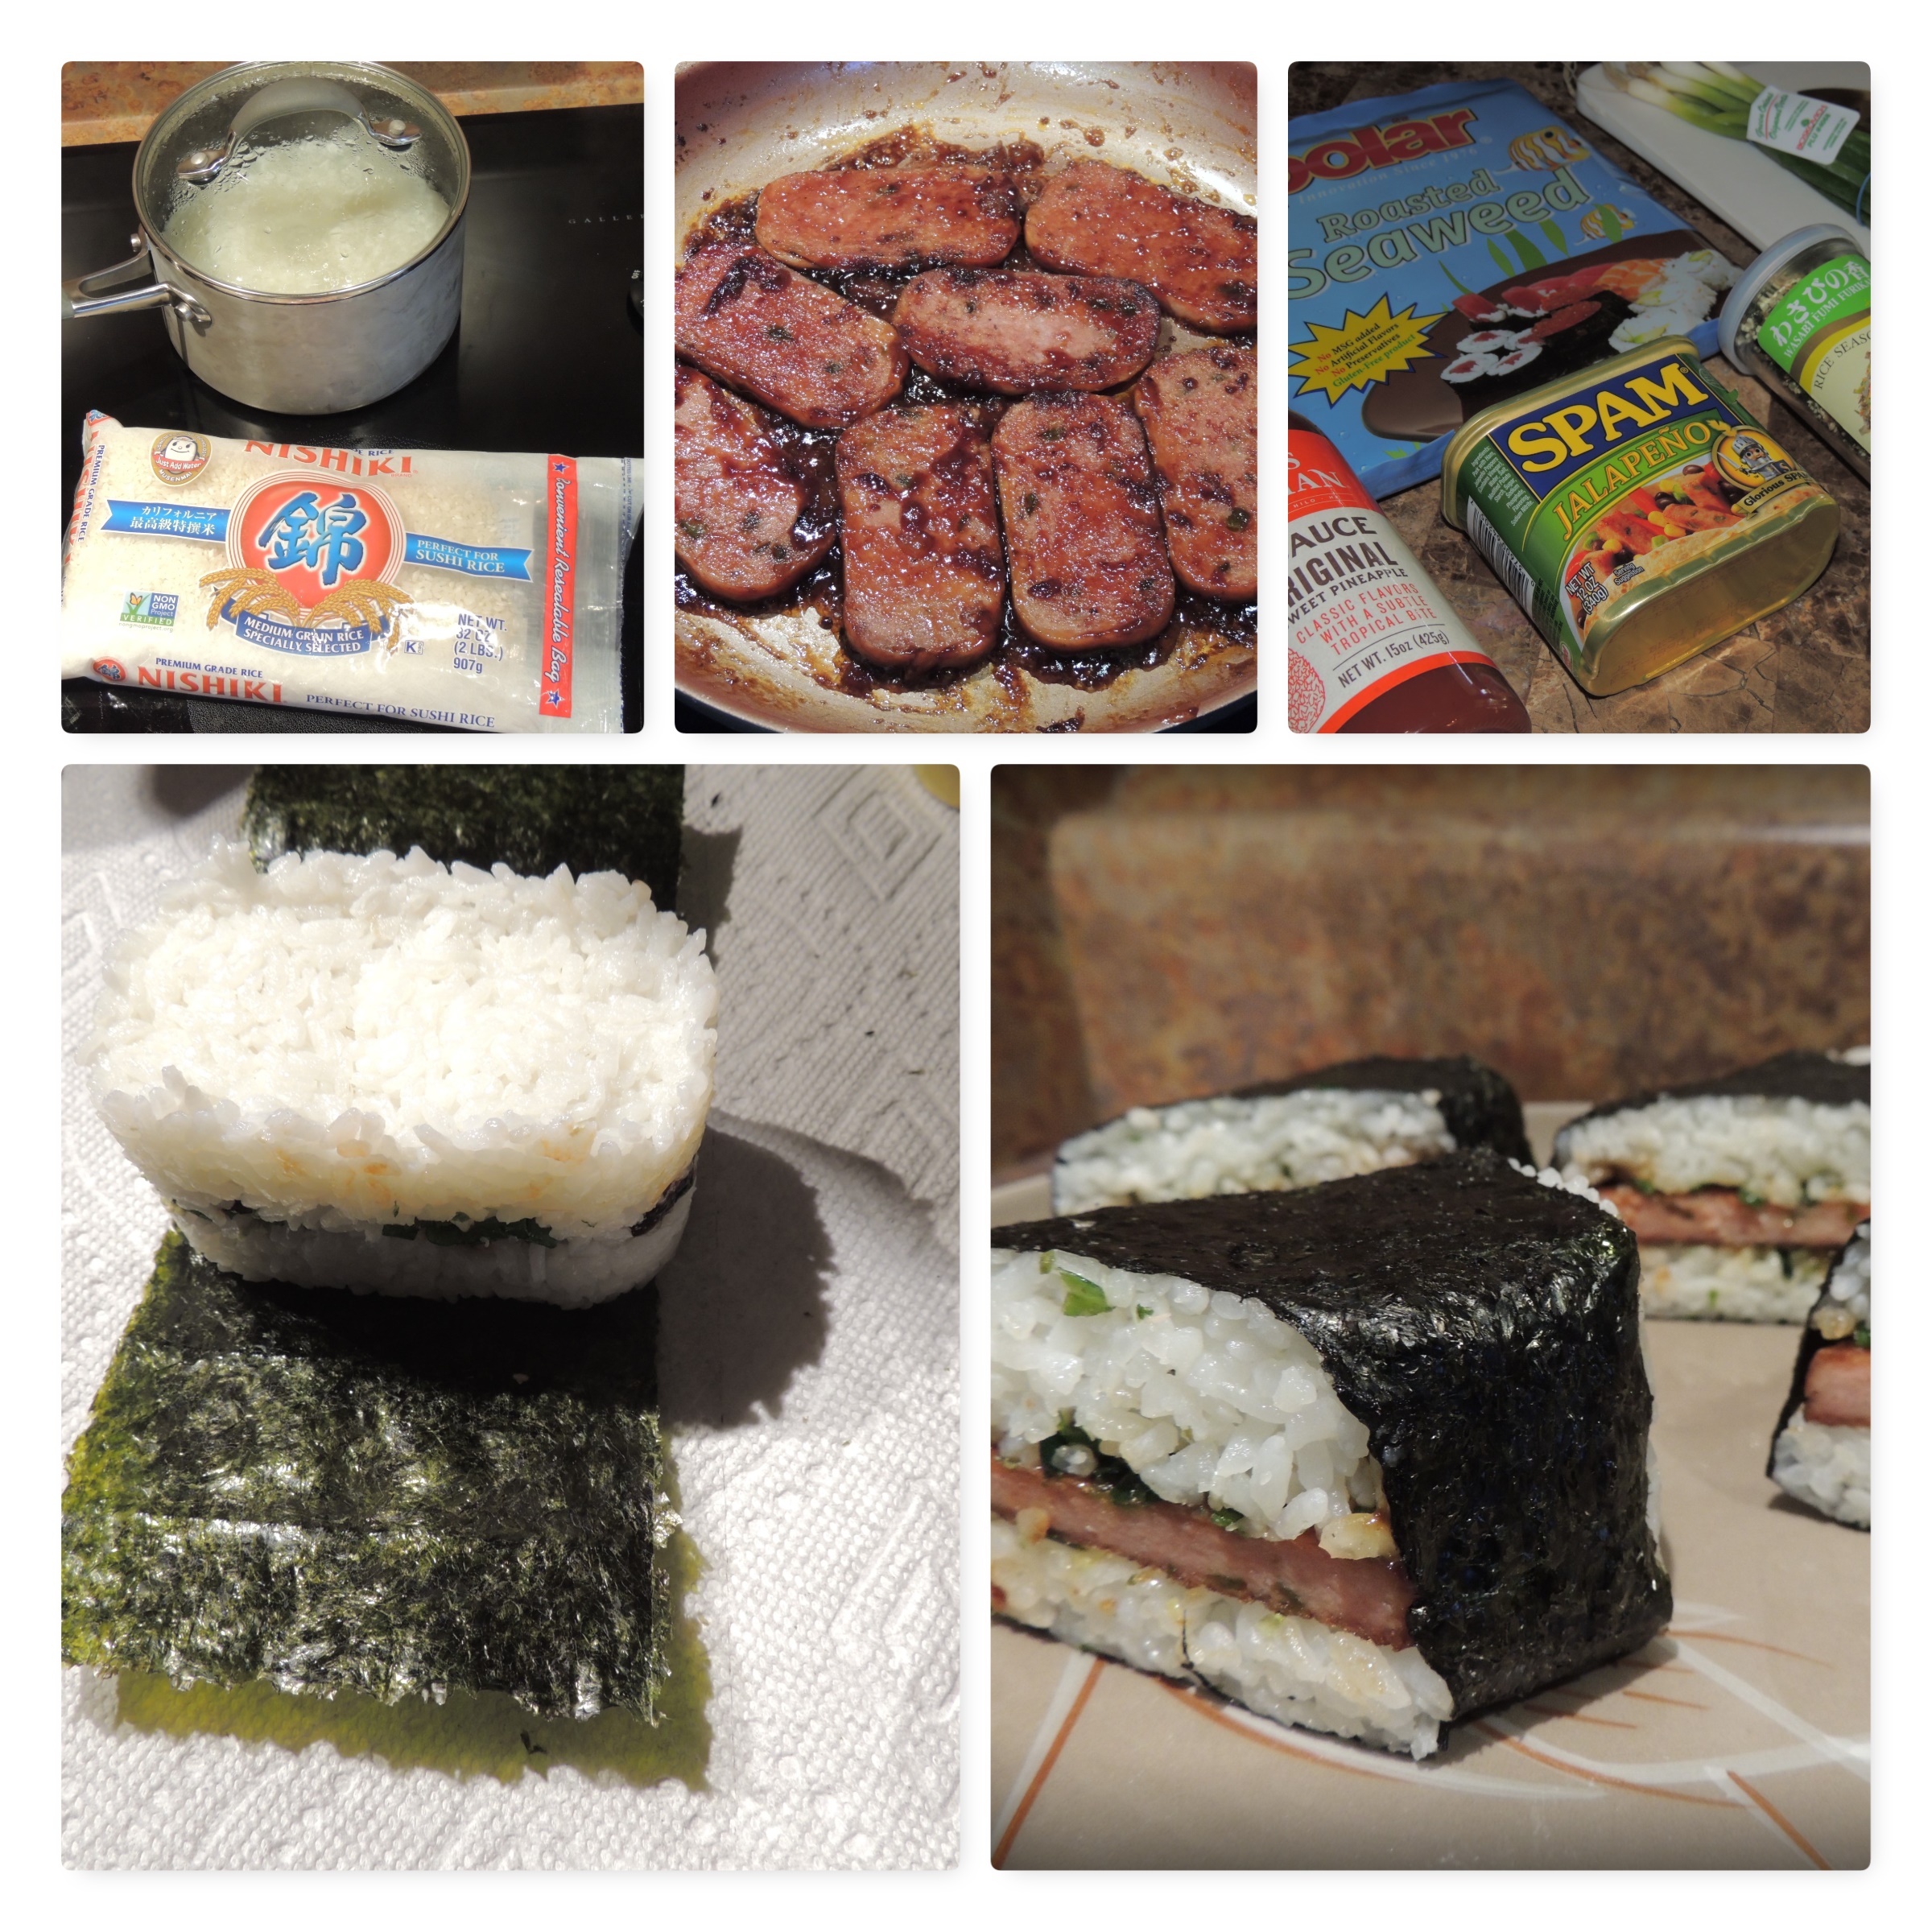
The three most popular elements to a traditional “Bring & Braai” are Boerewors (you’ll hear how to pronounce this in one of the You Tube videos I share below), Chakalaka (a sort of side dish/condiment, served warm or cold), and Pap (sort of like firm but creamy white grits, or crumbled white grits – “Krummel Pap“) served warm. I wanted to keep things simple, so the kids brought chips and dips, and soda pops, and I provided the sausage and “chakalaka” – Boom!!!!
Boerewors
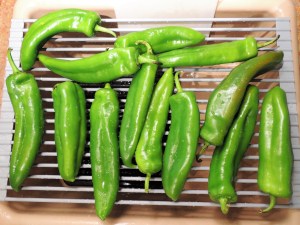
There are lots of foods that are popular in South Africa. Maybe you’ve heard of Peri-Peri Chicken? It is a spatchcocked chicken slathered in spicy Peri-Peri sauce and braaied on the grill. I’ve made it and it is delicious!!!! Check out this video to see how it’s done. A traditional Braai is all about the meat, and there is often quite a variety, especially when the guests are bringing their own.
Perhaps you’ve heard of other African foods, such as Bobotie? Or Bunny Chow? Or Potjiekos?
Well, today we are learning about Boerewors. I had to improvise on the sausages I made for our party because I didn’t have time to order the sausage making supplies and there was nowhere in my little town to find such a thing already made.
Boerewors translates as “farmer” (boer) “sausage” (wors). It is from the Dutch influence, is made into a long spiral shape, and is often skewered to keep it together while cooking and flipping.
To make your own Boerewors you’ll need a sausage maker. If you have a Kitchenaid, you can purchase the sausage maker attachment. Otherwise, there are several options on Amazon. I have an old fashioned hand crank meat grinder, so I decided to order the manual sausage stuffer along with a package of small batch home pack hog casings so I could try making it (for my next attempt at this party). You can also find the sausages for mail order, or perhaps you are fortunate to live near an African market or restaurant.
This video seemed like a good one to demonstrate to you how to make this sausage, also how to pronounce the name, and includes a good recipe.
Boerewors Recipe
Prep Time2 hours 40 minutes
Cook Time20 minutes
Total Time3 hours
Servings 12
Equipment 12″ wooden skewer, Sausage stuffer
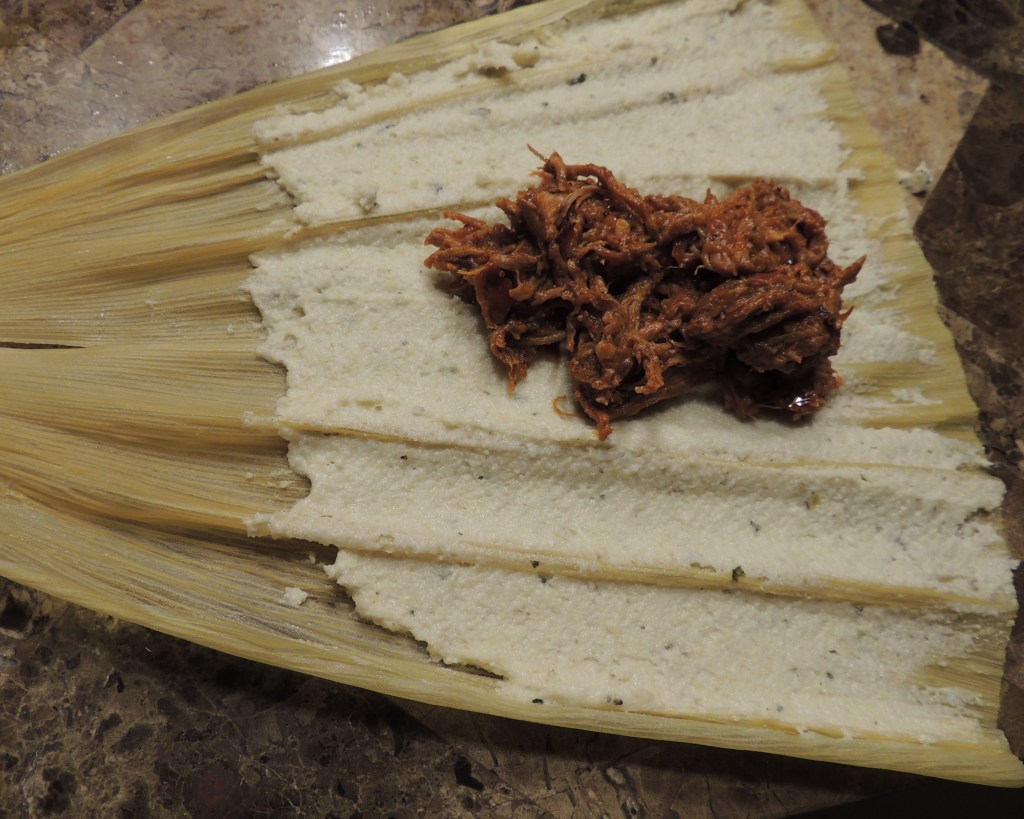
This iconic sausage blends ground beef with spices, wrapped in hog casings, before being cooked on a braai (or grill, as we would call it). It is left in the large spiral of one hog casing and not portioned into individual sizes. This sausage has a coarse texture, sort of like a Bratwurst or Kielbasa, and the use of coriander seeds and nutmeg gives the meat a unique flavor that’s enhanced by flame cooking. It is often served on a roll (a boerie roll, as it’s called) with a traditional sauce called chakalaka (see recipe below), a topping made of tomato, carrot, onion, beans, and spices.
INGREDIENTS
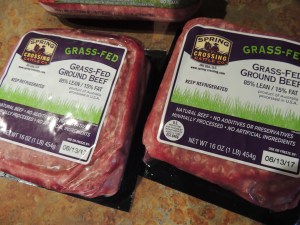
3 lbs ground beef
2 lbs ground pork
1 lbs ground pork fat
10 tsp whole coriander seeds
2 tbsp allspice
1 tbsp salt
1 tbsp ground black pepper
½ tsp ground cloves
½ tsp ground nutmeg
¼ cup malt vinegar
⅛ cup Worcestershire sauce
7 oz natural sausage casings (pork)
INSTRUCTIONS
Meat Mixture
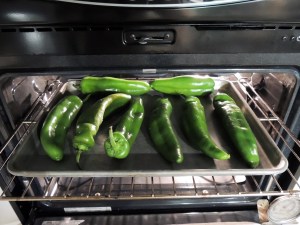
Add the coriander to a dry frying pan set over medium heat and toast until aromatic. Keep an eye on it to make sure it doesn’t burn.
Place the toasted coriander seeds into a spice grinder, or pestle and mortar, and grind into a fine powder. Mix the other spices, salt and pepper into the ground coriander.
In a large bowl, use your hands to work together the ground beef, pork, pork fat, vinegar, Worcestershire sauce, and then mix the spices in until well combined.
Cover the meat and spice mixture with plastic wrap, and place in the refrigerator for at least two hours.
Once the meat has rested, pipe the mixture into the casing, making sure not to overstuff. If using a sausage stuffer, be sure to follow the manufacturer’s instructions.
You can either shape the sausage the traditional way, keeping it long and wrapping into a spiral, or you can form individual sausage links, 6” long.
GRILLING INSTRUCTIONS
When ready to cook, bring your grill to 350°F (180°C).
Insert 12” wood skewer through the center of boerewors from one side to the other. This will help hold it together and make it easier to flip over during cooking. Or, you can place the sausage in a grill basket.
Once the grill is at temperature, place boerewors on grill grates. Cook the sausage gently so that the casing doesn’t split or burn before the filling is fully cooked. Grill for 5-8minutes per side, until sausage internal temperature is 160°F (71°C)
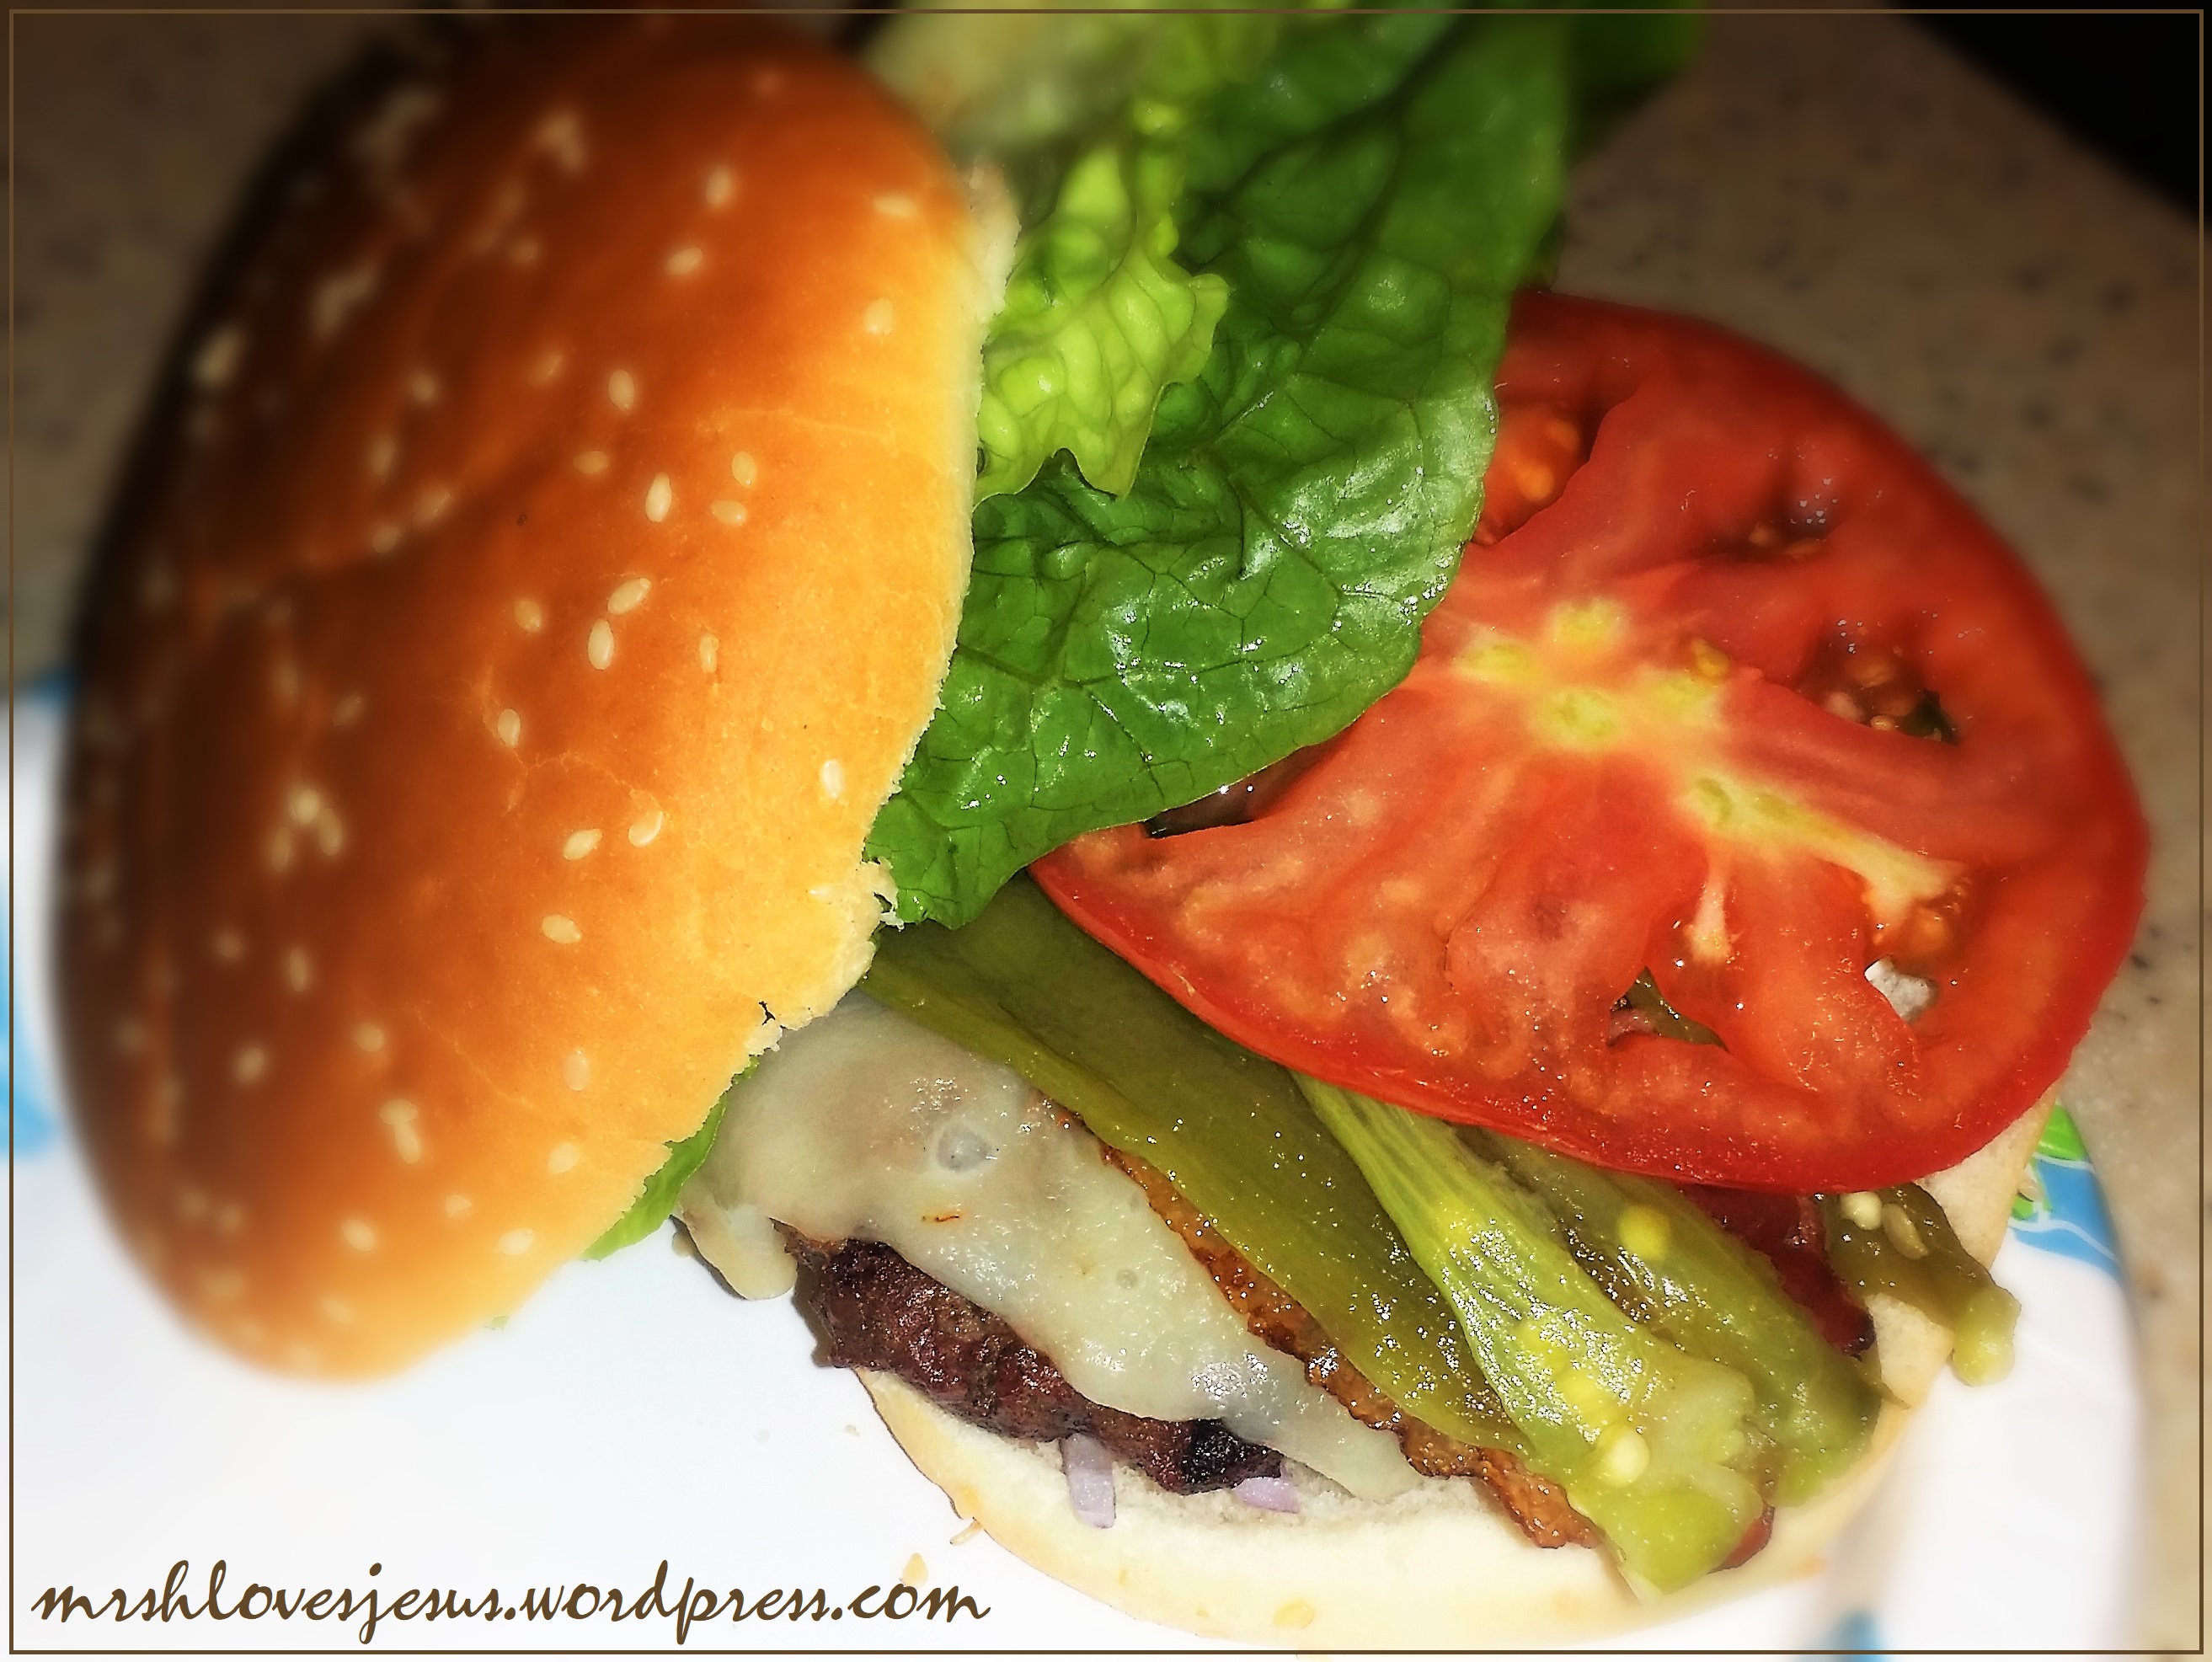
Remove boerewors from grill. Slice to serve and enjoy with or without a bun. Top with Chakalaka or serve it on the side. Or serve without the bun, with Pap (or Krummel Pap) and Chakalaka on the side.
–
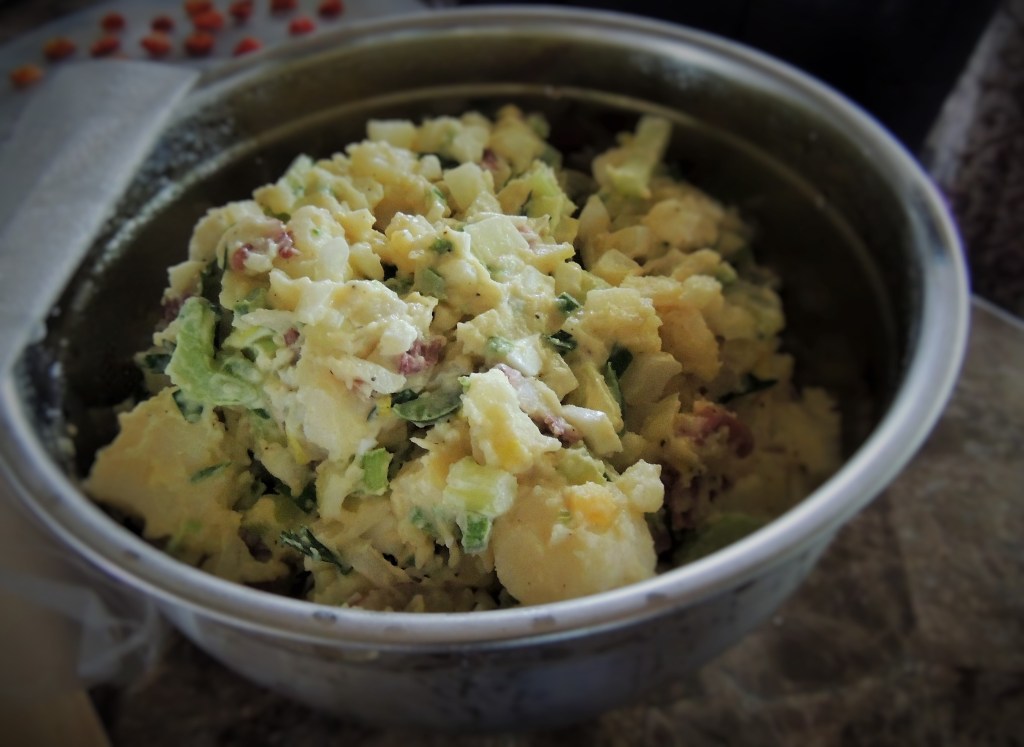
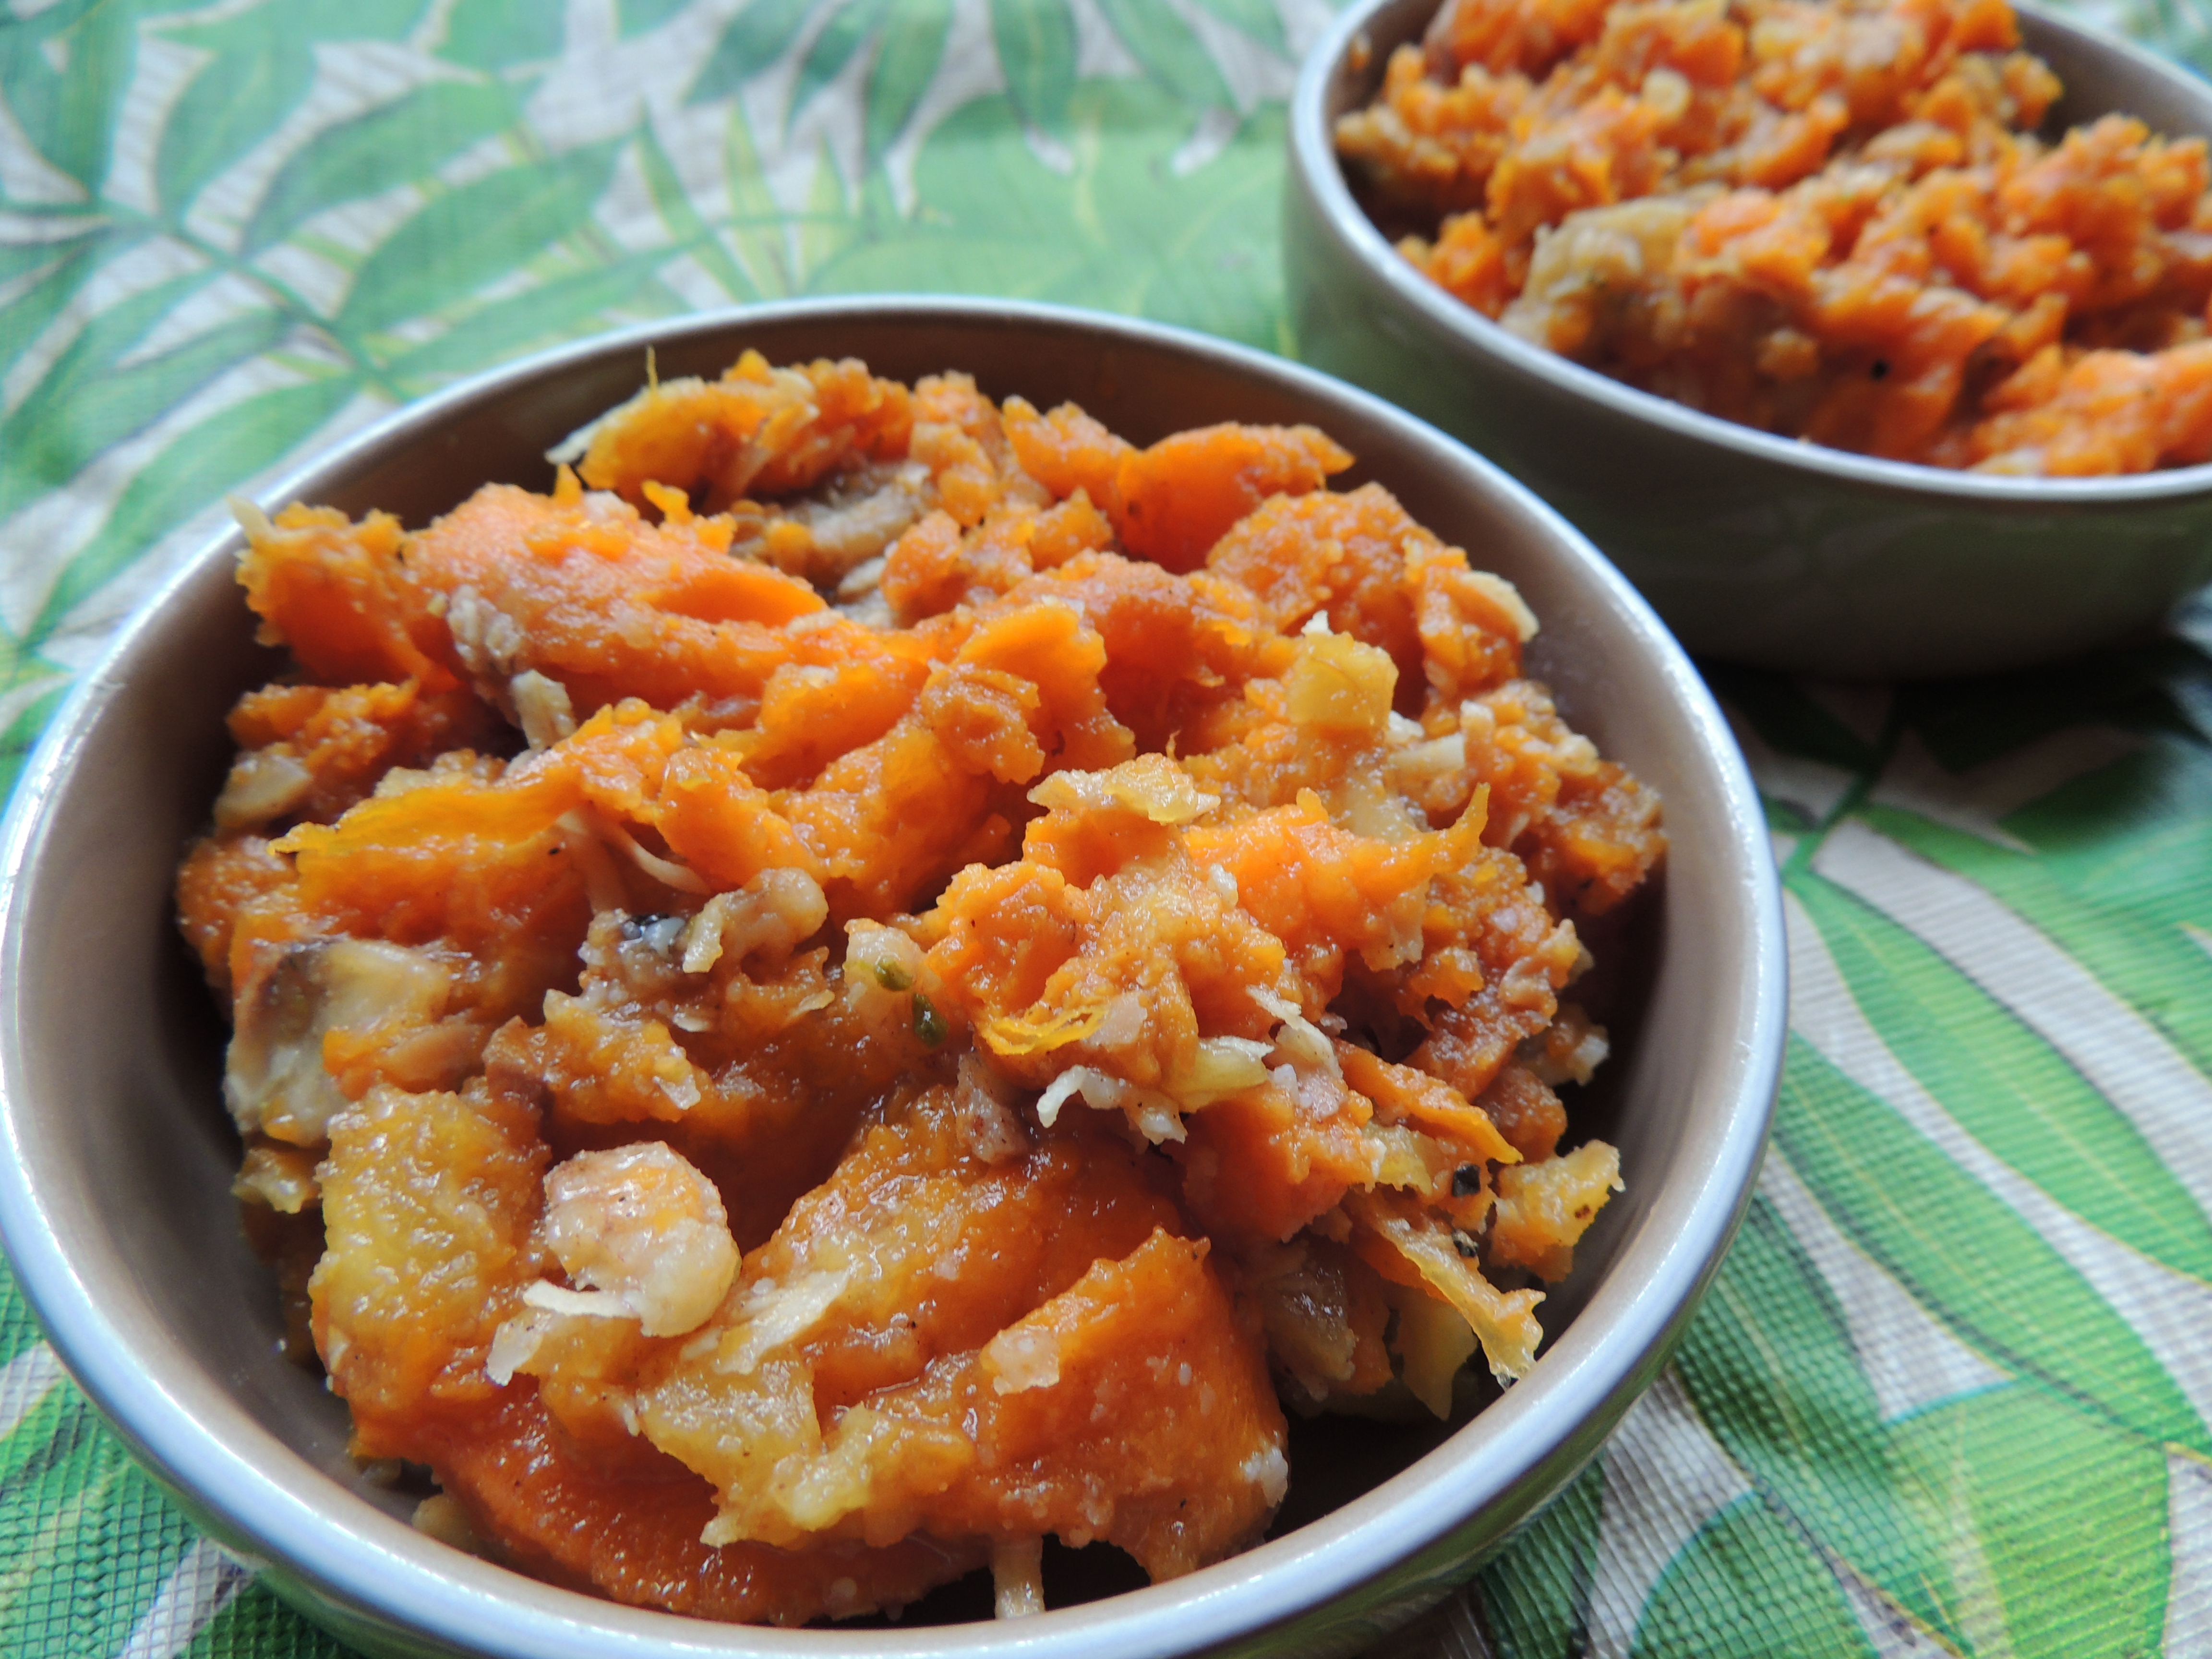
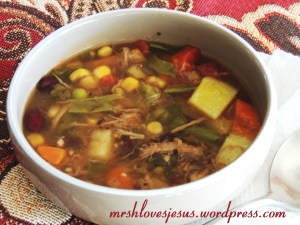
Chakalaka
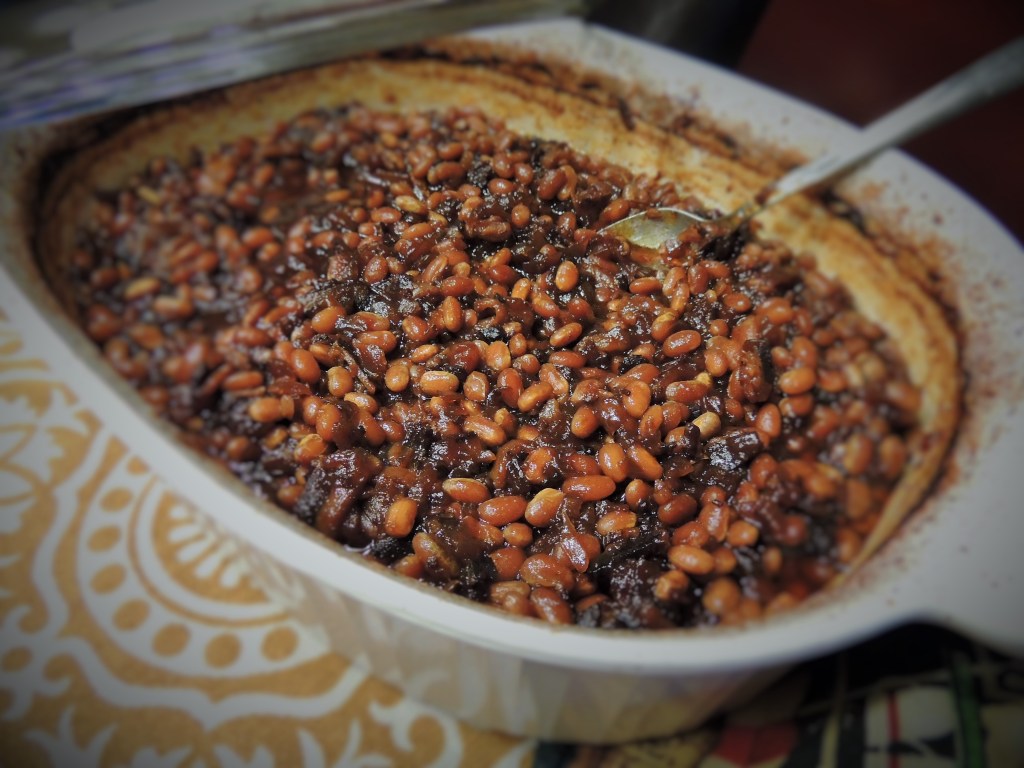
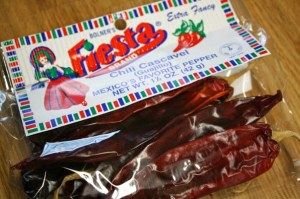
We had, as our one and only side dish, baked beans, which were a stand in for the Chakalaka. Real Chakalaka is spicy and has shredded/minced veggies mixed into the beans. It is easy to make. Here is a video that demonstrates how it’s made…
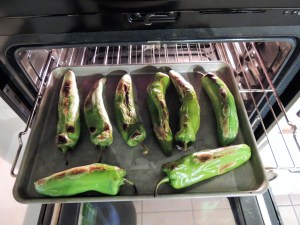
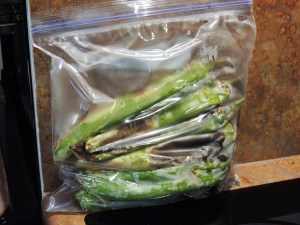
There are lots of videos out there which use slightly different spices, but basically the same ingredients (onion, garlic, bell peppers, shredded carrots, baked beans, hot peppers, curry powder, and other herbs and spices).

–
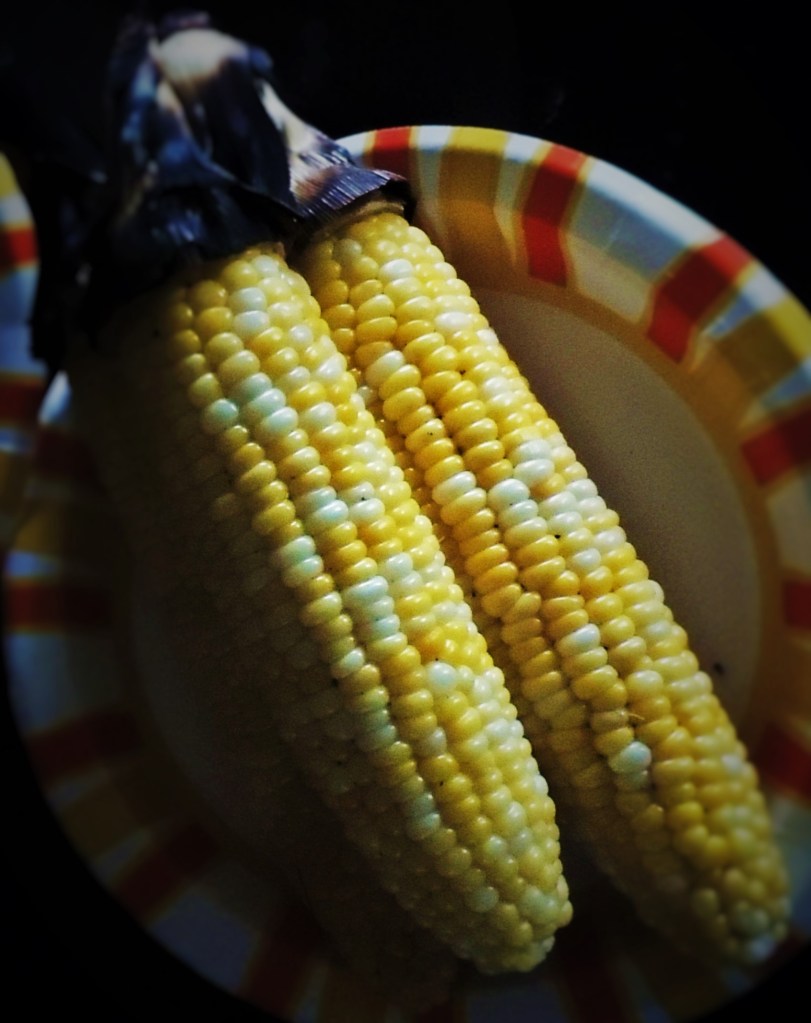
Pap (pronounced “pop”)
Similar to white cornmeal mush/polenta or smooth grits, and once fully cooked is about the consistency of thick mashed potatoes. Can be enjoyed plain with butter, cream, or olive oil, or you can add cooked onion, garlic, parsley, chives, or make it cheesy by stirring in some shredded cheese in the final step, or even make it sweet by adding maple syrup to the plain buttered version, and serve for breakfast.
It is easy to make, if just a bit time consuming – like making risotto, sort of.
This is a Cheesy Pap recipe:
And this is a creamy, buttery Pap with parsley:
Since I will have another grandchild in this history class in a couple of years, I hope I’ll get another chance to execute this party. If not on the school campus, though, it will make a great family fun thing to do in our own backyard to celebrate and learn about world culture.

–
And now we’ll move on from the food to the games….
–
Mancala


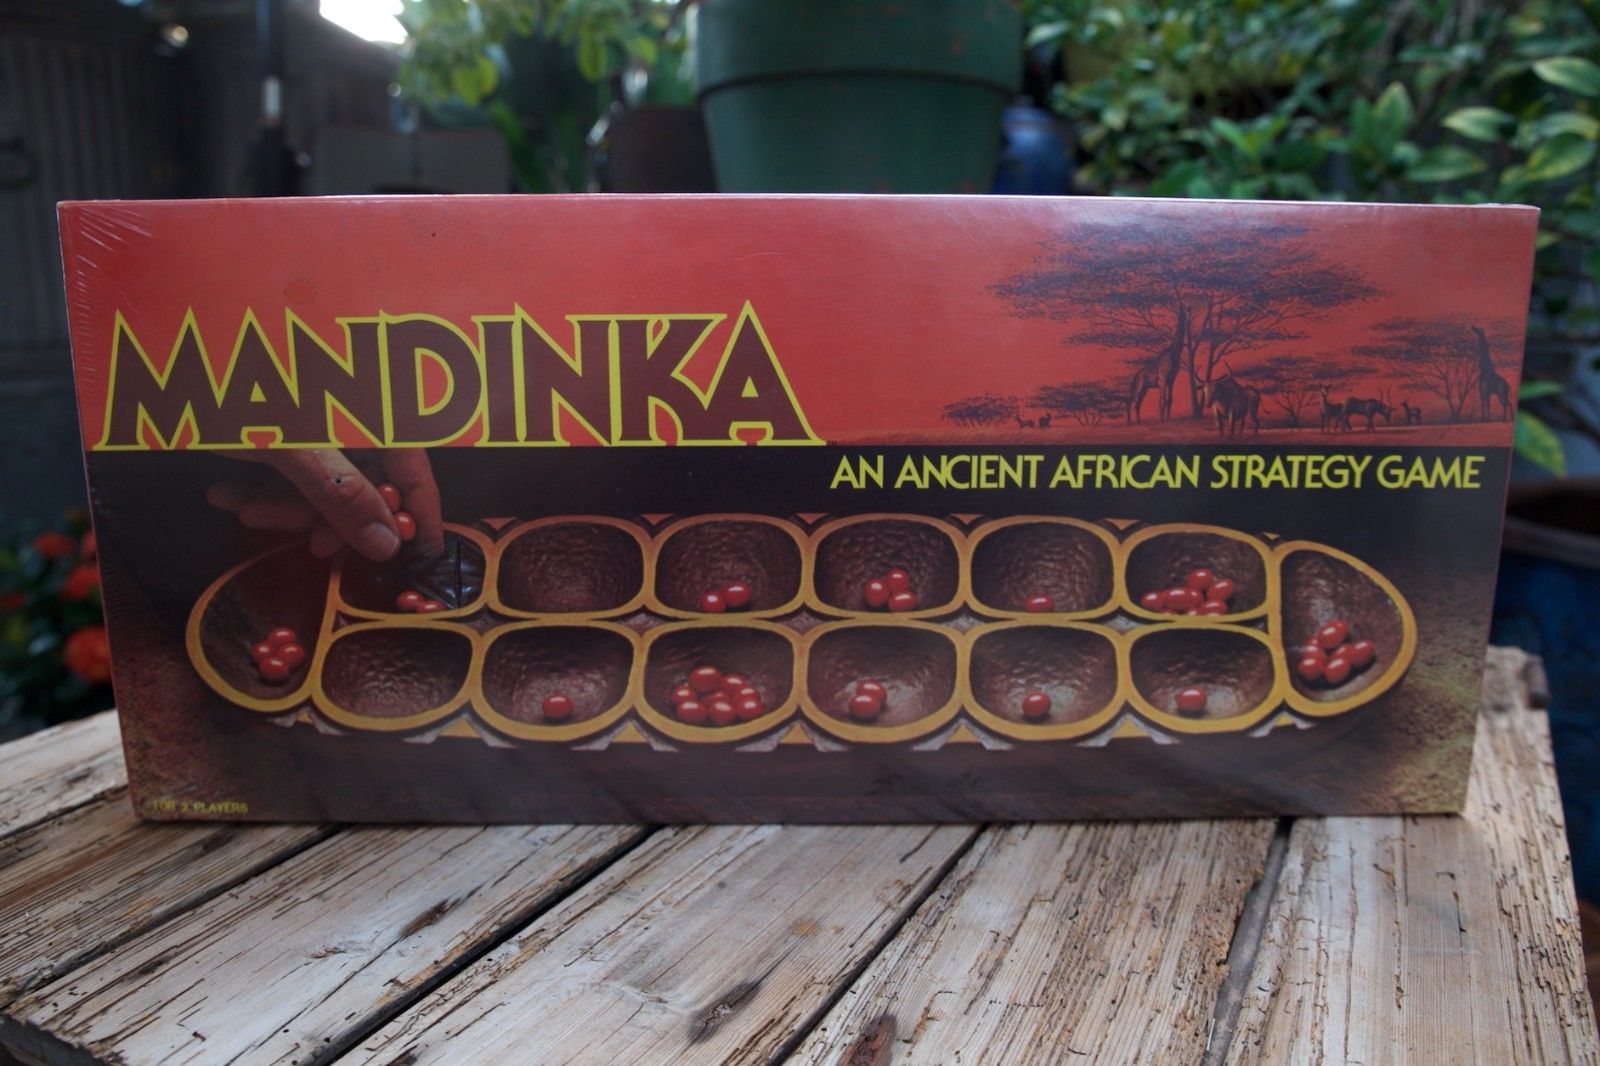
This game is known by various different names. It is readily available at most department stores where games are sold and isn’t expensive. You could even make one for free out of an old ice cube tray or egg carton. The kids could even decorate a homemade one with paint or markers, and then use dry beans, beads, buttons, or small stones for the game tokens. It’s actually a great game to have on hand for grandchild sleepovers.
Just in case you are not familiar, this short video explains and demonstrates the basics of how the game is played:
Learn the history of the game HERE!
There are actually several ways to play if you do a search. This is another video that shows how the game is played (simple version) and also features a hand carved game table which features two games.
As well as there being several ways to play, there are also a few different Mancala boards. Most are for two players, but here are a couple of 4-person boards I found.
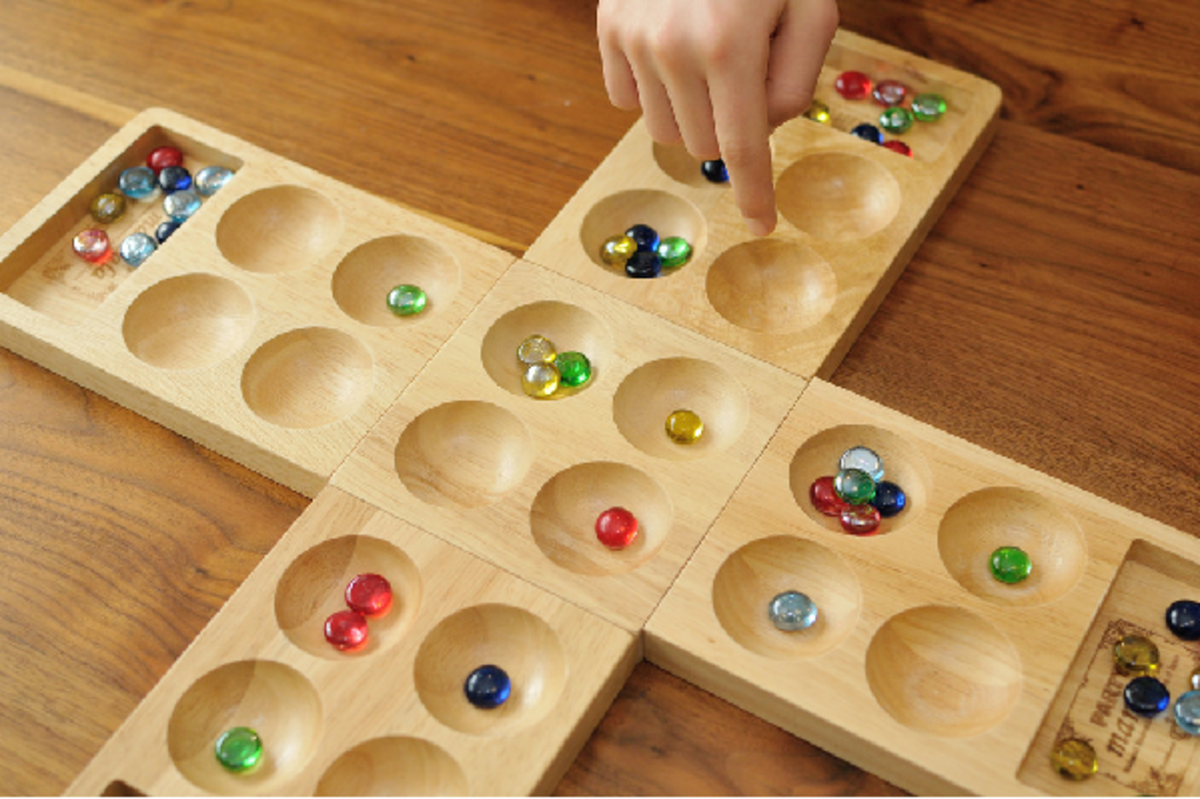
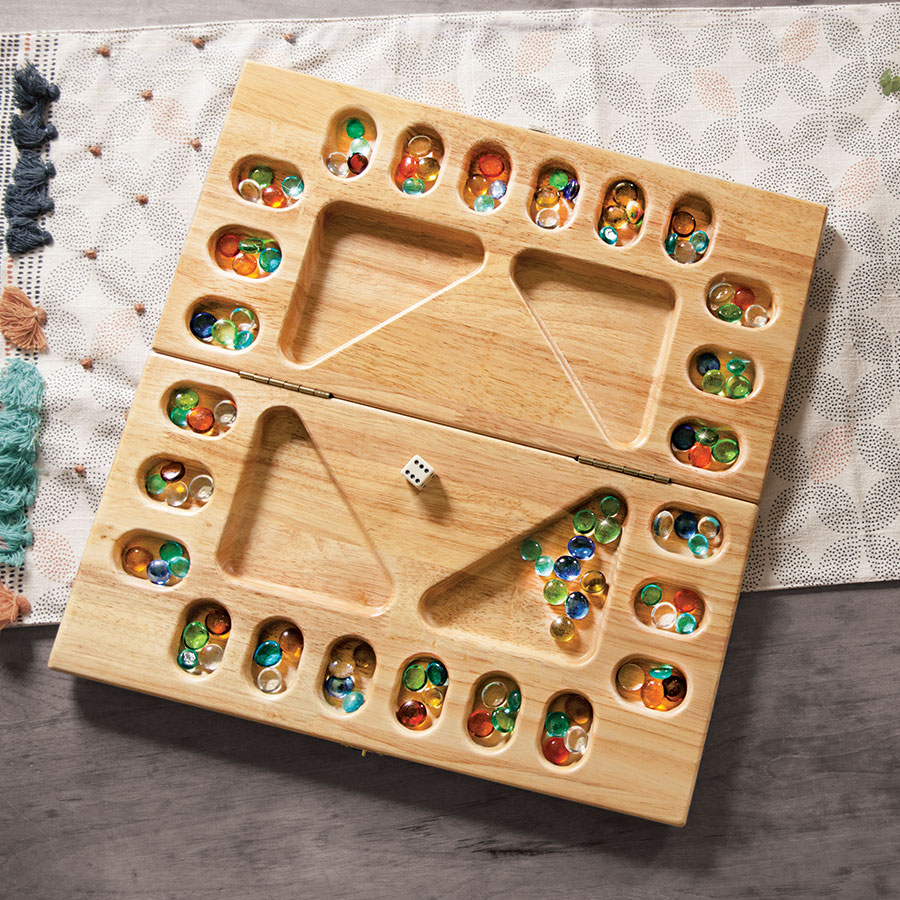
One of the students brought a 4-person board.


We rounded out our party by learning a few SOUTH AFRICAN SLANG WORDS AND PHRASES WE ALL SHOULD KNOW…
Colloquial language is an especially fascinating cultural product in South Africa thanks to the wide variety of languages spoken in South Africa. Locals tend to borrow words from each language, resulting in slang words or phrases known as ‘South Africanisms’. If you’re visiting South Africa any time soon, it’s useful to know a few turns of phrase to help you along the way.
Ag
In South Africa, ag [agh] is not short for aggressive or agriculture — it’s a filler word to express irritation or resignation. Example: ‘Ag, no man!’, or ‘Ag, let’s go.’ (In America we might say Ugh!)
Skinner
Skinner [skuhn-her] is Afrikaans slang for gossip. Example: ‘Don’t skinner about me.’
Lekker
Lekker [lek-uh] is a widely used term indicating that something is ‘great’ or ‘nice’. For example, ‘The food was lekker’, or ‘We had a lekker day.’
Kief
Kief [kif], derived from Arabic (kayf), means cool, great, awesome or neat. Example: ‘That’s a kief car!’
Just Now
You’ll often hear South Africans mention that they will do something ‘just now’. This does not mean they’ll do it immediately, but rather a bit later. It may sound illogical but makes complete sense in South Africa!
Indaba
Indaba [in-daa-bah] A conference or expo, from the Zulu word for ‘a matter for discussion’.
Braai
Braai [br-eye] is a widely used noun and verb for an outdoor ‘barbecue’ where meat is cooked over a fire or coals. Example: ‘We’re having a braai tomorrow.’ ‘We braaied the meat yesterday’. A braai is a popular social event in South Africa and even has its own dedicated public holiday, known as National Braai Day, which coincides with Heritage Day celebrated annually on September 24.
Shame
Shame is a typical South African expression for sympathy or admiration. Example: ‘Ag, shame man, poor girl!’ ‘Shame, he’s so cute.’
Eish
Eish [aysh] is a colloquial exclamation of surprise, disapproval, exasperation or regret derived from Xhosa. Example: ‘Eish, my cell phone broke’.
Biltong
Biltong is a favorite South African snack made from dried and salted meat, similar to beef jerky.
Boerewors
Boerewors [boo-ruh-vors] is an Afrikaans term for ‘farmer’s sausage’ — a traditional South African meat often enjoyed at a braai.
Sharp
Sharp [shahp] is often doubled up for effect (sharp sharp!) and means ‘goodbye’ or that everything is great.
Is it?
Is it? [izzit] is an expression frequently used in conversation meaning ‘Is that so?’ or ‘Really?’.
Dop
Dop is slang for an alcoholic drink. It can also mean ‘to fail an exam’. For example, ‘Pour me a dop,’ or ‘I’m gonna dop that test’.
Jol
Jol [jawl] is a widely-used term for ‘club’, ‘party’ or to ‘have fun’. Example: ‘We had a jol last night!’
Shebeen
Shebeen [sha-bean] is an illegal tavern derived from Irish (sibín). It refers to unlicensed bars that were set up in townships during apartheid (segregation) and frequented mainly by black South Africans. It has since become a mainstream word.
Sho’t Left
Sho’t left is derived from everyday South African ‘taxi lingo’. A commuter wanting a ride to a destination close by will say ‘Sho’t left, driver,’ meaning ‘I want to get off just around the corner.’
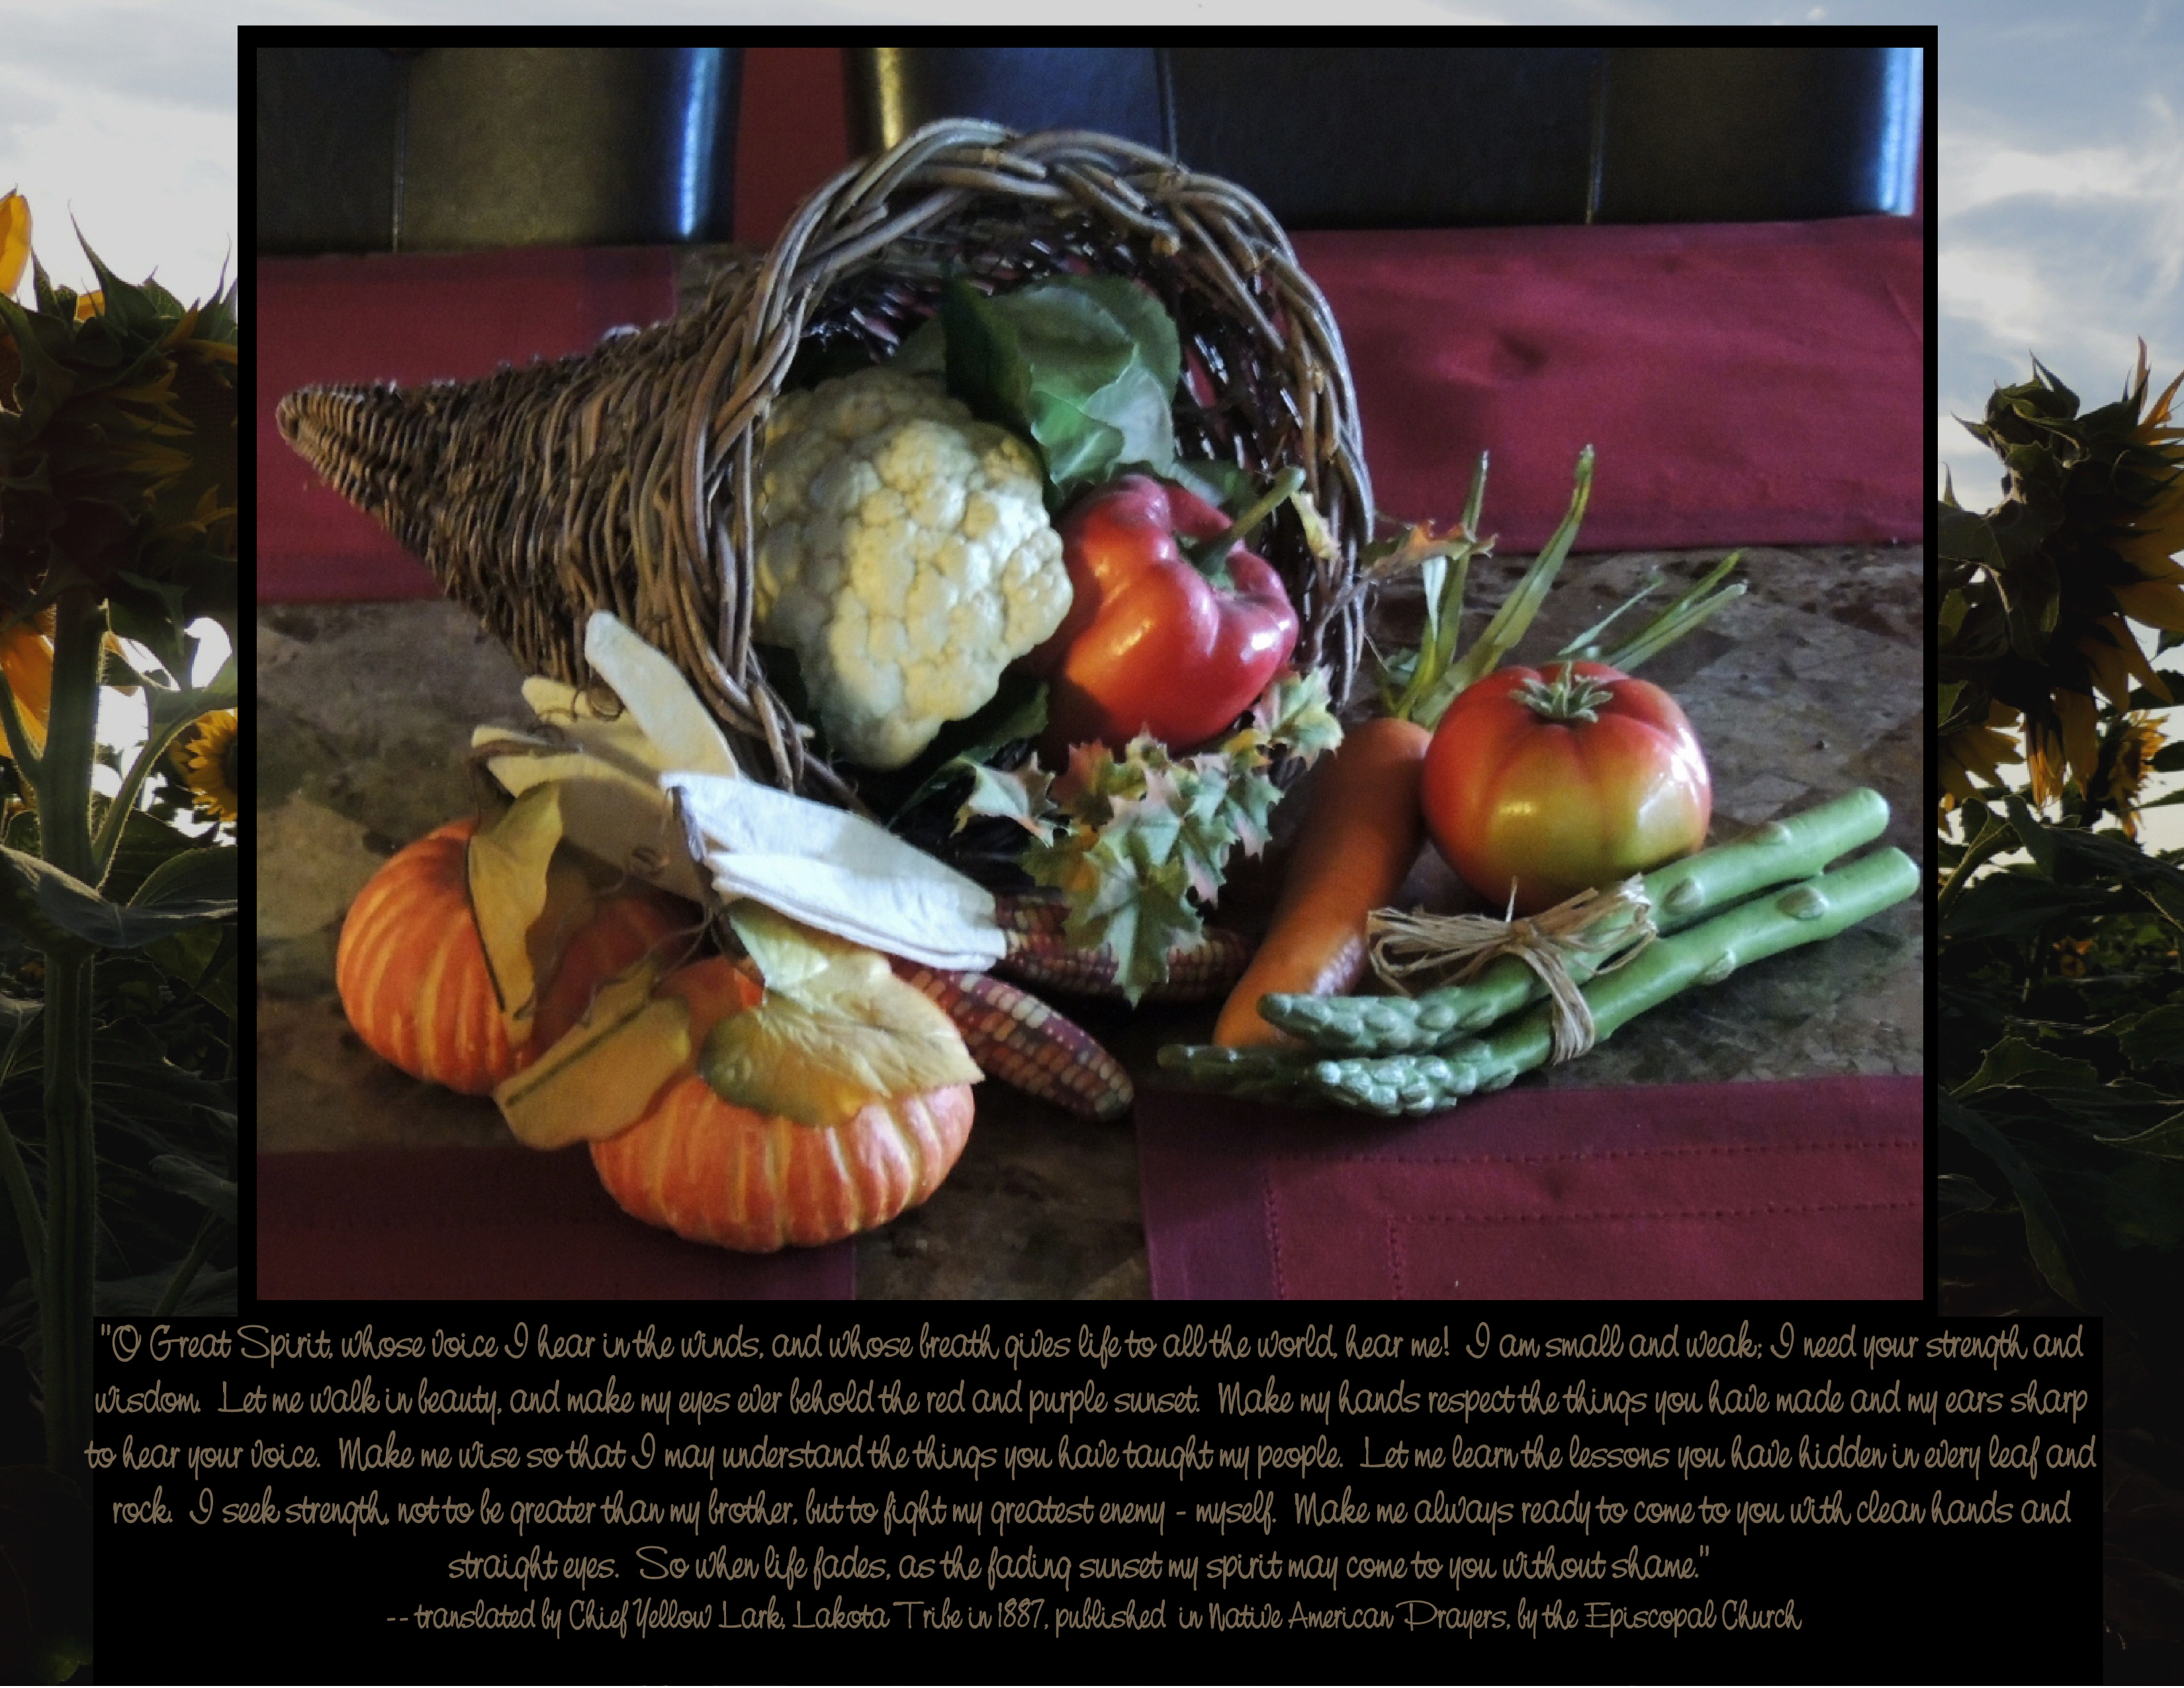
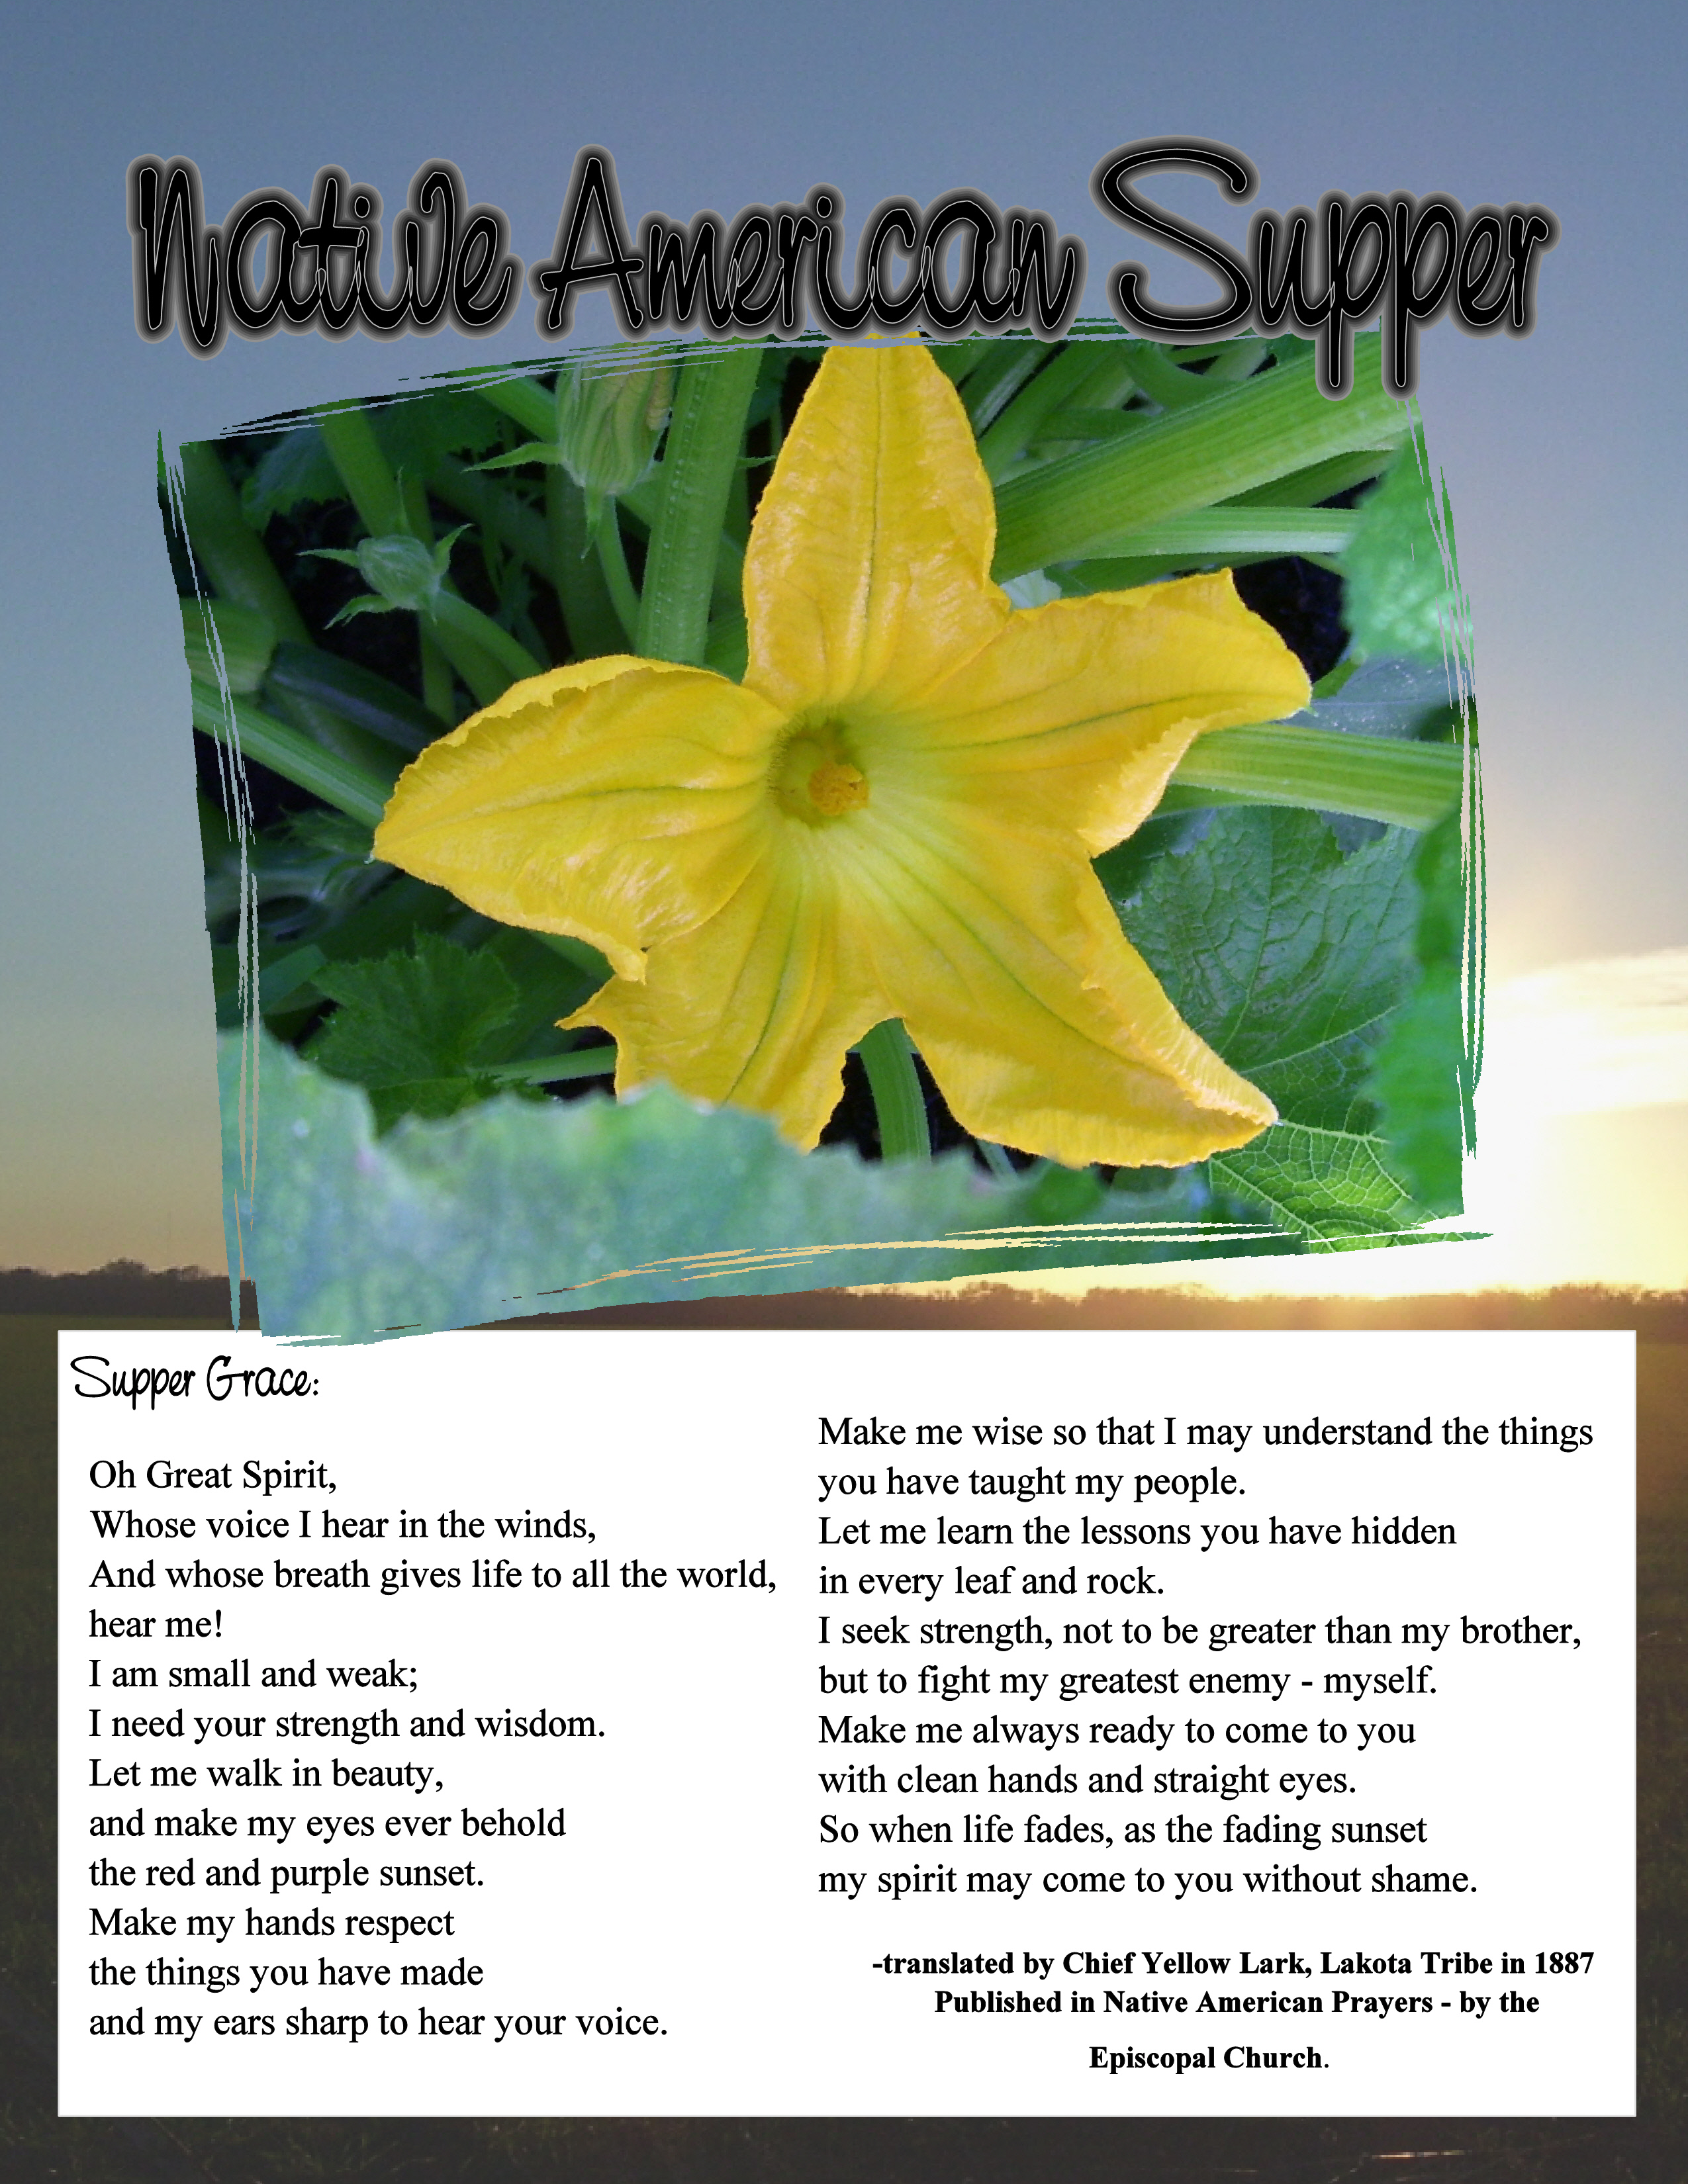
“So Peter opened his mouth and said: ‘Truly I understand that God shows no partiality, but in every nation anyone who fears Him and does what is right is acceptable to Him.'”
Acts 10:34,35


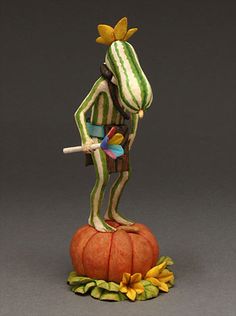 There is a Hopi Squash Kachina (Patung). He is Chief Kachina (wuya) for the Hopi Pumpkin Clan. He runs with men of a village in spring ceremonial dances to attract rain clouds.


 .
.

 Hoop and Pole Game
 throw their pole as the hoop rolls in front of them. The score depends on how or if the pole falls on or through the hoop. Netted hoops are made by the Arapaho of Wyoming and other tribes.


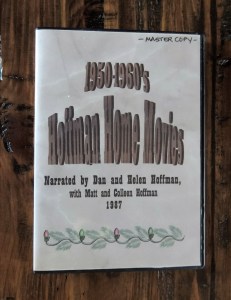 Something our family DOES have, and I can tell you is an enormous treasure, is a compilation of my husband’s folks old home movies that they took on an old 8mm recorder. They had the movies transferred to VHS when that was the most modern thing, and gave us a copy. But as hubby and I were watching these silent movies, we realized that much of those people and places were unknown to us. So the next time his parents visited us we asked them to sit down and watch it with us and tell us where all those places were and who the people are. I set up a cassette recorder to record their narration. Many years later I took the old silent VHS and the narration on the cassettes and put them together on DVD. Then I made several copies and gave them as Christmas gifts for our family. It was the very next Christmas after grandpa had died and you can’t image what a treasure it was to the whole
  family to get to hear grandpa’s voice again, and laugh at his sense of humor, especially since the family had no idea we’d ever gotten that sound tract.
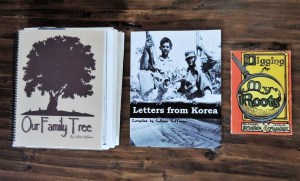 My husband’s dad served in Korea, and wrote letters home to his parents a couple times a week. We found the letters a while back, along with a bunch of pictures he took while in boot camp and on the front lines. We also were fortunate to get to inherit his army coat, a hat, and medals, maps, and various other personal objects from the war, along with the flag that was presented to the family at his funeral, and the bullet casings from the 21 gun salute. Altogether the letters and photos, and photos of the objects made a wonderful book that is and shall forever be a cherished keepsake for generations.
 get her recipe! Get ALL her recipes, and make them into a cookbook. My husband’s family actually collected recipes from everyone in the family one year and made a family cookbook for all of us. We all contributed, and we all paid for our own copies of the book, and it is very much a prized possession of mine to this day. Each person that contributed recipes also told a story to go with it, like if it was the first meal they made for their husband, or if it was their mother’s favorite thing that they made, etc.
 favorite game to play, and if he could beat her he felt like it was a real accomplishment. Grandma was apparently very good at Yatzee. My grandma liked to play cards, and her game of choice to play with us kids was Rummy. She also showed us how to play Solitaire and let us play at the table while she cooked and baked. I also remember making card houses in the living room, using the carpet to help hold the cards in place. My sisters and I made elaborate card houses, some more fragile than others. Does your grandma or grandpa have a favorite game they like to play. Ask if you can come play it with them one afternoon. Or, take them to play Bingo, or Pinochle or Bridge at the Senior Center, dominoes, Cribbage, or take them bowling, or to play miniature golf, or darts. You might find out they’re pretty darn good at it.