Have I mentioned lately how blessed I am to have grandchildren? Better still, to have grandchildren living in the same town. I’m telling you…life just doesn’t get any better. The good LORD sure knew what He was doing when He created grandchildren. And mine are such happy, fun-loving creatures, my cup runneth over.
❤
Well, once again, I was invited, by my oldest granddaughter’s teacher, to throw a party for their history class. Not only was I thrilled to get to do it, but in sharing the details with you I’m getting to relive all the best moments. I was disappointed though, that I was given such short notice I barely had time to gather my thoughts let alone make authentic foods, so we had to improvise on most of it. But don’t worry, if you dropped by for recipes and party ideas I have all of that information below, and hopefully next time I’ll get a little more notice so I can make it all authentic – which is the thing that truly makes my tail wag.
–
What is a “Bring & Braai,” you may be asking? Well, basically it is what we in America would call a Backyard Barbeque (cook-out). In South Africa it is traditional for the guests to bring beverages, side dishes, snacks, and whatever meat they want to eat. The host is in charge of providing the backyard and doing all the grilling. It is such an integral part of South African culture that they even have an annual holiday to commemorate it. And, you know how Chevrolet used to have a little ditty in their commercials here in the States that went… “Baseball, Hotdogs, Apple Pie, and Chevrolet” to epitomize all things American? Well, in South Africa they had the same tiny tune but with these words: “Braaivleis, Rugby, Sunny Skies, and Chevrolet.” (Braai is short for Braaivleis, which in Afrikaans means “roasted meat”). Let me tell you, they are serious about their Braai!!!!
So, the students were learning about Colonial Africa 1750-1950, and to culminate their studies it seemed perfectly appropriate to celebrate with a “Bring & Braai.” We held our little shindig out on the back playground. I drug all the picnic tables over and set them together, covered them with animal print tablecloths, and put some African art objects as centerpieces. I set out Mancala games for each pair of students and set up my little Weber grill with charcoals (wood is preferred in South Africa but charcoals are an acceptable alternative). I put a Soweto Gospel Choir CD in the boom-box, tossed an African Dashiki Kaftan (dress) over my clothes, and gleefully welcomed my guests.
The students arrived with their foodstuffs in hand (chips and dips, sodas, etc.) and we set them out on the buffet table. I informed them a little bit about what a South African Bring and Braai is, and then I started my sausage braaiing (grilling). I explained that cooking the meat is always the man’s job but that in this case we had to improvise. In true Braai fashion, the women always gather in the kitchen to make the salads, sides, and snacks, while the men congregate around the grill and indulge in their manly chit chat. The only time a woman is allowed near the grill is to deliver snacks to the men and then be on her way back to the kitchen. (LOL!)
The three most popular elements to a traditional “Bring & Braai” are Boerewors (you’ll hear how to pronounce this in one of the You Tube videos I share below), Chakalaka (a sort of side dish/condiment, served warm or cold), and Pap (sort of like firm but creamy white grits, or crumbled white grits – “Krummel Pap“) served warm. I wanted to keep things simple, so the kids brought chips and dips, and soda pops, and I provided the sausage and “chakalaka” – Boom!!!!
Boerewors
There are lots of foods that are popular in South Africa. Maybe you’ve heard of Peri-Peri Chicken? It is a spatchcocked chicken slathered in spicy Peri-Peri sauce and braaied on the grill. I’ve made it and it is delicious!!!! Check out this video to see how it’s done. A traditional Braai is all about the meat, and there is often quite a variety, especially when the guests are bringing their own.
Perhaps you’ve heard of other African foods, such as Bobotie? Or Bunny Chow? Or Potjiekos?
Well, today we are learning about Boerewors. I had to improvise on the sausages I made for our party because I didn’t have time to order the sausage making supplies and there was nowhere in my little town to find such a thing already made.
Boerewors translates as “farmer” (boer) “sausage” (wors). It is from the Dutch influence, is made into a long spiral shape, and is often skewered to keep it together while cooking and flipping.
To make your own Boerewors you’ll need a sausage maker. If you have a Kitchenaid, you can purchase the sausage maker attachment. Otherwise, there are several options on Amazon. I have an old fashioned hand crank meat grinder, so I decided to order the manual sausage stuffer along with a package of small batch home pack hog casings so I could try making it (for my next attempt at this party). You can also find the sausages for mail order, or perhaps you are fortunate to live near an African market or restaurant.
This video seemed like a good one to demonstrate to you how to make this sausage, also how to pronounce the name, and includes a good recipe.
Boerewors Recipe
Prep Time2 hours 40 minutes
Cook Time20 minutes
Total Time3 hours
Servings 12
Equipment 12″ wooden skewer, Sausage stuffer
This iconic sausage blends ground beef with spices, wrapped in hog casings, before being cooked on a braai (or grill, as we would call it). It is left in the large spiral of one hog casing and not portioned into individual sizes. This sausage has a coarse texture, sort of like a Bratwurst or Kielbasa, and the use of coriander seeds and nutmeg gives the meat a unique flavor that’s enhanced by flame cooking. It is often served on a roll (a boerie roll, as it’s called) with a traditional sauce called chakalaka (see recipe below), a topping made of tomato, carrot, onion, beans, and spices.
INGREDIENTS
3 lbs ground beef
2 lbs ground pork
1 lbs ground pork fat
10 tsp whole coriander seeds
2 tbsp allspice
1 tbsp salt
1 tbsp ground black pepper
½ tsp ground cloves
½ tsp ground nutmeg
¼ cup malt vinegar
⅛ cup Worcestershire sauce
7 oz natural sausage casings (pork)
INSTRUCTIONS
Meat Mixture
Add the coriander to a dry frying pan set over medium heat and toast until aromatic. Keep an eye on it to make sure it doesn’t burn.
Place the toasted coriander seeds into a spice grinder, or pestle and mortar, and grind into a fine powder. Mix the other spices, salt and pepper into the ground coriander.
In a large bowl, use your hands to work together the ground beef, pork, pork fat, vinegar, Worcestershire sauce, and then mix the spices in until well combined.
Cover the meat and spice mixture with plastic wrap, and place in the refrigerator for at least two hours.
Once the meat has rested, pipe the mixture into the casing, making sure not to overstuff. If using a sausage stuffer, be sure to follow the manufacturer’s instructions.
You can either shape the sausage the traditional way, keeping it long and wrapping into a spiral, or you can form individual sausage links, 6” long.
GRILLING INSTRUCTIONS
When ready to cook, bring your grill to 350°F (180°C).
Insert 12” wood skewer through the center of boerewors from one side to the other. This will help hold it together and make it easier to flip over during cooking. Or, you can place the sausage in a grill basket.
Once the grill is at temperature, place boerewors on grill grates. Cook the sausage gently so that the casing doesn’t split or burn before the filling is fully cooked. Grill for 5-8minutes per side, until sausage internal temperature is 160°F (71°C)
Remove boerewors from grill. Slice to serve and enjoy with or without a bun. Top with Chakalaka or serve it on the side. Or serve without the bun, with Pap (or Krummel Pap) and Chakalaka on the side.
–
Chakalaka
We had, as our one and only side dish, baked beans, which were a stand in for the Chakalaka. Real Chakalaka is spicy and has shredded/minced veggies mixed into the beans. It is easy to make. Here is a video that demonstrates how it’s made…
There are lots of videos out there which use slightly different spices, but basically the same ingredients (onion, garlic, bell peppers, shredded carrots, baked beans, hot peppers, curry powder, and other herbs and spices).
–
Pap (pronounced “pop”)
Similar to white cornmeal mush/polenta or smooth grits, and once fully cooked is about the consistency of thick mashed potatoes. Can be enjoyed plain with butter, cream, or olive oil, or you can add cooked onion, garlic, parsley, chives, or make it cheesy by stirring in some shredded cheese in the final step, or even make it sweet by adding maple syrup to the plain buttered version, and serve for breakfast.
It is easy to make, if just a bit time consuming – like making risotto, sort of.
This is a Cheesy Pap recipe:
And this is a creamy, buttery Pap with parsley:
Since I will have another grandchild in this history class in a couple of years, I hope I’ll get another chance to execute this party. If not on the school campus, though, it will make a great family fun thing to do in our own backyard to celebrate and learn about world culture.
–
And now we’ll move on from the food to the games….
–
Mancala
This game is known by various different names. It is readily available at most department stores where games are sold and isn’t expensive. You could even make one for free out of an old ice cube tray or egg carton. The kids could even decorate a homemade one with paint or markers, and then use dry beans, beads, buttons, or small stones for the game tokens. It’s actually a great game to have on hand for grandchild sleepovers.
Just in case you are not familiar, this short video explains and demonstrates the basics of how the game is played:
There are actually several ways to play if you do a search. This is another video that shows how the game is played (simple version) and also features a hand carved game table which features two games.
As well as there being several ways to play, there are also a few different Mancala boards. Most are for two players, but here are a couple of 4-person boards I found.
One of the students brought a 4-person board.
We rounded out our party by learning a few SOUTH AFRICAN SLANG WORDS AND PHRASES WE ALL SHOULD KNOW…
Colloquial language is an especially fascinating cultural product in South Africa thanks to the wide variety of languages spoken in South Africa. Locals tend to borrow words from each language, resulting in slang words or phrases known as ‘South Africanisms’. If you’re visiting South Africa any time soon, it’s useful to know a few turns of phrase to help you along the way.
Ag
In South Africa, ag [agh] is not short for aggressive or agriculture — it’s a filler word to express irritation or resignation. Example: ‘Ag, no man!’, or ‘Ag, let’s go.’ (In America we might say Ugh!)
Skinner
Skinner [skuhn-her] is Afrikaans slang for gossip. Example: ‘Don’t skinner about me.’
Lekker
Lekker [lek-uh] is a widely used term indicating that something is ‘great’ or ‘nice’. For example, ‘The food was lekker’, or ‘We had a lekker day.’
Kief
Kief [kif], derived from Arabic (kayf), means cool, great, awesome or neat. Example: ‘That’s a kief car!’
Just Now
You’ll often hear South Africans mention that they will do something ‘just now’. This does not mean they’ll do it immediately, but rather a bit later. It may sound illogical but makes complete sense in South Africa!
Indaba
Indaba [in-daa-bah] A conference or expo, from the Zulu word for ‘a matter for discussion’.
Braai
Braai [br-eye] is a widely used noun and verb for an outdoor ‘barbecue’ where meat is cooked over a fire or coals. Example: ‘We’re having a braai tomorrow.’ ‘We braaied the meat yesterday’. A braai is a popular social event in South Africa and even has its own dedicated public holiday, known as National Braai Day, which coincides with Heritage Day celebrated annually on September 24.
Shame
Shame is a typical South African expression for sympathy or admiration. Example: ‘Ag, shame man, poor girl!’ ‘Shame, he’s so cute.’
Eish
Eish [aysh] is a colloquial exclamation of surprise, disapproval, exasperation or regret derived from Xhosa. Example: ‘Eish, my cell phone broke’.
Biltong
Biltong is a favorite South African snack made from dried and salted meat, similar to beef jerky.
Boerewors
Boerewors [boo-ruh-vors] is an Afrikaans term for ‘farmer’s sausage’ — a traditional South African meat often enjoyed at a braai.
Sharp
Sharp [shahp] is often doubled up for effect (sharp sharp!) and means ‘goodbye’ or that everything is great.
Is it?
Is it? [izzit] is an expression frequently used in conversation meaning ‘Is that so?’ or ‘Really?’.
Dop
Dop is slang for an alcoholic drink. It can also mean ‘to fail an exam’. For example, ‘Pour me a dop,’ or ‘I’m gonna dop that test’.
Jol
Jol [jawl] is a widely-used term for ‘club’, ‘party’ or to ‘have fun’. Example: ‘We had a jol last night!’
Shebeen
Shebeen [sha-bean] is an illegal tavern derived from Irish (sibín). It refers to unlicensed bars that were set up in townships during apartheid (segregation) and frequented mainly by black South Africans. It has since become a mainstream word.
Sho’t Left
Sho’t left is derived from everyday South African ‘taxi lingo’. A commuter wanting a ride to a destination close by will say ‘Sho’t left, driver,’ meaning ‘I want to get off just around the corner.’
“So Peter opened his mouth and said: ‘Truly I understand that God shows no partiality, but in every nation anyone who fears Him and does what is right is acceptable to Him.'”
Well, y’all, today was a privilege of privileges! I got to throw another school party for my grand’s World Studies class. We seriously had sooooooo much fun! Praise the Lord for His graciousness. I love sharing these class parties with you all in the hopes that you will find something inspiring, or useful, that you can do with your kiddos. I can barely organize my thoughts to tell you about it all. I’m blogging about it with a full heart that truly did not want the time with them to end. It was a case of having too many things that I wanted for the kids to experience (story of my life), and having much too small of time for us to actually accomplish it all with quality. We managed to squeeze everything in, but we sure could have used another couple of hours.
Their teacher very capably led their studies through the chapter on Australia and Polynesia in their World Studies book, and then generously and graciously allowed me to step in for a brief moment at the end of the chapter, to share the things I’ve collected from all over the world, which in this instance were a few things from the Land Down Under. The Lord has graciously provided over the years for me to get to have these things, and not only that, but also to allow me the opportunity to utilize the deeply compelling, God-given passion that’s in my heart, which is to research, and plan, and cook, and decorate, and bring the cultures of other peoples to life.
This party was all about Australia, from the indigenous peoples to the settlers. We learned about Digeridoos, Dancing Sticks, Boomerangs, and Bull-roarers. We ate Aussie Meat Pies “with sauce” – the national food of Australia, Tim-Tams, Pavlova, and some varieties of licorice “lollies.” We were able to experience a sniff of Vegemite (the kids were too chicken to taste it – although I had snuck some into the meat pies when I made them, so they actually had tasted it and didn’t know it – Ha!) And we all got to taste a glassful of Bundaberg Ginger Beer. So delicious!!!! We also listened to some Australian music, a mix of both the indigenous peoples and some modern top-50.
Side note: Ask me how glad I am to have a Cost Plus World Market fairly close-by. Unfortunately, they have discontinued carrying ANZAC Biscuits and didn’t have any Lamingtons. The even more sad thing was that I was too pressed for time to be able to make very many of the things at home that I wanted to this go around – but I have included all the recipes below for you (and myself), in case you (or I) ever want to try this party (again) at home for a Birthday, or dinner party, or family get-together, or for your school, or Homeschool World Studies unit, or for a church function (perhaps you have some displaced Aussies in the congregation who are maybe feeling homesick, or missionaries to the Outback whom you could honor), or whatever the occasion!!! Perhaps you just want to try some of the lovely foods from down under?
Okay, I’ll start with
Music and Decorations…
I had ordered this tablecloth (above) on Amazon, but it never came. ☹
Fortunately, I found this one on eBay and it arrived just in the nick of time. 😊
The food on the table also served as decoration (more on that below), but I also tossed around a few stuffed animals, some real boomerangs, and some Aussie flags and road signs to lend atmosphere. One of the student’s fathers had a real digeridoo, which he allowed his son to bring to the party. It was really heavy, made from a real tree, and decorated with real tribal designs. It was very cool. I also contributed to the party decoration by wearing a t-shirt that said “G’day Mate!” on the front of it. It made me happy all day just wearing it. And I had made some little road signs and Aussie flags to scatter around on the table. I have a friend who lives in Geelong and is a huge “footy” fan, the Cats in particular. She sent me some souvenirs of the 2009 Premiers, because of course the Cats were champs that year!!!!! I wished I could have found stuffed animals of all the Aussie animals, instead I ended up getting a t-shirt, which featured at least 10 of them.
This is the music I had playing when the kids entered the classroom, so they could hear what digeridoo sounds like, but I was cautious about playing it for a long length of time, or too loudly, or to meditate on the sounds too closely, since the indigenous people call it “dream music.” I don’t know if the sound of it opens you up to a spirit world (the way worship music does for Christians), but I didn’t want to go there.
And this is the CD that I played after we had made our dancing sticks. I found a used original online for $6 – a find of the century as it is out of print. It has all the favorites on it. “Down Under” by Men at Work, Waltzing Matilda by The Outback Singers, and an audio passage from The Man from Snowy River by Fred Hollows. Absolutely perfect!!!!
Crafts
Digeridoos
So, I wanted the kids to have an opportunity to try playing a digeridoo, but I didn’t want them passing around my real digeridoo and spreading germs during cold and flu season. So, we made one per kid using gift wrap tubes (which I had asked parents to provide, while they were massively available during the holiday season). The kids then used paint to decorate their digeridoos with various tribal designs.
And then we all tried to play them. It definitely takes some skills. I didn’t manage to get a photo of the kids playing them, but I did nab this photo of some decorated ones that the boys had done.
Bullroarers
The first thing was to show the kids the video clip of Crocodile Dundee demonstrating his Bullroarer skills in a scene from the second movie:
Normally Bullroarers are heavy pieces of carved wood threaded with a strong thick string or thin leather strap, but I found a kid’s craft version that worked like a snap:
Click on the link above and then scroll down to the bottom of the webpage until you see this video, pictured below:
I premeasured lengths of thin paracord and stuffed them in baggies, and I also predrilled holes in the jumbo craft sticks (tongue depressors). It made it super easy to pass out the elements. All the kids needed to do was thread the string through the hole and they were ready to use. I had the kids decorate their sticks with Sharpie markers, and then we all went out into the great room to give them a whirl, (literally)! This was probably the most fun experience of the whole party.
Boomerangs
The same man (David Hudson) who did the video on digeridoo playing also did one on how to make a cardboard boomerang, which he called a “Roomerang.” The kids watched the video, and then I passed out the strips of cardboard that I had precut. I marked the center to help the kids be able to attach the two pieces properly, and we fastened them with glue dots, which worked like a charm. I had made a few as examples, and also so that I could test them to see if they really worked. They did, but, not as well as his did in the video, but maybe with practice. I found that they worked best when held between thumb and pointer finger right at the base and flicked vertically, and sort of towards your right (if you are right-handed). It takes a little practice.
How to make a kids’ Carded Boomerang (“Roomerang”) with David Hudson:
In this video (link above) he also talks about the designs, which are special to the Gubbi Gubbi/ Kabi Kabi people. These were my examples:
Dancing Sticks
And finally, our last activity was to make the dancing sticks. The same David Hudson as did the Roomerangs, and Digeridoo has a teaching video on how to make the dancing sticks, I basically followed his instructions, except instead of using the clear shipping tape that he uses, and then wrapping it with string, I used a decorative Duct tape to save a step. I also used Bamboo because I have it growing in abundance in my yard and am always looking for useful opportunities to get rid of it. Come to find out, bamboo does grow in the very northern area of Australia.
What Australian party would be complete without food? Top of the list has to be the national dish of Australia – the Aussie Meat Pies, and then Tim-Tams, Vegemite, and Pavlova! I really had ambitious plans for this party, and although I didn’t have time to make everything I wanted to, I’m including the recipes for everything I wanted to. That way, if you (or I) ever want to make these lovely morsels, we’ll know where to find all the recipes in one place.
First things first, Americans need to know how to eat a Vegemite Sandwich, because most of us try it and do it all wrong, and end up spitting the nasty gack substance out into the garbage can with a majorly disgusted look on our faces. So, I thought it fitting to let Hugh Jackman give us a proper demonstration:
I found Vegemite at Cost Plus World Market, but unfortunately the parent who was supposed to bring the white bread and butter for the party, well ooops they forgot. Meh! It happens. 😦 So, I wasn’t able to make a Vegemite Sandwich for the kids to try, nor was I able to make Fairy Bread for the kids to sample either. I was disappointed, but we had lots of other stuff to eat and do, so I eventually got over it. LOL
This is Fairy Bread:
All you do to make the Fairy Bread is toast and butter some slices of the cheap, soft, white bread (just like you do for the Vegemite Sandwich) and then cover the topside with sprinkles. They can’t be just any sprinkles though; to be truly OZ-thentic they need to be the tiny round sprinkles you see in the photo.
Aussie Meat Pies
I made a batch of these before the party just to see what they tasted like, and I think they are quite similar to a sloppy joe in a pie crust. I did them exactly the way Aussie Girl Can Cook does in her video, but to be authentic the bottoms of the pie are supposed to be a “short crust,” which, in America, is just a regular pie crust, and only the tops of the Aussie pies are supposed to be puff pastry. I made mine in a muffin pan. And I didn’t have enough puff pastry to do the tops properly, so I used the little bits of corners that I had snipped from the squares to make them round. Didn’t have to cut a vent hole that way.
So, because I was extremely pressed for time, this is how I made mine for the party:
Mrs H’s Aussie Meat Pies
3 12-oz. packages (8-count each) of Texas Pie Company Pastry Shells, sold exclusively at HEB
1 17.3 oz. package Pepperidge Farms Puff Pastry Sheets
2 pounds ground beef
1 onion finely chopped
1 24-oz. can Hunt’s Manwich Sauce
Enough chicken stock to make a little gravy
1 tsp. Vegemite
I started my process 2 days before the party by cooking the beef filling first and then placing it in the fridge. Cook the ground beef until browned, add onion and cook until slightly softened. Pour in the Manwich sauce and stir. Let simmer on stovetop for about 10 minutes. Add enough chicken stock to make the gravy and let it cook down to thicken. Stir in the Vegemite and remove from heat. Let cool slightly and transfer to a food storage container. Place in fridge overnight.
The next day take the frozen Puff Pastry out of the freeze and set on counter top to thaw. Take the Pastry Shells out of the freezer also and arrange on a cookie sheet. Flatten the edges of each shell to remove the decorative ridge, then put the shells in a 350 degree F oven for 20 minutes (as directed on the package). Pull the shells out of the oven and immediately begin filling each with about a small ice cream scoop full of the chilled meat mixture.
On a slightly floured work surface, unwrap and gently unfold one sheet of puff pastry. Use a drinking glass or biscuit cutter (that is roughly the size of the tops of each pie), cut circles in the pastry. If you run out of dough, the bits can be collected and gently kneaded on a floured surface and then rolled out with a rolling pin. Let rest a few minutes and then cut more circles. One package should cover 24 little pies, if you are frugal. Take a circle of puff pastry and hold it in one hand, dip a finger of your other hand in a cup of water and moisten the pastry all the way around the edge on one side. Lay the moistened side down on top of a meat pie, stretching if needed, and then press it against the pastry below with your thumbs. Use a fork to seal the edge all the way around. Continue with the next pie, and the next, until you have finished covering all your pies.
Beat an egg or two in a small bowl and then using a pastry brush, brush the egg over the top of each puff pastry top. A little milk can be added to the egg if you need to stretch it to have enough for all the pies. Use a knife to cut a little vent hole in the center of each pie.
Place the pies in a 350 degree F oven for 20 to 30 minutes, or until the top crusts are shiny and golden brown. I think mine might have baked longer than 30 minutes, but my oven has been weird lately. Just keep an eye on them to get that beautiful golden-brown color. Remove from oven. Let them cool slightly and then remove them from the pie tins. They can be served hot at this point, plain, or with sauce (ketchup).
If you want to serve them the next day, just let the little pies cool completely on a baking rack (removed from the tins) for about 10 or 15 minutes. Place the cooled pies in a single layer in a large zip-loc bag and then pop them into the refrigerator for overnight storage, or they can be individually wrapped, tightly, in plastic, and then placed into a zip-loc bag and into the freezer for longer storage.
The next day place the pies on a cookie sheet and pop them into a preheated 350 degree F oven for about 20 to 30 minutes. If they are frozen they can be removed from their wrapper and baked in the same temp oven, but may take a little longer to reach a safe 165 degree internal temperature. We also tried reheating them in the microwave for about 3 minutes and that worked also. Serve plain or with sauce. (My hubby likes salsa on his – he likes salsa on everything. Ha!).
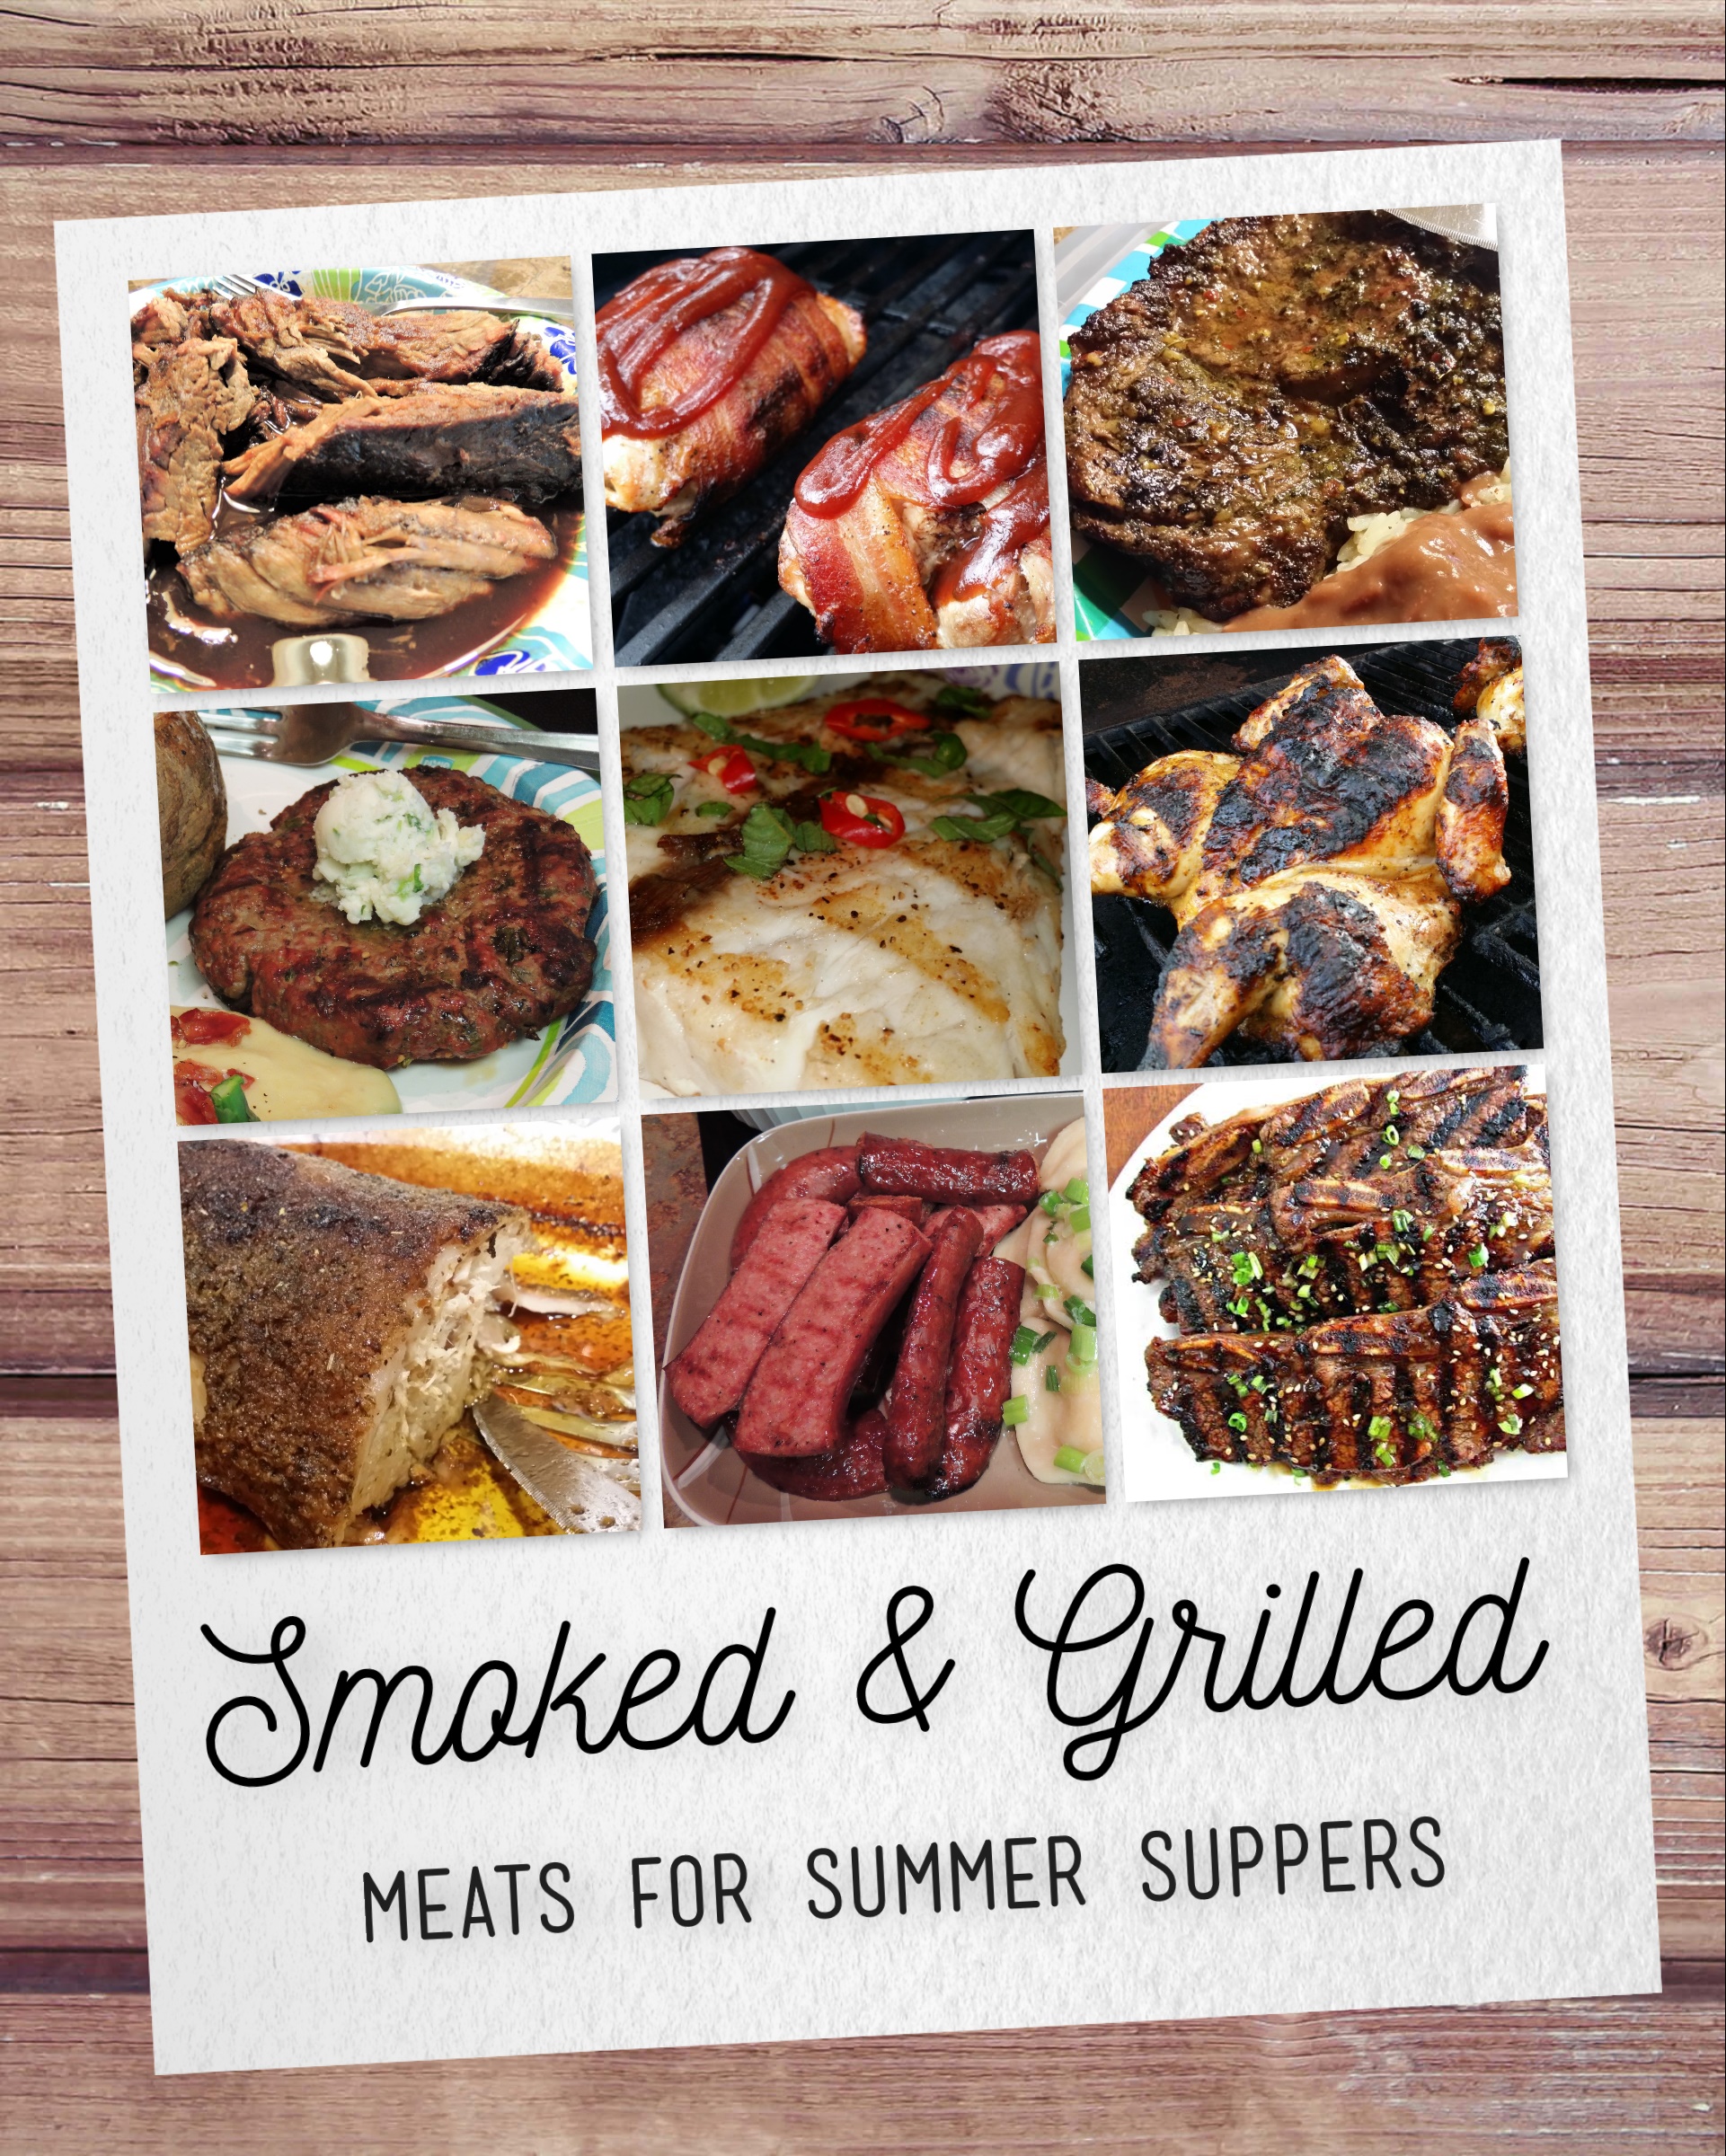
Outback Barbie (what we States-side would just call a BBQ
Once a good fire is established in the firepit, put on some shrimp (what we call prawns), snags (sausages – kind of look like fat hot dogs or short smoked sausages), and Barramundi (a type of fish). There’s also many things that are and have been cooked up over fire in the wild, and that’s what Australians call Bush Tucker (Bush Food).
NOTE: many of the foods in Australia are like the foods we have in America. They harken back to both of our British roots. In Great Britain the meat pies are often served as a pie floater, which means they are perched in a pool of mushy peas.
Other common foods are beef stews, chicken and dumplings, pot roast, meatloaf, baked chicken, and that sort of stuff. There is a large Malaysian, Polynesian, and southern Asian influence also, just as there is Chinese food, Italian, French, Cajun, etc. foods here in the U.S. There are also animals, berries, fruits, and herbs (and even bugs) that are native to Australia, like Wattleseed and Lemon Myrtle, that are often used in Australian cooking. I enjoy watching Marion Grasby’s You Tube channel. She makes lots of Asian infused Australian foods.
Tim Tams
Tim-Tams can be purchased in the U.S. Amazon has them, and they are at World Market. They are kind of like a chocolate wafer/biscuit sandwich with cream filling, and then coated in chocolate.
ANZAC Biscuits
ANZAC Biscuits were a type of eggless oatmeal cookie that were sent to the soldiers who were off fighting in war. They are made of oatmeal and coconut, and to make them properly you must use Lyles Golden Syrup. Australia celebrates a national holiday called ANZAC Day every April which gives the whole country a public holiday from work. It is a day for Aussies and New Zealanders to honor those who fought and lost their lives at war and also to honor those who serve in the military for the freedom of their country. Similar to our “Memorial Day” in the USA.
Australian Women’s Weekly published this “Best ANZAC Biscuit Recipe of All Time.” I say we give it a try!
Ingredients
4oz butter, chopped
2 tablespoons golden syrup or treacle (see tips)
1/2 teaspoon bicarbonate of soda (baking soda)
2 tablespoons boiling water
1 cup rolled oats (see tips)
1 cup plain (all-purpose) flour
1 cup firmly packed brown sugar
3/4 cup desiccated coconut
Method
Preheat oven to 350°F. Grease two large 9 X 13” baking pans; line with baking paper.
Stir butter and syrup in a medium saucepan over low heat until smooth. Stir in combined soda and the water, then remaining ingredients.
Roll level tablespoons of mixture into balls; place 2 inches apart on lined trays, then flatten slightly.
Bake for 12 minutes or until golden. Cool biscuits on trays.
Notes
Spray your measuring spoon with a little cooking oil spray before scooping up the golden syrup; this will help prevent the syrup from sticking to the spoon. Make sure you use rolled oats rather than quick-cooking oats as they will produce a different result. Store biscuits in an airtight container for up to 1 week.
Lamingtons
These can be purchased, but are not difficult to make. They are basically a sponge cake cut into blocks, dipped in chocolate icing, and then rolled in finely chopped desiccated coconut. Martha Stewart has a lovely recipe; click on this link (Martha Stewart’s Lamingtons) and you should end up there, unless they have moved it since this post was created. In that case here is a print out:
Lollies
I found a variety of licorice at World Market. It’s a little bit different from the licorice we’re used to. Sooooo yummy!!!
Pavlova
The utter queen of desserts. It is a meringue-based dessert named after the Russian ballerina, Anna Pavlova. It is said to resemble her flowing layered ballerina skirts. It is crisp on the outside and marshmallowy on the inside, and topped with whipped cream and various fruits. There are vanilla Pavlovas, and chocolate Pavlovas, and I even saw a lemon Pavlova – which would be a perfect way to use all the egg yokes (lemon curd) and help counter balance all the sweetness.
I decided to try using a carton of liquid egg whites to see if it would work, rather than have several egg yokes to have to deal with. It didn’t work quite as well as it probably would have with freshly cracked egg whites, but it did work, and got raves from all of those who sampled it at the party for the first time ever in their lives.
1 cup cage-free 100% liquid egg whites + 1 freshly cracked egg white (save the yoke to brush on meat pies)
2 cups of regular white sugar
½ teaspoon of pure Vanilla
1/8th teaspoon of Cream of Tartar (or may substitute 2 tsp of lemon/lime juice or white/apple cider vinegar)
2 teaspoons Corn starch
You will also need parchment paper, a large cookie sheet, a 340 degree preheated oven, a pan with water, and a rubber spatula, and then some fresh sweetened whipped cream, and an assortment of fresh fruits.
I decided to do the Swiss Meringue technique, which is to dissolve the sugar in the egg whites in a double-boiler before whipping. I placed about 2 inches of water in a saucepan and turned it on to boil. While I waited for that, I measured my egg whites and sugar into a stainless steal bowl that I could perch on top the pot of water. As soon as the water boiled, I turned off the heat and let the water cool for a few minutes. Then I set my bowl of egg whites and sugar on top and used a whisk to stir, stir, stir, lifting the bowl from the pan of water occasionally, just to make sure I didn’t cook the eggs at all. I reached in and mushed the mixture between my fingers a couple of times to see if it was still gritty, and once it felt not gritty I took it off the water completely and started mixing it with the mixer.
I only have a hand-held Kitchen-Aide mixer, and wasn’t sure if it was powerful enough to do the job. It seemed like it took forever for the eggs to start turning a glossy white. Finally, after 10 minutes or so I began to see a soft white mixture, and that is when I added all the other ingredients (vanilla, Cream of Tartar, and Corn Starch, and I also added a splash of lemon juice in case my cream of tartar wasn’t up to snuff – it’s not something I use very often). I scraped down the sides of the bowl and went back to mixing. It took a really long time, maybe 20 minutes or so, but it finally started getting the stiffer peaks. The videos I watched said you can’t over whip it, so I just kept whipping, and whipping, hoping to achieve stiff peaks I saw in videos. When I thought I had achieved it finally, I stopped whipping. My poor little mixer was getting warm.
I got a large cookie sheet, put a dab of meringue in each corner, and placed a sheet of parchment paper to cover the pan (the dabs of meringue keep the parchment from moving around. Then I dumped the meringue in the middle of the pan. I didn’t fuss with trying to shape it. I just sort of made a depression in the center and called it good. Mine didn’t set up tall and hold its shape like the ones in the videos, which is when I realized I probably gave up beating it too soon. Oh well. I guess we’ll see.
I placed the meringue into the oven and immediately turned the temperature down to 190 degrees F, and set the timer for 65 minutes. After the 65 minutes I turned the oven off, but did NOT OPEN THE DOOR. I left the meringue in the oven overnight. I did peek through the window though and it looked to be the same size and shape as when I put it into the oven (hallelujah), only it had a slight baked tint to it, and only had a couple of hairline cracks on the side. Praise the Lord – so happy!!!!!! Hoping for the best.
While the Pavlova was in the oven, I made my whipped cream. I put about 2/3 of a pint size carton of heavy whipping cream into a cold bowl. I added about 2 slightly heaped Tablespoons of powdered sugar, and ½ a teaspoon of pure vanilla. I started the whipping process slowly to incorporate the sugar, and then as the mixture started to thicken a little, I increased the speed. It was messy and there was spatter, but as soon as firm peaks appeared, I whipped a smidge more and then stopped beating (fearing I’d end up with butter). I immediately transferred my whipped cream to a covered container and into the fridge to be used on my meringue first thing in the morning.
I decided on the following fruits: Strawberries, bananas, canned mango drained, blueberries, and kiwi. I waited until right before serving to top and decorate my Pavlova. I started by removing the meringue from the oven and carefully and gently peeling away the paper. I placed my meringue in the center of a large platter, and then dumped my whipped cream on top and spread it out a little. Then I started decoratively piling on the sliced fruits and blueberries (Uh Oh, what happened to my banana? Okay, minus the banana, I must have dropped it on the sidewalk somewhere between my car and the school).
OMGosh, it looked amazing!!!! The kids thought it was fantastic, and the teacher and other staff who sneaked in to try it said it was to die for. No one had ever eaten Pavlova before – which is probably my saving grace.
This is a photo of my attempt:
And what to drink? …
—————————————————————————————————
In conclusion, if we want to sound like Aussies for a day here are some Australian Vocabulary Words:
G’day Mate = hello
No worries = not a big deal
Sanga = sandwich
Lollies = sweets/candies
Bush Tucker = Outback Food (that’s native to Australia, and grows in the wild)
Aussie (pronounced Ozzie) and is why Australia is sometimes called Oz
The land down under = Australia
Wallabys = kangaroo (aka ROOs)
Joey = baby kangaroo
Billabong = a pond in a dry river bed
Dingo = a wild dog native to Australia
Footy = What Aussies call football
Kookaburra = a type of bird native to Australia
Walk-a-bout = a hike or vacation (traveling)
To “Captain Cook” something = is to Take a Look at something
That’s the way our little affair got started. Let me tell you the tale of a Renaissance Escape Room that happened recently, one very foggy mid-autum’s day. The Jr. High students of our quaint little school had been looking forward to this day for weeks. They picked out costumes from the Drama Department’s costume closet and daydreamed through chapel just waiting for the chance to crowd into their classroom and see what awaited them there. Their laughter and excitement filled the room, but in just a moment it was all abrutly interupted by aTown Crier with news! She shouted out to them in a booming voice, and that is when they discovered their mission.
She then exited stage left and our dear “Mrs. Hollingsworth” appeared (which just so happens to be a real English renaissance family name from my own family’s history – how about that for a little historical fiction to go with our turkey legs). She was dressed as the rest, but in a red velvet costume, and when she cleared her throat a faux English accent came out. She addressed the students thustly:
“Hello, I am Mrs. Hollingsworth. I’ve come to help you. We are going to have to be sneaky and very quiet so as not to draw attention to ourselves. We’re going to need to split up. Here, I’ve put some slips of paper in this black sock. Each of you must draw a slip out and then sort yourselves into your teams.
White team, your area of the room is over there. [she pointed]
Red team, yours is over there. [she pointed]
And Green, yours is there. [she pointed]
You must stay in your area until you have completed your tasks. I’ve put together an envelope for each team. You will find them once you enter your area. Read the outside of the envelope and follow its instructions.
Your knowledge of the Renaissance is all that will save you now. Okay, be off!!!!! And good luck.“
The room was divided into 4 areas, using long classroom tables. Each area was clearly labeled, Red, White, and Green. The kids were divvied up into their 3 groups and sent away to their respective areas to begin their escape. It started with reading the outside of the envelope and then dumping out the contents. They had the choice of solving a puzzle that would tell them where to look for their 8 questions, or they could just look for them if they were feeling lucky. Most decided “just looking” sounded good. They found questions stuffed in bottles, and questions stuffed in boxes, others stashed in books , and books made out of boxes. They were high up and low down, on top of things, and underneath.
Let’s start with the Envelopes, please…
(In the interest of full disclosure, the images on the envelopes for the questions and puzzles were taken from a purchase of materials at Teachers Pay Teachers. I’ll tell you more about that a little later in this post. But I used their template for the question cards,although I made many of my own questions using our school’s World Studies Textbook, along with information found in various other books, such as these, and some online sources).
I organized all the Level One questions to be about Famous Artists & Architects of the Renaissance. Level Two questions were about Famous Explorers & Navigators of the Renaissance. Level 3 questions were about Famous Inventors & Humanists of the Renaissance. Level 4 questions were about Famous Thinkers & Philosophers of the Renaissance. Level Five questions were about Famous Writers & Composers of the Renaissance. And, Level Six questions were about Famous Mathematicians & Influencers of the Renaissance.
I made a cheat sheet for each team, printed on both sides. I wanted them to be able to check their answers, but also, since I had included some information that wasn’t in their textbook, I wanted them to be able to find the correct answer for the things they didn’t know about. Here are the CHEAT SHEETS, and QUESTIONS, and MASTER LOCK CODE SHEETS for each team…
Level One Questions Cheat Sheet. Did you know that the Renaissance was a “rebirth” of art and architecture, deliberately anti-Gothic/Medieval? Because of the wealth of citizens, and the church, many works of art were commissioned (that means the artist was hired and paid a certain amount of money for his creation). During the Renaissance the wealthiest and most influential members of Italian society were called Patricians. Before the Renaissance, only royalty, religious leaders, and the very wealthy could afford to have their portraits made. The Renaissance produced a booming economy, and ordinary people could then afford such things. There was a humanist (human virtue) interest in art, and a renewed interest in mythology as subject matter for art. The Medici family, the richest and most prominent family in Florence, used their wealth to sponsor new artists and help fund the humanist movement. The Medici family became wealthy from banking, mining, and trade. The Medici family paid Brunelleschi to build a massive domed cathedral in Florence. Brunelleschi studied ancient Roman ruins to help create his unique architecture. Architecture during the Renaissance combined perfect mathematical proportions, domes, and classic columns. Religious works, portraits, and landscapes were mostly displayed in public; while mythologies and nudes were generally displayed in private homes. Some of the greatest artists and architects of this period are listed below.
Famous Artists and Architects of the Renaissance:
• Filippo Brunelleschi – famous for the dome of the Cathedral of Florence
• Ghiberti – famous for the doors of the Baptistry of Florence
• Sandro Botticelli – famous for his Adoration of the Magi, Primavera, and The Birth of Venus
• Titian – famous for The Assumption of the Virgin, Pesaro Madonna, Bacchus and Ariandne, and Venus of Urbino
• Leonardo da Vinci – often referred to as a Renaissance man, was a painter, sculptor, architect, inventor and writer. He created the most famous painting in the world, The Mona Lisa. Her portrait demonstrated his mastery of 2 new painting techniques, Sfumato (blends colors to create a smoky effect) and Chiaroscuro (uses light and dark to create depth and texture). Some other paintings include Adoration of the Magi, The Virgin of the Rocks, and The Last Supper. His sketch books contained drawing of various machines, some that could be used as military weapons, and others that were beneficial to the advancement of medicine. The final drawing in his sketchbooks was the Vitruvian man inside of a square and a circle. The term Renaissance Man refers to a person that was talented in may areas.
• Raphael – was a painter and architect born in Italy. He painted his greatest work called The School of Athens. He also did an oil painting called The Sistine Madonna. It features two cherubim (angels) at the bottom. These angels have been featured on stamps and t-shirts, and many other memorabilia of modern day.
• Donatello – famous for his Bronze David and his later stone David sculptures, as well as many Biblical figures, his innovation of shallow bas-reliefs, and his larger architectural reliefs.
• Michelangelo di Lodovico Buonarroti Simoni, otherwise known by his first name. He created a statue of David which features realistic muscles, joints, and veins. His works also include the sculptures of Bacchus and Pietà, and painting of the Sistine Chapel ceiling, which was commissioned by Pope Julius II. He also designed the dome on top of St. Peter’s Basilica in Rome.
• Giotto di Bondone – was the first Renaissance painter in Florence, Italy. He broke away from the typical Byzantine style. He painted people and objects that looked natural, not abstract. His paint style became knows as realistic painting.
Level Two Questions Cheat Sheet. Did you know that the Renaissance was a “great re-awakening” of exploration and navigation? During this period, there was a great renewal of interest in the ideas of ancient Rome and Greece. Many of the leaders of the Renaissance, who were born in the different city-states of Italy, found inspiration in these ancient writings and wanted to know more by studying art, architecture, and culture. Some brilliant minds pursued knowledge through the study of math, geography, and science. All of this expansion of knowledge contributed to the exploration of the world, which was both good and bad. The famous Silk Road, a once-prosperous trading route, had become very dangerous with tribal groups reclaiming land and charging fees for passage, or taxes on goods. Europe was desperate to find a route to China and India (where their most treasured exotic goods came from), that would avoid these dangerous middlemen. Many explorers and financiers of the age were also unfortunately desperate for fame and fortune and conquest. Part of the reason explorers were able to travel farther from home had to do with advances in navigation and shipbuilding techniques. Not only did Europeans hope to find direct routes to places with exotic goods, some European kings and queens were inspired to send expeditions out for religious reasons as well.
Famous Explorers & Navigators of the Renaissance
Niccolò De Conti – was a self-funded explorer, mostly by land, and one of the first Europeans to reach Indonesia and Burma. He shared many exciting stories about people, spices, animals, and geography. His travels helped to improve maps of Asia, such as the Genoese, and his experiences also helped to create a map of the world.
Christopher Columbus – made 4 legendary voyages. His maiden voyage was funded by Ferdinand and Isabella (King and Queen of Spain) in April, 1492. That voyage included three ships, the Niña, the Pinta, and his flagship, the Santa Maria. He named the first island where he landed San Salvador, in hopes that the natives would find “salvation in Christ.” He is credited with discovering the “New World.”
Vasco de Balboa – is best known for the discovery of the Pacific Ocean. Balboa started a European settlement in Antigua del Darien, on the east coast of Panama. Hearing that there was a sea on the south side, he journeyed across the Isthmus of Panama and sighted the Pacific Ocean while standing on a peak. The Spaniards called the Pacific the Mar del Sur (South Sea). The expedition descended the mountain and become the first Europeans to navigate the Pacific Ocean off the coast of the New World.
Hernán Cortés – is famous for a legend where off the coast of Veracruz, he burned his ships in a do-or-die effort to conquer the land. He warred against the Aztecs and their leader Montezuma II, and lost all of his treasure and most of his men in The Sad Night.
Amerigo Vespucci – a great navigator, explorer, cartographer, and cosmographer and is where the continents of the Americas got their name.
Ferdinand Magellan – was a Portuguese explorer and navigator who led the first successful circumnavigation around the word. Unfortunately, he did not finish the journey, but his surviving crew members managed to complete this history-making voyage. He was the first observer of a previously unknown species of penguins, discovered galaxies, and was the first European to cross the great Pacific Ocean. He discovered a shortcut through Chile in South America, which became known as the Strait of Magellan. Besides the strait, Ferdinand Magellan also has a rail car (Ferdinand Magellan Railcar), lunar craters (Magelhaens and Magelhaens A), and even a penguin species (Magellanic penguin) named after him. His expeditions showed clearly that all the world’s oceans were connected.
Marco Polo – though born very early in the Renaissance period, probably inspired some of the enthusiasm for exploration through his book, “The Travels of Marco Polo.” Young Marco became a trader, traveler, adventurer and storyteller. His life inspired a children’s game that is still played today.
Juan Ponce de Leon – was rumored to have been looking for the “fountain of youth.” Served as the first governor of Puerto Rico.
Sir Francis Drake – Accompanied John Hawkins in a voyage of the slave trade. Became a privateer who attacked and plundered other ships. Was considered a pirate by the Spanish, but a hero by the English. Was given a fleet of 5 ships by Queen Elizabeth I and his expedition was only the second in history to sail around the world. He brought back lots of treasure for the queen. The queen knighted him and he was known as Sir Francis Drake thereafter.
John Cabot – was an Italian explorer sent by King Henry VII of England to the New World. It is believed that he landed in what is now called Newfoundland, in Canada, and was the first explorer to find that part of the world since the Vikings who had traveled there many centuries before. On his second voyage his ships were lost at sea and the fate of John Cabot is uncertain.
Bartolomeu Dias, Vasco da Gama, and Pêro Da Covilhã are a few other famous explorers, but there’s not enough room to talk about them.
And these were the questions that were hidden all over the room (inside of books, and boxes, and bottles, etc.)
This was their code sheet:
…
Level Three Questions Cheat Sheet. The Renaissance began in Florence, Italy somewhere in the 14th century (1301 to 1400) and lasted until sometime in the 17th century (1601-1700). Humanism played a big role during the Renaissance? Humanism was a cultural movement, and idea that everyone should seek to be educated in arts, science, and literature. It was a time when human emotions were expressed in the form of art. It made the people think about their own lives and less on spiritual ideas. This new idea about education and emotional art quickly spread to Venice, Rome, and Milan, Italy. Eventually, new ideas spread throughout Europe. The start of the Renaissance brought an end to the Middle Ages. The fall of Rome brought the beginning of the Middle Ages. People were more consumed with survival during the Middle Ages. They didn’t have money or time to learn or to study. They were mostly poor farmers/peasants serving the royal class. Advances and progress in science, art, and government were lost during the Middle Ages. This part of the Middle Ages was referred to as The Dark Ages. The Renaissance was a time to “come out of the dark.” Renaissance means “rebirth.” The Black Death delayed economic grown in northern Europe. Many believe the Renaissance began with the invention of the printing press. The printing press made books and written materials more easily available, and because of the rise of the middle class and new found wealth, people were eager to learn and prosper. People began to feel better about themselves and optimistic about life.
Famous Inventors & Humanists of the Renaissance
Erasmus of Rotterdam – was one of the most highly regarded and influential scholars of the Renaissance. He mastered Latin and Greek. He was the first to publish a Greek New Testament, which was an essential tool for the Reformation.
Leon Battista Alberti – a humanist author, artist, architect, poet, priest, linguist, philosopher, and cryptographer.
Thomas More – was a close friend of Erasmus and served in the court of King Henry VIII of England. His work, Utopia (which means “nowhere”) is a story about an imaginary country based on Christian principles, and the philosophy of Plato. In this work More presented his view of an ideal state. More supported the supremacy of the Pope and rejected the Reformation.
Johannes Gutenberg – inventor of the printing press
Leonardo da Vinci – inventor of many, many, many types of machines.
Galileo Galilei – was
Niccolò Machiavelli – created a new branch of political science based on humanist principals, where human interests were the priority.
Francesco Petrarch – was known as the “Father of Humanism.” He studied Ancient Rome’s poets and philosophers. His poetry became inspirational to other writers.
…
Level Four Questions Cheat Sheet. During the Renaissance, people loved learning about new ideas and having their old ideas challenged and changed. They were thirsty for knowledge about art, biology, mathematics, astronomy, chemistry, literature – everything! The printing press made it possible to mass produce books. As books became readily available, more people learned to read, and new ideas spread faster than ever. During the Middle Ages, the Catholic Church played an enormous role in European life, but during the Renaissance people began to have different religious views. The first book to be printed on a printing press was the Gutenberg Bible. During the Renaissance, people (called humanists) were more interested in finding and studying the original versions of texts. They began to interpret writings in different ways, and to ask questions. Universities across Europe played extraordinarily significant roles in the Renaissance and the Reformation. They hosted innovative research in many fields and changed forever European religion and society. Universities and their professors may have had greater influence on society in the Renaissance and Reformation than in any era before or since. That influence endures to this day.
Famous Thinkers & Philosophers of the Renaissance
Francis Bacon – argued for an approach to scientific research based on observation and reason.
Desiderius Erasmus (of Rotterdam) – was a Dutch philosopher and Catholic theologian. Among the humanists he was given the nickname “Prince of the Humanists,” and has been called the “crowning glory of the Christian humanists.” He wanted to introduce humanistic enlightenment into the Catholic Church without breaking with Rome. He mastered Latin and Greek. He was the scholar behind what is now known as the Textus Receptus, when the only Bible available at the time was the Latin Vulgate. His versions were used by Martin Luther for his German translation, and William Tyndale for the first English New Testament, and also contributed to the Robert Stephanus edition of the Geneva Bible and the Authorized (KJV) Bible.
Thomas More – a close friend of Erasmus, served as lord chancellor in the court of King Henry VIII. His work, Utopia (which means “nowhere”) was a book of social and political satire which presented his views of an ideal state.
Filippo Brunelleschi – was at first a goldsmith, and made a living making jewelry. He competed for the commission of the Baptistry doors, but bowed out when they wanted to team him with another artist and went to Rome. While there, he studied ancient Roman ruins, and in the process of making detailed drawings of them, rediscovered a lost artistic technique known as linear perspective. He also solved major problems in architecture and was able to construct the largest dome ever built without wood supports. Because Brunelleschi never wrote down his designs, historians have struggled for centuries to unravel the secrets of his success. It is still not fully understood how he accomplished what no one else has ever been able to do.
Niccolo Machiavelli, an Italian philosopher, created a new branch of political science based on humanist principals, which emphasized human interests over religious views. He wrote groundbreaking books about politics. One small “mirror book” called The Prince, which has been translated into dozens of languages and read by millions. Adolf Hitler and Joseph Stalin kept a copy of it on their nightstands. His last name became a euphemism for everything bad in politics. Lying, cheating, scheming, backstabbing, killing—are all qualities associated with Machiavellianism.
Nicolaus Copernicus – worked out accurate measurements of the earth in relation to the sun.
Garardus Mercator – outlined an approach to scientific inquiry that changed several branches of science. Queen Elizabeth gave him the nickname, “Little Lord Keeper.” He was the first English writer to use an “Essay” format.
And this was their code sheet:
Level Five Questions Cheat Sheet. Thomas a Kempis authored the book, The Imitation of Christ, which is still in print today. The Canterbury Tales is a collection of twenty-four stories written in Middle English by Geoffrey Chaucer and can also still be purchased today. Did you know that the Elizabethan Era is famous for the works of William Shakespeare? It was the Tudor period of England’s history, during the reign of Queen Elizabeth I. This “golden age” represented the apogee (which means the peak or highest point) of the English Renaissance. The era is most famous for it’s theatre, but it was also an age of exploration and expansion abroad. The circumnavigation of Francis Drake brought wealth to England.
Famous Writers & Composers of the Renaissance
William Shakespeare – was an English playwright, poet, and actor. He is credited as having written 39 plays, 154 sonnets, 3 long narrative poems, and a few other verses. His most notable works are “A Midsummer Night’s Dream,” “All’s Well That Ends Well,” “Anthony and Cleopatra,” “Romeo and Juliet,” “Hamlet,” “Macbeth,” “Othello,” “The Comedy of Errors,” “The Taming of the Shrew,” and many more.
Petrarch – was a scholar and poet of early Renaissance Italy. One of the earliest Humanists. His rediscovery of Cicero’s letters is often credited as initiating the Renaissance. His notable works include odes and sonnets to Laura, the idealized subject of his chaste love, Triumphs, Canzoniere, Secretum Meum.
Dante Alighieri – wrote his narrative poem/book, the Divine Comedy in 1308. The first part of this epic poem is Inferno, often referred to as Dante’s Inferno. It describes Dante’s spiritual journey through hell, guided by the ancient Roman poet Virgil. It includes nine concentric circles of torment located within the earth. Inferno (hell) is followed by Purgatorio (Purgatory) and Paradiso (Paradise/heaven). His book is considered the greatest piece of literature written in Italian. Iconographic images from Donte’s Divine Comedy have been painted inside the dome of the Cathedral of Florence, the brainchild of Brunelleschi.
Nicolaus Copernicus – was an astronomer and one of a handful who believed that the sun was at the center of the universe and that the earth and planets revolved around it. He proved in his book, On the Revolutions of Heavenly Spheres, that the heliocentric model was correct, backing up his theory with mathematical equations. It was Johannes Kepler that later proved Copernicus right. Also, Galileo, developed telescopes powerful enough for astronomers to see for themselves that Copernicus’s heliocentric model was accurate.
Machiavelli – is famous for his little book, The Prince, which was a how-to or guidebook for rulers. He was called a lot of bad things, including “devil” and “monster,” but nothing indicates that he was ever terribly “Machiavellian.” He was influential, but never sought power for power’s sake. And every devious strategy he described in the book was based on the actions of others.
Erasmus of Rotterdam – was known as the “Prince of the humanists.” Was a friend of Thomas More and was staying at his home when he composed what is considered one of the most important works of the Renaissance, “In Praise of Folly.” In this work, Erasmus took a humorous approach to old superstitions and corruption in the Catholic Church. He dedicated the essay to More.
Sir Thomas More – was famous for his book, Utopia, which was his idea of the ideal society. He was very religious and served as lord chancellor to King Henry VIII.
Castiglione wrote a book on manners and etiquette (social behavior). His book was titled, The Courtier.
…
Level Six Questions Cheat Sheet. Did you know the Renaissance began in Florence, Italy somewhere between 1350 and 1400 and lasted until the mid 1600s. The Hundred Years War took place between 1337 and 1453 and ended in a French victory. During the Hundred Years War, a peasant girl from France named Joan of Arc believed she was being led by God to drive out the English. The French defeated the English under her leadership, but the English later captured her and burned her at the stake. The Black Death may have started in China and by 1347 had spread to. It claimed the lives of an estimated twenty-five million Europeans. The Renaissance (which means “rebirth”) was a period of great awakening of classical arts, culture, science, medicine, education, literature, art and music. It was a time to “come out of the dark.” The Renaissance began as more and more people were able to afford to learn to read and write, the printing press made printed materials more available, and the Italian seaports traded goods as well as new ideas.
Famous Mathematicians & Influencers of the Renaissance
Nicolaus Copernicus – was the mathematician and astronomer who formulated the model that the Earth revolves around the Sun and not the other way around.
Galileo Galilei – was an Italian mathematician credited with creating the first modern telescopes, which supported Copernicus’s idea that the Earth revolves around the sun.
Johannes Kepler – was a German astronomer, mathematician, astrologer, natural philosopher, and writer of music. He is best known for his laws of planetary motion, as well as his books Astronomia Nova, Harmonice Mundi, and Epitome Astronomiae Copernicanae. He was a contemporary of Galileo Galilei.
Johannes Gutenberg – was a German inventor, printer, publisher, and goldsmith who introduced printing to Europe with his mechanical movable-type printing press.
Henry VIII – was king of England from 1509 to 1547. He is credited with initiating the English Reformation by separating the Church of England from papal authority. He appointed himself Supreme Head of the Church of England. He also invested heavily in the navy. He made radical changes to the English Constitution.
John Calvin – was a French theologian, pastor, and reformer in Geneva during the Protestant Reformation. He developed a system of doctrine known as Calvinism.
Elizabeth I – was Queen of England and Ireland from 1558 to her death in 1603. She was the daughter of Henry VIII.
Pope Julius II – was head of the Catholic Church and ruler of the Papal States from 1503 to his death in 1513. He was nicknamed “the fearsome Pope.” He chose his name in emulation of Julius Caesar. He was one of the most powerful and influential Popes. He established the Vatican Museums and initiated the rebuilding of the St. Peter’s Basilica. He invited Raphael to decorate some rooms in the Vatican. The Catholic Church – used their wealth to make extravagant cathedrals, ornately decorated inside with architecture, paintings, sculptures, expensive doors, and domes.
Martin Luther – was a German priest, author, and hymnwriter Catholic friar responsible for starting the Protestant Reformation.
Lorenzo de Medici – was a poet, known as Il Magnifico (“The Magnificent”), the wealthiest and most powerful man in Florence. He was a supporter of humanist thinkers and a great patron of the arts.
And this was their code sheet:
…
The Question cards were hidden individually all over the room, but each team needed 2 puzzle cards and those were hidden together in a locked box for each team. The students had to find and answer all their questions correctly (8 per team), plus find the key for their locked boxes (which I hid in books and in a soup can), and also the locked boxes themselves. Once they figured out the codes for each of the the Questions. Those codes would then be used for finding the FINAL MASTER CODE that would unlock the final “Escape Door.”
These were the puzzle cards I used, and I got them from a kit I purchased of a Renaissance Escape Room. This is where you can get your kit: Escape Room EDU @ Teachers Pay Teachers. It is very well done and very inexpensive. They actually designed it to be used in connection with the internet, but it works easily without it. Since there is nothing on the website or in the printed materials to forbid me sharing these images with you I included them here. Please, though, go visit that website and download your own complete kit. Please support the hard working people that put these awesome things together. It is only a few dollars and very well worth it. I altered the Level 6 card.
Once some of the students had finished this first part, they needed to wait for all the teams to finish in order to go on to the next part as one big group. So this is when they were invited to feast. And what a feast it was!!!!! Bread and wine (okay, grape juice), grapes and pears and apples, cheese curds, jello – did you know that gelatin was invented (discovered?) in the Renaissance?, carved meats and roasted turkey legs, pies and tarts., beer and ale (okay Root beer, and Ginger ale). The kids sat at a table fit for King Henry VIII.
…
After about 10 minutes, since no one had noticed a certain incognito item that was crucial to the success of the mission, I asked if anyone had seen the tag thing that was hanging from Da Vinci’s the LAST SUPPER painting, which was hanging on the wall by the table of food. Of course the kids made a bee-line over there to check it out.
…
The tag was attached with a string to a note that was taped to the back of the painting. It said:
“What is missing from DaVinci’s Last Supper Table, that is always part of our Communion Table?”
…
They searched and searched…
…and someone blurted out, “THE CHALICE!”
…
Under the CHALICE was a note tucked inside of a little blue envelope that said:
“Look under the drawbridge!”
…and so they did!
…
Under the drawbridge was this TAP CODE/Polybius Cipher puzzle which needed to be solved. It required all teams to come together with their Master Lock Code Sheets, plus the box that had the 3 colored blocks in it (which hadn’t served a purpose yet), and a cipher key.
This was the cipher key to the TAP CODE/Polybius Cipher:
If you’ve never done one of these before, each letter of a word is represented by two numbers. It helps if the first thing you do is draw a slash between each pair of numbers in the puzzle. Then tackle the first pair, which in our case is 55. First go 5 spaces across the top, and then 5 spaces down. So 55 equals W. 32 is 3 spaces over and 2 spaces down and is an H. 43 is 4 spaces over and 3 spaces down, which is O. So, the first word is WHO. To make the puzzle more challenging, remove a few letters in this key.
After solving the puzzle, the question is asked, “Who found the blocks in the box?” One of the kids remembered and ran and grabbed the box. There were three blocks in the box. One block was Green, one was White, and one was Red. The Green block had a code written on it: “Level 3/Q2/Digit2” (or something like that). The White one and Red one also had a similar written code. Each number of the escape code came from a different team’s code sheet.
…
The kids were sure they had figured it out. They jumped up and ran to the door. They twisted the numbers on the wheels of the luggage combination lock to enter the code: [?] [?] [?] and voila, SUCCESS!!!!!!!!! The lock popped open and the kids escaped, exactly 30 seconds before the end of the class period. YAY!!!! They got to keep their heads.
Inside the locked pouch I had placed bookmarks, one for each student, with their names on them, and an exclamation that said, “I Escaped the Renaissance!” The kids got to keep their drink goblets and the bookmarks as souvenirs. And they seemed to have had a really fun time. Half of them had to hurry off to their next class, but the other half stayed and helped me clean up, and haul all my decorations and food service out to my car. What a great group of kids.
…
“To be, or not to be: that is the question.” — “Hamlet”
I want to preface this post by saying if you live near one of these restaurants you absolutely MUST go and have the chocolate cake (and the margaritas, and the guacamole, and….), but if, like me, you live hours away, then I hope to help delight our tastebuds with my less-than-perfect take on their fantabulous desert!!! They serve their cake freshly warm from the oven with a ganache-like frosting oozing over the sides, a scoop of cinnamon ice cream and a dalop of whipped cream on the side, and the whole mess sprinkled with a dusting of cinnamon. Oh my gosh!!!! To die for!
INGREDIENTS
1 ¾ cup granulated sugar
1 ¾ cup all-purpose flour
¾ cup Dutch process, unsweetened cocoa powder
1 Tablespoon ground Saigon Cinnamon
1 ½ teaspoons baking powder
1 ½ teaspoons baking soda
1 tsp finely ground pink Himalayan salt
1 cup whole milk
1 ¾ sticks salted butter, softened
2 eggs
2 tsp Mexican vanilla (I always splash a little over the measurement)
¾ cup boiling water
INSTRUCTIONS
Preheat oven to 350*F. Grease the bottoms of two 8 or 9 inch round cake pans, and line with parchment paper. In a large mixing bowl, combine the dry ingredients. Add milk and butter. Beat on medium speed to 2 minutes. Add the eggs and vanilla. Mix until incorporated. Stir in boiling water.
Divide the batter evenly between two prepared pans. Bake for 30 to 45 minutes, or until the tester comes out clean when inserted into the cake’s center.
Cool on a wire rack for 10-15 minutes. Removed cakes from pans, discard the parchment paper, and transfer them to a wired rack to cool completely.
Now they are ready to be frosted. And this is my favorite ganache recipe. Make yours with bittersweet chocolate, add a teaspoon of cinnamon, and up your ratio of chocolate a little more to make your ganache thicker, since it will be spread on warm cake and you don’t want it to just soak in and disappear.
I know there really is no duplicating the deliciousness of Tiago’s original, but this is a dynamite stand-in for when you are just craving it like no other and live 2 hours (or more) away from the closest restaurant.
And now to the second part of this post… A HAPPY BIRTHDAY cake!!!!!
So… it’s August. It’s my granddaughter’s birthday, and her day fell on a school night this year. Her parents are both full time employed and I wanted to be a blessing, so I volunteered to make the birthday dinner and cake. I am a decent cook, I guess, or at least that’s what my family says, but I am NOT a baker, not by any stretch of the imagination, and so perhaps this is what inspired me to blog about this cake, because it is the ONE baking attempt I’ve made that actually turned out, miracle of miracles, and I figure this to be the greatest reason to save it for posterity, i.e. my grandchildren, if indeed we are all still around and we haven’t been raptured by the time they are grown bakers. (Come Lord Jesus). Anyway, the birthday girl wanted “grammie’s tacos” for supper and sooooo that’s what inspired me to go with the Tiago’s cake for her birthday cake. Her special request was for a 2-layer cake, one layer being chocolate, the other layer being vanilla, and she wanted it frosted with a vanilla frosting. Each cake recipe makes 2 rounds, so I ended up with 4 total rounds of cake, and decided her cake would just have to be a 4-layer cake instead. I didn’t think anyone would mind, unless of course it didn’t turn out, but it did, so yay! 😉
My Vanilla Cake recipe:
INGREDIENTS
2 cups granulated sugar (I use just a little less)
3 cups all-purpose flour
1 teaspoon baking powder
1/2 teaspoon salt
1/2 cup milk
1/2 cup water
3/4 cup (1 1/2 sticks) butter, softened
3 small eggs (or 2 large)
1 teaspoon vanilla (I always let it dribble a little over)
1 teaspoon cinnamon
INSTRUCTIONS
Preheat oven to 350*F. Grease the bottoms of two 8 or 9 inch round cake pans, and line with parchment paper. In a large mixing bowl, combine the dry ingredients. Add milk, water, and butter. Beat on medium speed to 2 minutes. Add the eggs, vanilla, and cinnamon. Mix until incorporated.
Once both of my cakes (chocolate and vanilla) were baked and completely cooled, I wrapped them tightly in two layers of cling wrap/plastic wrap and then tucked each individual layer in a gallon size zip-loc bag, pressing out all the air, and then put them all into the freezer overnight. Tip: Baking the cakes the day before makes for less work on the day of the party, plus the cakes are easier to frost when they are frozen, and they stay super moist and fresh for up to 3 months (so I was told by my cake decorating friends).
The next day I whipped up my frosting. I didn’t have enough cream cheese to make enough frosting to frost the whole 4 layers, so I whipped up a batch of chocolate buttercream as well as a batch of cream cheese frosting.
Chocolate Buttercream Frosting
INGREDIENTS
12 Tablespoons butter, softened
5 (and up to another 1/2) cup confectioner’s sugar (depending on how sweet you want it
1 cup Dutch process, unsweetened cocoa powder
1 teaspoon ground Saigon cinnamon
2/3 cup milk
1 teaspoon Mexican vanilla (I always splash a little over the measurement)
Pinch of salt
INSTRUCTIONS
In a bowl, beat butter until light and fluffy. In a separate bowl, mix confectioner’s sugar with cinnamon and cocoa. Blend sugar mixture with butter, alternating with milk, beating well after each addition. Beat until smooth. Blend in vanilla.
Cream Cheese Frosting
1 stick Butter, softened
8-oz. Cream Cheese, softened
1 (10-oz.) package Confectioners (powdered) sugar
2 teaspoons vanilla
splash of Half-and-Half
Combine butter and cream cheese in a bowl and beat until light. Add confectioner’s sugar and vanilla and beat until fluffy. Add milk only if needed for the desired consistency, beating until smooth. If you want to add a sprinkle of cinnamon also, do it!!!!
About two hours before the party I took the frozen cakes out of the freezer, unwrapped the first chocolate layer, placed it on my cake plate and slathered it with chocolate frosting on top. I unwrapped a white layer, carefully placed it on top of the chocolate one, and frosted it on top with chocolate frosting. Repeated with the last two layers, leaving the very top layer unfrosted on top. I spread my cream cheese frosting all around the sides of the cake first, and then I did the top last. As you can see I am NOT a skilled decorator either, and I won’t even play one on the Internet. But I am happy to report that the cake was delicious, and a hit with the grateful birthday girl.
This cake was so moist and delicious. I wanted to send it home with the birthday girl (no, I didn’t), but her mother wouldn’t let me (say it ain’t so), saying they already had a bunch of leftover cupcakes from the school party at their house (I’m crying on the inside), plus they are trying to eat healthier (and then there’s that). Oh my. Maybe the 4-layer cake wasn’t such a great idea after all. Soooo, in order to keep me from eating it for breakfast, lunch, dinner, and snacks, for the next two days, because I also am trying to eat healthy (I know, so boring right), I decided to wrap it up and tuck it back into the freezer for the next time the girlies come over for a sleepover. I’ll have to let you know if it stays good frozen with the frosting on it.
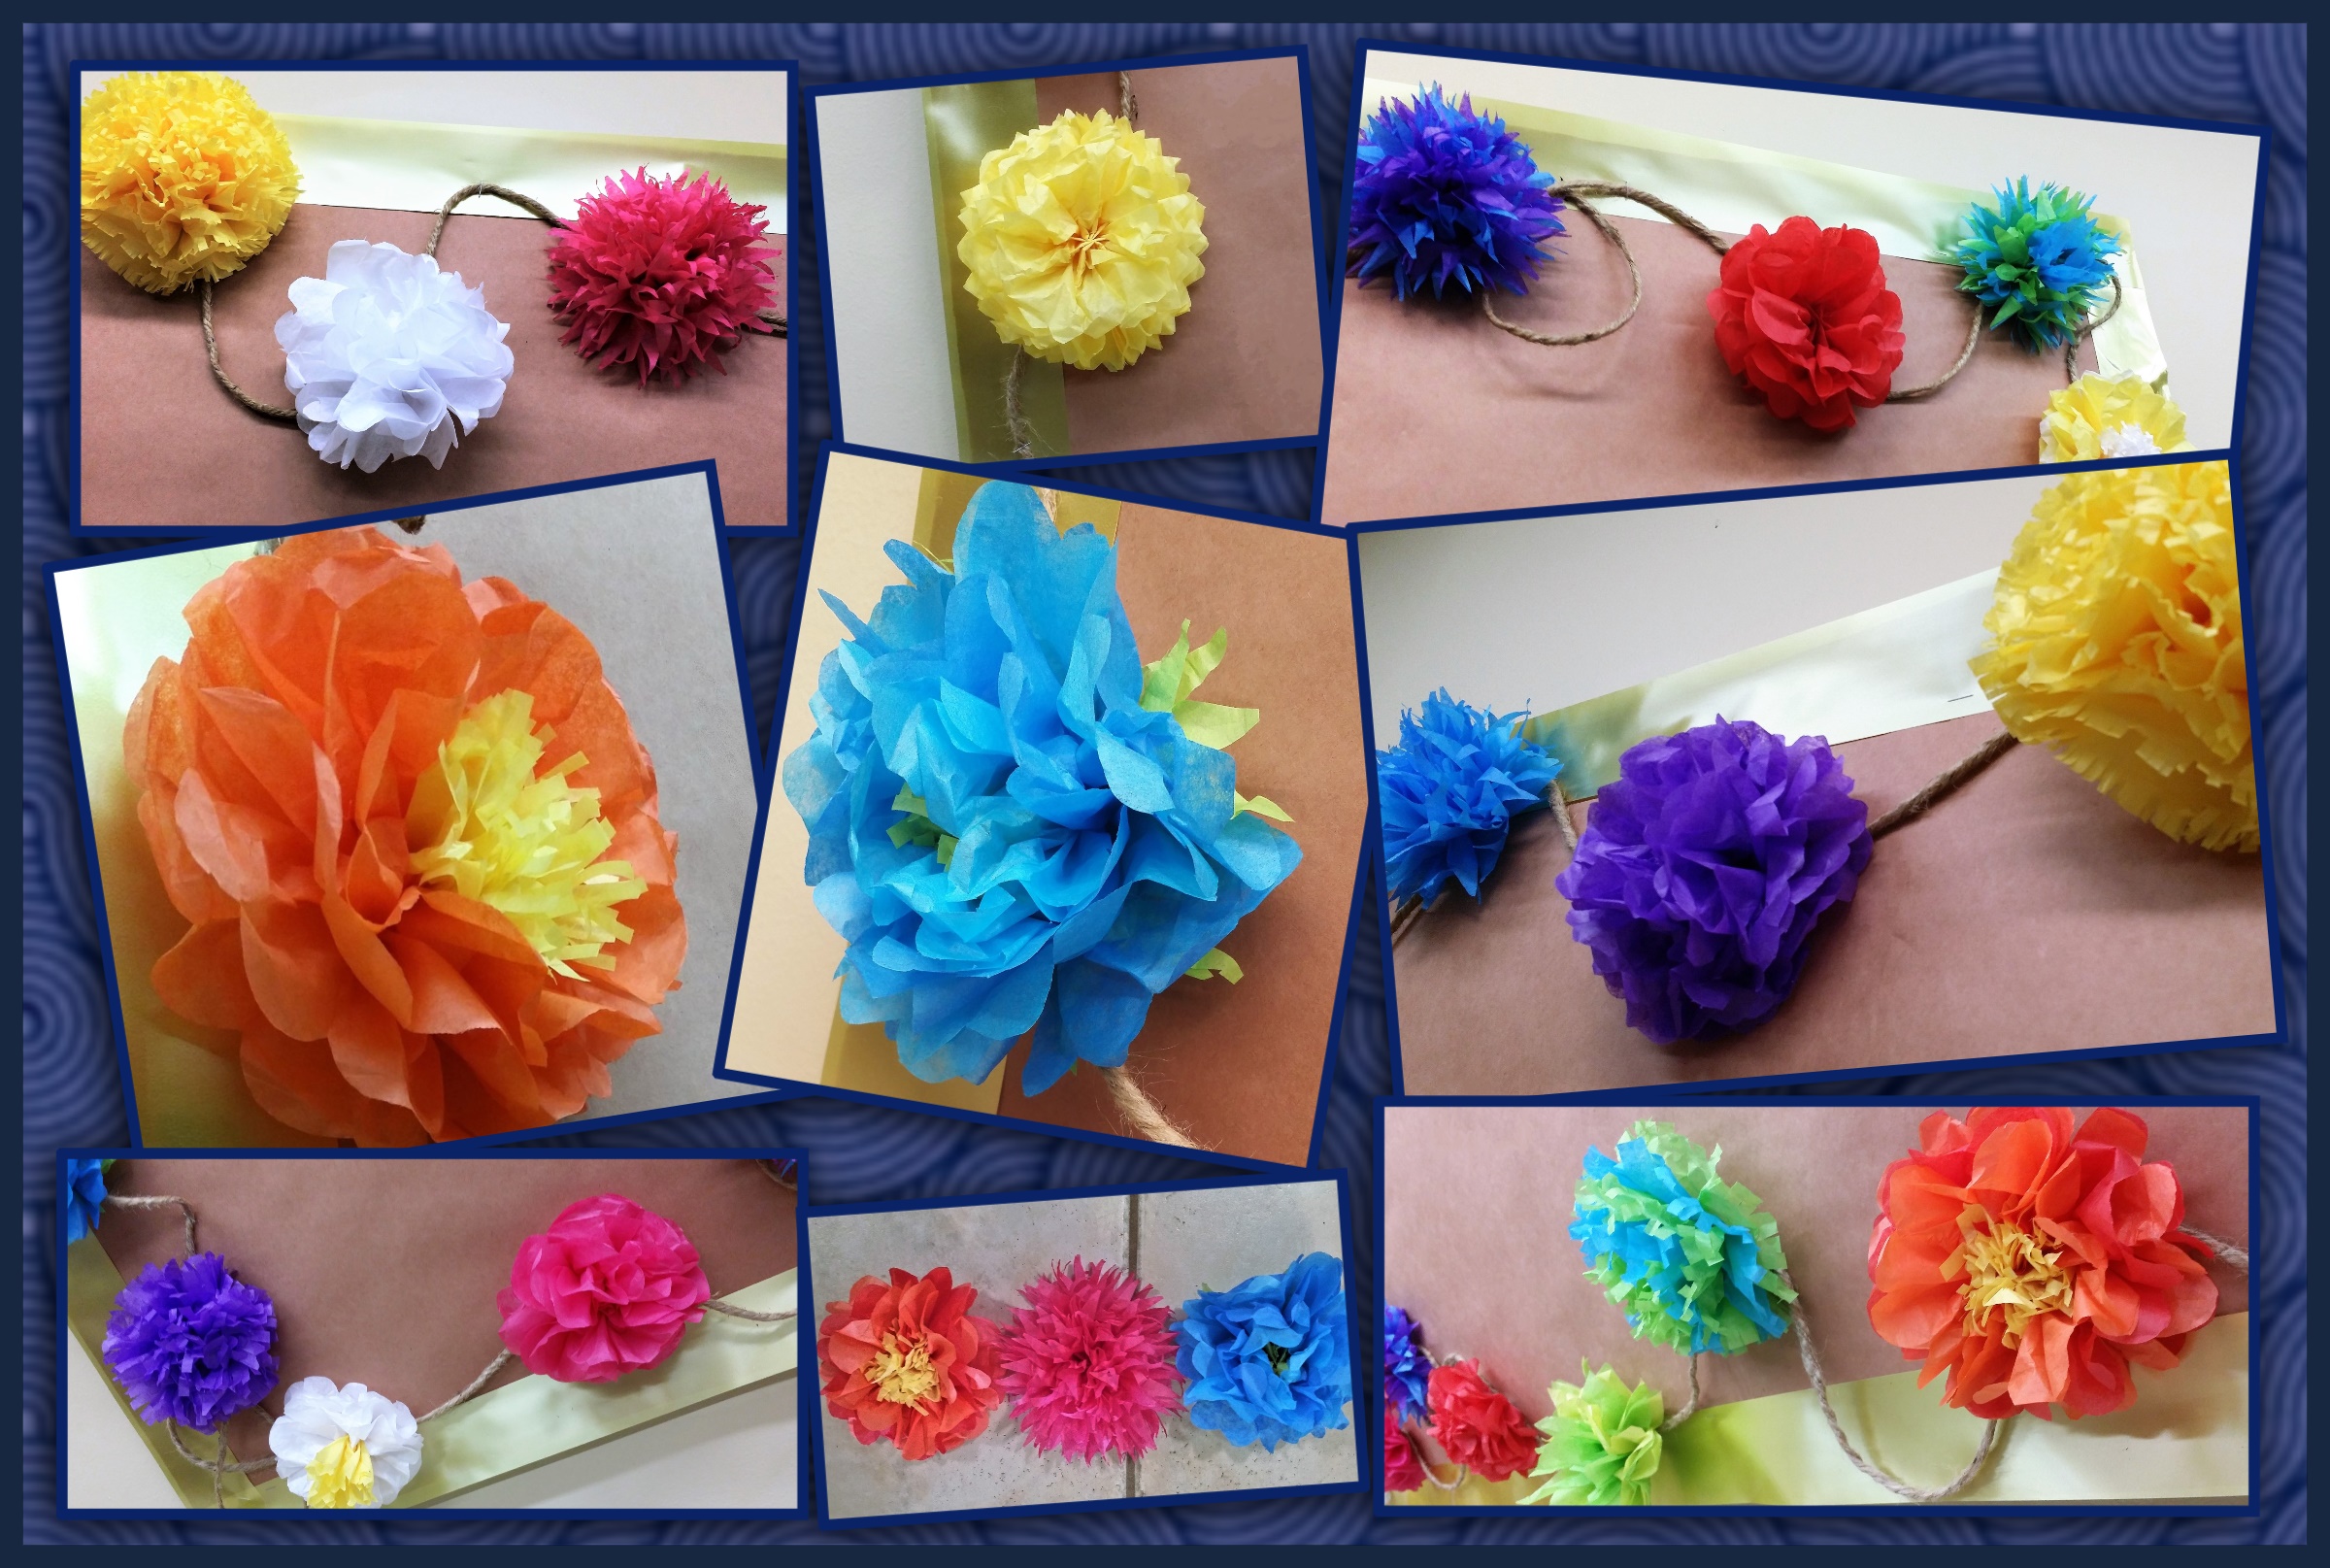
The balloons pictured were a Balloon Arch kit ($7 at the grocery store) that I put together and then wrapped around my hanging dining room light. I had a few of the long bubbly balloons leftover from a previous party (green, red, orange) that I tucked in for a party effect. I would have added more if I’d had them. These kits come with the various sized balloons, and the ribbon (with the holes in it) that is used for holding the balloons in place. I didn’t know how to do this so I spooled up a You Tube video which was very helpful. You basically put all the bigger balloons into the tape, and save the little ones to fill in the spaces afterward, using glue dots, or I used invisible scotch tape. Unfortunately one kit won’t make an arch. Mine only ended up to be about 4 feet long, so I decided to do this with it instead.
And you know what? I was just thinking… (yes, that’s what that awful noise was) …as far as freezing cakes go, if you are an empty-nester and only cooking for two now-a-days… if it is true that naked cake keeps for up to 3 months in the freezer wrapped up correctly, why not bake a couple of cakes and freeze them for those nights when you want dessert, but don’t want to go to a lot of fuss. Cut each cooled round into 4 pieces, wrapping and freezing as described above, then tuck the wrapped pieces into a gallon size zip-loc freezer bag and press all of the air that you can out of the bag. Finally, mark the outside of the bag with the expiration date (so you’ll know it’s still good when you find it 2 months from now and have long forgotten that you did this). Also make up a batch or two of frosting and portion it out into little snack size cups (with lids). Make sure to fill the cups completely so that the lid smashes down on the frosting when snapped on, so there is no air space. Place those cups in a zip-loc bag and into the freezer also, next to the cake. The next time you and hubs are craving something sweet after supper, all you have to do is pull out a piece of cake from the freezer, and a frosting cup, let them thaw on the countertop together. Maybe you’d rather whip up a small batch of ganache instead of the frosting? Cut the cake in half, pop it into the microwave for 30 seconds (if you want it warm), and slather each with thawed frosting or warm ganache. Can be served with a scoop of ice cream (cinnamon, if you can find it), a squirt of canned whipped cream, and a dusting of cinnamon on top, if desired. And there you go… Tiagos (almost) in an instant. Make some coffee to go with your cake and curl up in front of a good movie or go outside and sit by the firepit and enjoy a cool fall evening together.
“For I know that my Redeemer lives, and He shall stand at last on the earth; and after my skin is cast off, this I know, that in my flesh I shall see God. Whom I shall see for myself, and my eyes shall behold, and not another. How my heart yearns within me!” Job 19:25-27
This chicken salad recipe is the favorite dish of my sister’s ever brought to a church fellowship. It was her pastor’s wife (now pastor’s mother) who introduced everyone to this fantabulous salad. The only thing is though, in Wyoming there aren’t ever any watermelon pickles available in the stores, so often times she has to substitute bread and butter pickles, although grapes would probably be a better substitute.
Mrs. Adams is from Texas and apparently, they are a southern thing – watermelon pickles, and since I live in Texas now, I was able to find them at Central Market in San Antonio and send them to my sister, who passed them along to Mrs. Adams, so she could make her famous salad the way it was supposed to be made.
But the crazy thing is, I remember, as a kid, my grandmother making watermelon pickles in the summers. She always wanted us to save our rinds for her so she could make a big batch. She always had a jar of them in her fridge – and she’s not southern at all, although my grandpa was, and so maybe that’s where she got the idea. Maybe his mom (or stepmom) made them? Well, at any rate, a few years ago, I decided to try and make them myself, ‘cause San Antonio is a long ways to drive for a jar of pickles. As far as recipes, all I had was a Ball Blue Book for inspiration, and after trying both types that they had listed, I realized that neither of them remotely resembled the taste or gooey consistency of the ones my grandma used to make.
Then, a few weeks ago, on one of my many visits to Facebook, I saw Brenda Gantt had posted a video of herself making them, and after watching, I decided hers looked a whole lot like the ones my grandma made, very thick and gooey and sticky. So, I thought I’d try her method out and see if it was a match.
Now, if you aren’t familiar with who Brenda Gantt (#BrendaGantt) is, well, let me just say she is this most darling little ol’ cooking grandma lady from Andalusia Alabama who ever put videos on Facebook. They are down-to-earth and practical, charmingly unprofessional, and downright homey. Shot by her using a little ol’ cell phone, in her very user friendly, fully equipped, but dare I say, a little bit old school kitchen, where friends and grandchildren frequently make an appearance. Sometimes Brenda is all done up, make-up on, hair done, cute outfit, and other times she is in her housedress with no makeup and hair going every which way or stuffed under a ball cap. She is a popular lady with lots of friends and a loving grandma and mother. She is a patriotic and Christian lady who shares her faith and love of country often, and has the most adorable personality. She is a widow and retired school teacher, and has a little Bed and Breakfast that she operates called Cottle House. She is so beloved that her videos often get pirated and posted to You Tube (without her permission), but perhaps you have seen her there? Below is the link to the little video she did of the watermelon pickles, which I hope you’ll go and watch here. If you have a cell phone you can aim your camera at this QR code and then click on the link that will pop up on your screen. It will take you right to the video.
This summer I have had such a craving for watermelon, and because of the abundance of watermelon rinds, I decided I would give Brenda’s recipe a whirl. Let me tell you, it turned out exactly like my grandmother’s recipe, except my grandma’s had whole cloves in hers. I thought they might be even better if they were spicy, so I added some garden jalapenos along with a lemon and a few spices just to see how they would turn out. Weeee doggies, they are my absolute new favorite!!!!! I love them soooooo much that I have made two whole watermelons worth now. They make the chicken salad even better than it already was, if I may say so myself. 😉
I made a little video capture collage from Brenda’s video. I thought it might be helpful to aid in the instructions for my watermelon pickles. As you can see, it took her a couple of days to put this one together, sometimes she is fixed up and sometimes not, and if you watch the video you will get to meet one of her beautiful granddaughters and a prankster grandson.
MrsH’s Spicy Watermelon Rind Pickles
INSTRUCTIONS: (numbers correspond to the numbered sections of the Brenda collage above)
1. Cut watermelon in half. Scoop out the red part
2. Cut the rind into strips about an inch wide
3. Cut the green skin off each piece of rind
4. Cut the rind into bite-size pieces
5. Once the rind is all cut up you should have a pretty good pot full. I actually transferred my rinds into a large ceramic bowl to set overnight instead of leaving them in the metal pot.
6. Cover the rind pieces with sugar (do not stir). Use regular, white, granulated sugar.
7. Make sure the sugar covers every piece. Let the rinds sit, uncovered, on the counter for 8 hours or overnight (do not stir). The next morning you will see that the sugar has leached the liquid out of the rinds and has formed a sort of wet crust on top.
8. Pour the liquid and rinds into a large pot and bring to a boil on the stove. (I added about a dozen small, really spicy jalapenos from my garden (stems removed, chopped up), plus one lemon sliced, two cinnamon sticks, and about a heaping tablespoon of Ball Pickling Spice – which I added to a reusable tea bag, and let it all cook together on a medium boil for about 2 hours or so.
It will cook down quite a bit. The rinds need to cook until they are translucent. Sometimes it is hard to tell if they are translucent while they are boiling, so I remove a piece from the pot and let it cool to see. Once the pickles are translucent, they are ready to be jarred, but in the meantime, while the rinds are still cooking, it’s a perfect time to get the your jars ready.
Get a few clean jars with lids and place them in a pot of water. *I used old olive jars that I had saved, and their lids, and to my utter amazement they actually sealed when they cooled.
To prepare the jars, bring water to a boil in a large pot on the stove and keep it at a simmer. Let the jars and lids simmer together while the pickles finish cooking, until you are ready to use them. Use tongs to take one jar at a time out of the boiling water, tip it upside down to drain it well, and then place it upright on a towel near the pot of pickles.
9. Use a canning funnel and ladle to fill the jars with pickles. Fill the jars almost to the rim, but leave about a half inch of headspace. Clean the rim of the jars with a clean, wet paper towel so that there is nothing sticky or any pieces of pickle on it. This will ensure that the lid seals properly so no oxygen gets inside to spoil the contents.
10. Using tongs, take a lid from the boiling water, tap off the water, and place the lid on the jar. Screw the lid on hand tight. Set the jars back away from the heat, or on a wire rack, and allow them to cool until the lids seal.
Since these pickles are not being water-bath canned, and because I used previously used lids instead of brand new canning lids and rings, it is safest to keep the pickles in the refrigerator. If you would like to make some that are guaranteed safe for long term storage, here is the Ball Blue Book recipe:
I would recommend using Brenda’s pickles within a month, which is no problem when the goal for making them is to also make Mrs. Adams’ Chicken Salad (recipe below). These pickles are so delicious just to snack on, as you would any other type of pickled veggies. They are sweet and spicy and I can’t wait for you to try them. Brenda says that she first tried these as preserves spread on a buttered biscuit, accompanying a steak dinner she and her husband dined out on at a restaurant. I tried them that way and they are delicious. My grandmother always had them around as a side for meals and snacks. She always added whole cloves to hers while they were cooking, along with cinnamon sticks. I like the Ball pickling spices, it has all the spices in it. And the cinnamon stick, jalapeno, and lemon rind just makes them perfect.
Mrs. Adams’ Crunchy Turkey/Chicken Salad
Original recipe courtesy of the Ladies of Grace Bible Baptist church (Casper, Wyoming), Favorite Recipes cookbook, published 2002 by Morris Press Cookbooks. I modified her recipe slightly to avoid any copyright liabilities.
4 cups cooked turkey or chicken, pulled and chopped into bite-size pieces
1½ cups chopped celery
3/4 cup chopped green onion
1 (20-oz) jar of watermelon rind pickles, drained (if liquidy) and chopped
1 (5-oz) bag slivered almonds
1½ to 2 cups Mayonnaise, as preferred
The juice of 1 lemon (or a Tablespoon of bottled lemon juice)
½ teaspoon freshly ground black pepper
1½ teaspoons salt, or more to taste
2 Tablespoons Curry Powder (I used Hot Madras), more or less to taste
2 cups Chow Mein Noodles (wait to add until just before serving)
Toss turkey/chicken with the next 4 ingredients until well incorporated. Mix the mayo, lemon juice, salt, pepper, and curry powder together and pour over chicken. Mix well. Add more mayo if a creamier texture is desired. Add more salt, pepper, curry powder – if more is desired. Cover tightly and keep refrigerated until ready to serve. Stir in chow mein noodles just before serving. Great dish to bring to a church pot luck, Bowling pot luck, Bunco night, cards, dominoes, or other game night get-togethers. If you are a grandma and live in the same town as your kids and grandkids, take a batch over to them to be a blessing after a long day at work. Can be made up to 12 hours before serving. Add the chow mein noodles just before serving.
“Give us this day our daily bread, and forgive us our trespasses as we forgive those who trespass against us.” Matthew 6:11-12
For Teacher Appreciation Week this year, my gift was to coordinate parents to bring breakfast and lunch for the staff each day of the week. After everyone had signed up for their day and meal, there was one slot left to fill, which I took. I ended up with breakfast on the last day.
The parents really spoiled the teachers and staff with lots and lots of goodies, and since I had the luxury of knowing what everyone had brought, I decided they might all appreciate something that wasn’t sweet and unhealthy. I’m blessed to have a wonderful neighbor who is a farmsteader and has a farmstand every other week. She bakes the most wonderful bagels. So I grabbed up a couple dozen of those along with a dozen of her farm fresh eggs, and a package of her farm grown sprouts, plus some herbs out of my own garden. Most of the rest of the ingredients were store bought organic.
I was surprised by how many of the staff had never heard of Lox Bagels. Well, there’s a first time for everything, and they are all big fans now! 🙂
Lox Bagels
Smoked Salmon
Hard Boiled Eggs, sliced
Cucumbers, sliced thin
Tomatoes, sliced thin
Red Onion, sliced thin
Avocado, sliced
Lemons, cut into wedges
Alfalfa Sprouts
Chives, minced
Capers, whole or minced
Dill Weed, minced
Everything Bagels (1 to 2 dozen), sliced in half
Arrange Lox ingredients decoratively on a platter or charcuterie board, cover with plastic, and keep refrigerated until ready to serve. When ready to serve set out on a buffet table with little appetizer forks and spreading knives. Place chives, capers, and dill weed in small bowls and keep chilled until ready to serve. When ready to serve nestle them in with Lox ingredients on platter. Place whipped Cream Cheese in a bowl and keep chilled until ready to serve. When ready, set next to Lox platter. Keep Bagels in a plastic bag until ready to serve. Fresh bakery bagels can be purchased ahead of time, wrapped and frozen, to keep them fresh. Remove from freezer the day before and let thaw in the refrigerator. Slice room temperature bagels in half with a bread knife and stack pairs in a kitchen towel lined bread basket and cover with another tea towel. Set the buffet table near an outlet so those who wish to toast their bagels may do so. Set a toaster near the basket of bagels.
Cream Cheese Spread:
2 8-oz blocks Cream Cheese, softened
½ cup Sour Cream (may substitute heavy cream – add more if a creamier spread is desired)
2 Lemons, juiced
2 Tablespoons Dill Weed, chopped
¼ cup Red Onion, minced
Place all ingredients for the cream cheese spread in a large bowl and mix with a mixer on medium speed until blended, then increase speed to high and whip cream cheese until smooth, about 30 seconds to 1 minute. Transfer to a bowl, cover and refrigerate until ready to serve. If made the night before the flavors will have time to meld.
Mimosas
Various fruit juices, chilled
Sparkling cider/grape juice (non-alcoholic Champagne), chilled
Strawberries, orange wedges, fresh mint sprigs, etc. for garnish
Champagne Flutes
Arrange garnishes on a platter. Fill a tub with ice. Nestle the juices into the ice. Set the fake champagne (or wine, if appropriate) either in the ice also, or next to champagne flutes. Place the garnishes in front for easy access. Set out a small set of tongs for self-serving of the garnishes. Let guests assemble their own beverages.
Cold Brew Coffee
3 bottles of your favorite brand Cold Brew, or make homemade (recipe here)
Fill a tub with ice. Set the cold brew bottles (you may want to have both regular and de-caf) into the ice. Nestle the Half-and-Half into the ice also. Set a bucket of ice near the cups, with a serving scoop, and arrange the syrups, stir sticks, and straws so they are accessible. Let guests serve themselves.
“Now you are the body of Christ, and members individually. And God has appointed these in the church: first apostles, second prophets, third teachers, after that miracles, then gifts of healings, helps, administrations, varieties of tongues.”
I preface my post here by first telling you, I used to be an iced tea (black tea) drinker for many, many years. I drank it all day long. It replaced my Coke/Pepsi addiction, which I had for many, many years before that. I gave up sodas because they just have waaaaay too much sugar in them, plus the carbonation had an adverse effect on my digestive system after I had my kids. Sweet tea took over as my thirst quencher after that, until I decided that the pink stuff I was using to sweeten it wasn’t good for me either. I only used it because sugar rots your teeth. I eventually learned to like unsweet tea, until I discovered agave nectar – but they don’t usually have that at restaurants. Okay, honey then.
After a recent surgery my doctor visited my hospital room and saw my small cup of iced tea on my dining tray. He wagged his finger at me and said, you better lay off that stuff. It’s is very dehydrating. Well darnit! That was the first iced tea I’d had in months. When I started chemo I defaulted to drinking water ONLY. Chemo is very dehydrating, and I worked really really hard to keep myself hydrated through all my treatments, but there were weeks after each treatment when water just didn’t taste good at all. Food didn’t taste good. Nothing tasted good. I switched from drinking my water out of a metal cup, to drinking it out of glass, and that seemed to help, but it was just plain hard some days to choke water down. My doctor suggested flavored pedialyte, so I got some of that, and I drank lots of Pom (pomegranate juice), and watermelon water – the no sugar added brand.
And then I discovered hibiscus tea. What a wonderful little beverage. My dearest neighbor had it at her farmstand one Saturday morning, and her husband mixed me up what he called a “suicide.” Remember those? That’s funny, because that’s exactly what we called them also, when I was a teenager. It’s when you fill your glass with a shot of every soda pop variety in the dispenser. Well the only two things my neighbor had to mix together were the hibiscus tea (which had basil leaves and mint in it) and lemonade with slices of real lemon. It was fantastic. It sure is great to finally have my taste buds back. So I’ve started making my own versions of hibiscus tea, and that’s what I drink now all day every day. It’s how I stay hydrated through these last chemo treatments, and during these HOT summer months.
Our local grocery store sells the dried hibiscus flowers by the bag in the Mexican products section, so I stay stocked up with several bags on hand, and I make about a half-gallon of the stuff every other day. I keep lemons and limes on hand, and I grow my own mint and basil (my sweet neighbor grows balsamic basil and it is the best). I’m trying to grow my own balsamic basil, but until it gets big enough to harvest I just snag it from her at her farmstand on Saturdays.
.
My Method
.
I start by tossing a couple small handfuls (approximately 1 heaping cup) of the flowers into a short drinking tumbler, cover it with a strainer to hold the flowers in the glass while I run the water into the glass and over the flowers. The strainer also keeps the flowers from escaping while I’m dumping out the water from the glass. I rinse and dump and rinse and dump about 3 times. This gets all the dirt out of the flowers.
Next, I fill a small saucepan a little over half full with filtered water – approximately 2 cups. I actually use hydrogen/alkaline water that I buy locally in 5 gallon containers. Then I bring the water just almost to a boil, to the point where I see the steam rising and small bubbles forming. I dump the rinsed flowers into it, give it a stir, and then turn the heat down to low, and let it simmer for about 10 or 15 minutes, until the water has turned a deep dark red color. I then take it off the heat and let it cool completely.
Once cooled, I set up my half-gallon mason jar with a canning funnel and set the strainer inside. The funnel keeps the strainer in place while I pour the simmered tea through the strainer into the jar. I then refil my saucepot with filtered water and let the flowers soak again just a little more, so I get all the last bit of goodie out of them. I pour that second tea water into the jar, catching the flowers in the strainer. I like to toss the spent flowers into my garden. They make great compost. Finally, I fill the jar all the rest of the way full with just plain filtered water.
I like to add my sliced lemon, sliced lime, mint leaves, a sprig of basil, or whatever other fruit (sliced strawberries, orange wedges, watermelon slices, sliced cherries or grapes), to my jar of tea and let it all mingle for several hours overnight before I drink it. If you just like lemon, do that. Or just mint. Or just lime. It’s all good. You could even make ice cubes out of the tea so it doesn’t delute as you’re drinking it. Or freeze grapes and use them in place of ice cubes.
I twist on my lid and place my tea in the refrigerator. And hopefully I’ve made this new batch while I still had a huge glass of the old batch left to tide me over until this new batch is ready the next day.
I like mine sweetened, and over ice. I mostly use stevia, or Swerve, or Monk Fruit powder to sweeten my tea. Occasionally I use agave nectar, maple syrup, date syrup, or honey — raw, unfiltered local honey is the best!!!!!!!!
I only sweeten by the glassful. I do not sweeten the whole half-gallon.
My favorite things to add to my tea are lemon slices, mint sprigs, and sometimes I do a whole “fruit salad” (blueberries, strawberries, black berries, raspberries, orange slices, etc.) and even add a sprig of lavender to the tea as it steeps. Sometimes I even toss in some green tea leaves as well. In fact, I harvest the leaves from my fig tree, wash them really well, dry them, and crush them. They are supposed to be cancer fighting, but I don’t care too much for the taste. Adding just a little bit to my hibiscus tea as it brews barely changes the flavor, and it’s a good way to get them into my body. You can even play around with concoctions, like camomile, orange blossoms, and various edible flowers, just to add variety.
So, there you go. Now it’s your turn to go grab yourself some dried hibiscus flowers, whatever fruit you like, and a sweetener that you prefer, and whip yourself up a batch of this lip-smacking yumminess! Stay hydrated this summer my friends, in the most delicious way!!!!!!! And if you know someone who is going through cancer treatment, be a blessing and take them a nice big jar of this wonderful beverage. If you are feeling especially generous you can include a bag of the dried flowers and a lemon so they can make another batch when they run out. People did so many wonderful things like this for me and each and every one of them were a blessing. May God bless you for all that you do.
“No longer drink water only, but use a little wine for your stomach’s sake and your frequent infirmities.”
I just so happen to know a classroom of 2nd Graders, who are about to finish their book, Mr. Popper’s Penguins, and a teacher who is generous to allow an ol’ gray-headed granny to workout her party animal muscle on an excited group of fun-seeking little readers.
Like most classroom book parties, this one features decorations, games, snacks, and a movie. I did some research here in order to gather ideas, since I have not read this book.
I thought the kids might like dressing up like little penguins (large white t-shirts with long black jackets, and puffy yellow penguin-feet slippers) and then putting on some of the same acts from the book, that Captain Cook, Greta, and their adroable waddling mini-mes did, for their teacher and classmates. I’ll divide the classroom into three groups. They won’t know why until I take the first group outside in the hallway where they’ll put on their costumes and then hear my instructions for putting on a silly show. The first group will come out on stage and do some marching – which may involve the passing off of a penguin egg or baby penguin (stuffed animal), and I’m hoping they will really get into character to make the show entertaining for their audience. That group will then exit the stage, take off their costumes, and take their places back at their desks. The next group will enter the hallway, don their penguin apparrel, take their turn on stage, and have a silly boxing match with oversize boxing gloves and some silly fancy footwork. Finally, the last group will take the stage, climb up on bean bags and slide back down, to the whoots and cheers of their adoring classmates.
I’ll put up a map of the United States on one of the classroom walls, and during the movie, pause to let the kids move penguin stickers across all the places where the penguins put on their shows.
The kids will get to watch the movie and at the same time nibble on some fun snacks, which I’ll serve on penguin paper plates, with penguin paper cups and napkins.
SNACKS:
Penguin Rice Crispy Treats
— OR — a more healthy alternative…
Penguin Banana Snacks
Goldfish crackers
Snowcones in a cup – our little school happens to have a snowcone machine – hurray!!!!
You have to try this Sonic Ocean Water Recipe. Make your favorite Sonic Ocean water at home.
Ingredients
3 tbsp Water
3 tbsp Sugar
1 tsp Coconut Extract
4 drops Blue Food Coloring
24 oz Sprite ((can be 3 cans or from a 2-liter that you can get for cheap))
Soooooo, now you know my plans. I’ll head back to this post in a few weeks and add pictures, just as soon as my little munchkin-hearts get to have their epic-antarctic party!!!! I’m so looking forward to it. ❤
I was recently blessed with the task of throwing a book party for my granddaughter’s classroom, to celebrate their finishing reading the book, The Sign of the Beaver. It was a “Dinner and a Movie” party, in which I was asked to provide the food and decorations. The party took place over their lunch hour. I set the food up as a buffet, and arranged a few minimal decorations while the kids were in PE, which mostly consisted of stuffed animals and a river. After a brief explanation of all the foods, the kids were allowed to help themselves and eat while they watched the movie. And when the movie was over the teacher did a little activity with them to compare the movie to the book. The kids were so excited, and not only did they eat everything, they asked to take all the leftovers home with them. All that was left was a little bit of stew in the bottom of the crock pot, so I would say it was a success! What a great group of kids, always so grateful and always a ton of fun to spoil.
This has become, honestly, one of my very favorite volunteer activities in the whole wide world to do, even though it is a ton of work. It is a labor of love! In order to prepare, I read the book and made a list of all the foods mentioned, as well as took notes of some decorating ideas that I hoped would kind of bring the book to life for the kids. I had never read this book before, and shame on me, because it is a terrific little book. I am a huge fan of historical fiction and children’s novels are just my speed. I’m not much of a reader, for a plethora of reasons, but when it only takes about three hours to knock a book out, that’s in my wheelhouse. So, after reading it I set out doing some research to find authentic northeastern tribal recipes for the foods mentioned in the book. It couldn’t have been more perfect for this party to come during Thanksgiving/hunting season, and during the last harvests of our gardens. And for a beverage I brought two jugs of “Penobscot River water” and let the kids sweeten it with a bit of maple sugar.
I decided to center the party around the idea of the Bear Feast that was celebrated in Attean’s village after Attean and Matt encountered and killed a bear in self-defense while they were out retrieving a rabbit from one of the snares they’d set up. I also wanted to incorporate some of the wild game, the maple sugar Attean gave to Matt, and some of the fruits and berries and native foods that would have been eaten back then.
DECORATIONS: The book’s setting is in the late summer into early wintertime of the year, early/mid 1700’s Maine, and in the vicinity of the Penobscot River, where Matt and his dad cleared a tract of land, built a cabin, and planted a garden. Attean and his Indian tribe lived nearby. It was a wooded area teaming with wildlife, maple trees, and wild berry bushes. So for decorations I decided to gather up all the stuffed animals we had that would represent the animals in the forest: a bear rug/blanket, bunny rabbit, fox, deer, squirrel, fish, turtle, beaver, and Attean’s useless dog. I also gathered up a blue bedsheet that I used to make a river with the first time I threw this party (I used bulletin board paper the second time), a pile of sticks on one end to make a beaver dam, some rocks to line the river (and the second party I used the rocks to hold the tree upright), and because we’re in Texas, I used a Buc-ees Beaver the first time I threw this party to sit on top of the beaver’s sticks. I used some gorgeous, colorful, fall paper maple leaves to scatter around beside the river. I drug my little tree to the school to set beside the river and I used a Drimmel Tool to carve a beaver design into a tree stump, which I used as a decoration. The Teepee shown in the photo below was an afterthought, I wish I would have remembered to bring it to the party, but considering the northeastern Indians actually lived in wigwams, rather than teepees, t’was no biggy I guess.
In case you’re thinking of throwing this party and would like a great big bear rug to spread on the floor for your party, don’t go spend a fortune at an Outdoor store before you check your local thrift stores. I frequently find a giant teddy bear at Goodwill for $6, which would work marvelously as a rug with all the stuffin’s pulled out. I already had a bear blanket at home that I thought would work just dandy. BTW: Goodwill is a great budget friendly place to bargain shop for theme parties!
FOOD: Some of the foods mentioned in the book consisted of Johnny Cakes, which Matt’s dad made the last morning for breakfast, before he left his 12/13 year old son in Maine to care for the cabin and garden alone, while he went back to Massachusetts to retrieve Matt’s pregnant mother and sister. He left Matt with his good rifle to hunt with, and for self defense. Some of the animals they hunted were deer, rabbits, and fish with one precious fish hook.
I made deer jerky out of a couple packages of deer cutlets gifted to me by one of the parents. My sister has the absolute best jerky recipe on the planet and so I used it, and only modified it slightly, so it wouldn’t be too spicy for the kids. This is my adaptation:
Sister Geraldeen’s Beef (or venison) Jerky
1 3-lb roast, fresh, raw (it is easiest to slice if placed in the freezer for about an hour)
16 oz. Soy
Sauce
2.5 oz.
liquid smoke
1 cup dark
brown sugar
1 tsp Salt Lick dry rub, with garlic (equal parts cayenne powder, black pepper, and garlic powder)
Stir together in a large oblong glass baking dish until sugar is dissolved.
Using a sharp knife, slice lean meat into thin strips (1/4 to
1/8” thick and 1/2 to 1” wide). Slice across the grain for a tenderer
product. Lay the slices down into the
marinade until the meat takes up most of it.
Cover with plastic wrap, pressing it down on top of the meat so the
marinade covers the meat completely.
Place in refrigerator overnight.
In the morning, drain off and discard all of the
marinade. Then mix together these dry
ingredients in a separate small bowl:
1
Tablespoon cracked Pepper
1 Teaspoon Crushed Red Pepper flakes
1 teaspoons of Chili powder
Sprinkle over drained meat strips and toss with hands to coat evenly (I use latex gloves). Preheat food dehydrator. Lay strips of meat on each rack leaving small spaces in between the pieces for good air circulation. Stack the racks in the dehydrator, cover, and allow to dehydrate undisturbed for about 8 hours. Check the meat for doneness, and let it dehydrate more if still wet or bendy when cooled. Depending upon your dehydrator, it could take up to 24 hours or more for the meat to fully dry. Meat is done when a piece removed and cooled will break in half easily and not bend or fold at all without breaking.
If you don’t have a dehydrator you can buy a package of disposable Aluminum Grill Liners (I use KT’s Clean BBQ brand available from Home Depot) or online, and completely cover the racks in your oven with them, then lay the strips of meat on those. Also lay a sheet of aluminum foil in the bottom of your oven to catch the drips. Adjust the racks to that they are placed in the center of your oven, and then set the oven temp to its lowest setting. Mine will only go as low as 170 degrees F. Prop the oven door open a little bit with a wooden spoon so the moisture can vent out as the meat dries. It won’t take as long to jerk your meat in the oven at that temp as it will in the dehydrator, so check it after about 4 hours, and then every half hour or so after that until the meat is dried as described above.
Place finished jerky in clean, sterilized mason jars, and use a Food Saver to remove all the air from the jars. Place jars in a cool, dry place for up to two weeks. For longer storage, place in refrigerator and eat within a month.
Johnny Cakes
I ran out of time to make these for the the first party (poor time management the morning of the party), but I did make them for the second party, and the kids loved them, especially with real butter and pure maple syrup on top.YUM!
Ingredients
1 cup flour
1 cup
cornmeal
2 eggs
2 1/2 teaspoons baking powder
2
tablespoons sugar
1 teaspoon
salt
3/4 cup
milk
1/2 cup
water
1/3 cup
melted butter
1 teaspoons
vanilla
1/2
teaspoon nutmeg
Butter or oil for frying
Instructions
1. In a large bowl, mix cornmeal, flour, sugar, baking
powder, nutmeg, and salt. Make a well in the center, and pour in milk, water,
egg, vanilla and melted butter. Thoroughly mix until pancake mixture is smooth.
2. Heat a lightly oiled cast iron or frying pan over medium
high heat. Scoop about 2 tablespoons of the batter onto the pan.
3. Fry each Johnny cake until brown and crisp; turn with a
spatula, and then brown the other side.
4. Remove and serve immediately with syrup and/or butter. These can be eaten hot for breakfast, or cold as a snack later in the day.
Three
Sisters Harvest Stew(a.k.a. Bear Stew)
INGREDIENTS
1 pound beef stew meat
1 teaspoon
ground cumin
Kosher salt, as needed
Black pepper, as needed
2
tablespoons neutral oil, such as canola
1 large
yellow onion, diced
3 garlic
cloves, minced
4 cups
turkey, chicken, or beef stock, or combo (low sodium bone broth),
Season beef with cumin, salt and pepper. Heat oil in a Dutch oven or large heavy-bottomed saucepan over medium-high heat until it shimmers. Add beef, in batches if necessary, and cook, turning as needed, until lightly browned on all sides, 5 to 6 minutes. Transfer beef to a bowl and set aside.
Add onion to pan and sauté, stirring occasionally, until translucent, 5 to 7 minutes. Add garlic and sauté, stirring occasionally, until lightly colored, 2 to 3 minutes. Return beef to pan, along with stock and bring to a boil. Lower heat to medium simmer and cook meat until almost tender. Add carrots, celery, potatoes, and bring to a boil. Cook 20 minutes, then lower heat to medium.
Add beans, tomatoes, corn, chilies and squash, and cook, uncovered, over medium heat until stew has thickened, about 10 to 15 minutes. Reduce heat to medium-low and simmer, covered, for about 10 minutes. Add cilantro and season to taste with salt and pepper.
COOKING NOTES
Three sisters is so-called because Native Americans inter-planted corn, beans and squash in the same mound. The 3 thrive together because corn provides a natural pole for the beans to climb, the beans fix nitrogen in the soil, and the squash leaves shade the ground to prevent the growth of weeds, and also helps to hold soil moisture.
The Iroquois Indians made a wonderful boiled corn bread. They made flour by pounding corn into corn flour. To make bread, they mixed water with the corn flour. Sometimes cooked beans were added, or berries or nuts. The bread was kneaded and formed into small loaves. The loaves were dropped into boiling water and cooked until the bread floated. Boiled corn bread was served both hot and cold. They also used the same bread mix to bake bread by putting it on clay tablets in the fire. They used sunflower oil to fry bread. Below is a recipe for steamed corn bread with beans, wrapped in corn husks.It is remarkably similar to tamales. This was the kids’ FAVORITE food of the party. I would have bet against that. Good thing I made a big batch!
Ingredients
3 cups masa harina (corn flour used for tamales)
½ cup rendered bacon fat (many traditional Native American recipes use fat as a flavor element and source of vital nutrients)
2 teaspoons salt
2 teaspoons baking powder
1 cup cooked beans (really any type of bean will work but small brown beans are traditional. I used great northern beans)
2 cups hot cooking liquid from beans
Dried corn husks
Directions
Set up a steamer on your stove top using a steamer basket fitted over a pot with plenty of gently simmering water.
Thoroughly rinse about 25 corn husks. Place corn husks in a large pan of boiling water. Place another smaller plate or bowl on top of the corn husks to keep them submerged. Set husks on low heat to soften while you prepare the dough.
In a large mixing bowl, combine masa harina and bacon fat. Using your fingertips (I used latex gloves), work the lard into the flour until it is evenly distributed. Add salt, baking powder, beans, and the hot cooking liquid from the beans. Use a spoon to stir mixture until a thick, sticky dough comes together, it will be about the consistency of chocolate chip cookie dough.
Use your hands to scoop ¼ cup-sized portions of dough, working quickly as dough will still be hot from the bean cooking liquid. Shape the dough into a ball and flatten slightly into a 1-inch thick oval, which is your “broadsword.” Wrap the broadsword in a corn husk, folding the husk around the dough on all sides to completely enclose it. Tear off small strips of corn husks to use as ties around the broadswords to hold them closed. Place the wrapped broadswords vertically in the steamer basket as you go. When all broadswords have been added to basket, lower it over boiling water, cover the steamer basket with a tight fitting lid, and allow broadswords to steam covered for 1 hour or more.
After 1 hour, check the bean bread- if the corn husk pulls away easily, the broadswords are done cooking.
Broadswords may be eaten hot, or stored in refrigerator to be eaten cold or rewarmed in oven or microwave.
Roasted Pumpkin
Members of the Chippewa tribe near Lake Superior have been enjoying this sweet and savory side dish for generations.
Ingredients:
1 small sugar
pumpkin
1/4 cup
maple syrup or maple sugar
1/4 cup melted butter
Instructions:
Cut the cap off of pumpkin and stab it about 4 times with a sharp knife. Scoop out membranes and seeds. (Wash seeds in a colander and discard all membranes. Place seeds in a bowl and add 1 tablespoon sea salt, toss and allow them to soak a bit while you prepare the pumpkin, then spread seeds on a very lightly oiled, or parchment lined cookie sheet and sprinkle with some extra salt. Place seeds in oven with pumpkin, but check and remove seeds once they have roasted – about 15 minutes or until you hear one or two pop. Check by removing a seed, let it cool, and then eat it. If it is crispy it is done). Add butter and syrup/sugar to the pumpkin. Replace cap on pumpkin and place whole in a large ovenproof bowl . Place pumpkin in a 350 °F oven for about 1 hr. and check for tenderness. Depending upon size, and variances with ovens, it may take up to 90 minutes for pumpkin to cook fully. You know it is getting close when the pumpkin looks like it has a tan and the sides are soft to the touch. Check tenderness by piercing side of pumpkin with a fork. If the fork punctures through the skin and into the flesh easily, it is done.
Dried Fruit & Nut Cake
I’m not much of a fruitcake person, but I think it is because I don’t care for the usual candied fruits that come in fruitcake, such as pineapple and green cherries, etc. Using dried fruits is so much better.
Ingredients
3 cups
all-purpose flour, sifted
1 cup
firmly packed dark brown sugar
1/3 cup
Molasses
1 ½ sticks
of Butter (3/4 cup), softened
3 teaspoons
baking powder
1/2
teaspoon salt
3 large
eggs
3 teaspoons
pure vanilla extract
1 cup each rough chopped dried: apricots, plums, figs, pears, dates, golden raisins, blueberries
1 cup each: walnut halves, pecans,
almonds, pistachios
Instructions
1. Position a rack in the lower third of the oven and preheat the oven to 320°F (150°C). Spray the loaf pans (either two 9-by-5-inch 8-cup loaf pans or 8 mini loaf pans) with vegetable oil spray and then line the bottom and sides with parchment paper.
2. In a large bowl, mix the first eight ingredients together
using a mixer on low speed. Increase
speed to medium and beat until batter is smooth, scraping the bowl often with a
rubber spatula. Stir in the dried fruit
and the nuts and mix thoroughly, with your fingers if necessary. Set aside.
3. Use an ice cream scoop or scrape batter into the prepared
pans.
4. Bake until the top is deep golden brown and the batter clinging to the fruit seems set, about 30 minutes for smaller loaves, 10 to 15 minutes longer for a large loaf. Insert toothpick to check for doneness. Toothpick should come out clean. Don’t let cake overbake or it will be dry. Tent loosely with foil if the cake appears to be browning too much. Cool completely in the pans on a rack.
5. When completely cool, remove the cake from the pans. The
cake keeps, wrapped airtight in foil or plastic wrap, for several weeks at room
temperature or at least 3 months in the refrigerator. It can also be frozen for
at least 6 months.
6. To serve, cut into thin slices with a sharp heavy knife.
I didn’t make the fish for the first party, although I was given some trout for the party and had a wild daydream about having the kids following me outside to the park just a block from the school, where my husband could be tending a fire next the creek that runs through it, and on the way having them mark their trail just like Attean showed Matt to do in the book, so they could find their way back to class, but reality check – there really wasn’t enough time for that kind of shenanigans, and besides that, the only way to eat trout is freshly caught and properly cleaned, otherwise I think it would have been a waste of time to try and fix it for the kids. I’m sure they would all have turned up their noses and shied away from having even one tiny bite of the stinky fish, plus the teacher was surely not going to appreciate her room smelling of stinky fish for days either. For the second party I cracked open a can of Herring fillets, and to my surprise the kids ate the whole can.
This however, is an outstanding recipe for any fish. Give it a try with walleye, snapper, perch, bass, cod, redfish, tilapia, etc. If using fillets, lay all the ingredients on the fish and wrap with bacon rather than placing the bacon inside.
Ingredients
Salt and
Pepper
1 Big Fish
(Salmon, Trout, Perch)
Butter
Lemon
Slices
Onion slices
Green Bell Pepper slices (or Jalapeno strips)
Several strips of thin sliced precooked (but not crispy) bacon
Directions
Set up an outdoor kitchen: a hot fire with glowing coals surrounded by large flat rocks; a big jug of fresh clean water for rinsing the fish, plus the knife, and your hands.
Carefully kill, gut and scale each fish immediately upon catching it, and rinse well in clean water.
Sprinkle inside of fish with salt and pepper. Place pats of butter, lemon, onion, and bell pepper slices inside the fish and lay a strip of precooked bacon down on top of them in the cavity of the fish. Tie wet string around the fish to hold the stuffings in and to hold it together while it grills.
Or, rub fish with butter on both sides and wrap tightly in a big piece of tinfoil and crimp the edges closed. Wrap again in a second piece of tinfoil.
Bake on a smooth flat rock really close to the fire (but not in it!), or if you have a grate, lay the fish on the grate above the fire. Or, fry in butter in a heavy cast iron pan over the fire.
Use a long handled spatula to carefully turn the fish about half way through cooking and also to remove it from the fire.
Note: The amount of time it takes to cook varies depending on the size of fish and how close it is to the fire. Just keep checking it, it will be done when the flesh flakes easily with a fork. May take from 15 to 20 minutes if on a grate over the fire, or to up to an hour if laying on a hot rock next to the fire.
Recipe adapted from one found by Lauren McArdle …who learned this from her Mohawk Grandmother in Saskatchewan.
“Remember Your congregation, which You have purchased of old, the tribe of Your inheritance, which You have redeemed…” Psalm 74:2
Togas (made from white sheets and king-size pillowcases), with golden rope for belts
Laurel wreath head garlands – given as prizes for Olympics (made from green posterboard and spray painted with gold glitter paint)
Sandals (made from cardboard and ribbon)
Decorations
Classroom door: Pillars on each side, sheer white curtains draped over the top, and a “Phi-Beta-Kappa (ΦΒΚ) TOGA PARTY HERE” sign hanging crooked on the doorknob. *P.S. Phi Beta Kappa means “Love of wisdom is the guide of life” or “Philosophy is the governor of one’s life.” (*https://en.wikipedia.org/wiki/Phi_Beta_Kappa)
Food table (in center of the room): Push all the desks together to make a table and cover it with layers of colorful tablecloths and draped tulle. Make a centerpiece of tall candlesticks and metal vases with flowers. Set finger foods around on the table like a buffet. Set out fixings for Gyros. Set out platters of cheese curds or cubes, almonds, and varieties of olives; figs, dates, pomegranates, artichokes, and pedestal-bowls heaped with green, red, and purple grapes spilling over the sides.
Chase lounge chairs covered in sheets or cushions: poolside or lawn lounge chairs are what I had in mind.
Music CD: Animal House Soundtrack (some of it is fun and useful), and if you have a computer, or even better, a Roku and TV available there are some marvelous Greek instrumental music (You Tube) videos (some up to 2½ hours long) out there that offer both music and a slide show of Grecian landscapes that are awesome for ambience.
Photo Booth props with backdrop: Amazon.com
Food
Greek “grazing” table (grapes, olives, figs, pomegranates, artichokes, almonds, gyro ingredients: flat bread, Tzatziki, roasted chickpeas or grilled chicken pieces, grape tomatoes, spinach, and cucumbers, Fava dip, *cheese curds, white or purple grape juice in wine bottles, and Baklava for dessert
Wine goblets with handles on both sides (like sugar bowls w/o lids), which you can later use to explain an ancient Greek men’s game of throwing out the dregs.
Activities/Games
Foot &
Hand Washing
I provided a tub of clean water on
a mat beside the classroom entrance, and paper towels, for the kids to wash
their own feet and hands. As soon as
they entered the room – with their correct “first” foot, I asked them to remove
their shoes and then explained the custom of foot washing. And then, since food was often eaten with
hands, the Greeks also had a custom of hand washing before meals.
Symposium
I introduced several Table Talk discussion
topics while the kids were sitting around in the recliners eating (I have a Box
of Table Talk cards that I use for dinner table discussions – Food for Talk by
Julienne Smith, which the teacher said she also has, that her mother sent to
her. It must be a grandma thing! 😉 Too funny!).
Indoor
games
I introduced Marbles, Dice, and KnuckleBones (which are available on Amazon: “Gogo Jacks, Rainbow Jacks, Osselets – New Vintage Game of Jacks Full Set of 5 with Instructions.” by On The Go) to the kids, explaining how each is played, and also…
Guess Who? (Family Box game, but
replace caricatures that come in the game with my Greek versions – Greek teachers,
philosophers, historians, artists, poets, playwrights, etc. I made sheets of these which you can download
and print for free).
I broke the class into 4 groups of 2 or 3 kids. Each group started at one of the four games. I gave them about 10 minutes to play their game and then signaled them to stand-up and move clockwise to the next game.
Crafts
I was prepared for two craft projects: Making sandals, and Making earrings, but we ran out of time to do these. (They were honestly a back-up plan for inclement weather anyway).
Olympic games (Outdoors), End-of-the-school-year theme
Lunch box discus throw – I filled a lunch bag with dried beans to give it some weight
Pencil javelin throw – I used an old broom handle, painted it, and sanded a tip on one end
Long jump – I used full plastic water-bottles for the weights, the larger the better
Alarm clock shot-put – I painted a clock face on a rock
Reading/Writing/Arithmetic Foot Race Relay – stack books up as obstacles on the track
Chariot/horse racing – I made stick horses, but wrap-around cardboard chariots where my other plan “I have finished the race…”
Thumb or Arm Wrestling (after a popsicle break, the kids can pair up at the picnic tables)
Alternative
Outdoor games
Medusa Freeze Tag
Story Time
Gracee read to the kids for the last 15 minutes out of Aesop’s Fables (FYI: Aesop was born in Greece).
These are some wonderful books that offer tons of ideas, games and crafts a few of which are featured in this post ( I purchased my copies used from online booksellers):
RULES TO GAMES
Knucklebones:
The game of knucklebones, also known as astragaloi in Greek and tali in Latin, can be played in several different ways. The simplest and perhaps most common form of this game, played by children, is comparable to the modern-day game of jackstones: all five small pieces are simultaneously tossed into the air, the goal being to catch as many as possible on the back of one hand. Another variation of the game involved players throwing one or more of the pieces into a small dirt hole in the ground or into the opening of a small vessel. He or she with the best aim would win.
Marbles
Marbles is a fun game that
has been enjoyed for thousands of years.
Setting up the Game
Use yarn to make a circle on
the carpet about 3 ft in diameter.
Place 5 of each players (usually
three players) small marbles inside the circle, near the center, and arrange
them in an X pattern. The one big marble
in your set of marbles is your “shooter” marble.
To determine who goes first have
each player sit about 10 feet from a wall and shoot or roll their shooter marble
to see who can get the closest. The closest player goes first. Next closest
goes second, etc.
Taking a Turn
To take a turn the player
kneels outside the ring and then To shoot your marble correctly, tuck your
thumb, pinkie, and ring finger into your palm. Wrap your pointer finger around
the marble, holding it against your thumb knuckle. Then, with your “knuckles
down” on the ground, use your thumb to flick the marble from your finger
towards the group of marbles in the center of the circle.
The first shot must be taken
from the edge of the circle, but the next shot can be taken from the spot where
the shooter landed.
Pick up all the marbles you
knocked out of the circle and place them beside you, then have another turn. If
no marble is knocked out of the circle, the other player then gets a turn.
Winning in Marbles
When the ring is empty of
marbles the game is over. The player
with the most marbles at the end of the game is the winner.
Marble terminology
Taw – shooter marble. It’s
usually a heavier marble than the ones in the center so it can knock them out
of the circle. Other names for the
shooter marble include Aggie, boulder, Steele, king, and middleman.
Mibs or Kimmies – the
marbles in the center of the circle.
Lagging – shooting or
rolling the marble to a line to determine who gets to go first.
Mibster – marble player
If you and your friends have sets of collectable or keepsake marbles and you are pretty good players, you may choose to play for “Keepsies.” Most of the time Marbles are played “for fair,” which means that every player keeps their marbles, but sometimes players keep the special marbles they win. One of the first things you want to decide is if you are playing “keepsies” or “for fair” before you begin a game.
I picked up the cheap yoyo’s from the toy section at Walmart and they were kind of frustrating for the kids to use. The string wasn’t tied tight around the center of the yoyo, so it made it hard for them to get it wound back up again once the string came unwound. Grrrr. Maybe you can figure out a solution for this?
Guess Who? – Greek version
I made cards to replace the cards that came with the game.
Click HERE for the FREE PRINTABLES I made, so you can make your own Greek Guess Who game.
How to Play Guess Who?
To play this game, first choose your game board and then flip
all your frames upright by tipping the game boards. Players sit facing each other so they can’t
see the other player’s frames. Shuffle
the MYSTERY cards and place them face down where each player can reach
them. Each player chooses one MYSTERY
card and places it in the slot in the front of their game board.
Notice the differences in each of your 24 faces. Some are girls, some are boys, some have a
red, or black, or yellow background, some are wearing hats, some have beards/mustaches,
some are wearing clothes, some are looking to your right, etc.
The youngest player ALWAYS goes first. On your turn you may ask ONE yes or no
question. Example: Does your person have a gray background? Your opponent must then answer either “yes”
or “no.” If they answer “yes” you may flip down all the faces on your board
that do not have a gray background. After you ask your ONE question, and flip down
any faces you can, your turn is over.
If you are an expert on famous
Greek people in history, here are some questions you may want to ask for this
special GREEK VERSION of the game:
When it is your turn again, and you think you have figured
out who the MYSTERY person is, you may guess.
Example: Is your person Archimedes?
But don’t guess until you are sure, otherwise if your guess is wrong you
will lose the game. If your guess is
right you win the game. When you win you
may slide your game counter over one point for each game you win. Begin a new game by flipping all your faces
back up, and drawing a new MYSTERY card.
The first player to win five games is the champion.
Recipes
Roasted Chicken or Chickpea Gyros
from LiveEatLearn.com
Simple and delicious
Mediterranean inspired vegetarian Roasted Chickpea Gyros with refreshing
tzatziki sauce.
1 15 oz can chickpeas or 1 ½ cup soaked chickpeas
if starting from dry, drained and rinsed
1 Tbsp olive oil
1 Tbsp paprika*
1 tsp ground black pepper
1/2 tsp cayenne pepper
1/4 tsp salt
1 rotisserie chicken, deboned, skin removed, and chicken cut
into bite size chunks
6 pita flatbreads
1 cup tzatziki (see below)
**This can be purchased
ready-made. Look for it in the deli
section at Walmart (they carry it at
mine, so it is likely at yours as well)**
1/4 red onion cut into strips
2 lettuce leaves roughly chopped – I
used baby spinach
1 tomato sliced – I used grape tomatoes sliced in half
I sliced and chopped additional cucumber as a gyro topping
INSTRUCTIONS
Prep: Preheat oven to 400 degrees F. Pat dry chickpeas with paper
towel, removing any skins that may come off. Gently toss chickpeas with
oil, paprika, black pepper, cayenne pepper, and salt. – I poured olive oil over the chickpeas in a zip bag, and then I mixed
the spices together and sprinkled over the oiled chickpeas and tossed them in
the zip bag to coat. This method worked
very well!!!
Roast: I oiled my baking sheet
and let it get hot in the oven BEFORE I spread the chickpeas on it. Spread chickpeas onto greased rimmed
baking sheet and roast for about 20 minutes, until lightly browned but not
hard. I tested, tasted, tossed, and let my chickpeas bake for about another
10 minutes.
Assemble: Spread some tzatziki onto one
side of the pita, then sprinkle in ¼ of the chickpeas and add veggies. Fold in
half and enjoy!
NOTES
*If you don’t like spicy foods, halve the amount of paprika, black pepper, and cayenne pepper. Taste a chickpea before baking and adjust flavors as needed. The yogurt does mellow the spiciness of the chickpeas.
If your pita breads crack when you fold them, cover them with a moist paper towel and microwave for 20 to 30 seconds. Assemble your sandwich immediately after microwaving.
World’s Best Tzatziki Recipe
from LiveEatLearn.com
This is the best tzatziki recipe!
Refreshing cucumber, creamy Greek yogurt, and zingy lemon make it the perfect
condiment for just about everything.
Thicken yogurt: Strain yogurt using a cheesecloth or paper towel for 30
minutes to 3 hours to remove excess moisture (can skip this step if you’re in a
hurry).
Prep cucumber: Meanwhile, sprinkle a pinch of
salt onto shredded or diced cucumber and spoon into cheesecloth or paper towels. Let sit
for a few minutes then wring it out to draw out moisture.
Mix: Mix together yogurt, cucumber, dill, garlic, and
lemon. Season with salt and pepper to taste.
NOTES
Add a touch of extra-virgin olive oil for flavor and shine.
The flavors become less tangy as you let them sit, so your
tzatziki might just be best the next day.
Fava Dip
Ingredients
2 cups dry yellow split peas, rinsed
3/4 cup roughly chopped red onion
3 scallions, chopped
4-6 cloves garlic, peeled and chopped
1/3 cup extra virgin olive oil, plus more for serving
2 teaspoons salt
Paprika for garnish (optional)
Instructions
1. Place the split peas in a large
saucepan with 5 cups of warm water. Set the burner to high heat and allow the
mixture to come to a boil. Skim any foam that forms on the surface of the
liquid, then add the red onion, scallion, and garlic. Return the liquid to a
boil, then turn the heat down to low and cover the pot. Simmer, stirring
occasionally, until the peas are very tender, about 15 to 20 minutes.
2. Once the peas are tender, turn off
the heat and add the olive oil and salt. Use an immersion blender to puree the
mixture (or process in batches in a tabletop blender). Taste and add more salt
as needed.
3. The fava will thicken as it cools.
Serve topped with a generous drizzle of olive oil and a sprinkle of paprika;
provide crusty bread and/or sliced vegetables for dipping.
Baklava
from fifteenspatulas.com
This heavenly baklava combines honey-soaked layers of flaky phyllo
pastry with spiced walnuts. It’s a great make-ahead dessert!
Ingredients
For the Baklava:
16 oz walnuts
1.5 tsp ground cinnamon
1/4 tsp ground cardamom (plus a pinch of ground cloves)
1/4 tsp salt
2 boxes phyllo dough* thawed
1 cup butter melted
For the Syrup:
1 cup water
1 cup sugar
1 cup good quality honey**
1 cinnamon stick
1 strip orange peel
1 strip lemon peel
Instructions
Preheat the oven to 350 degrees F.
Pulse the walnuts in a food processor with the cinnamon, cardamom, and salt until well chopped.
To assemble the baklava, place 8 layers of phyllo dough one-by-one on the bottom of a 9×13 baking pan, brushing each lightly with butter.
Spread 1/5 of the walnut mixture evenly on top (about 2/3 cup).
Add another 5 layers of phyllo one-by-one, brushing each with butter, then add another layer of nuts. The total sequence should be phyllo layers of 8,5,5,5,5,8, with nuts in between those layers.
Carefully cut the Baklava into squares or triangles with a buttered knife.
Bake the baklava for 50 minutes, until golden on the edges and tops.
In the meantime, bring all the syrup ingredients to a boil in a saucepan, then reduce to a simmer for 5 minutes.
Remove the citrus peels and cinnamon stick, and pour the hot syrup evenly over the hot baklava.
Let the baklava cool completely at room temperature for 8 hours (uncovered, to prevent sogginess). Then it’s ready to enjoy!
Can be served with chocolate syrup drizzled over the top of each slice.
Notes
*Note fifteenspatualas said: “My 1-lb box of phyllo said it had 18 13×18″ layers, so I cut them in half, and had 36 sheets total for my 9×13 pan.” but I (mrshlovesjesus) had a 10½” X 15½” pan and I used 1 1/2 boxes of Phyllo.
**I cannot overstate how
important it is to use a good honey here. If it comes in a bear shape bottle,
probably steer clear. Ideally look for raw honey.
Print the following schedule and have it handy to review as you conduct your party
Party
Schedule
11am Set-up and decorate classroom
(food table), lawn loungers, put CD in boom box, set Olympic games stuff by
back door (Remember to bring CAMERA and take
pictures)
11:45am When children arrive have them take
off their shoes at the door and “wash” their feet and hands with wet paper
towels. Give them each a TOGA to put on
and then let them pose and take Photo
Booth pictures – serious faces and silly faces.
12:15pm Symposium (let the kids help themselves to gyros, fruits, nuts, and “wine,” and while they are eating introduce a few discussion starters that we can all talk about from my box of Table Talk cards. After the kids have eaten lunch let them get dessert – Baklava.
12:45pm Indoor
games (Yoyos, Marbles, Knucklebones,
Guess Who? Explain how each toy or
game is played. Divide the group into
sets of 2 or 3 kids. Give each group a
toy/game to play with. After 5 or 10
minutes have each group rotate to the next toy)
1:30pm Crafts (make sandals & earrings) followed by Dancing to LouieLouie, and Twistin the Night Away. At the end of that give the youngest kid in the group the Olympic torch and let him/her lead us all to the playground for the games.
Demonstrate how each event is done and give each child a chance to practice a few times before competing.
Give the kids a Popsicle break after they’ve completed the series of events, and then after that we will conduct a Pentathlon where each kid will do the whole series of events by themselves to see who can complete it in the fastest time.
All competitors will be given a laurel wreath
head garland in an awards ceremony.
3:15pm Kids will return to classroom and prepare for dismissal, while Gracee reads to them a few Aesop’s Fables.
PARTY TIPS: I don’t know about you, but I am usually so forgetful about taking pictures. I just get so busy keeping the party moving that I don’t think to stop and take pictures. I also often forget to eat and get to the end of the party so famished that all I want to do is collapse in exhaustion! So, if you are like me and want to have printed memories of your party, prearrange for someone to take pictures of everything from the table to the party itself – EVERYTHING, and also, make sure you eat something that will stick to your ribs BEFORE the party starts!!!!! So you have energy to be your best, joyous self.
“For the Jews require a sign, and the Greeks seek after wisdom: But we preach Christ crucified, unto the Jews a stumbling block, and unto the Greeks foolishness; But unto them which are called, both Jews and Greeks, Christ the power of God, and the wisdom of God.”
Ms Treva, since this was totally your idea and I had never heard of such a thing, I wanted to share with you how it all turned out. Please bask in all your craftsmanship my dear friend…
I am a big fan of Saint Patrick’s Day. I suppose it could be the corned beef and cabbage simmering in the crock pot and the family gathered around the table to share in its deliciousness, or the multitude of Irish blessings being passed around and spoken in a make-believe Irish accent all day, of course. Maybe it’s the promise of spring just starting to round that corner from the long cold winter, or the warm, lavish rains that promise to bring forth life in the plants and trees. It might be the colorful rainbows and puffy white clouds that decorate the blue skies above. Perhaps its the hope that I’ll finally find a 4-leaf clover in spite of my life-long futile search (I’m convinced they don’t exist), but I love that our lawns are begining to turn green again and I don’t care if it’s mostly clover and weeds so long as it’s green! And what can be more visually appealing than the beautiful wildflowers that clothe the meadows as chirping birds and mischievous squirrels hail that it’s time to reset our clocks (gosh what a stupid practice – I’m so bloody tired).
So, my Bestie and I were chatting by phone a few days ago and she suggested a fun something to do with the grandkids this Saint Patrick’s Day —– Leprechan Traps. Have you heard of them? I never had. She told me all about them and I decided it would be a fun, not a lot of hassle, way to bring some fun to the holiday and pass the hours bonding with my two favorite people out in the beautiful sunshine.
First we goobled some dinner…
…And then the girls and I sat down to make our Leprechaun traps. We used some old shoe boxes I found out in my garage, plus some construction paper, glitter paint, and wooden kabob skewers. We sure could have made them a whole LOT cuter, but we were in a bit of a hurry, anxious to hopefully catch one of these little creatures. So once the girls had hastily constructed two traps each, we were ready to go find some good places in the yard to set them up, hopefully some places with clusters of lush, green clover.
We hoped to make up for our lack of decorating panache by dusting the grass and shamrocks with lots of glitter, as Leprechauns are attracted to things that sparkle (so I am told). The girls decided they would fill their empty glitter tubes with water and leave them under the traps to draw the Leprechaun’s attention. We tried to be very quiet and sneaky in case the Leprechauns were watching us and listening.
Since a watched trap never catches anything we went back in the house and granny Googled to see if anyone had ever gotten a picture of a Leprechaun, so we could see what they looked like. Alas, we were pleasantly surprised to find someone had. They sure must have been sneaky, and had a really really nice camera with a big telephoto lens to catch this little guy taking a siesta on a tree branch. Isn’t he cute? How lucky for us to get to see what one looks like!
To pass the time we decided to watch a movie and give the leprechauns some time to be lured to our traps. About halfway through the movie we checked outside the window and found one of our traps had been sprung (thanks to grandpa who was secretly in on the charade ;)). Oh how exciting!!! The girls and I could barely get outside fast enough, and when we did we found all four of our traps were sprung. We were a little bit nervous at first to lift the boxes, sure that one of the little guys would dash out and maybe kick us or try to bite us as they ran away. But we mustered some bravado and carefully lifted each box (in retrospect a person standing back with a fishing net would have been good for effect) hoping to have caught a leprechaun, but darnit, not a one. Shucky darns!!!
But, to our utter delight, our sweet little guy must have appreciated the clover in our yard, or the glitter we sprinkled all over, or perhaps felt sorry for us for our shabby looking traps, because there were little presents under each box. The leprechauns must have left them. Each had a small black kettle filled with either gold nuggets gum, or gold foil covered chocolate coins. We gathered up all the little gifts and as we were walking back to the house, we spotted a big black kettle by the well house with even more little surprises inside. The girls squealed! How awesome was this? Our sweet little leprechaun had left the girls some fun little craft projects to do, along with some hair ties, and candy necklaces. He must have liked their giggles as he spied us setting those traps.
We spent the rest of the day doing our little crafts, eating second helpings of dinner, making an Irish whiskey cake with whipped cream and sliced strawberries on top, using the freshly picked strawberries we picked the day before from a farm outside of Poteet. It was all very delicious.
Gosh, what a fun Saint Patrick’s Day! Who knew you could catch leprechauns in south Texas?
Of course, everybody knows there’s no such thing as leprechauns, right?
* * *
“But have nothing to do with worldly fables fit only for old women. On the other hand, discipline yourself toward godliness.” 1 Timothy 4:7
I thought I’d share a recent school party that I did for my granddaughter’s class. She and her classmates have been reading The Lion, The Witch, and the Wardrobe, and as the kids were nearing the end of the book their amazing (and I do mean A-M-A-Z-I-N-G!!!!!!!) teacher asked if I would like to put together a party to help them celebrate finishing the book. “Well heck ya,” I told her! “I love that stuff” (which I’m fairly certain she already knew 😉 )! Anyway, I’m sharing with y’all, just in case someone else out there has the opportunity and would like some ideas.
The Wardrobe Doors
I made a fairly crude set of wardrobe doors to decorate the classroom door entrance, out of a large cardboard box (I think it came from a furniture store). I measured the classroom door and then cut the cardboard to fit using a square and a utility knife. Then I painted the cardboard with some mahogany colored varnish I had leftover from a furniture refinishing project I did a while back. I let the cardboard dry for about a week and then I cut the doors in half lengthwise. I didn’t have a lot of time to make these doors, otherwise I would have put a lot more thoughtful detail into them, but at least I gave them handles.
Since the door frame on the classroom was metal, the only way I knew of to be able to attach these doors was to use clear packaging/shipping tape all along the henge edges to tape the doors to the door frame. This worked fairly well. Perhaps Duct tape would have been better??? Of course, the doors wouldn’t stay closed once they were hung, so we had to use a small cardboard dowel rod and insert it in the door handles to hold them closed until all the kids arrived and could walk in together to discover the transformation of their classroom. Their teacher kept this all a total surprise!
I used an inexpensive shower curtain rod (purchased from Walmart for about $5) to hang some long robes and long dresses on. Beings this is south Texas nobody had long coats we could use, and I wasn’t sure how much weight that rod would hold either. Anyway, as soon as the kids opened the wardrobe doors, all they saw was a closet full of clothing which they had to walk through.
It’s Always Winter in Narnia
Once inside it was a winter wonderland. I had cut out about 25 paper snowflakes and hung them to the ceiling with string and push pins, all over the classroom.
It’s not a party without food…
Soooo, I thought it would be fun to celebrate all the foods featured in the book/movie:
For the White Witch’s table I made a White Hot Chocolate in a large thermos and had glass mugs for the kids to drink it out of. I glued little snowflakes on each mug. Next to that was a round box filled with Turkish Delight, tied with a green silk ribbon!
I used quilt batting to cover the table in “snow.” I placed a framed quote from the book, and a large sample box of a big variety of flavored Turkish Delight, which I ordered from amazon.com about a week ahead of the party. Oh my gosh! It’s delicious. I had never had it before, have you? I want to order another box just for myself. Then again, I’ll just eat the whole thing and it does nothing for my girlish figure, so I probably better not!!!
The Beaver’s table needed to feature fish and potatoes, and marmelade roll-ups. But, as much as I love “fish n’ chips” I didn’t figure the kids would be as big of fans – so I went with Swedish fish and Goldfish crackers, and potato chips. I thought the ones with skins on would be the coolest so I went with TGIFriday’s potato chips. I served the little morsels in these perfect little wooden bowls that my husband made for me several months ago. And I covered the table in a brown fur table cloth.
Now if you are familiar with the story, the Beaver’s had beer with their supper. But they also had tea, which is a bit more kid-friendly. I went with iced tea. And after trying, and failing, to make the little sandwiches into roll-ups, I decided to just cut them into triangles. I was surprised that the kids liked marmelade, but they ate the whole platter!
Finally was Mr. Tumnus and Lucy’s Tea Party table. I set this table with real teacups, and a spread of “sugar topped cupcakes” and TOAST with honey butter. I brewed a big pot of tea and set out sugar cubes and lemon slices so the kids could doll up their cups as they wished.
I made the honey butter using a stick of real butter and added about 1/4 cup of honey and a tsp of cinnamon to it. And the cupcakes I made with a yellow cupcake batter and a brown sugar buttercream frosting that is out of this world. I found it when I went looking for a frosting I could make without powdered sugar. OMG! They were beyond delicious!!!!! In fact, this might be my favorite frosting of all time!!!!! You must try it! Once I frosted the cupcakes, I sprinkled them with sugar sprinkles. They turned out pretty!
So there you have it…our party in a nutshell! The kids were so excited!!!! It was all the reward I would ever need to get to watch their faces as they entered the classroom with wide-eyed wonder and awe. They saw the snowflakes and started jumping. They wanted to keep them for souvenirs, which of course I obliged. And I even promised to come teach them how to make them some afternoon. They ate everything there was to eat and some of every beverage. And when it was all said and done, they each wrote notes thanking me for all my efforts, and telling me how much they loved the party and will never forget it as long as they live! Well, if that doesn’t make your heart go pitter pat, I don’t know what would. I must be the luckiest ol’ gal on the block to have such a wonderful opportunity to lavish love on this precious group of kiddos. I feel so very honored that their teacher trusted me for this task.
The kids drank and ate their fill while they watched the movie version of the book. And when the party was over, the kids found their way back to the real world by the soft glowing light of the street lamp!
What a blast! And there you have it!!!!! You could make this a classroom party for your kids, as I have done, or you could use it for a theme birthday party, or even celebrate summer book reading with a theme party. The kids will remember it forever!!!!
“And whatever you do, do it heartily, as to the LORD and not to men.” Colossians 3:23
This is such a fun way to serve supper … at a family reunion – which is what we did, or with a group at church, or any group really. It would also be a great dinner to serve for April Fools, or a birthday party. You can let your guests know that you will be serving a wonderful 4 course lasagna dinner, or perhaps a pot roast supper, or hamburgers and fries. The meal is no mystery, it is how the courses will present themselves on each guest’s plate that is the riot. And that part is intirely up to your guests, bless their hearts, if they only knew what they were ordering (giggle). You may want to ask in the invitations if anyone has any food allergies, so you can accommodate.
I purchased this boxed version almost 20 years ago, and have not been able to find it anywhere since, online or in any bookstore. It was published by Oslund, Sonshine Company, Anoka, MN 55303.
For our Family Reunion, we modified it slightly. My sisters, mom, and I served the meal, and we had 25 to 30 guests. Each server was responsible for a table of guests. We placed carrot and celery sticks in a relish dish at each table, and the guests were allowed to nibble on those while they waited to be served, although some who did found out later when their meal was served without a fork or spoon that a carrot or celery stick would have made a nice utensil.
Here’s what’s in the box:
.
8 Invitations (two sided)
FRONT
BACK
.
8 Menus (two sided)
FRONT (fold in half)
INSIDE (fold in half)
.
8 Place Cards (cut apart on dotted lines)
These each fold in half and set up like little tents
.
16 ID Cards
.
Kitchen Set-up diagram sheet
.
Recipes
.
and Instructions (two sided sheet)
(FRONT SIDE)
(BACK SIDE)
The Instructions are too little for me to read off the scanned page so I’ve written them out for us…
.
Masterminding a Mystery Dinner
New Testament Theme
“A Dining Experience You Won’t Forget”
CONTENTS: 8 Menus, 8 Place Cards, 8 Invitation, 16 ID Cards, Recipes.
OBJECT: To enjoy an unforgettable, unpredictable and hilarious dining experience.
SERVING: 1 waiter for 4 dinner guests; 2 waiters for 8 dinner guests
DECODED MENU LIST:
1. Crowd Leftovers
– Bread
Mark 6:43
2. Christ’s Winnowing Tool
– Fork
Matthew 3:12
3. John the Baptist’s Lunch
– Grasshopper Pie
Mark 1:6
4. Prodigal’s Surprise
– Roast Beef
Luke 15:23
5 Symbol of Bitter Captivity
– Lettuce Salad
Passover Tradition
6. Circumcision Instrument
– Knife
Luke 2:21
7. Christ’s Frequent Prayer Place
– Olives
Luke 22:39
8. Hebrew Burial Cloth
– Napkin
John 20:7
9. Communion Element
– Wine or Grape juice
Matthew 26:27
10. Evil Protein
– Deviled Eggs
Matthew 4:1
11. Fruit of the Cursed Tree
– Fig Bars
Matthew 21:19
12. Prodigal’s Lunch with Pigs
– Peas
Luke 15:16
13. God’s Shekinah
– Glorified Rice
Hebrews 1:3
14. Carpenter’s Splinters
– Toothpicks
Matthew 13:55
15. Fruit of the Vine
– Grapes
John 15:4
16. Baptizer’s Sweet Tooth
– Honey Nuts
Matthew 3:4
(All of the food items on the above list can be purchased from the grocery store, near-by deli or take-out, which would eliminate most preparation time.)
INVITATIONS: Fill out invitation and mail two weeks prior to dinner. (Dining attire suggestions: casual, formal, biblical, etc.) (If your kitchen is near where you will serve your dinner guests, it is suggested that you conceal your kitchen with hanging sheets or tablecloths over the doorways. This way your guests can’t peek!)
FOOD PREPARATIONS:
Several hours before guests are expected to arrive, prepare the roast beef, pie, lettuce salad, deviled eggs, date bars, peas, and glorified rice. Refrigerate or bake according to recipe directions.
On a flat surface in your kitchen, designate a space for each menu item, in order of sequence, by using on or the food identification cards. This will help the waiters as they pick items for each course for their customers.
The table can be prepared as the host or hostess prefers. Write guest names on place cards and place cards where guests are to be seated.
One-half hour before guests are scheduled to arrive, place the following items by their respective food identification card on the flat surface; olives (in juice), grapes, toothpicks, spoon, fork, knife, and napkins. (OPTIONAL: Waiters can change into dark pants and white shirts with bow ties at this time. Also, appropriate music can be played. Provide each guest with a glass of water.)
DINNER:
As guests arrive, they can be welcomed to the Mystery Dinner and escorted to their appropriate place at the table.
Before delivering the menus to the guests, each waiter selects which guests they will serve. It is helpful at this point to request that the guests fill out their orders in silence. This avoids confusion and everyone discussing the menu selections. (Honestly, we allowed a little table talk.)
Hand each guest a menu and a pen. Give them approximately three to five minutes to fill out their course selections
During this five minutes, you can put the following items near their appropriate food identification card on the flat surface: roast beef (covered), bread, pie, lettuce salad, wine or grape juice, deviled eggs, bars, peas and rice.
Now it is time for the waiters to collect the menus and begin selecting items for the first course for one customer. Once all four items have been picked, the plate can be served to the respective guest. Continue with remaining guests.
After the waiters have served their customers, they go back to their first customer and remove any remaining items from the first course and begin on the second course. Make sure they do not keep utensils. This process continues until all guests have been served all four courses. IT IS AS MUCH FUN TO BE THE SERVER AS IT IS TO BE SERVED! ENJOY!
When we served our dinner we used a totally different menu; one that would be impossible to figure out. This was our menu:
And these were our 16 items, shown as the set up for our Kitchen:
You can go with a theme (Mexican, Italian, Chinese, Hawaiian, Southern Comfort Foods, BBQ, Seafood, etc.) in your food, decorations, and music. If you chose a Mexican theme, you could use Mexican items as the code words on the menu (such as: sombrero, cactus, poncho, maracas, piñata, mariachis, chili peppers, serape, etc.). You could decorate with Mexican blankets and cactus centerpieces, and play Mariachi music. In place of the relish dish, you could offer chips and salsa (people could eat with a chip if they didn’t get a utensil and were desperate). Encourage your guests to snap photos of the event and share them with you afterward. Our party was before cell phone days, but I could kick myself for not setting out some disposable cameras.
If using paper plates, remember to buy plenty. You’ll need a plate for each course for each person, so four plates per person X 8 guests would be 32 paper plates total. You can use different size plates. It would add to the humorousness having a large slice of lasagna and a slice of pie, if that’s what your guest ended up with, being served on an appetizer size plate, and equally funny to have a large dinner plate with only a toothpick, vegetable, napkin, and knife taking up space.
When the last person has been served the last course and all the plates have been taken away, that’s when servers can return each person’s menu to them and let everyone try to figure out which items were which code words. All of the servers and kitchen workers should join the guests. They will talk about how much fun that was and probably want to sit around and visit for a little while.
“You will show me the way of life, granting me the joy of your presence and the pleasures of living with you forever.” Psalm 16:11
I was given the opportunity recently to make a bunch of tissue paper flowers for a school project. I had so much fun with it honestly, and thought, these sure would make a beautiful decoration, or they could be used for head garlands (as pictured here) which are pretty popular in Texas, or Homecoming Mums (another Texas thing), or to decorate Derby hats, or for a garden tea party, or luau, or FiEsTa(which happens to be going on in San Antonio at this very moment), which got me to thinking that somebody else out there might appreciate knowing how to make these. I also sure don’t want to ever forget how I made them, so… that’s as good a reason as any to blog about something, me thinks.
Materials needed: 1 package of multi-colored tissue paper, a good pair of sissors, a stapler, and string (optional).
A large package of multi-colored tissue paper is fairly inexpensive to buy at the big box stores ($10 for 100 sheets). And one of those packages will give you more than enough paper to make 100 flowers that are roughly the size of one of those mesh shower pouf thingies. (If you want to make giant flowers, you could probably squeeze 10 or so out of a package???)
So here is how you make them. First open the package of tissue paper and separate the colors. Straighten up the sheets so that they lay exactly on top of each other. Peel off two sheets of one color of the tissue paper.
Now, I’ve included visual instructions below that will hopefully be easy to follow, but I will also explain…
Gather your materials. It will help to have a large table where you can spread out the tissue paper into individual color piles. (My poor sissors, you’ll notice, have issues, actually just one issue. I don’t know what happened, but they are Fiskers, and the handles have decomposed over the years since I first bought them. They are sticky now, and almost clay-like. The stuff was coming off on my hands and making my hands sticky, so I wrapped the handles in strips of paper towel. Has this happened to anyone else? Or is it just the humidity in the south that has made mine do this?)
Peel off 5 sheets of tissue paper and stack them together neatly. Then starting at the bottom fold up about an inch width and press it flat.
Flip the stack over and fold the other direction, and press flat.
Continue folding in an accordion pattern until you reach the other end.
Press the stack flat.
Fold the stack in half to mark the center place.
Press it flat to make a good crease.
Open and place under the stapler, and place a staple on exactly that center crease line. Option: you can also tie a string around this center part so you will have something to tie the flower, to attach it to whatever you are decorating.
(Photo just shows the staple being present)
Now cut one end with whatever pattern you wish for the type of flower you wish to make (see diagram below)
Cut the first end and discard the scraps
Then cut the second end to match
Fan out the ends to make it easy to separate the individual sheets
Orange shows a gardenia type flower
Purple shows a hydrangea type flower
Pink shows a peony type flower
Green shows a magnolia type flower
Blue shows a Zinnia type flower
Red shows a Carnation type flower
Gray shows a Dahlia type flower
Yellow shows a Chrysanthemum, or Mum type flower
14. Fan out both ends
15. Carefully peel off the top sheet and pull it away from the others, up towards the center
16 – 18. Continue separating sheets and pulling them up towards the center on both ends, going around in a circle
19. Smooth out the last sheet to flatten out the bottom
20 – 23. Bring the flower around and fluff each peddle to make them all uniform and fill in any gaps.
24 – 26. Set your flower down and admire how pretty it is. Then pick another color and continue making flowers.
The center pom kind of makes a flower that looks like a cactus flower. You can do the same sort of thing with green tissue going out the bottom to look like the bud part of the bloom (just cut it with deep zig zags instead of the fringe). You can also experiment with various cuts, and you can also layer two colors of tissue together to make more interesting options. Here are some samples of the flowers I made. They turned out soooooo pretty?
“Listen, my son, to your father’s instruction and do not forsake your mother’s teaching. They are a garland to grace your head and a chain to adorn your neck.”
This salad makes a terrific side for any BBQ meal, but honestly, I could eat the whole bowl of this all by itself for dinner. Hey, and small tip (take it or leave it)… when I am taking this for a church pot luck or another big get-together I keep the dressing and the slaw separate from each other until the last-minute before serving. I prefer my slaw crunchy not wilted, and creamy rather than runny.
1 small can crushed pineapple, drained (juice discarded, or saved for something else)
7 cups shredded and chopped green cabbage
½ cup thinly sliced and diced Fuji apple (skin on, core and stem removed) – if not serving right away toss in a baggie with some lemon juice to prevent browning.
¼ cup white raisins (must be white, no icky dark raisins)
½ cup chopped green bell pepper
¼ cup slivered, toasted almonds
Directions
In small bowl, mix Mayo, True Lemon powder, sugar, and crushed pineapple together, cover and refrigerate until ready to serve. (The reason I use True Lemon powder instead of juice is just to create the creamiest texture).
In large bowl toss cabbage, apple, raisins, and bell pepper. Cover and keep in fridge until ready to serve.
Just before serving toss dressing with cabbage and then toss in almonds. Serve immediately.
This slaw makes a great side dish for smoked or grilled meats, such as…. (pictured below top to bottom, L to R are BBQ Brisket, grilled Chicken Bombs, Bistecca or Chimichurri Steak, Chopped Pepper Steak with Blue Cheese Garlic Butter, grilled Texas Redfish, PiriPiri Chicken, Pork Loin, grilled Kielbasa, and Korean Style Ribs).
Have a blessed meal, my friend!❤
“Better is a dish of vegetables where love is than a fattened ox served with hatred.” Proverbs 15:17


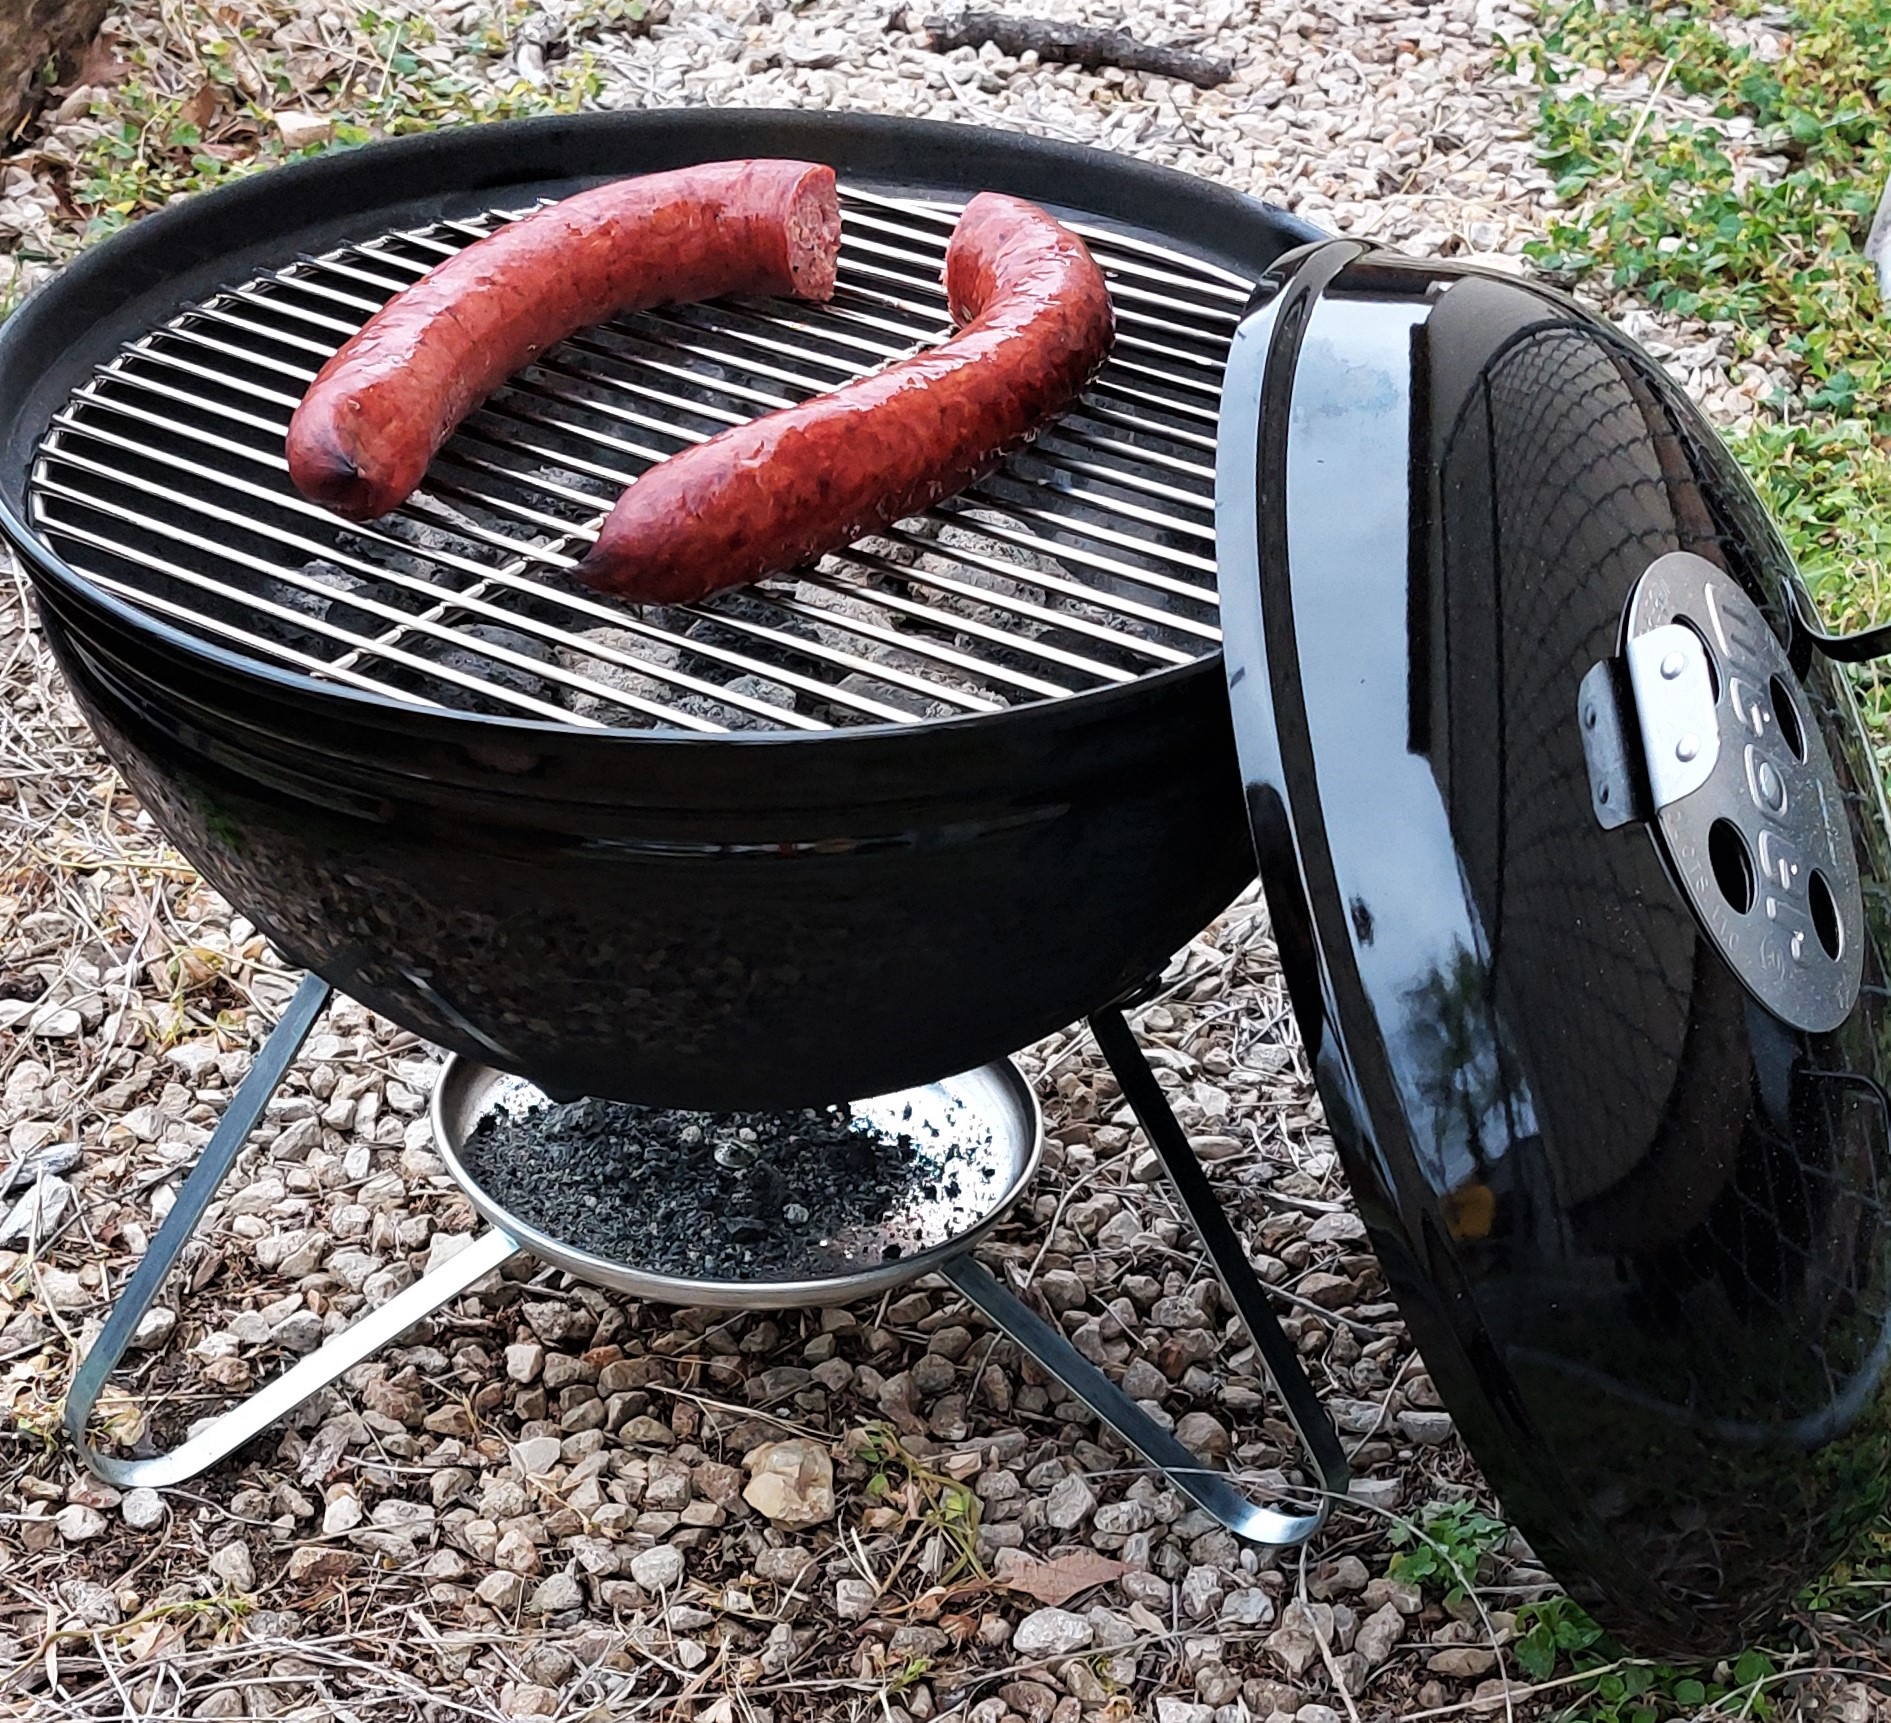
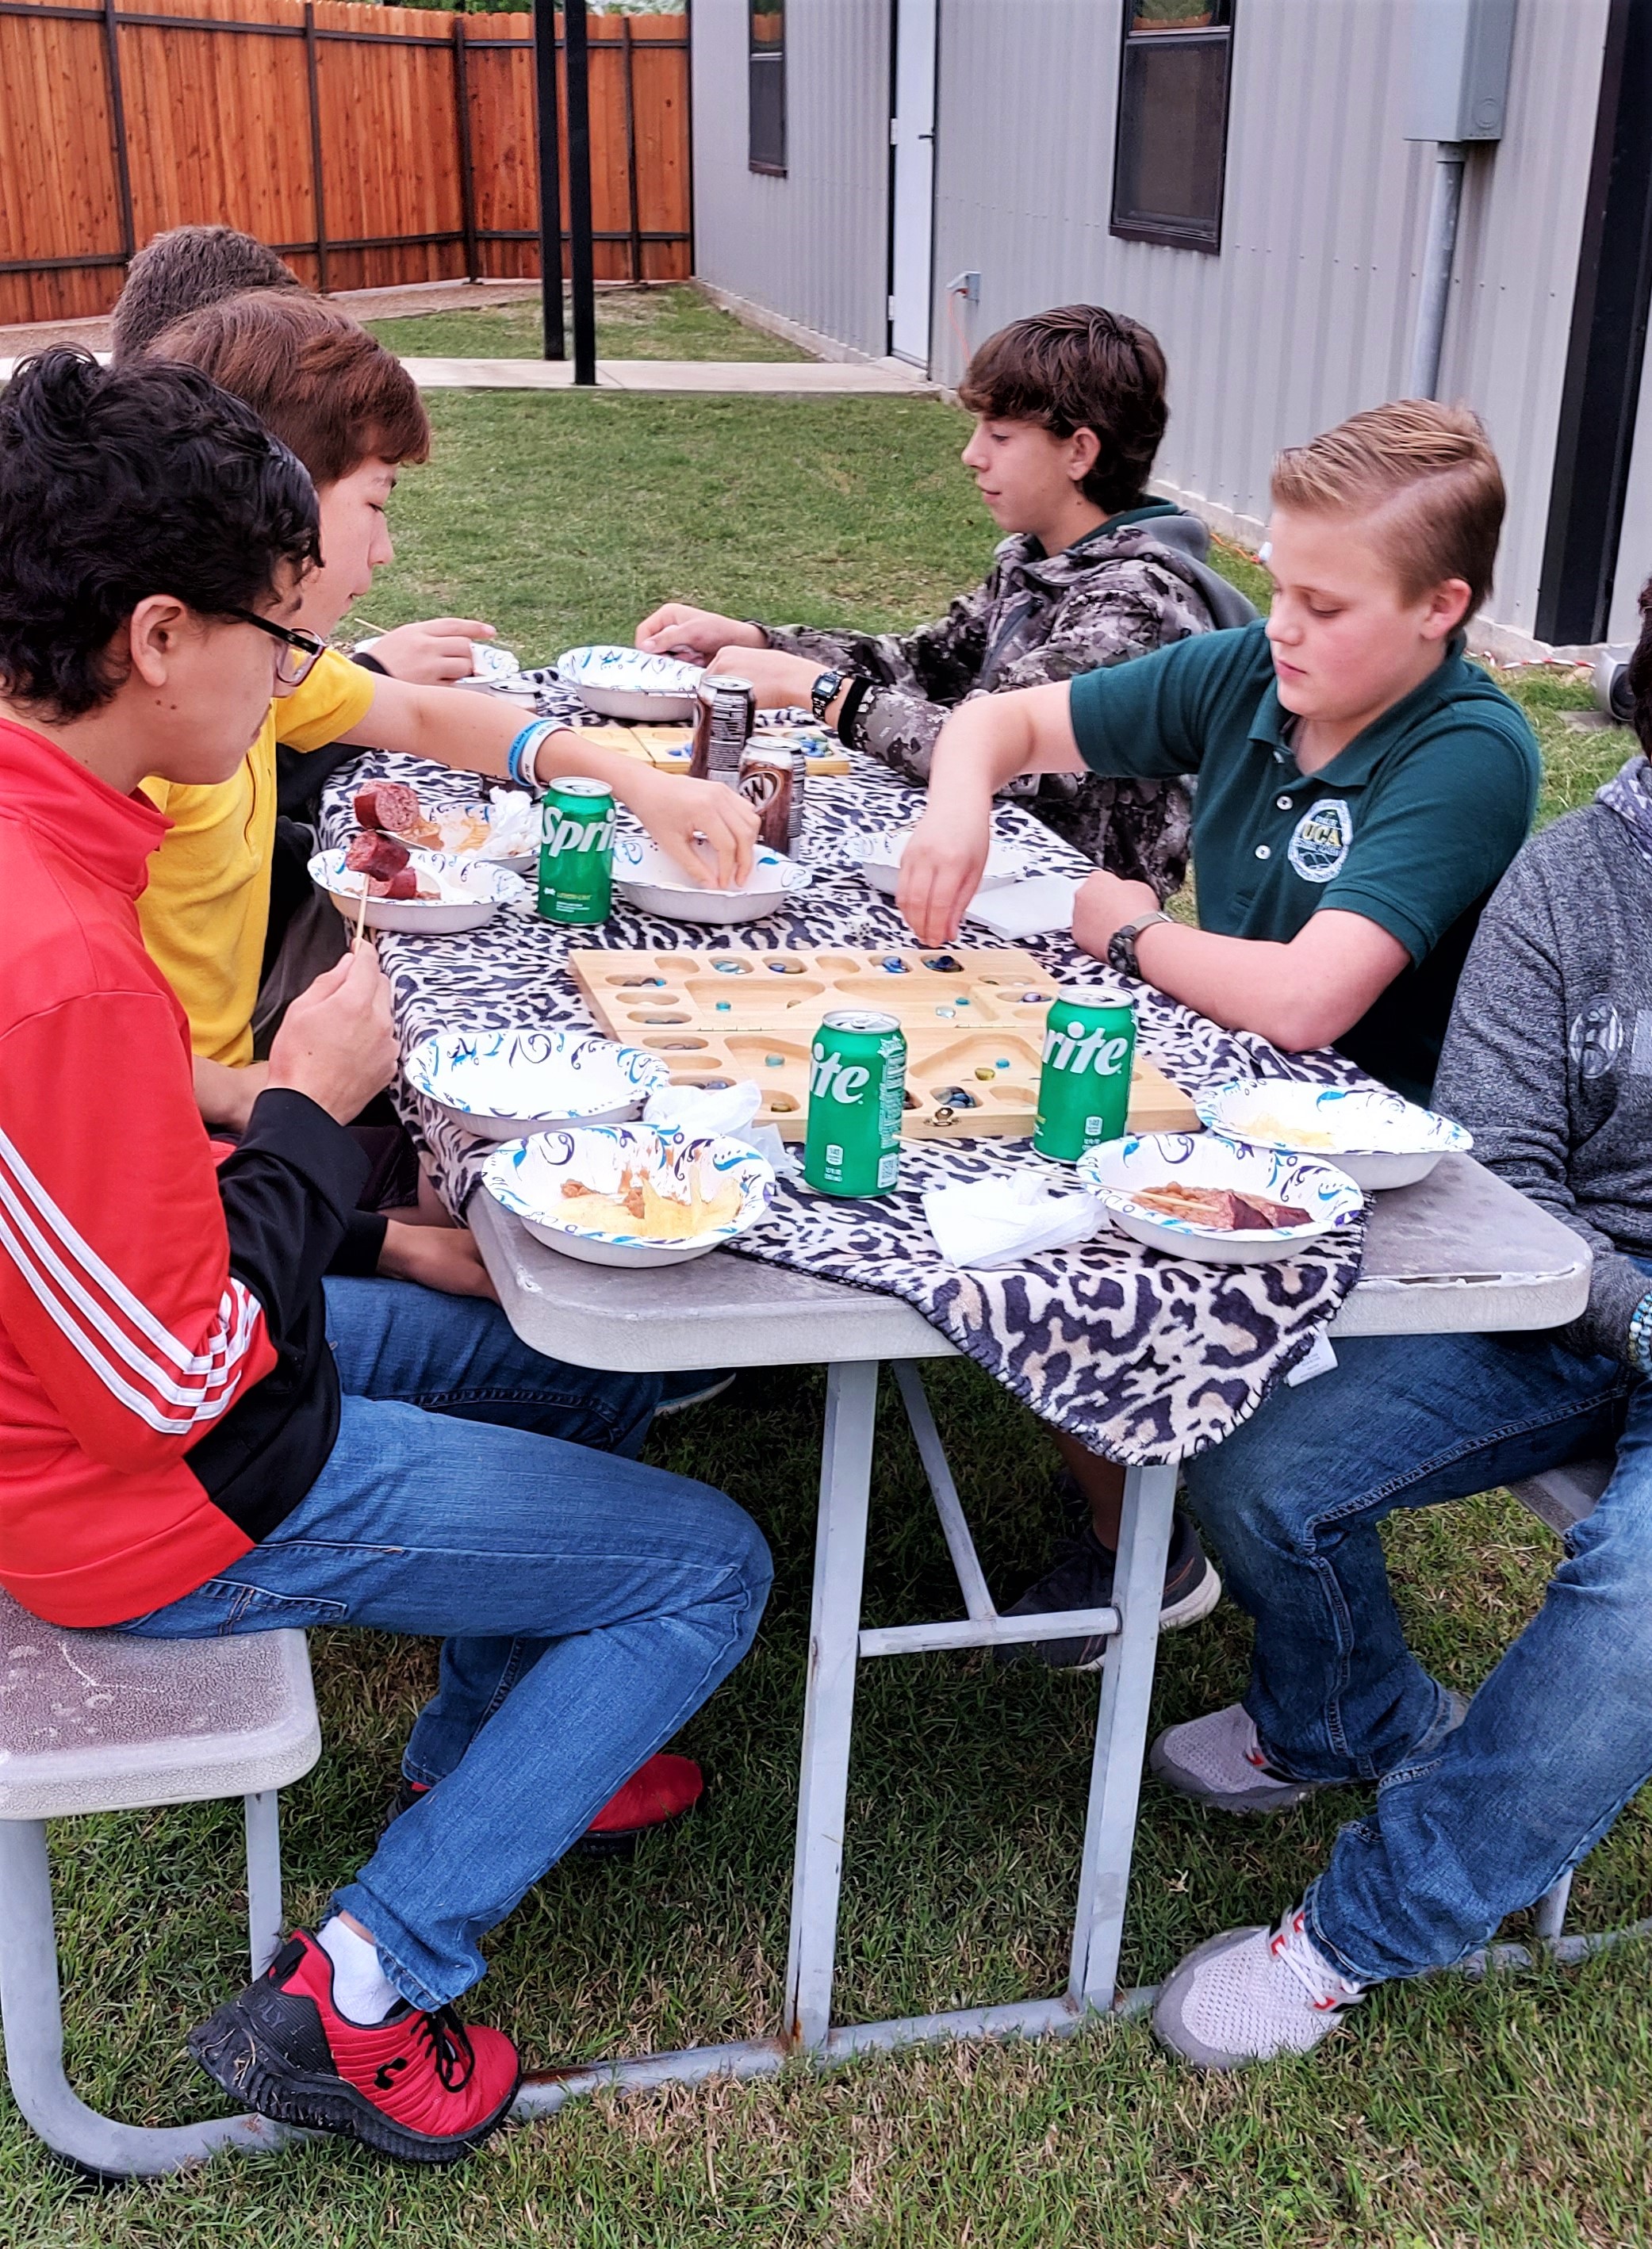

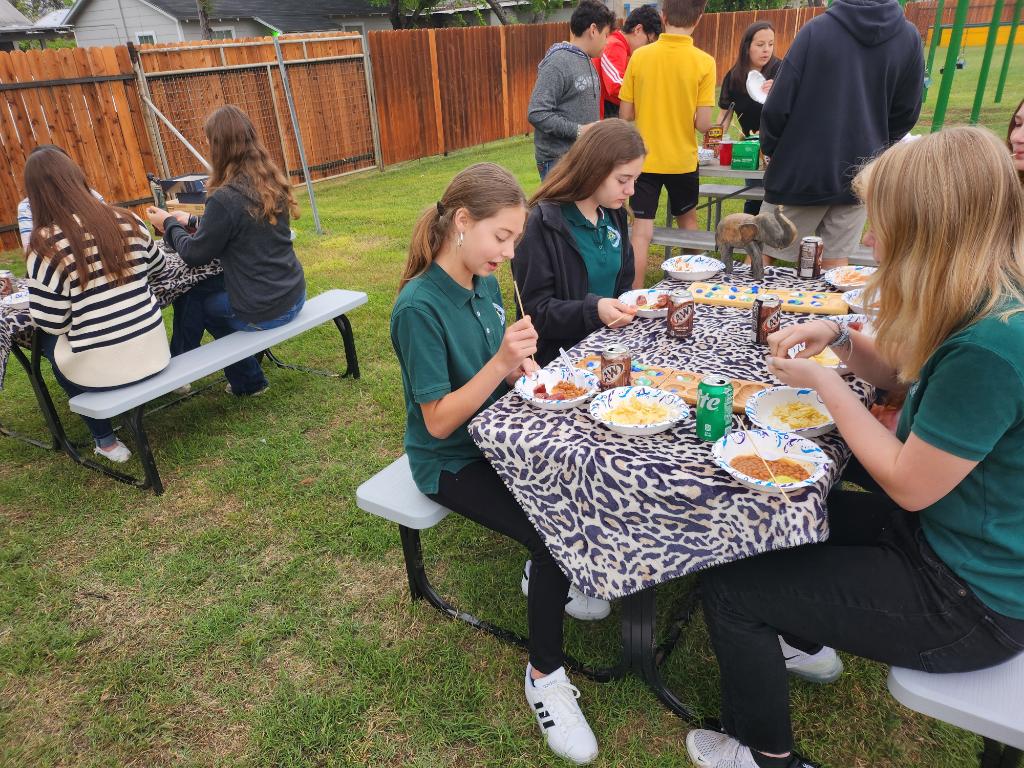
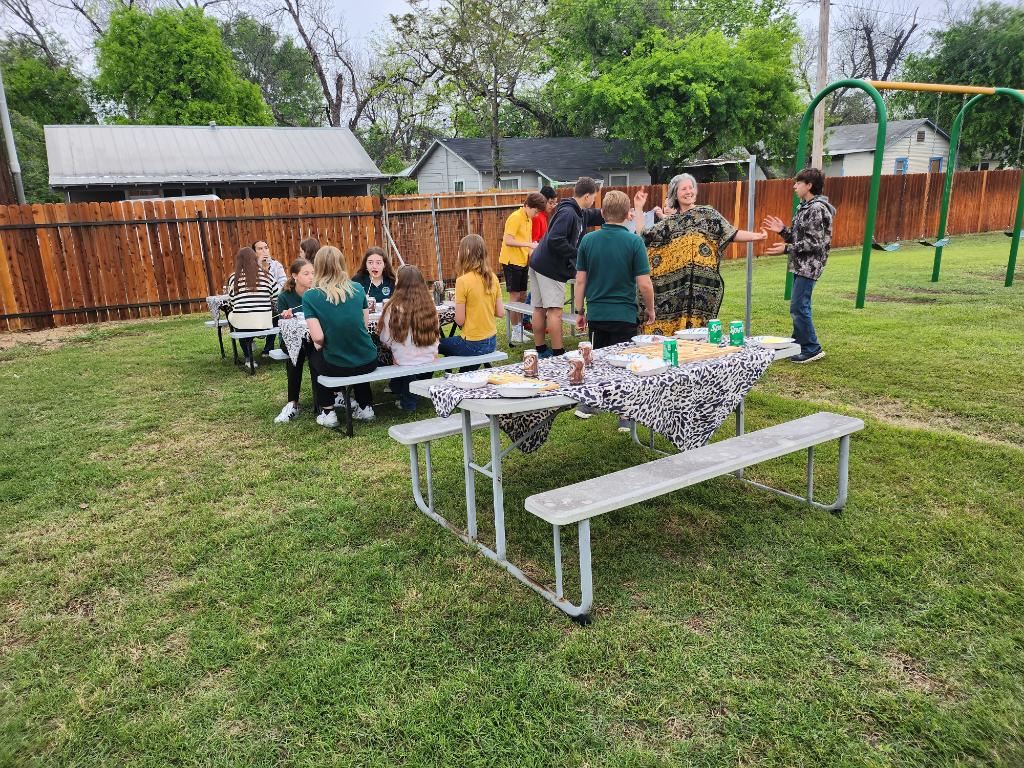


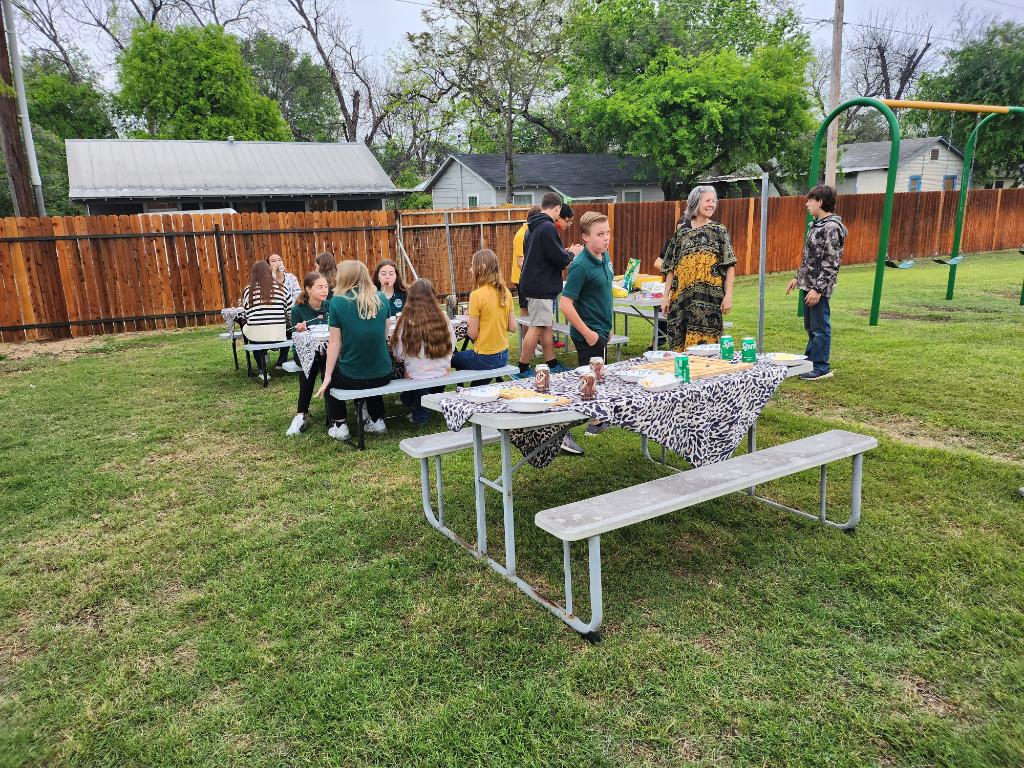
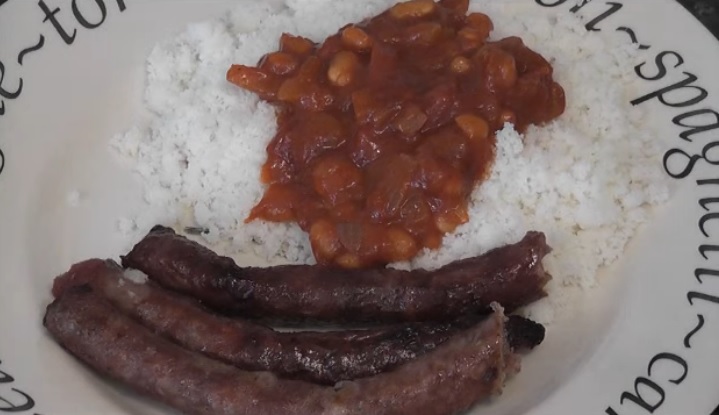


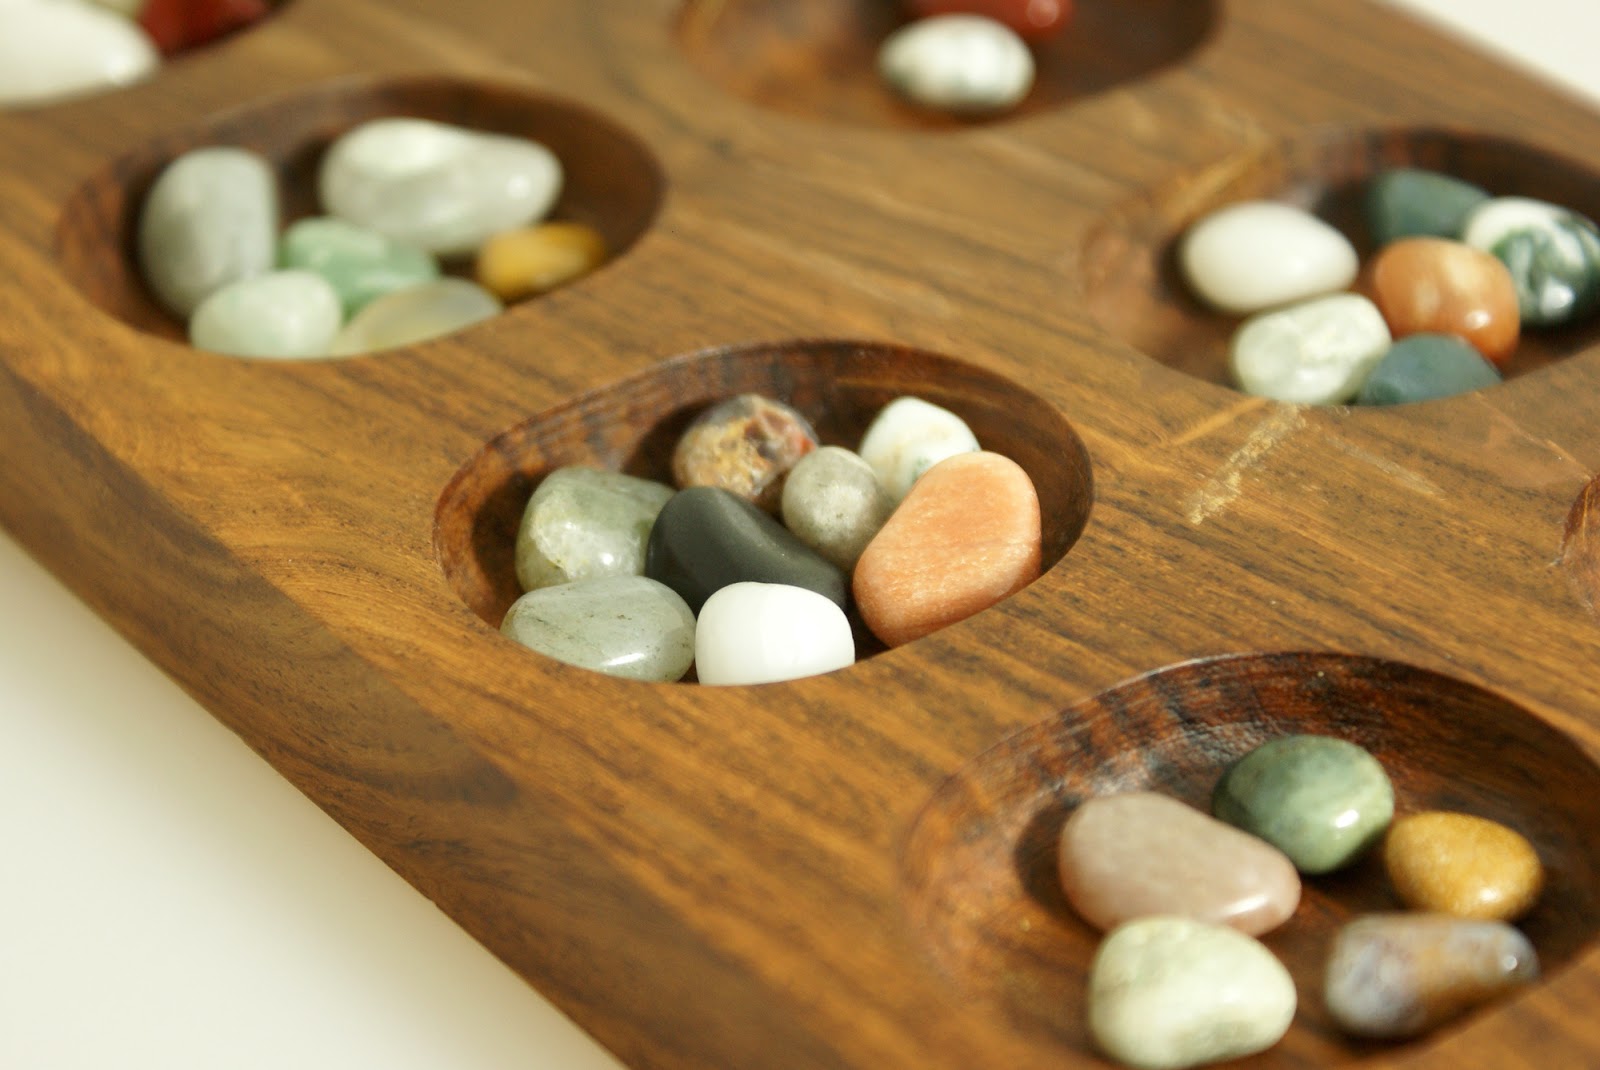
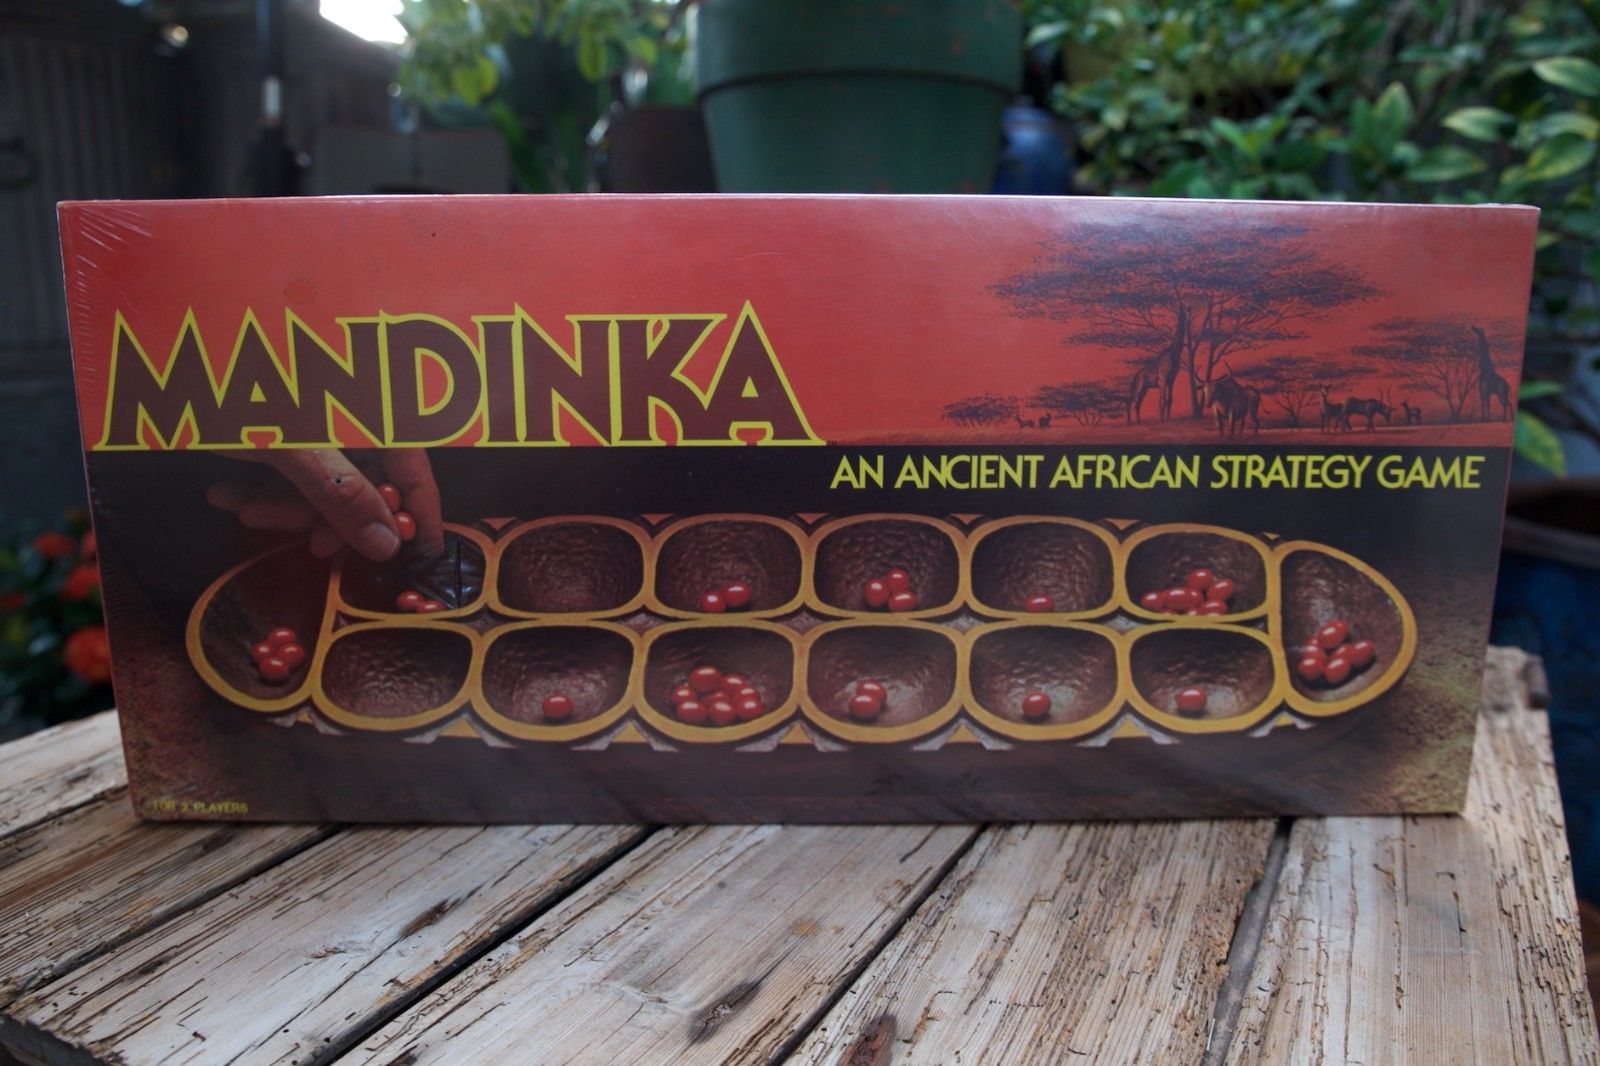
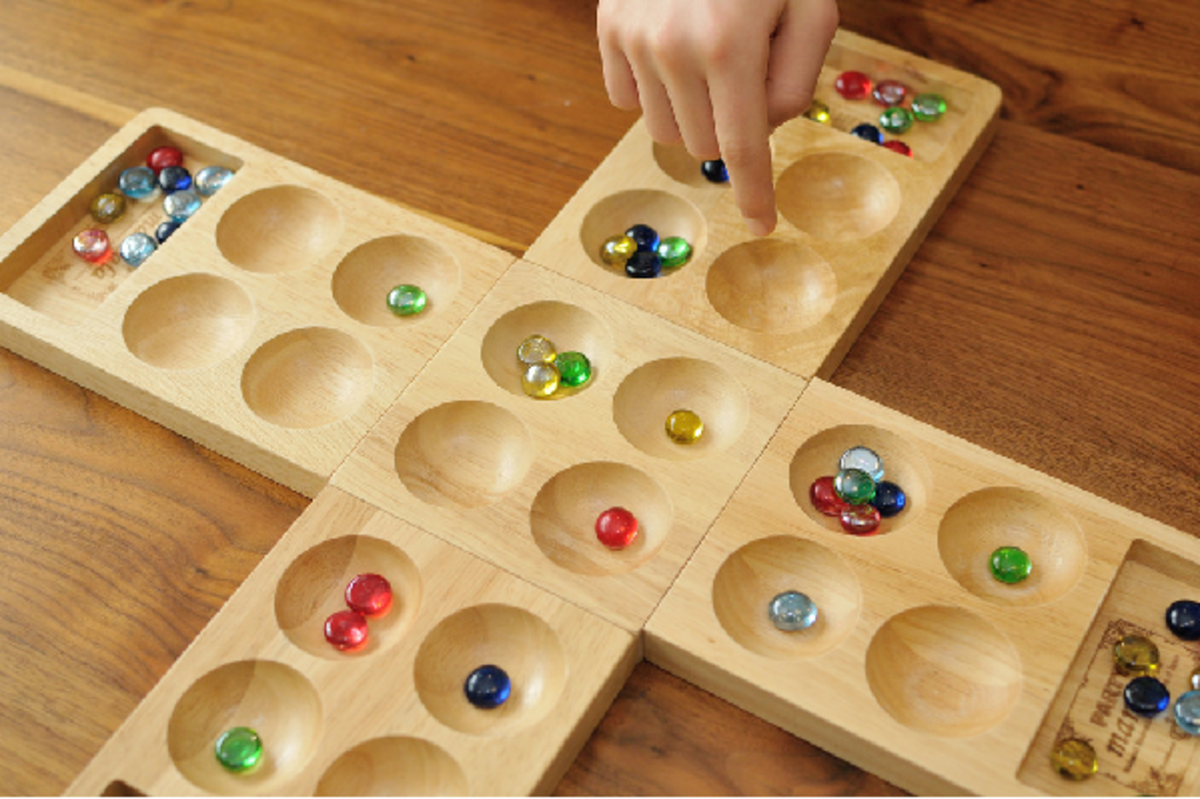
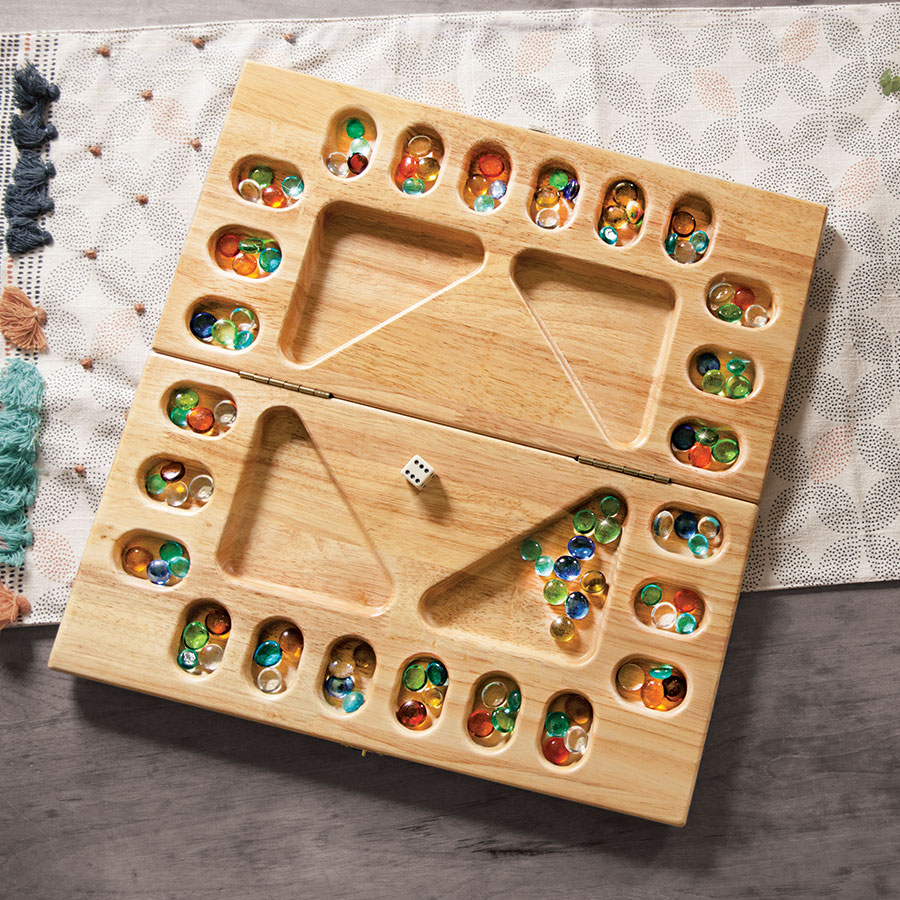


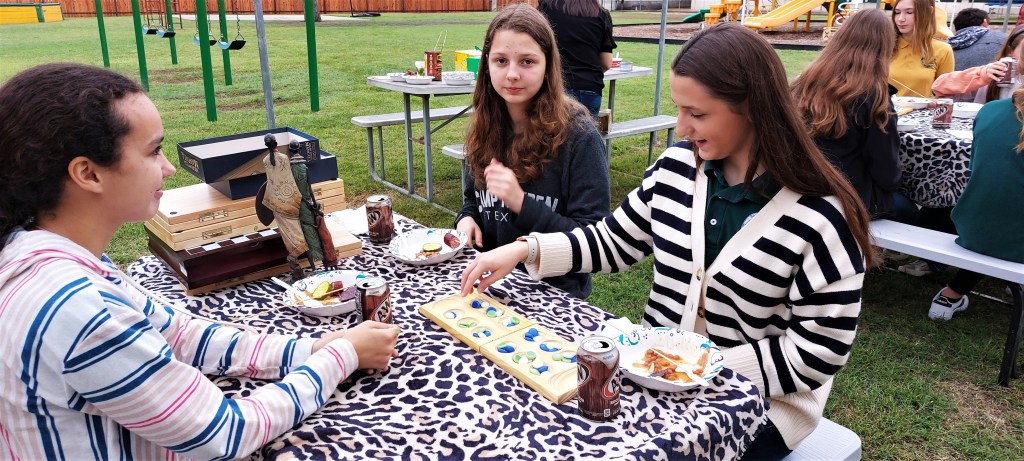


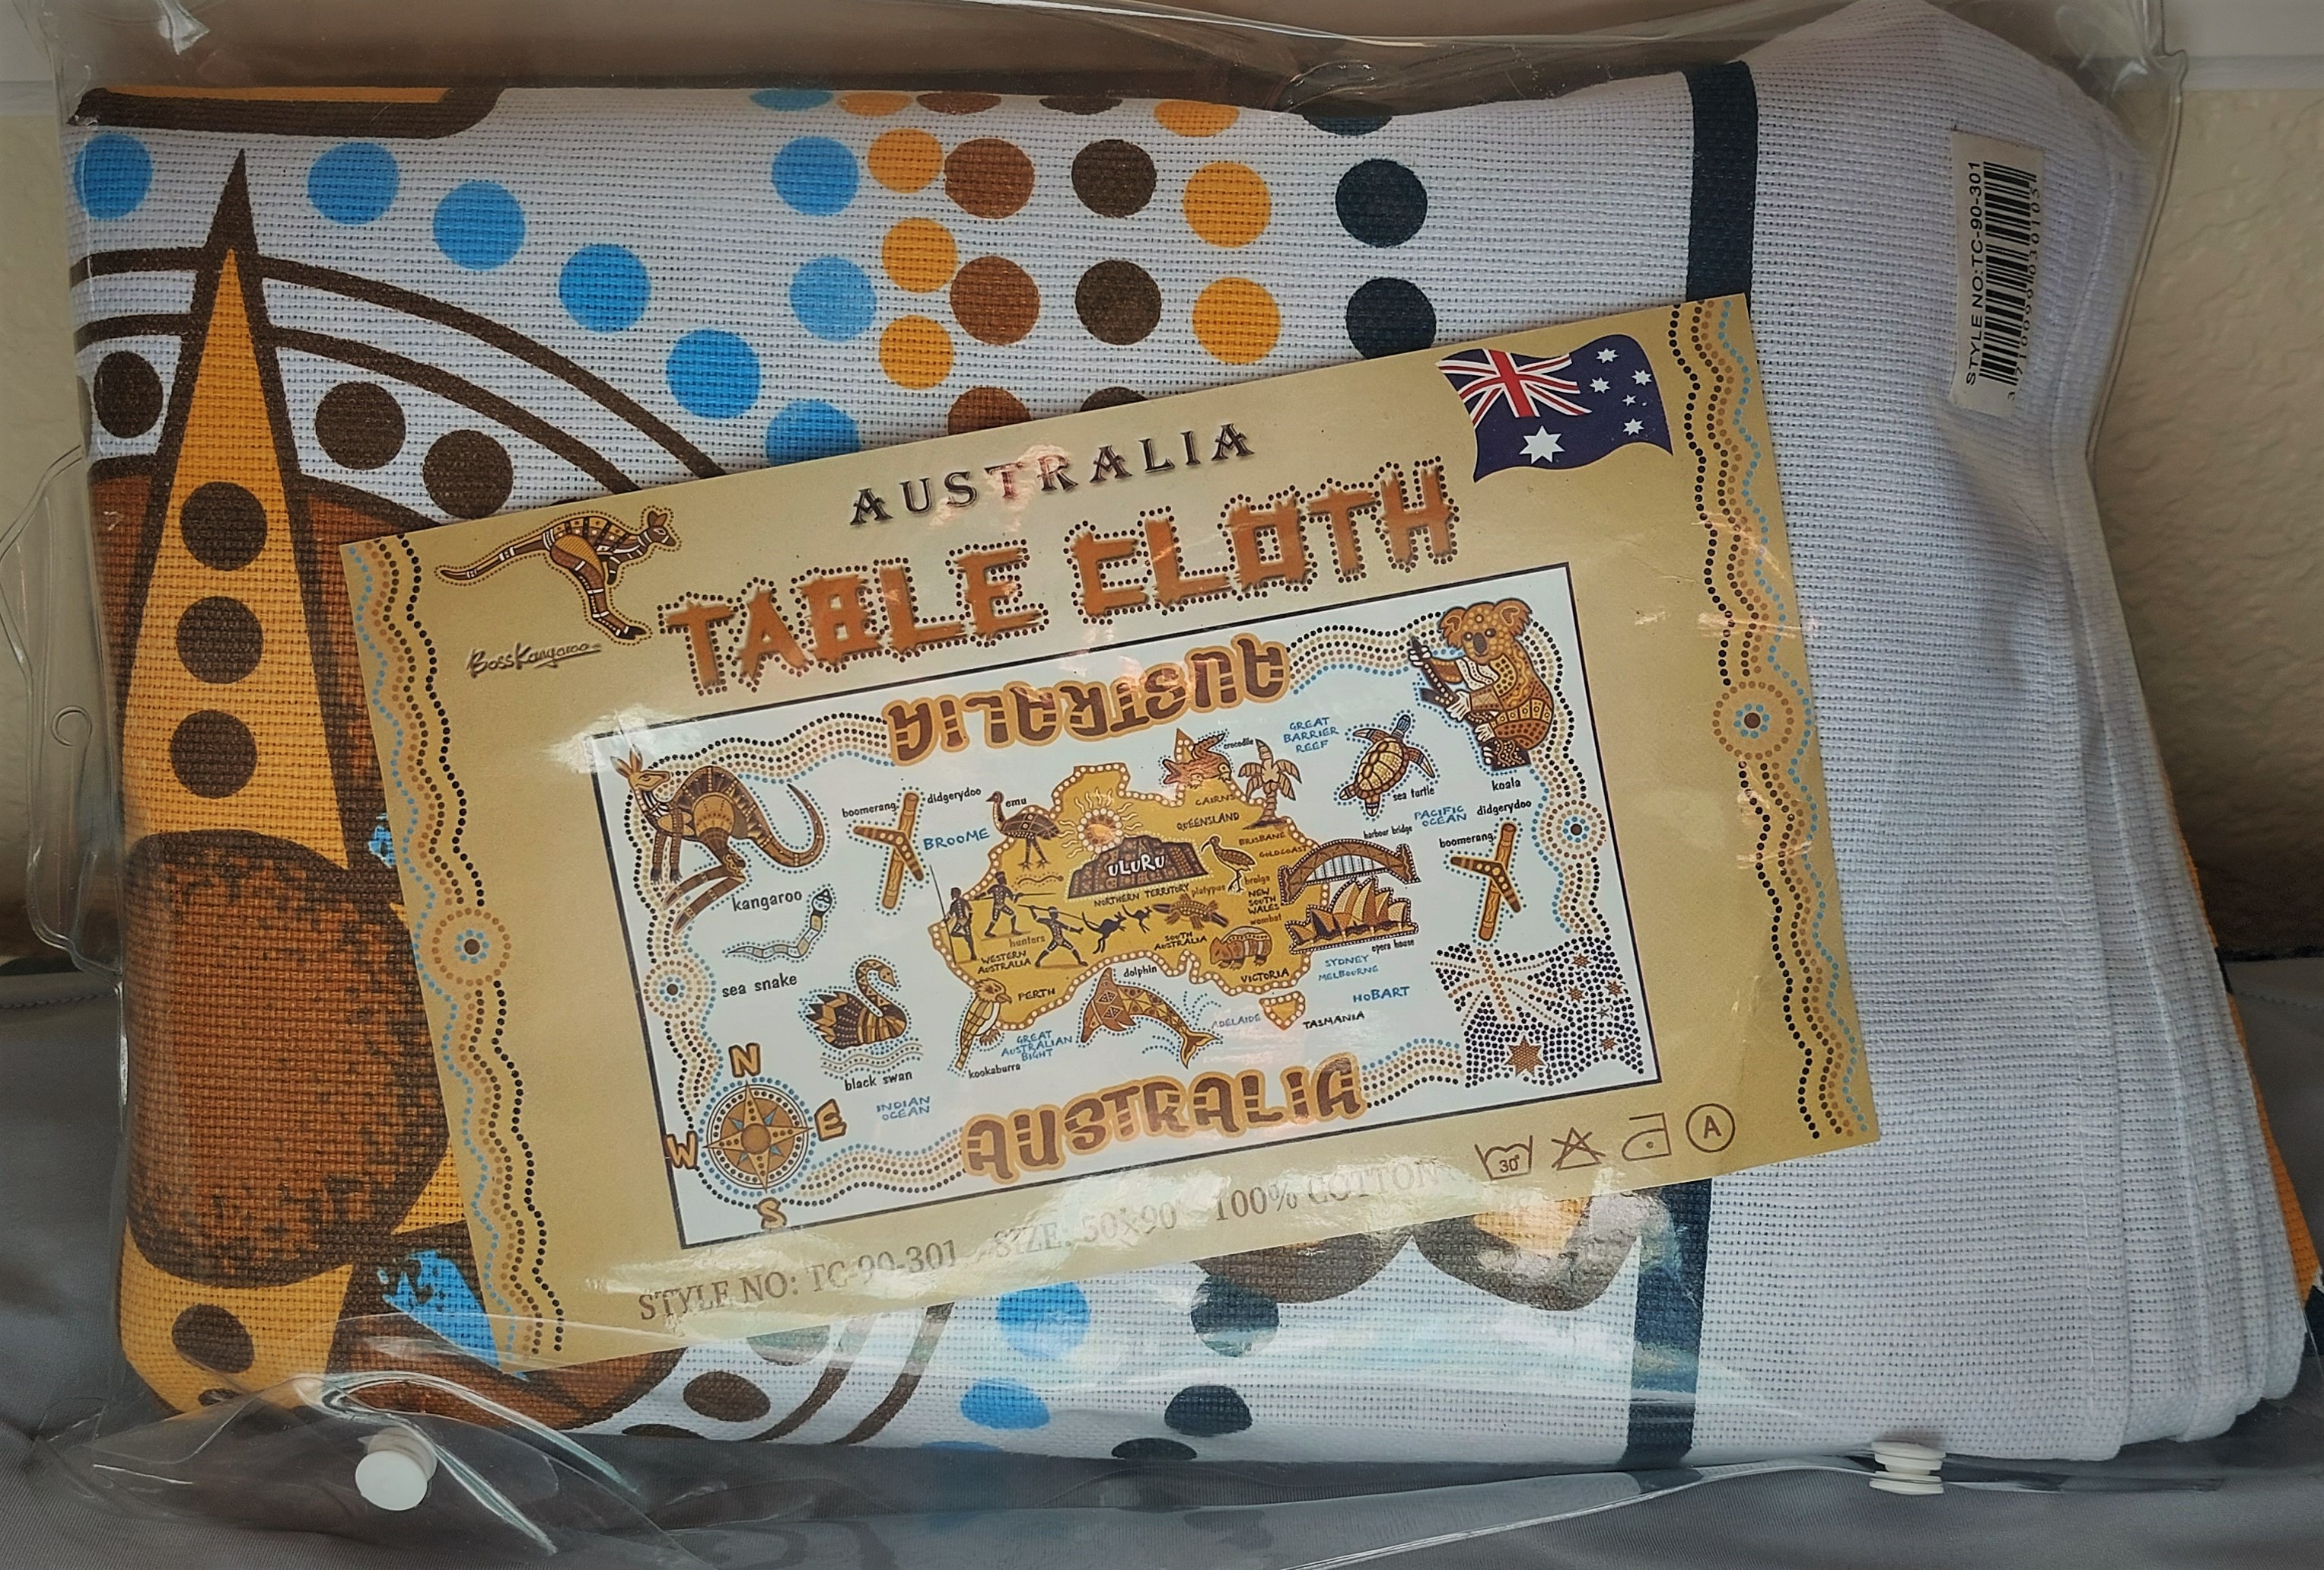
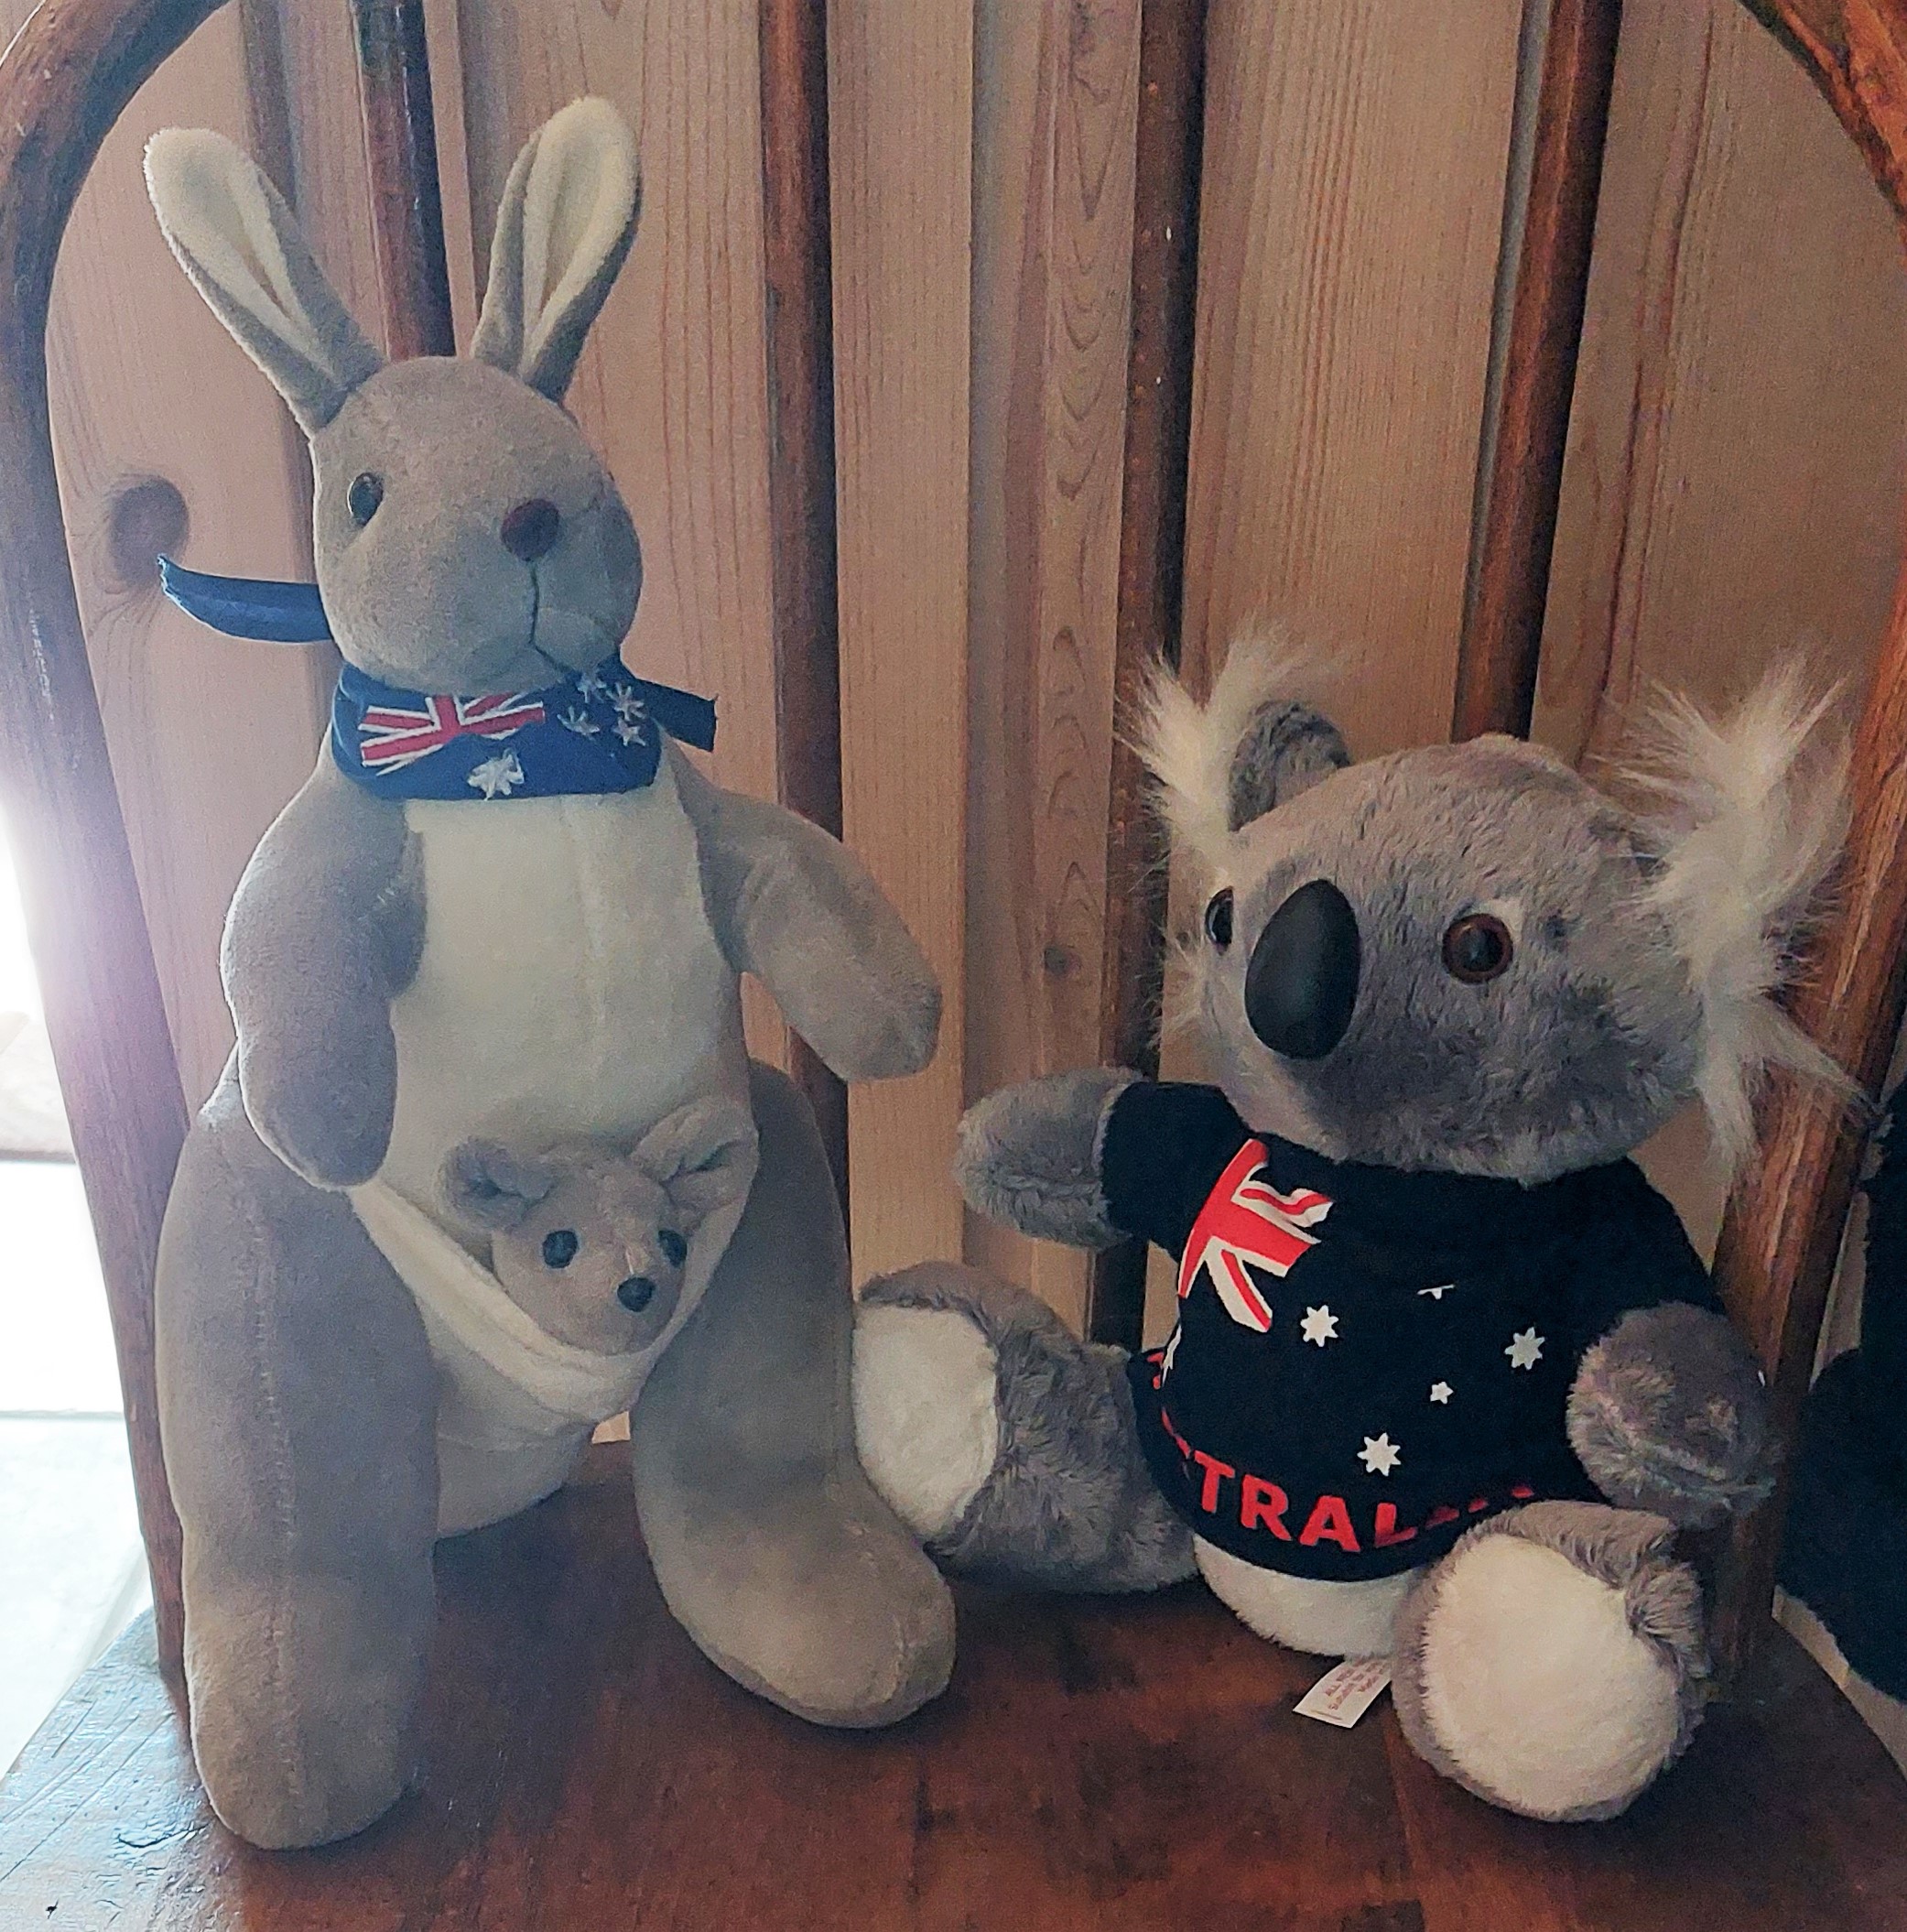
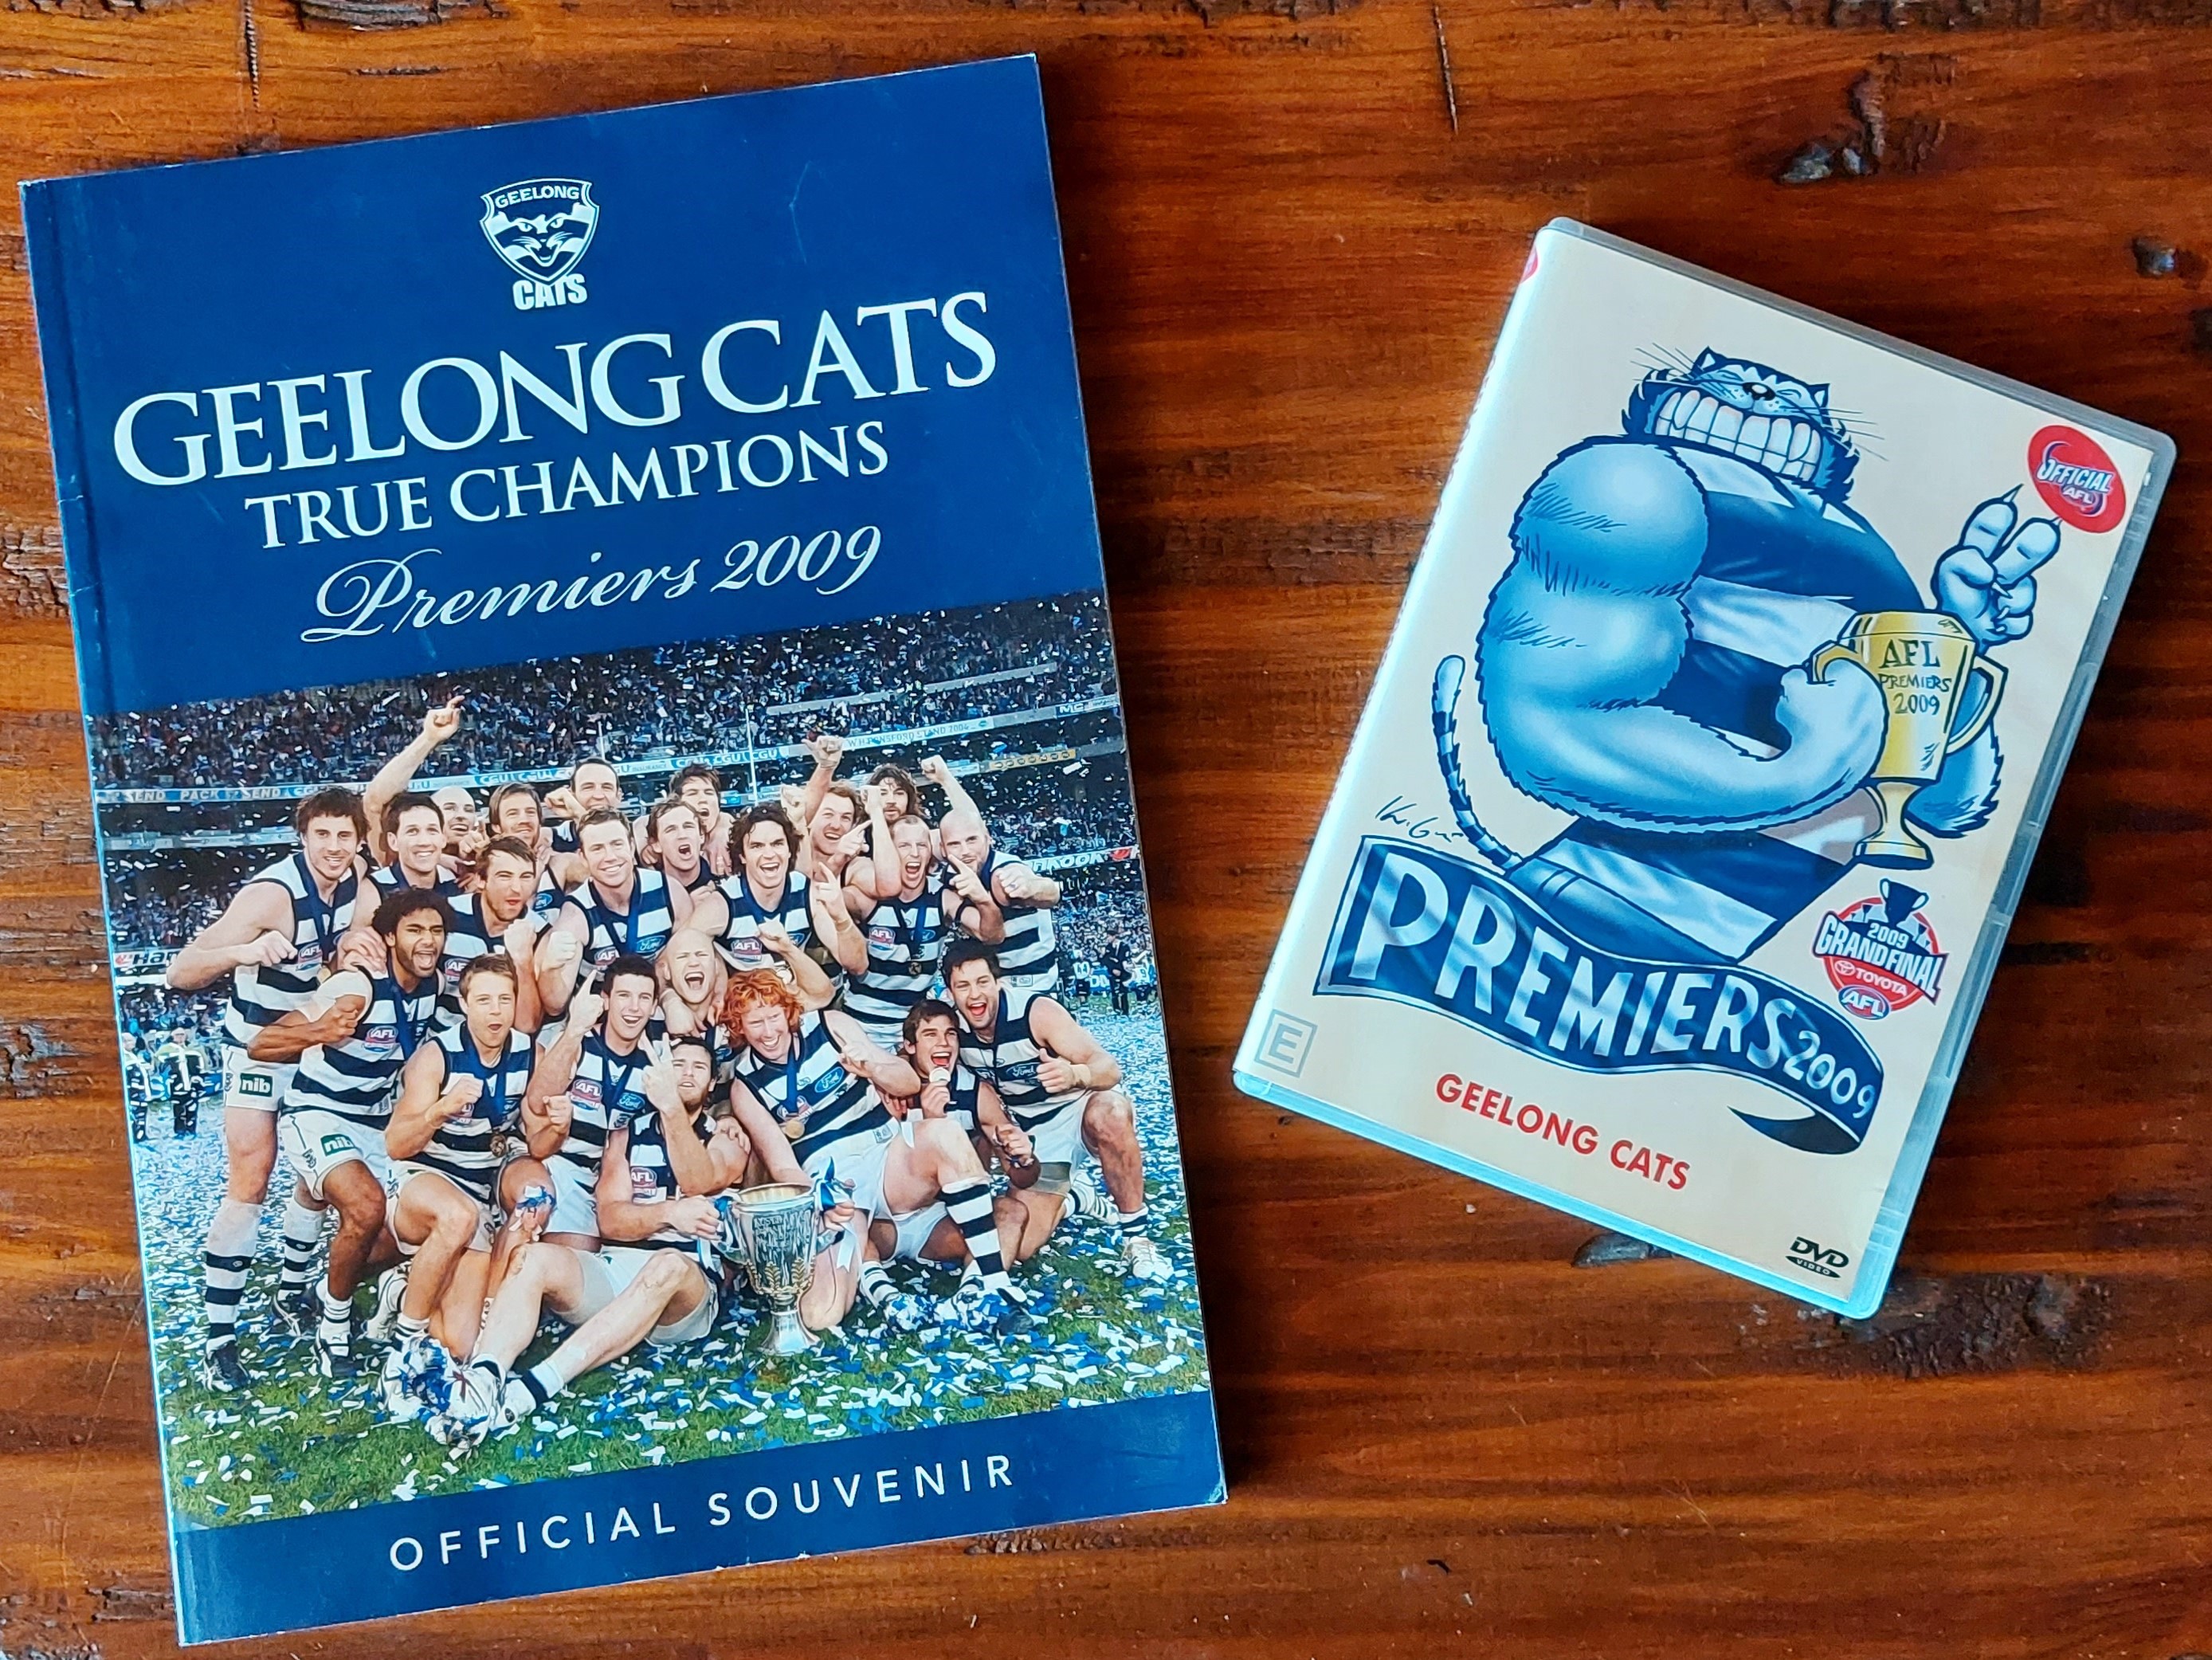
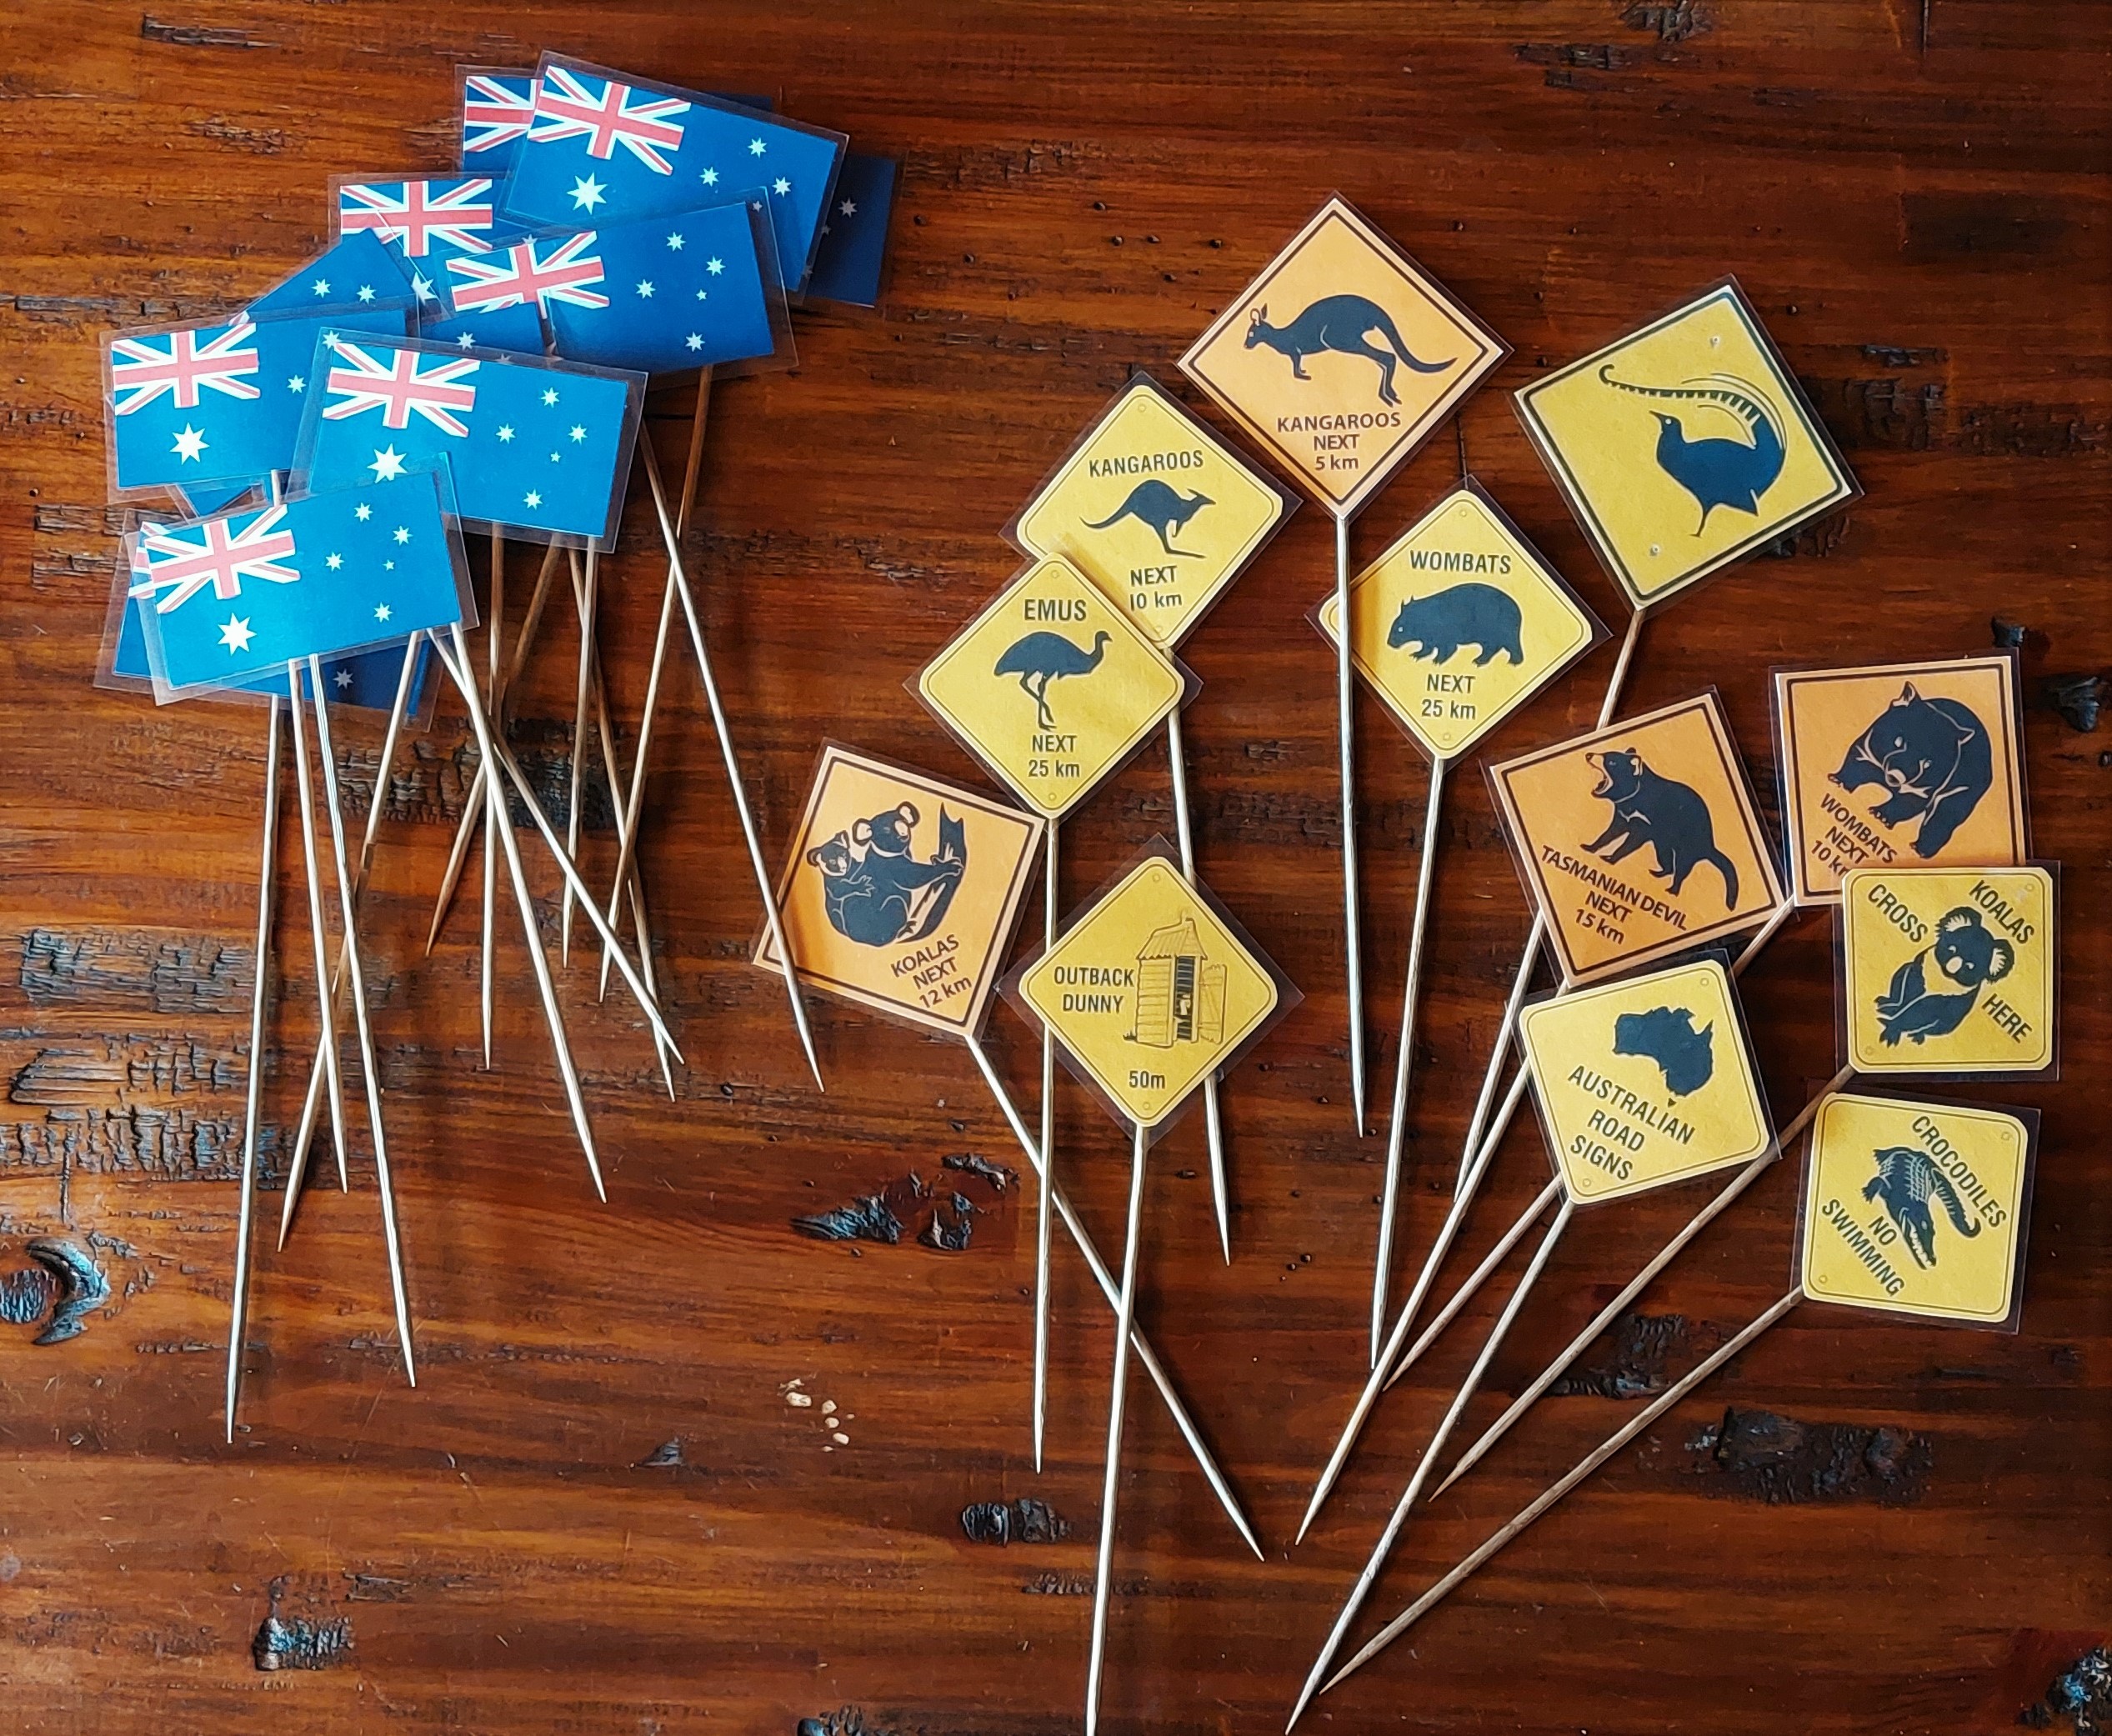

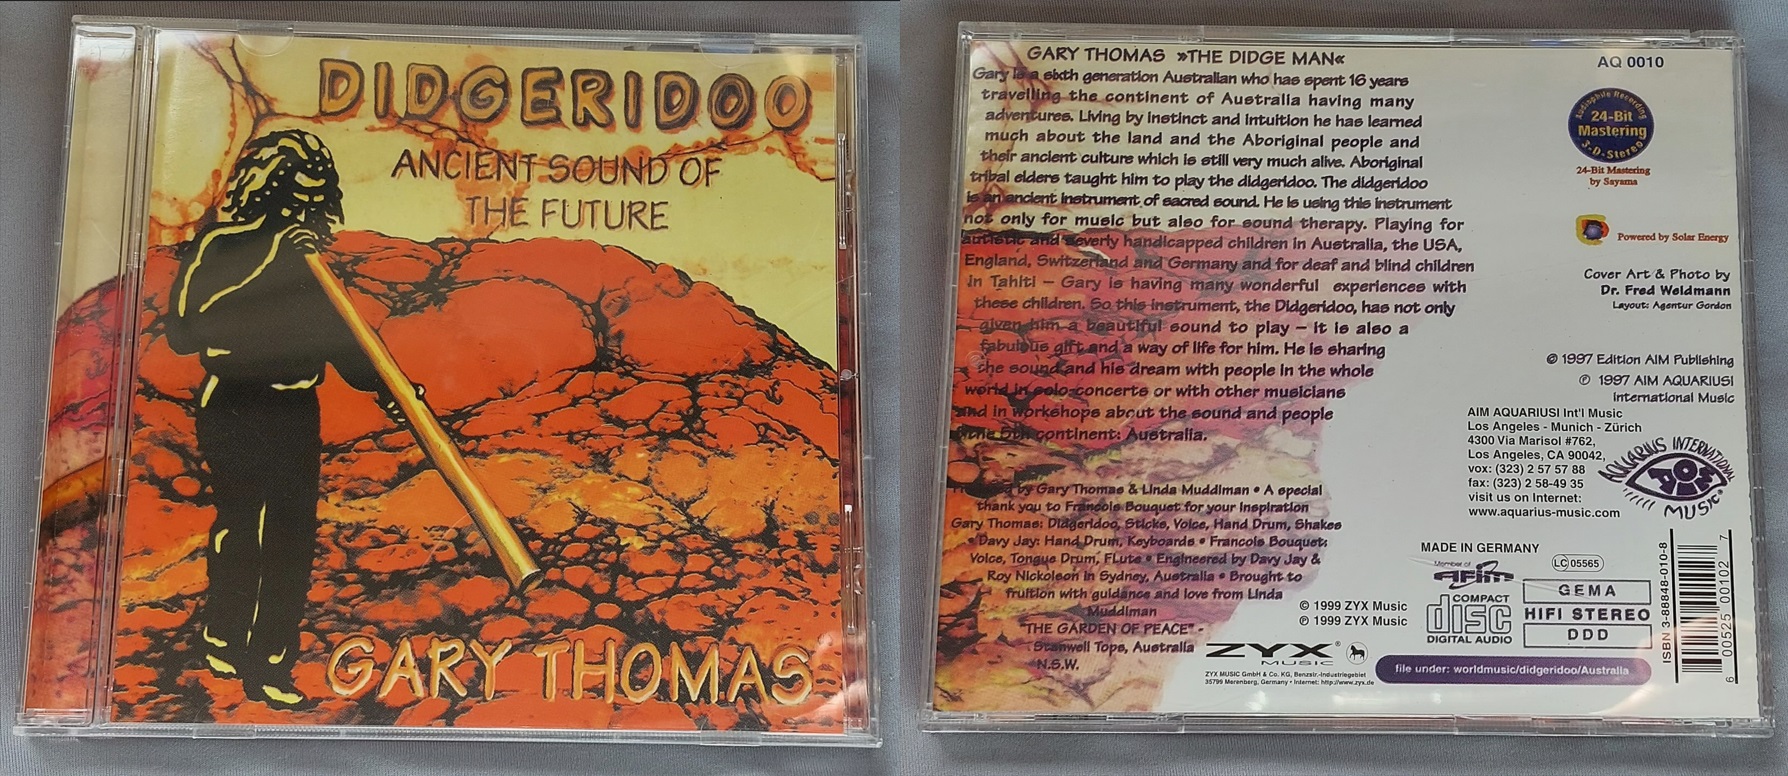
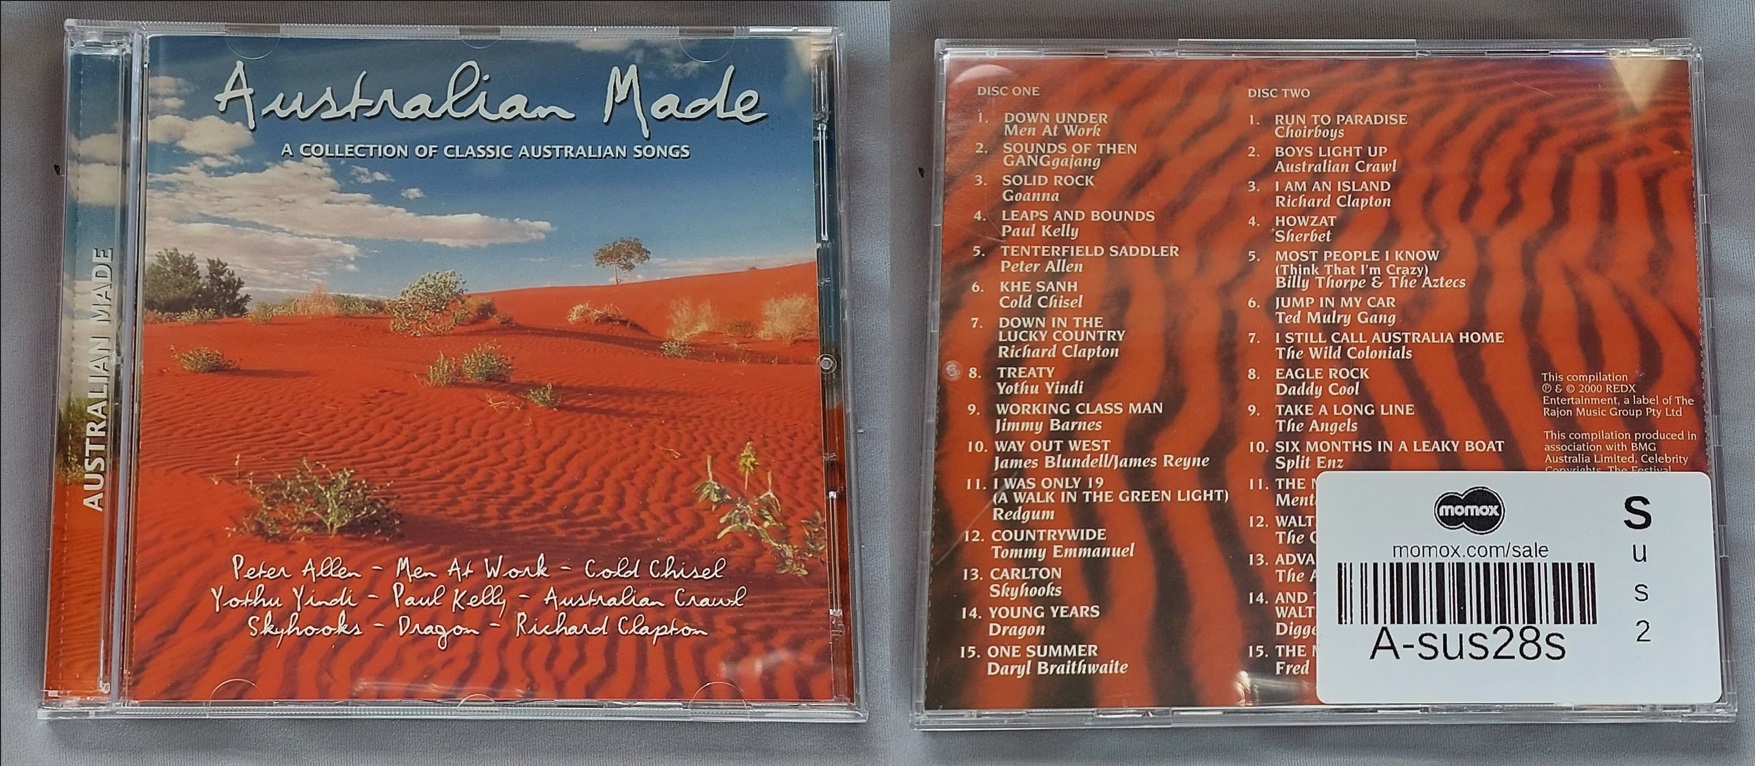
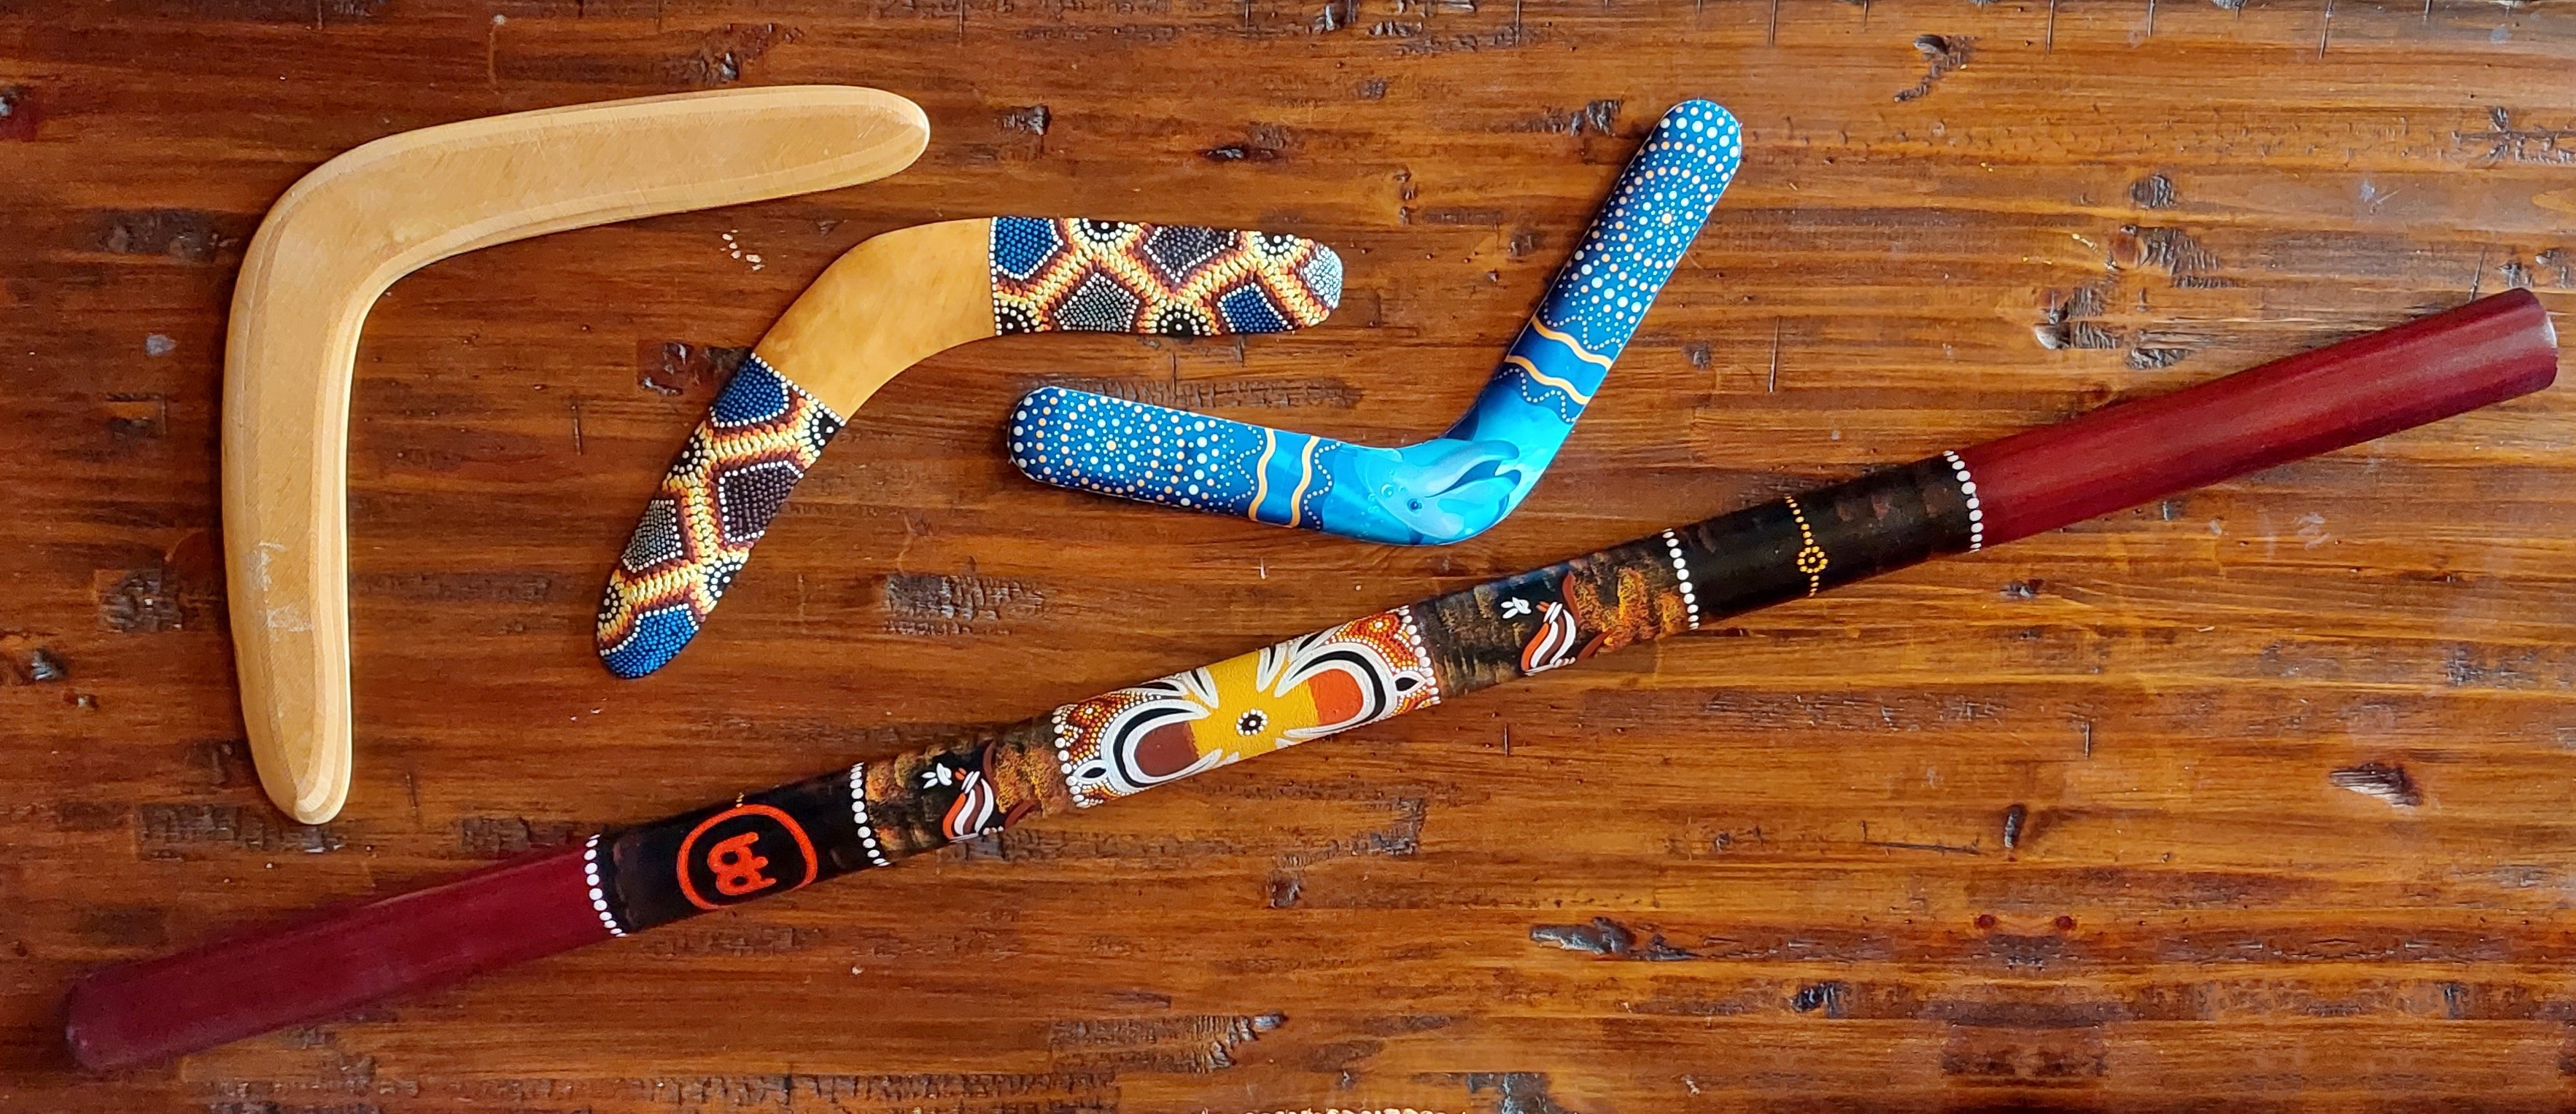
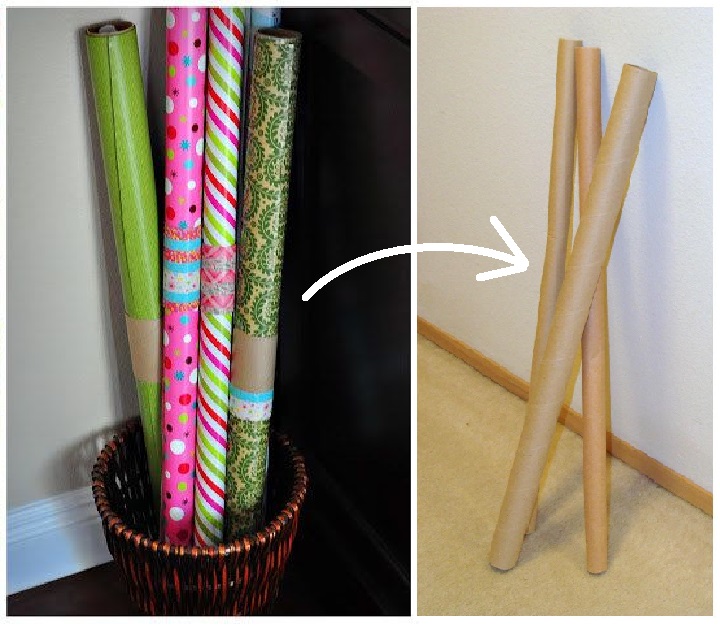

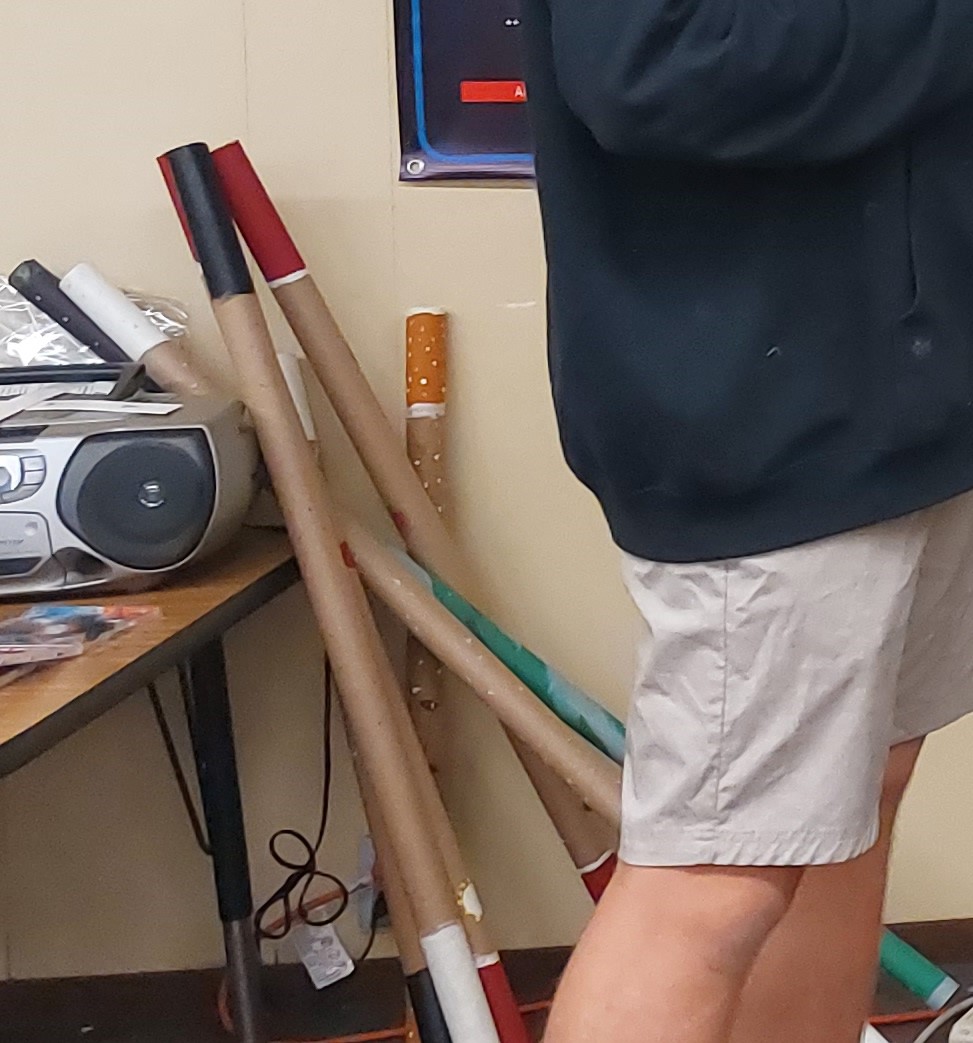
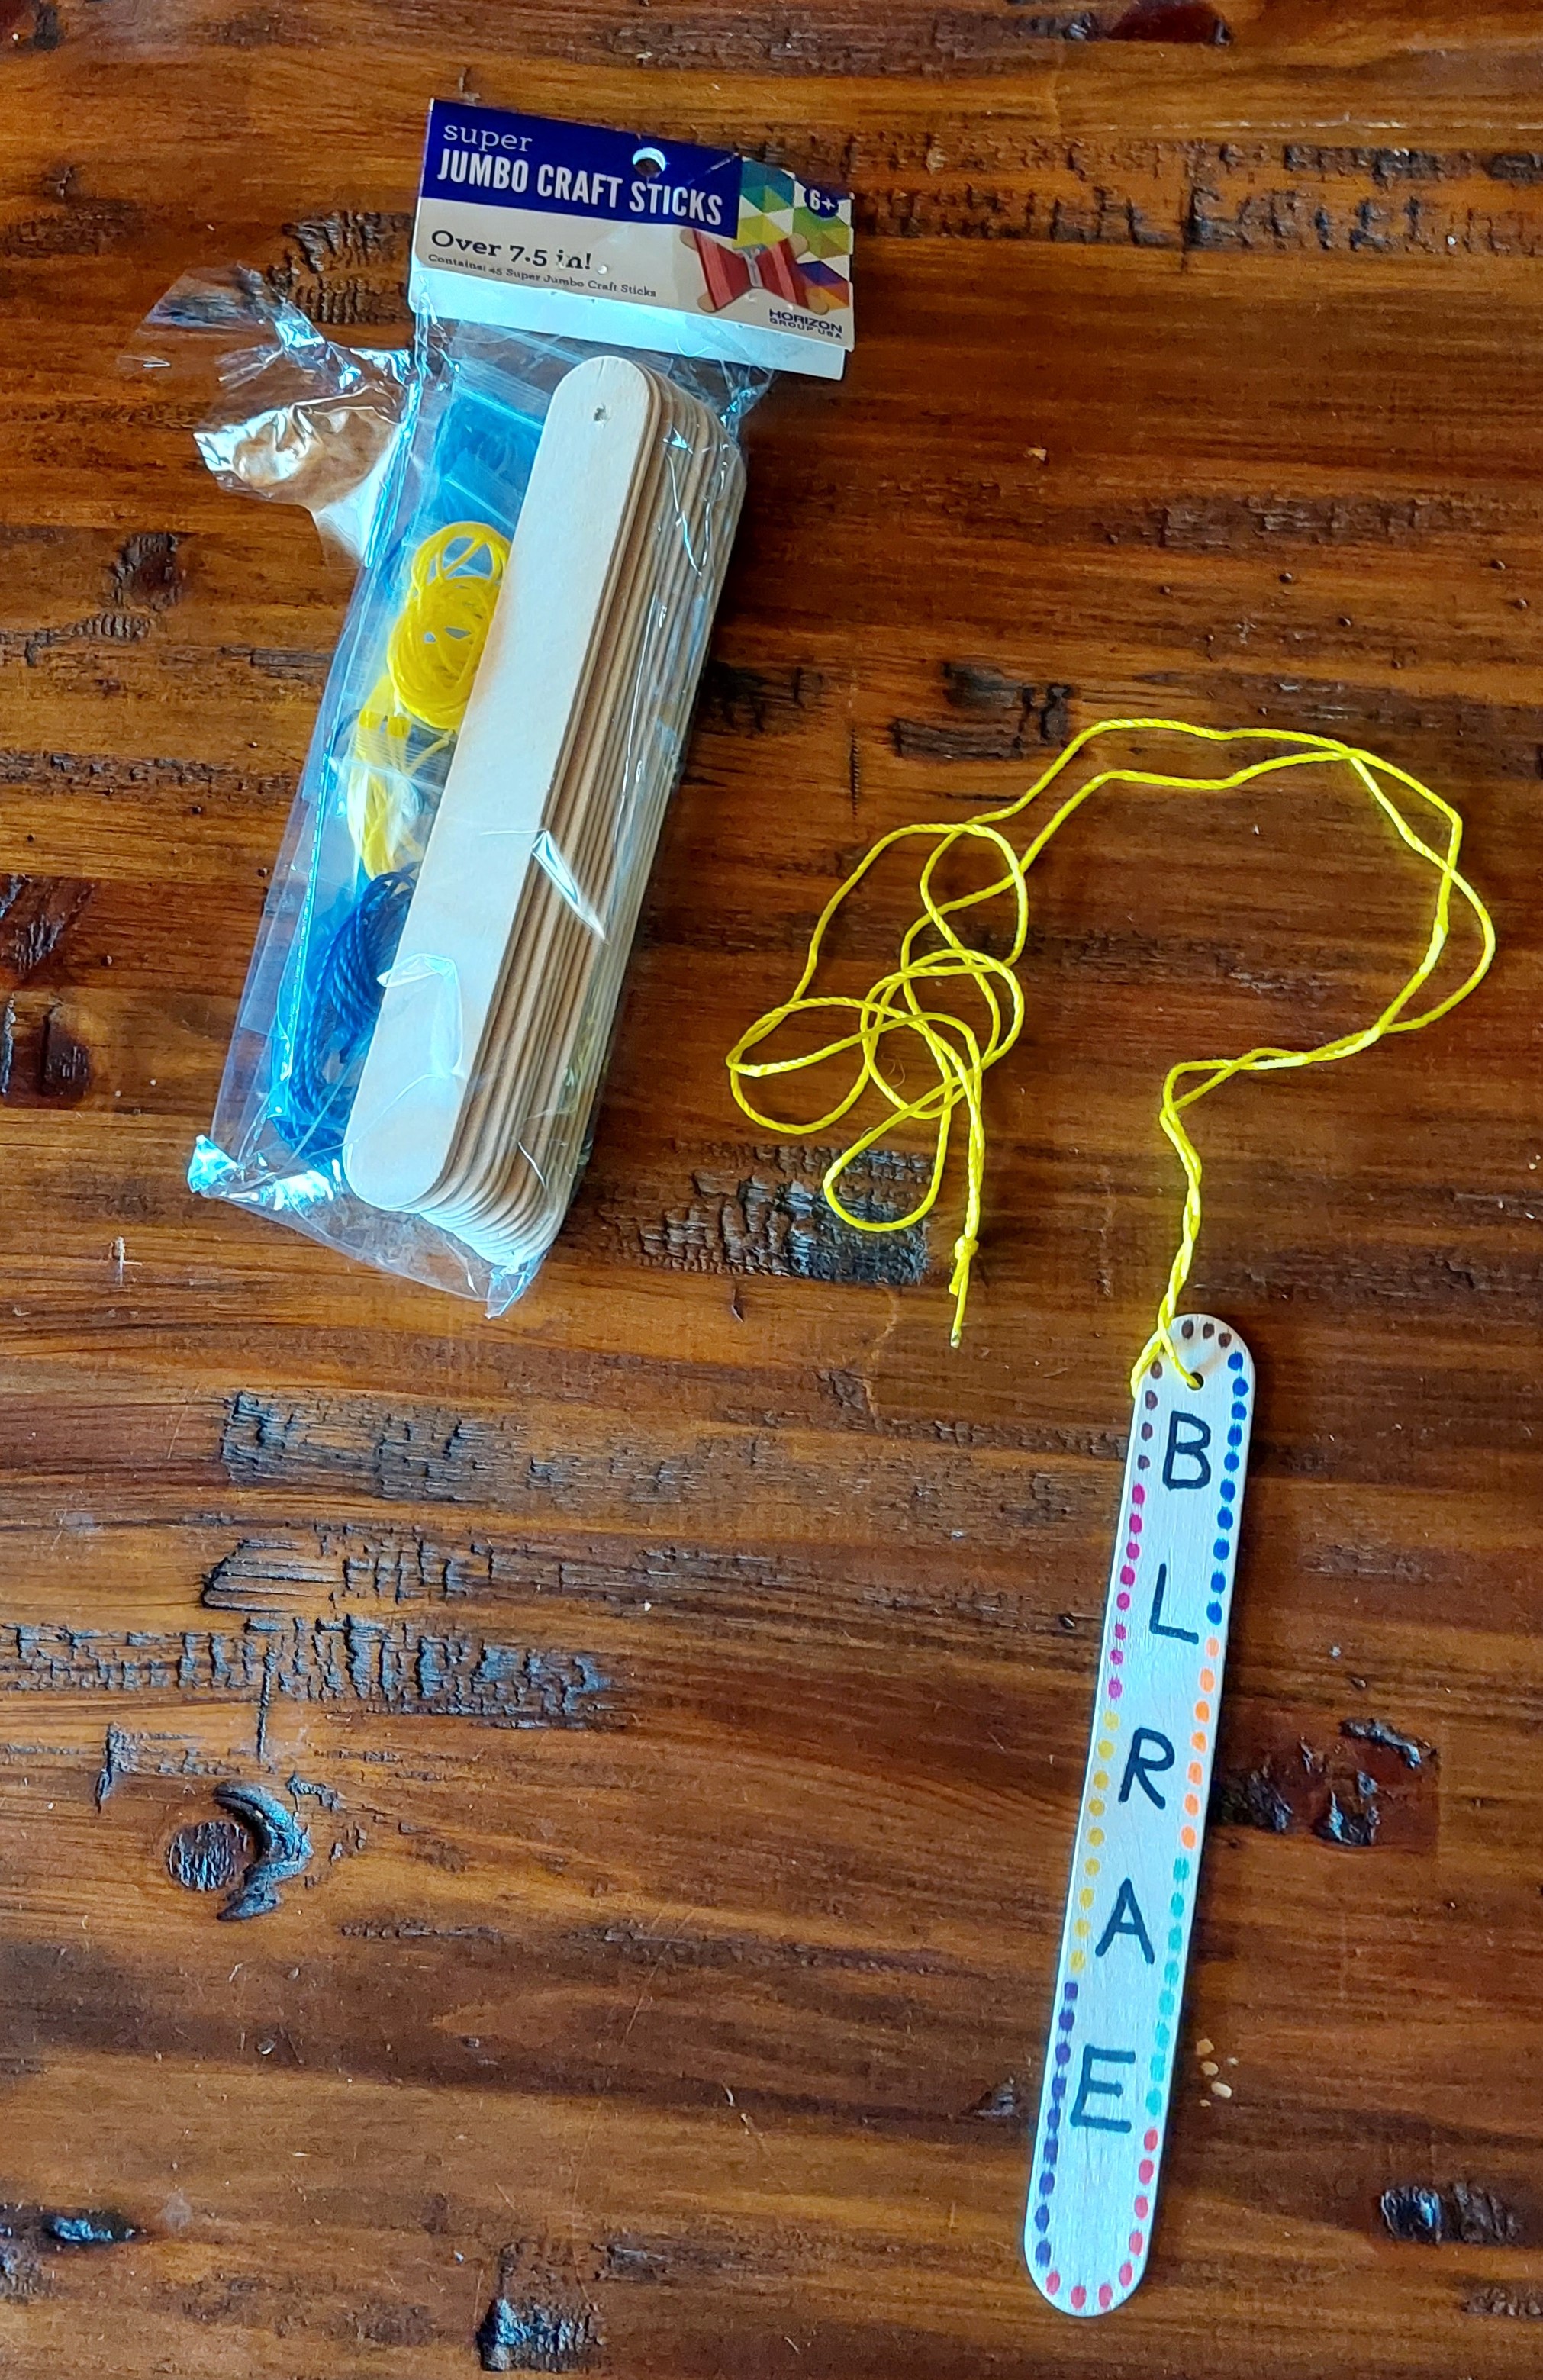


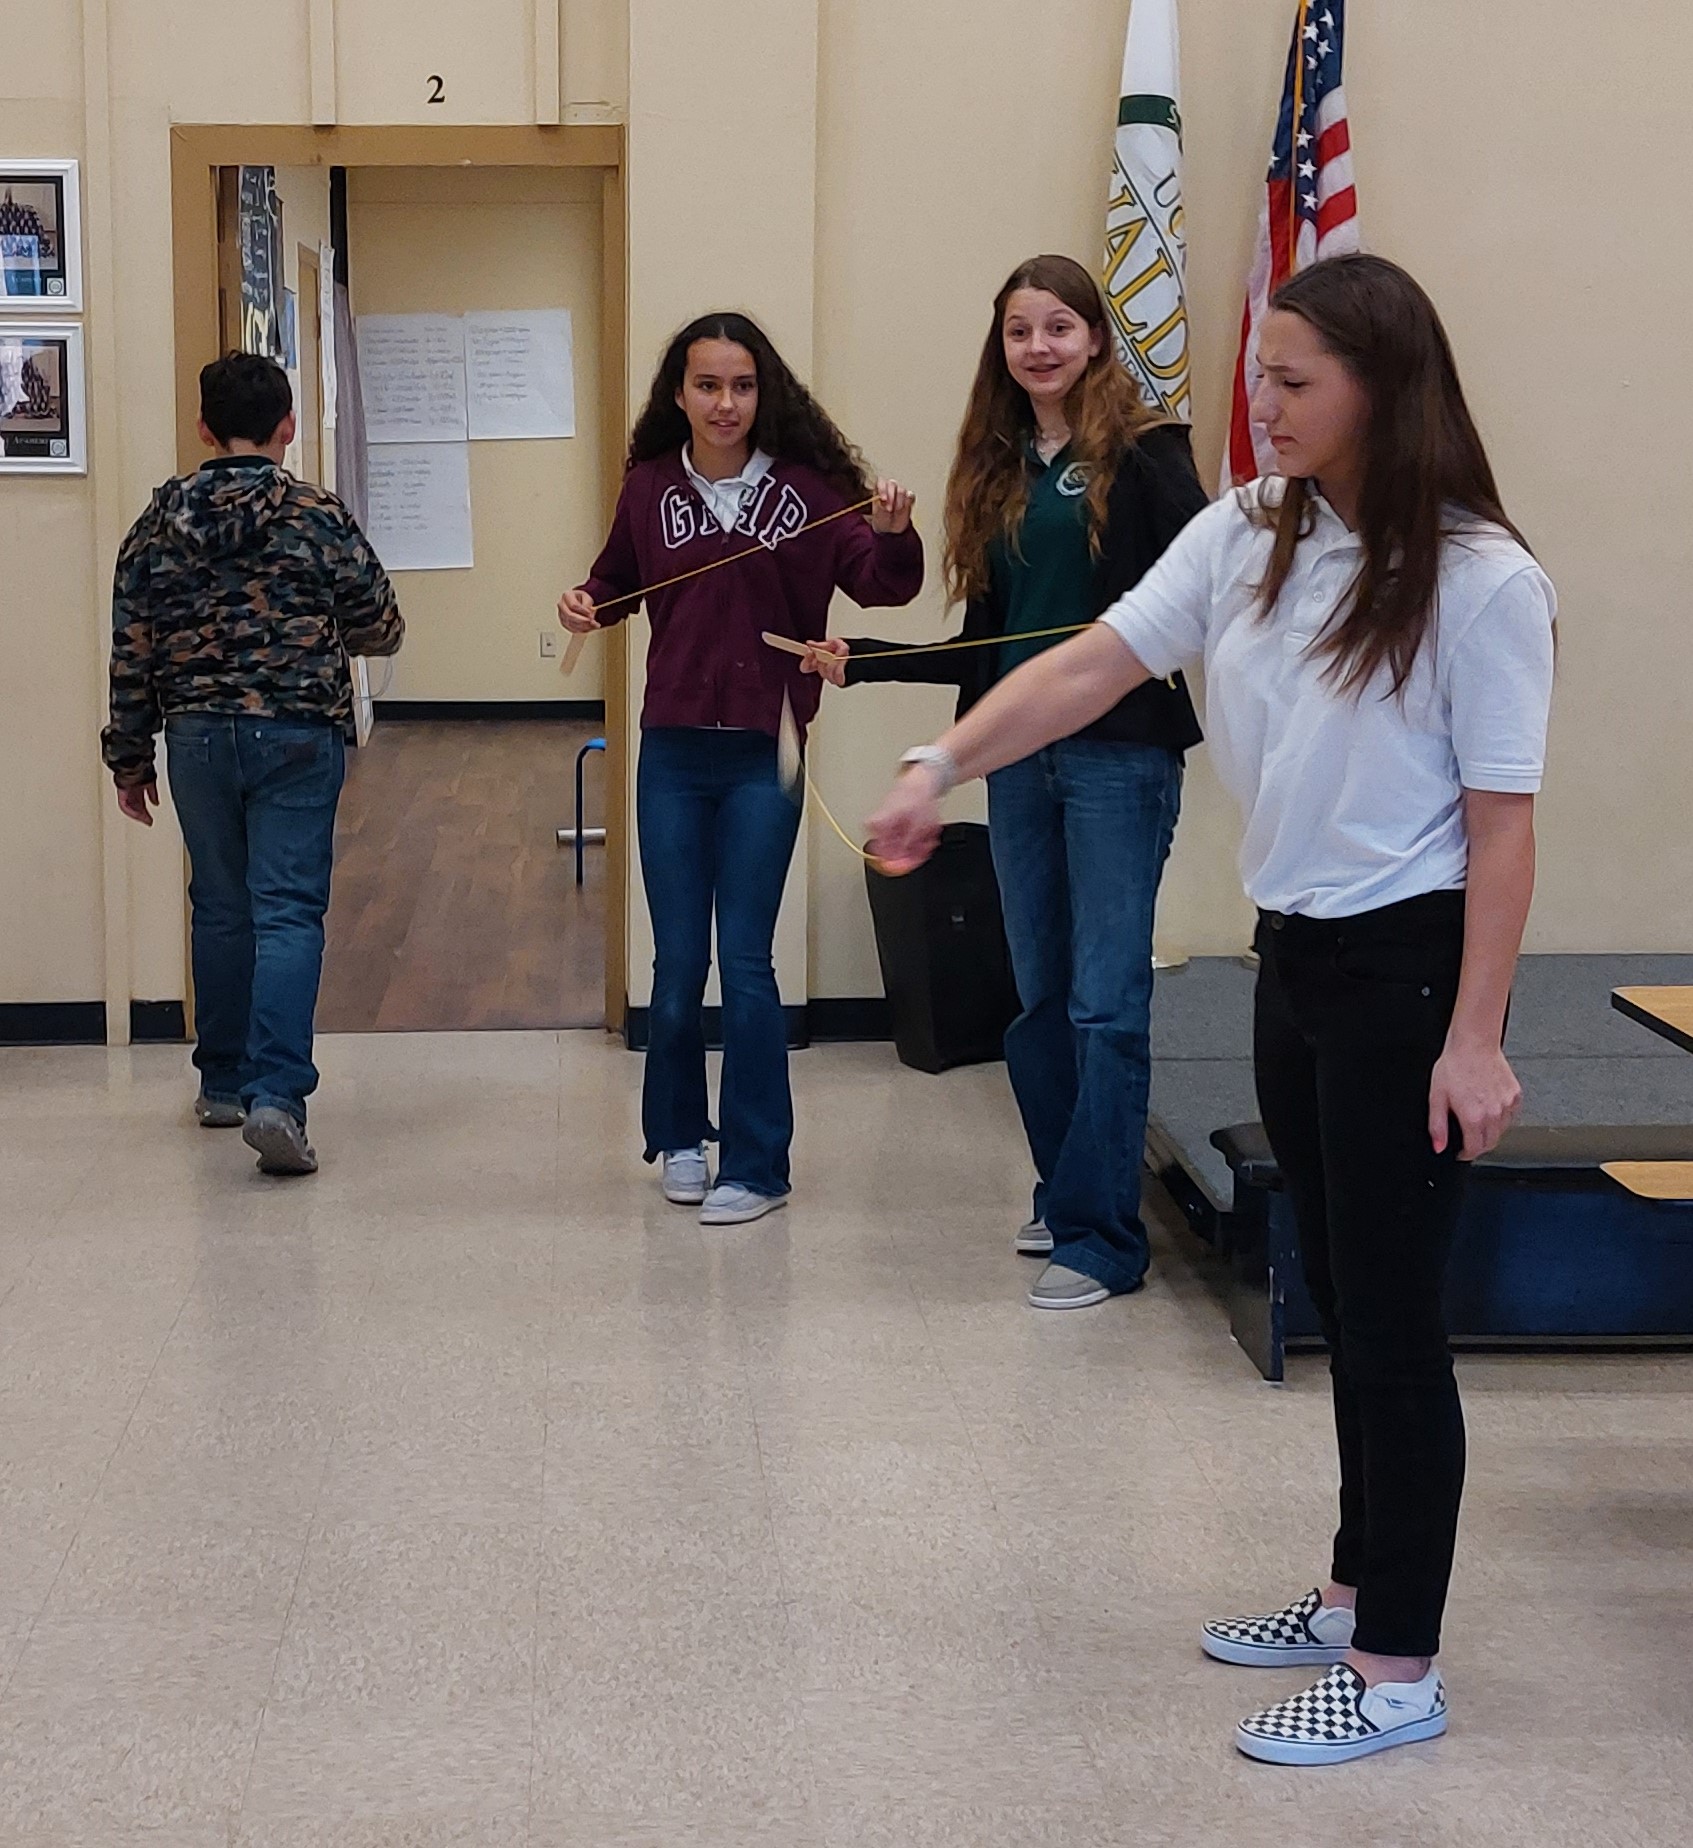
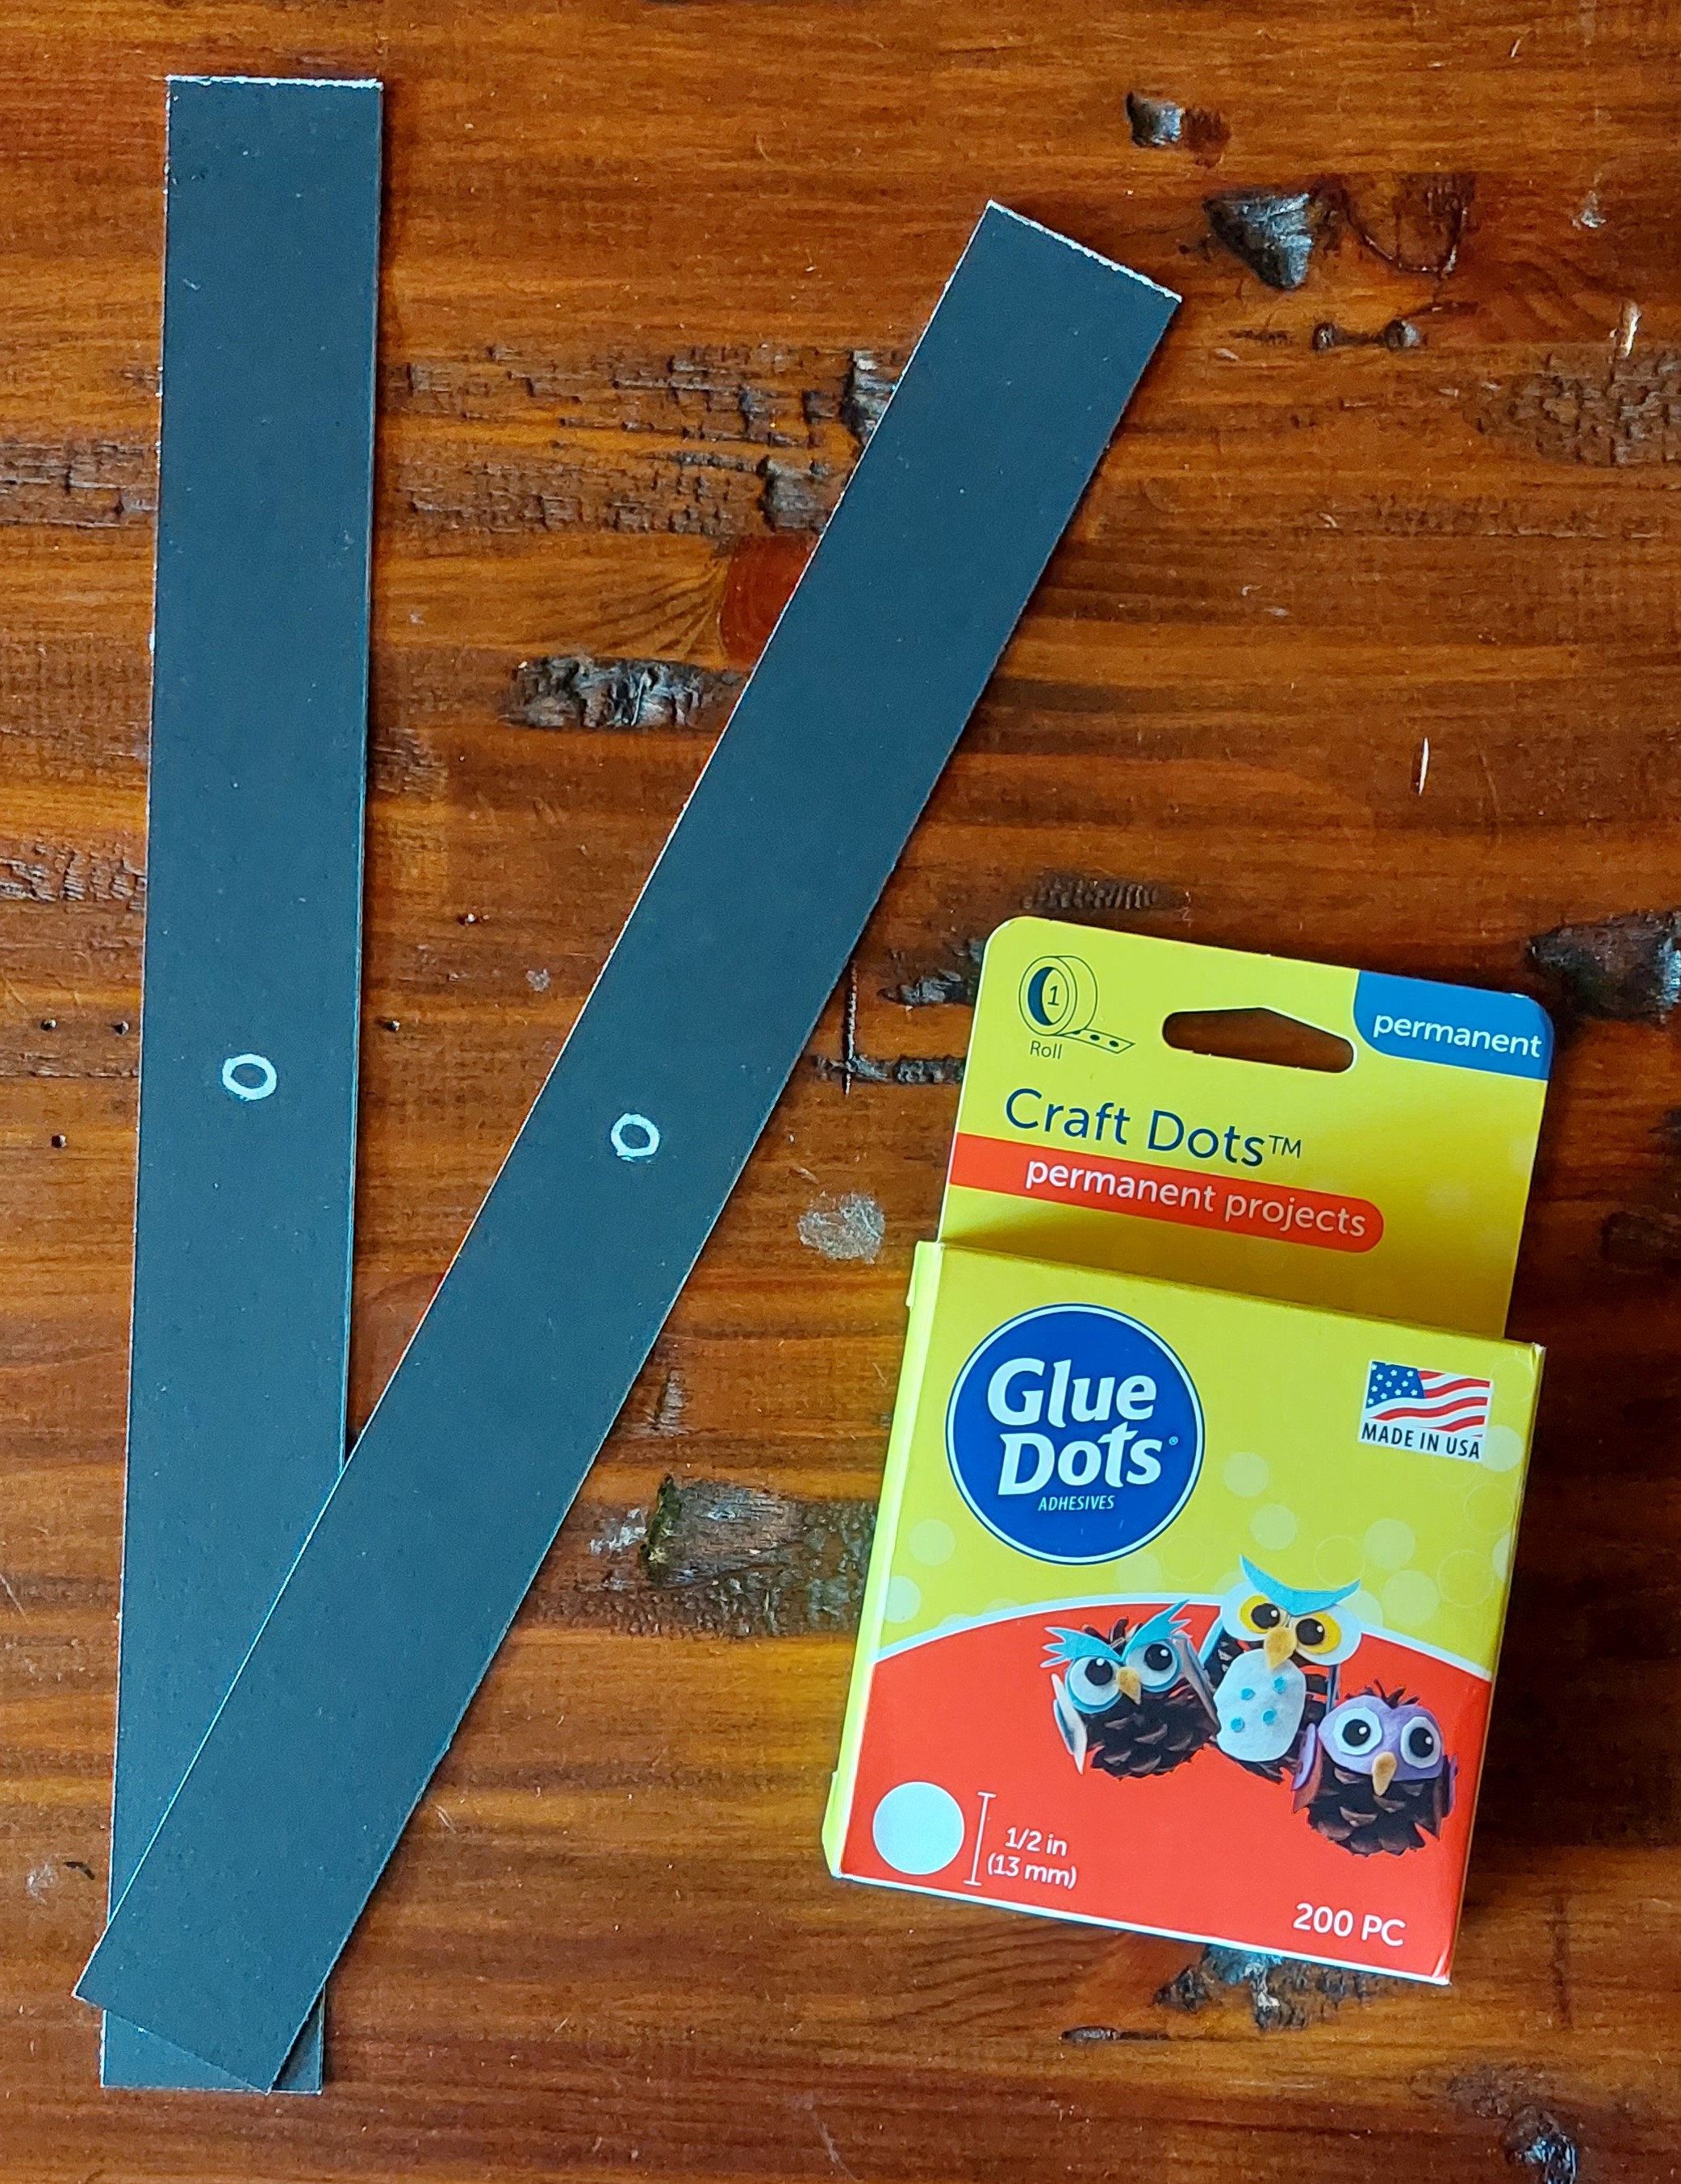


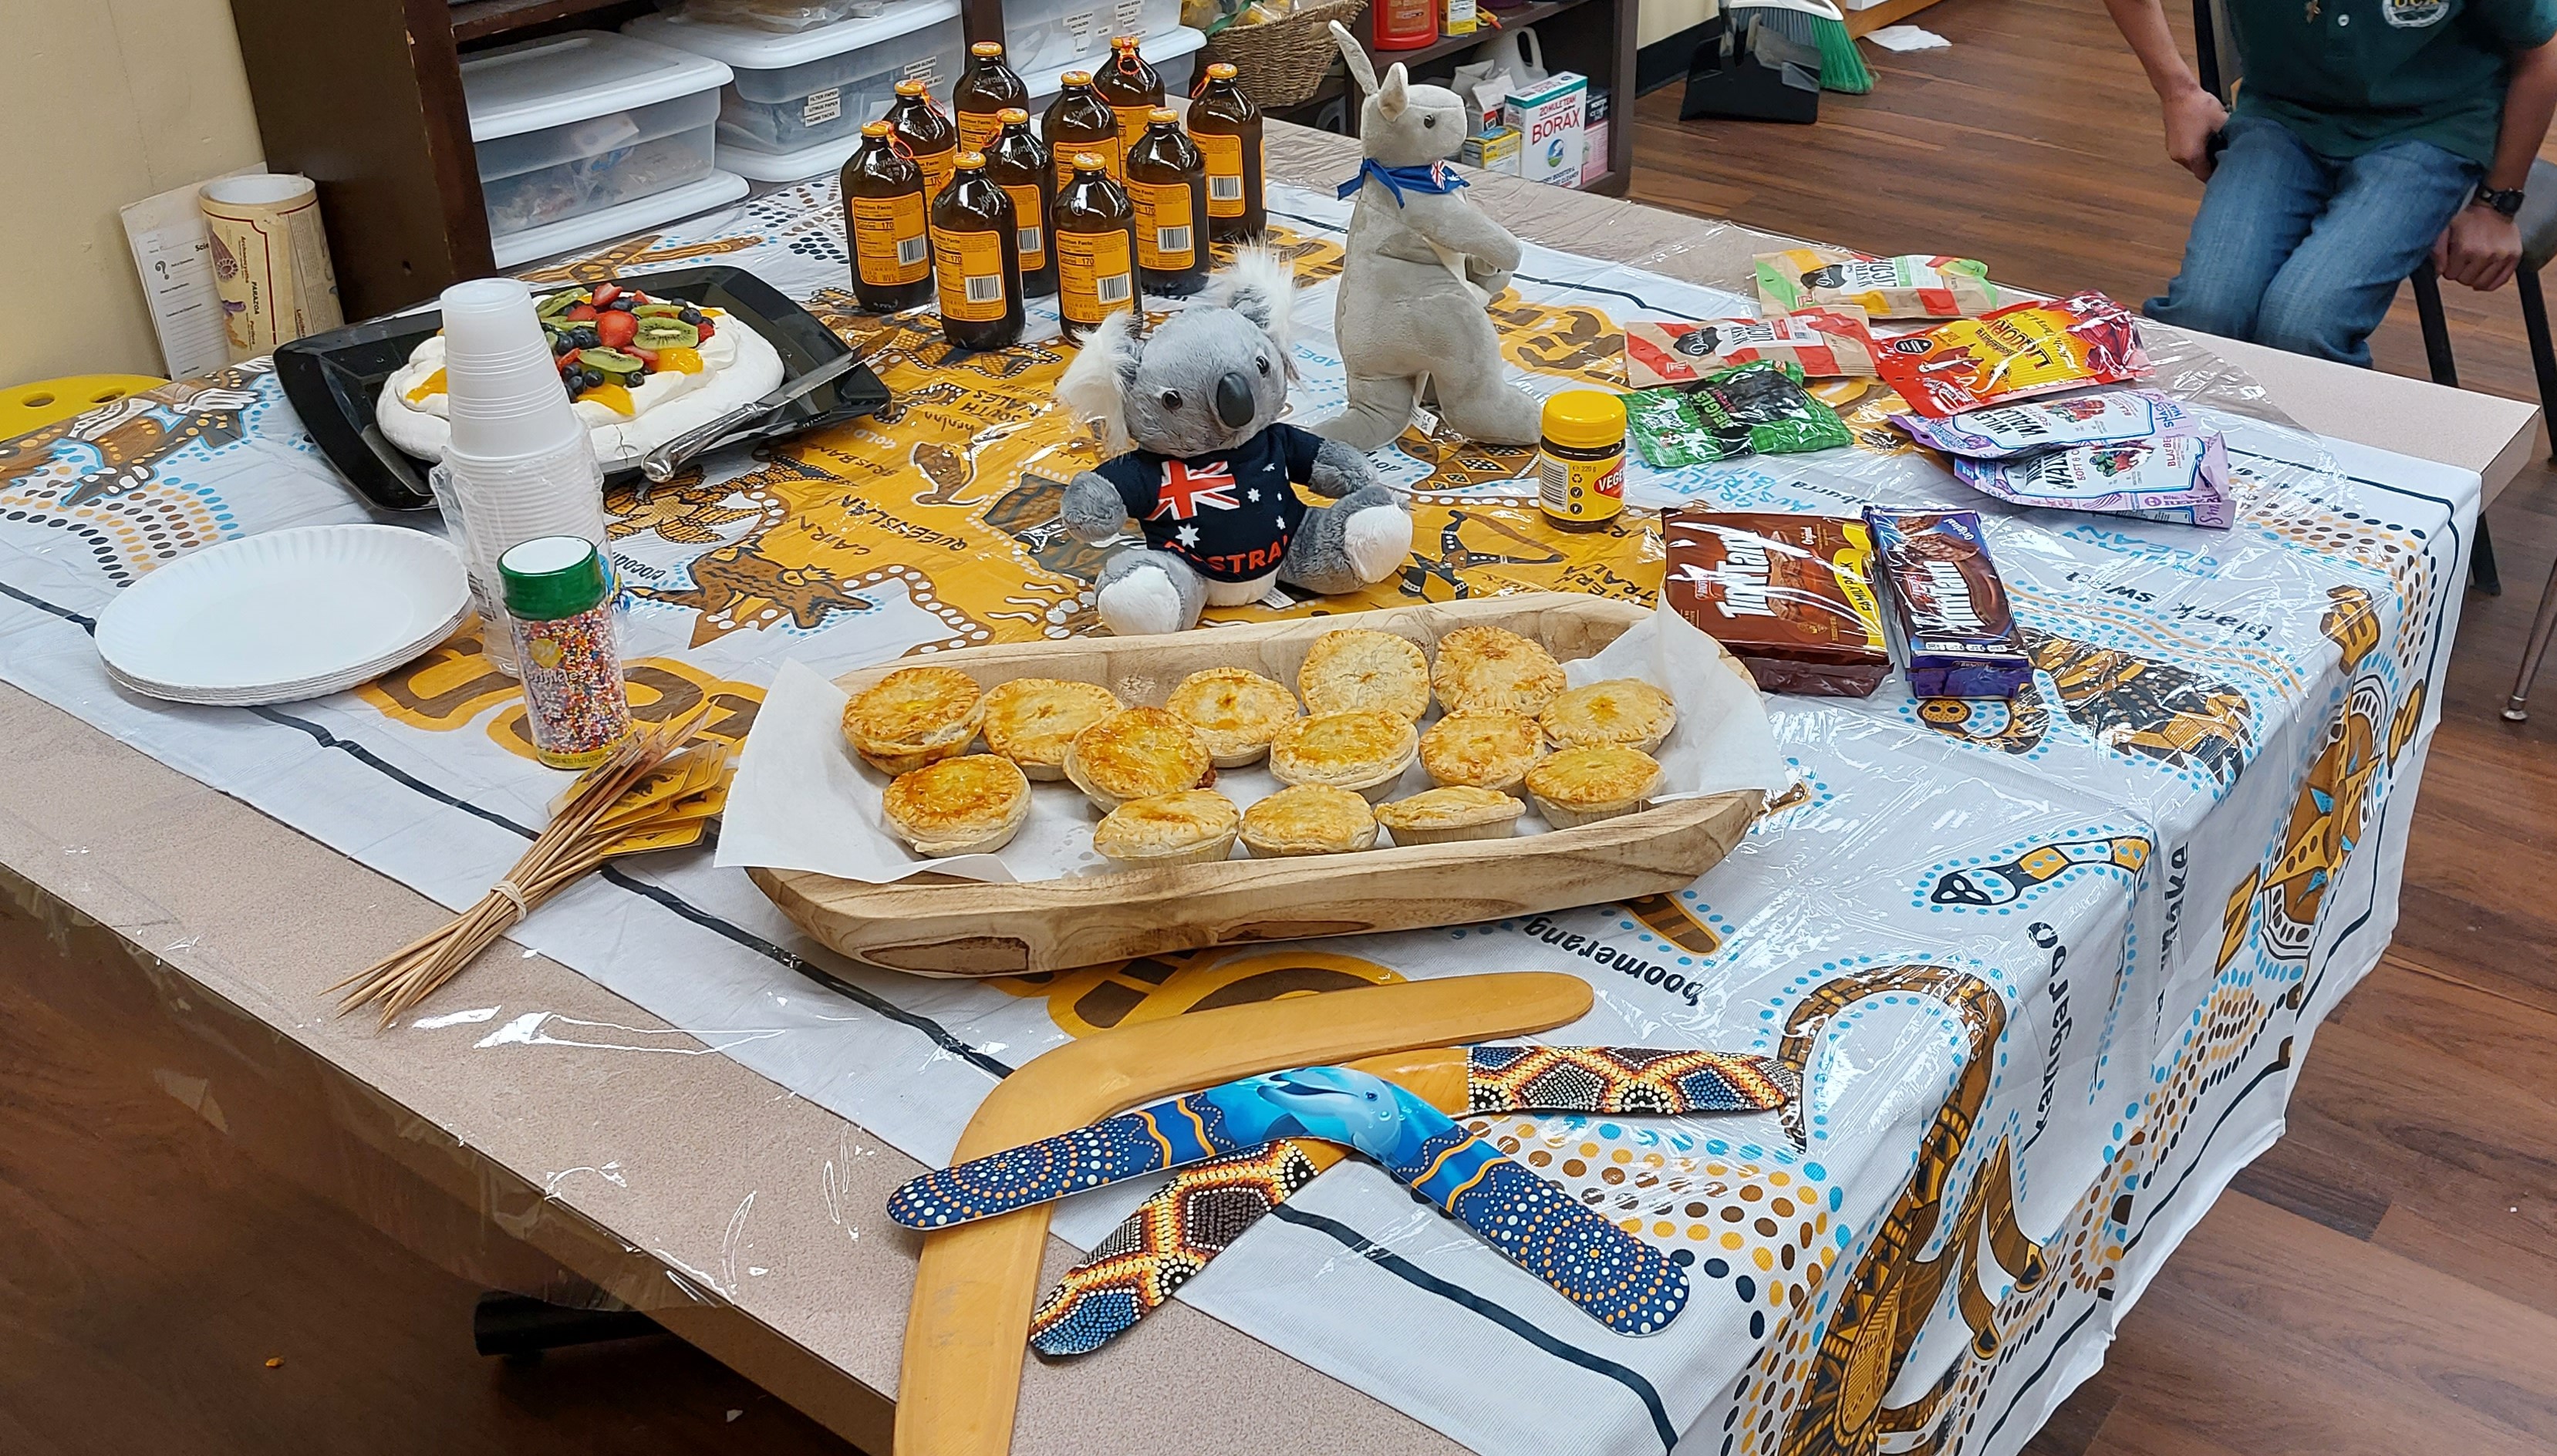
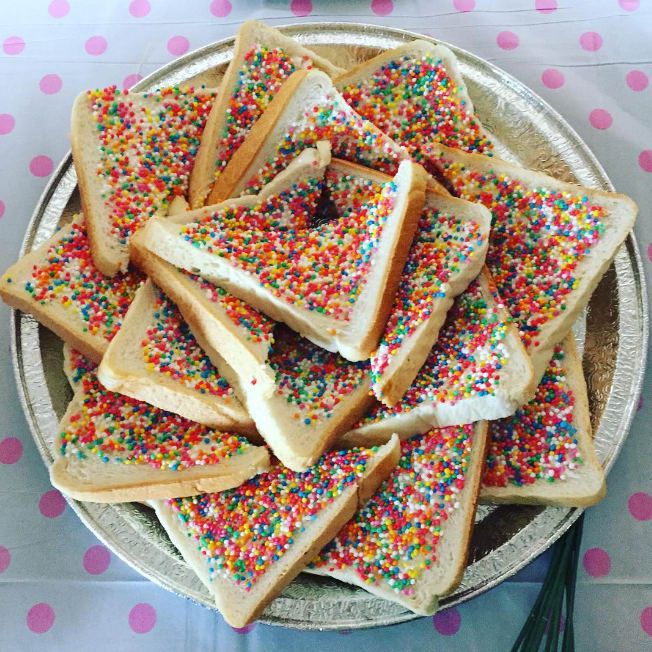
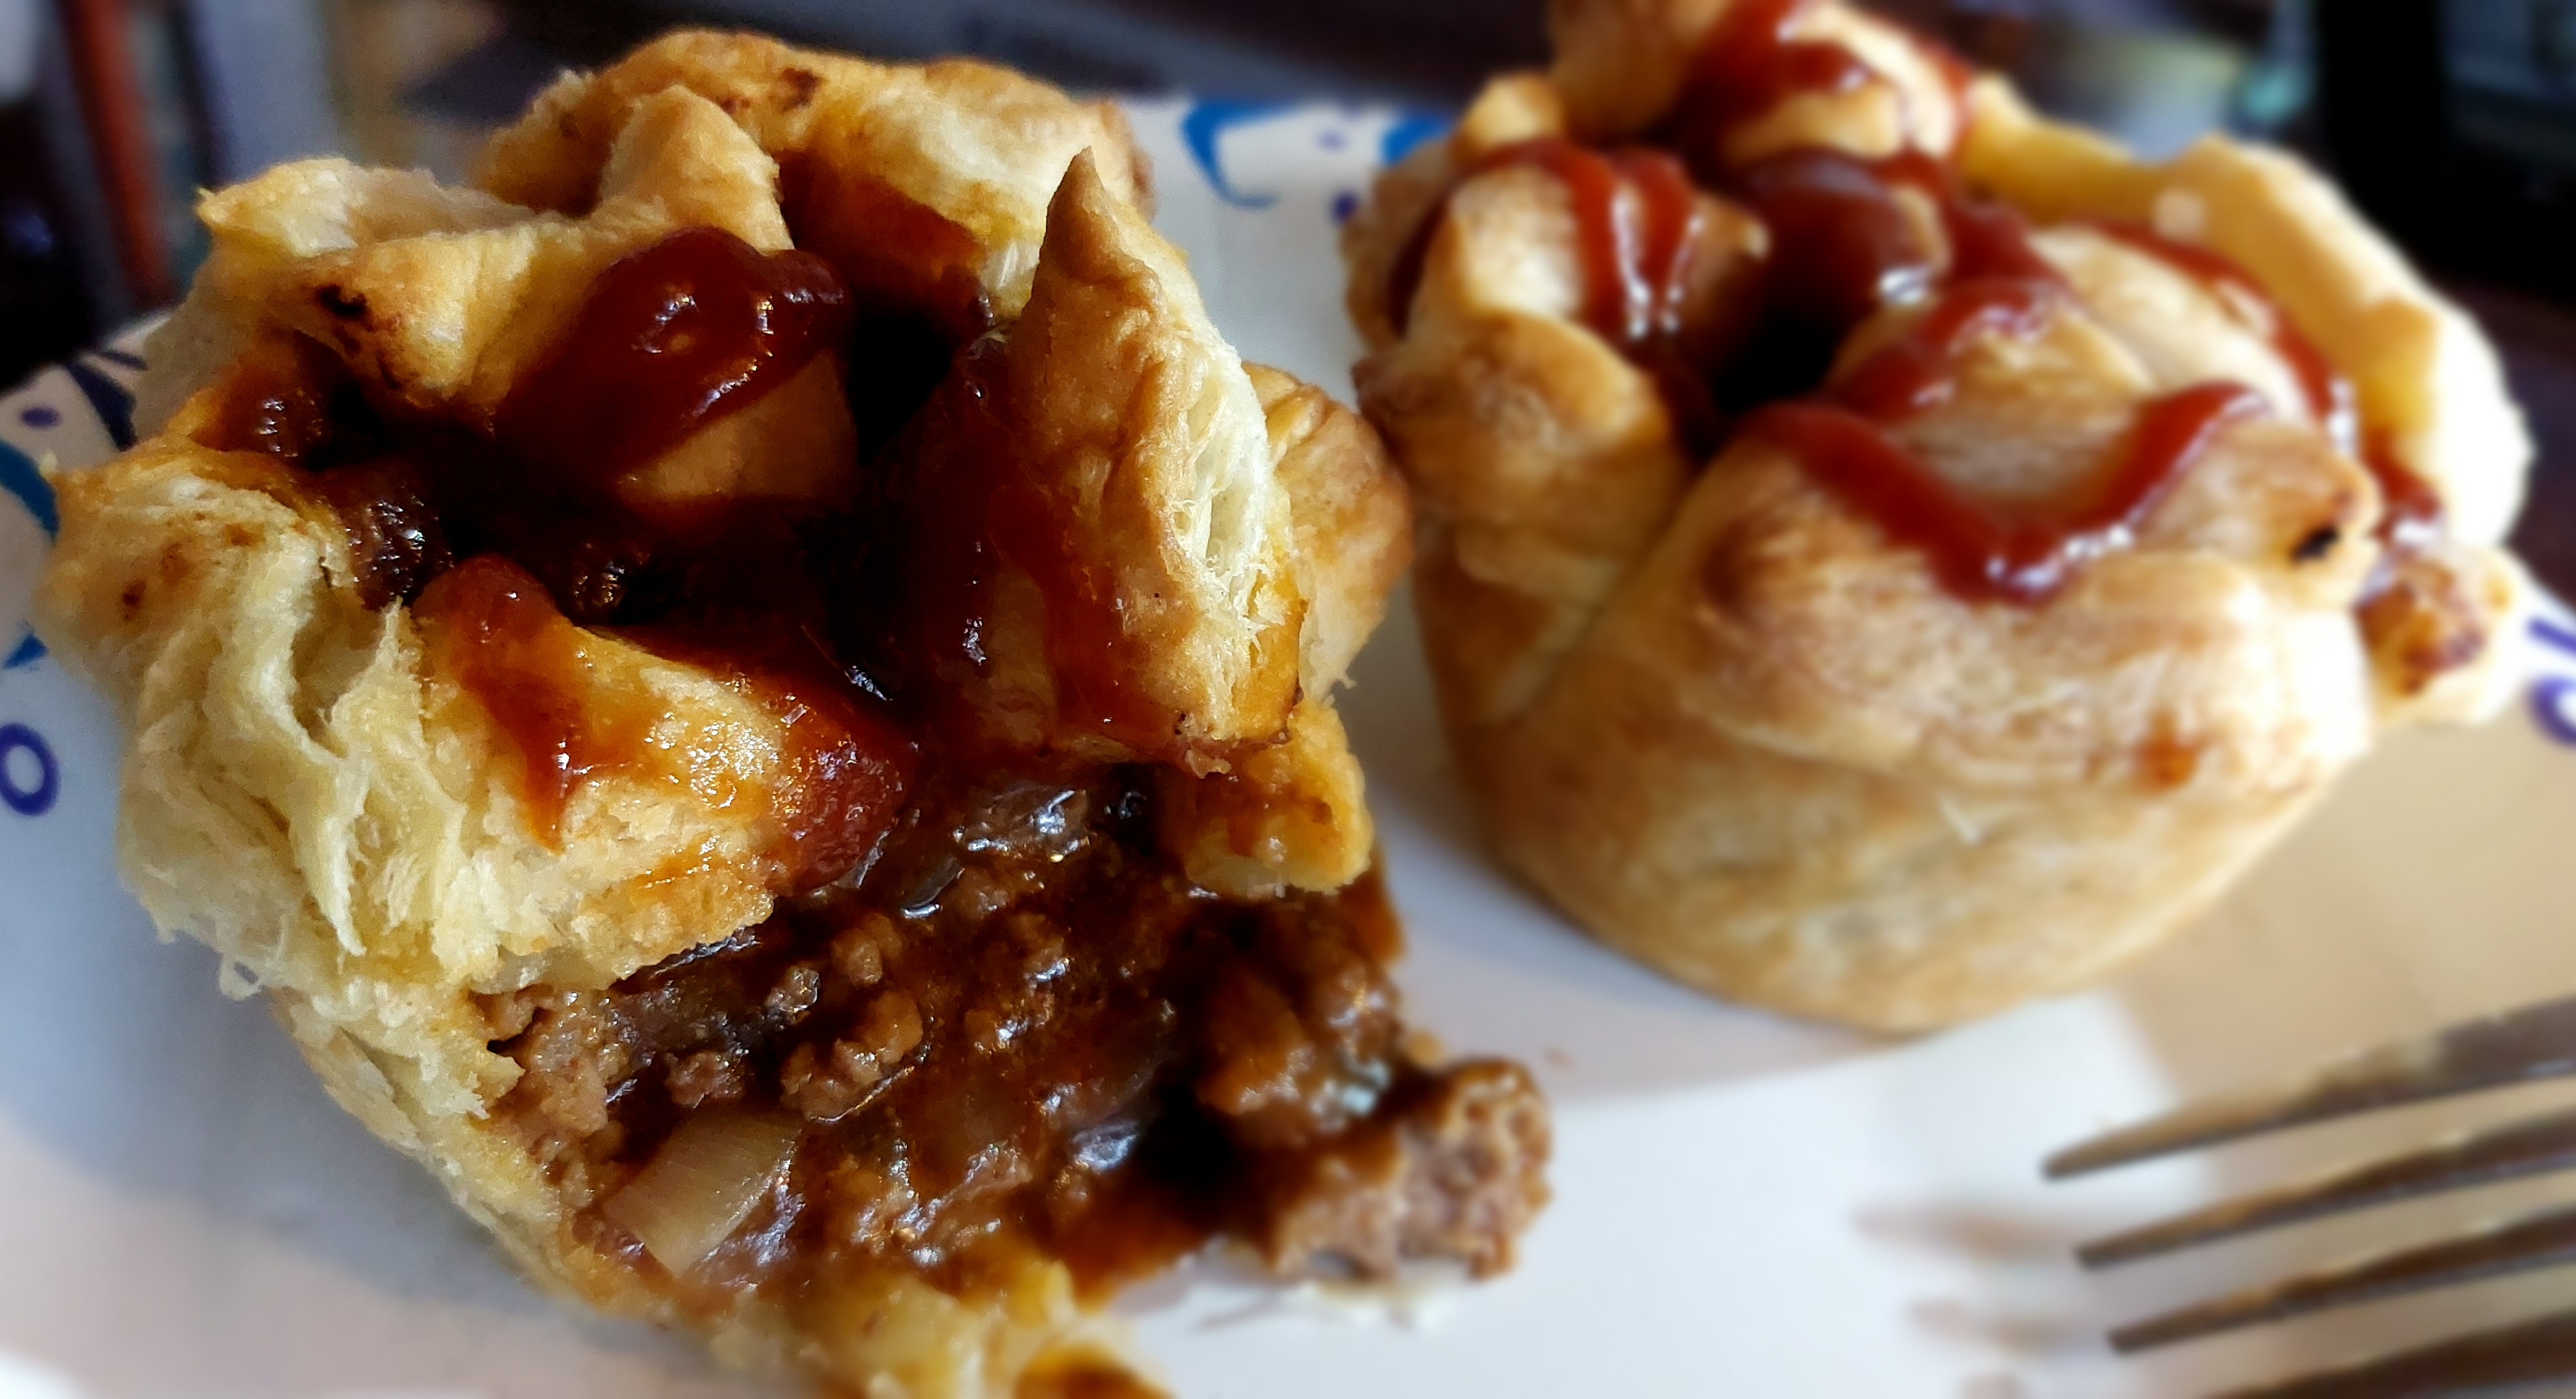

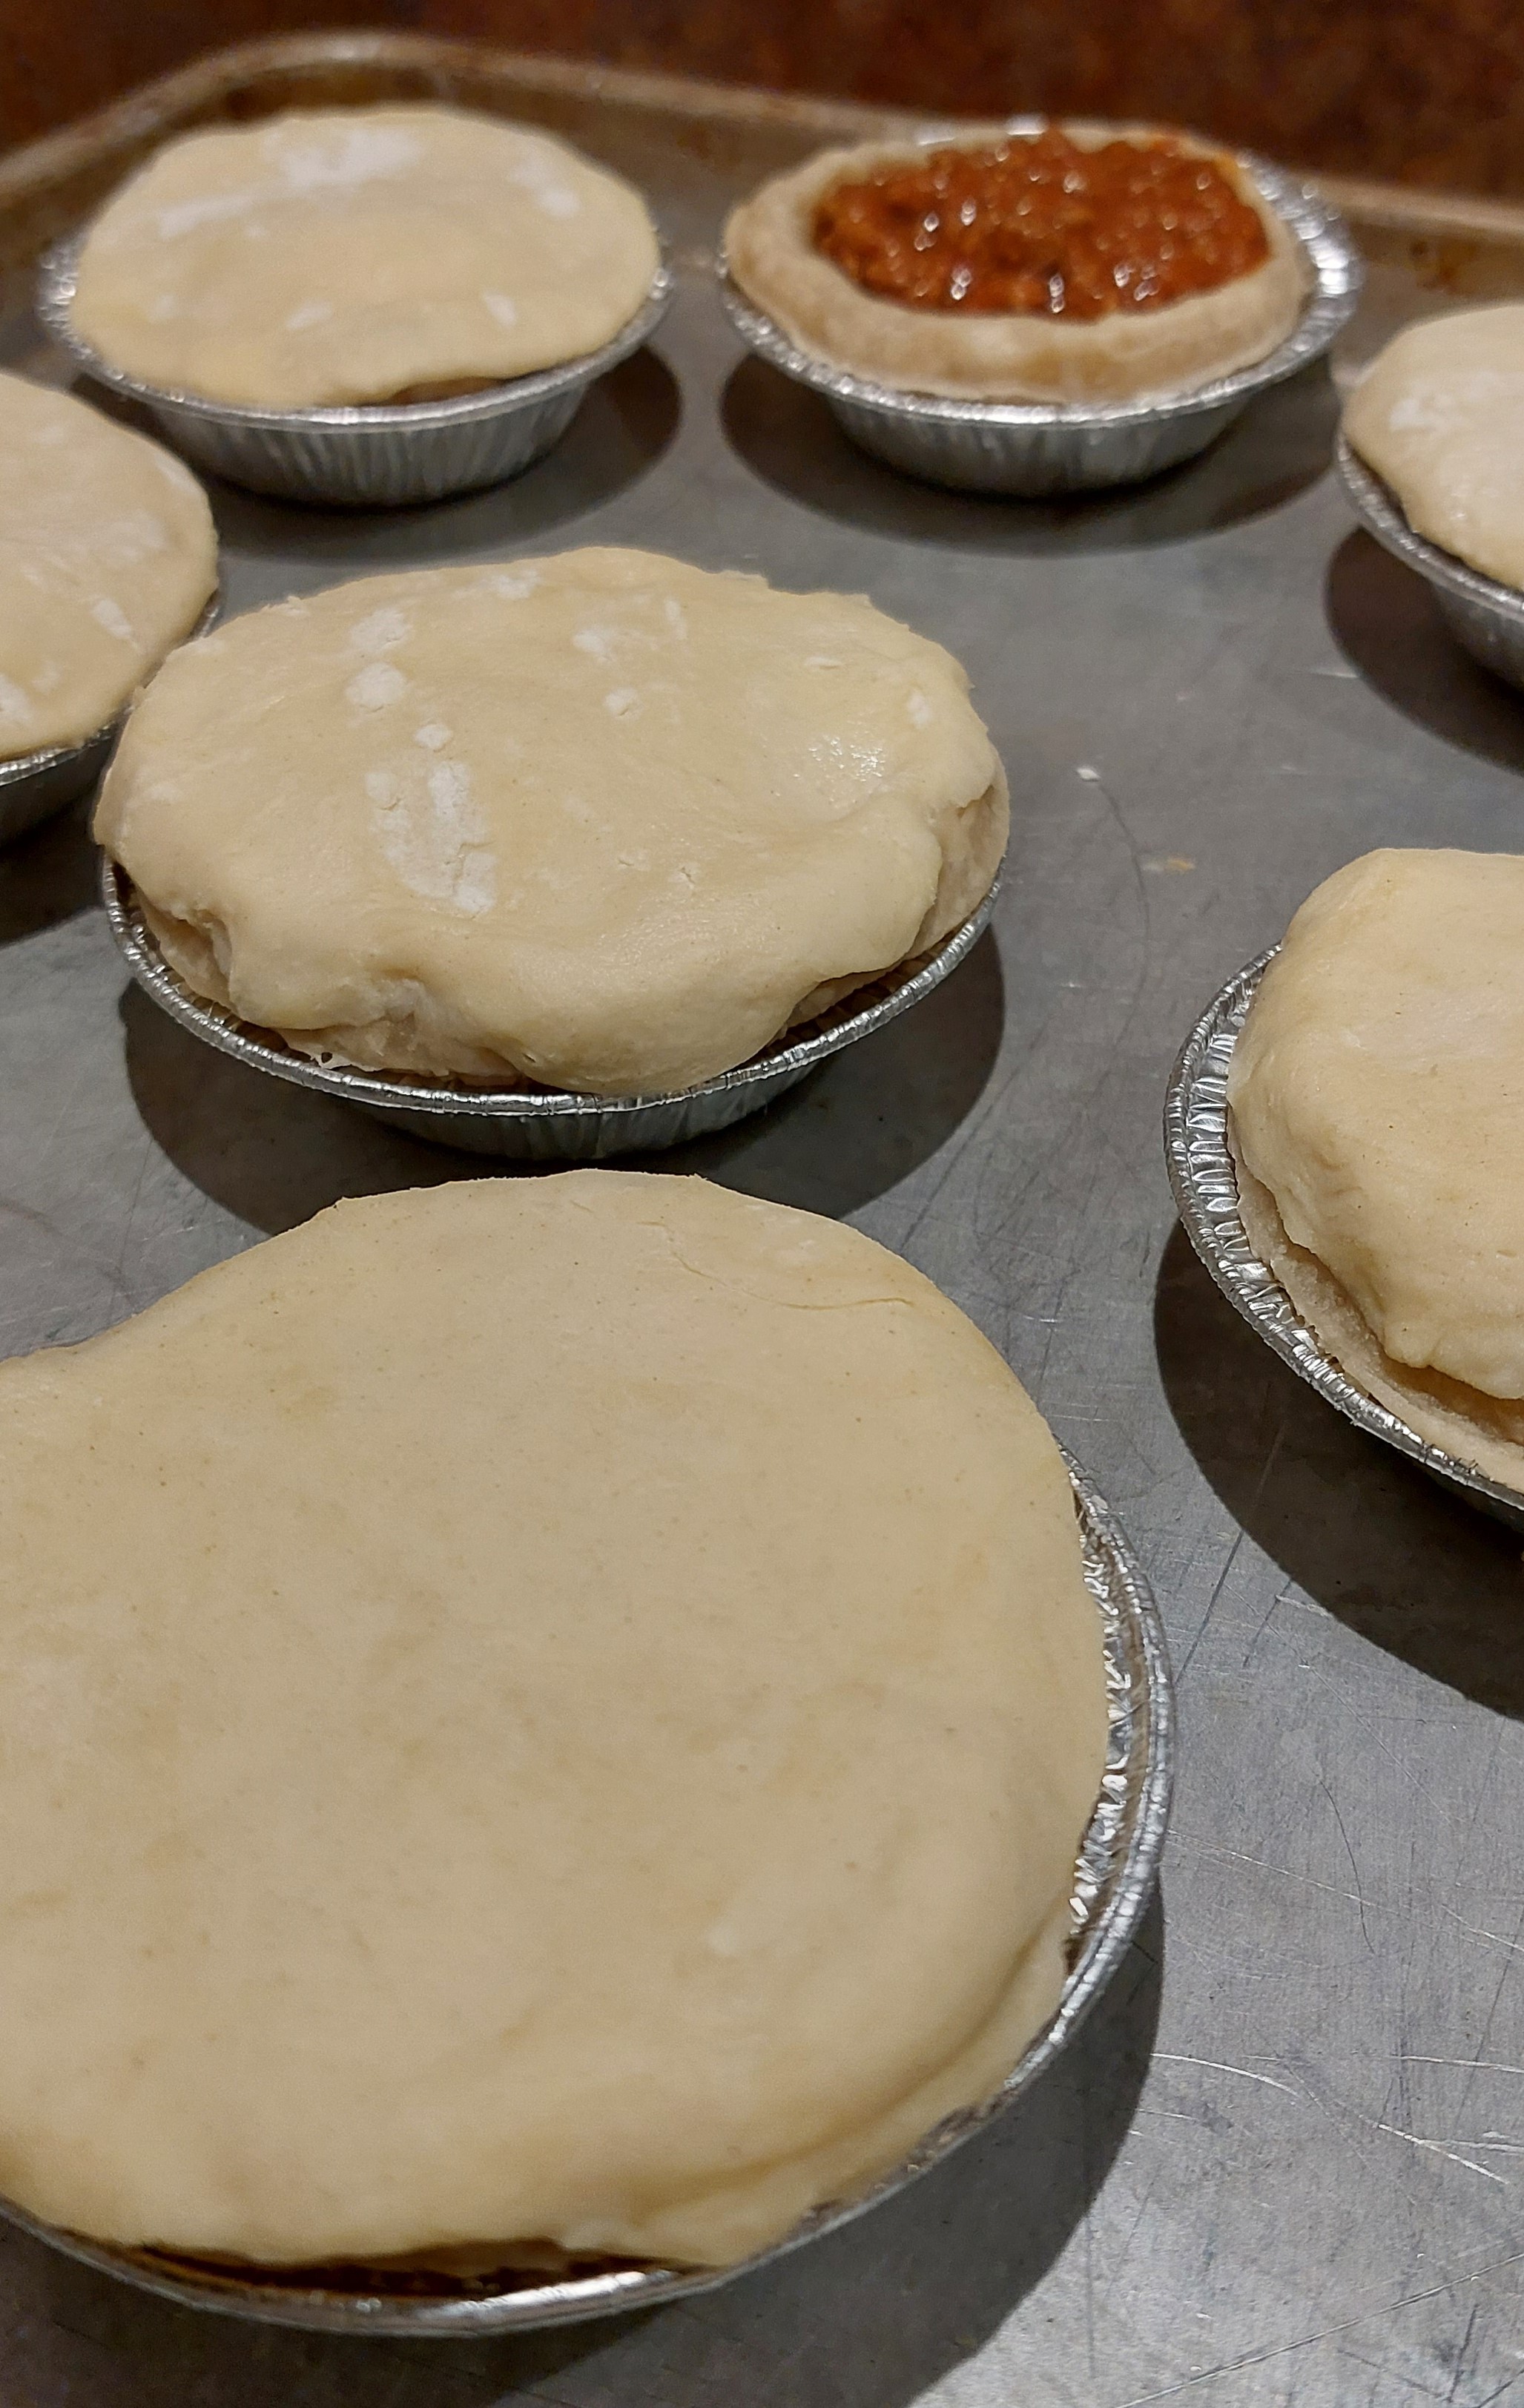


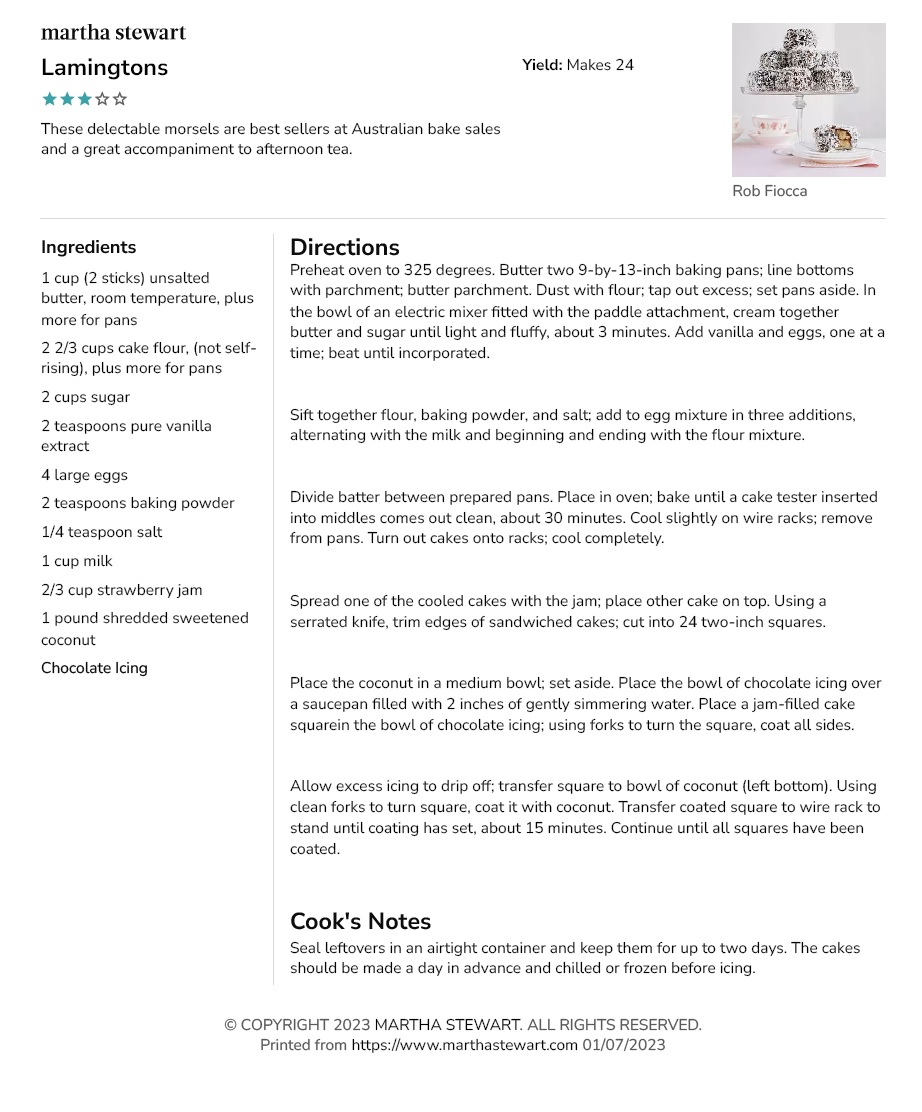
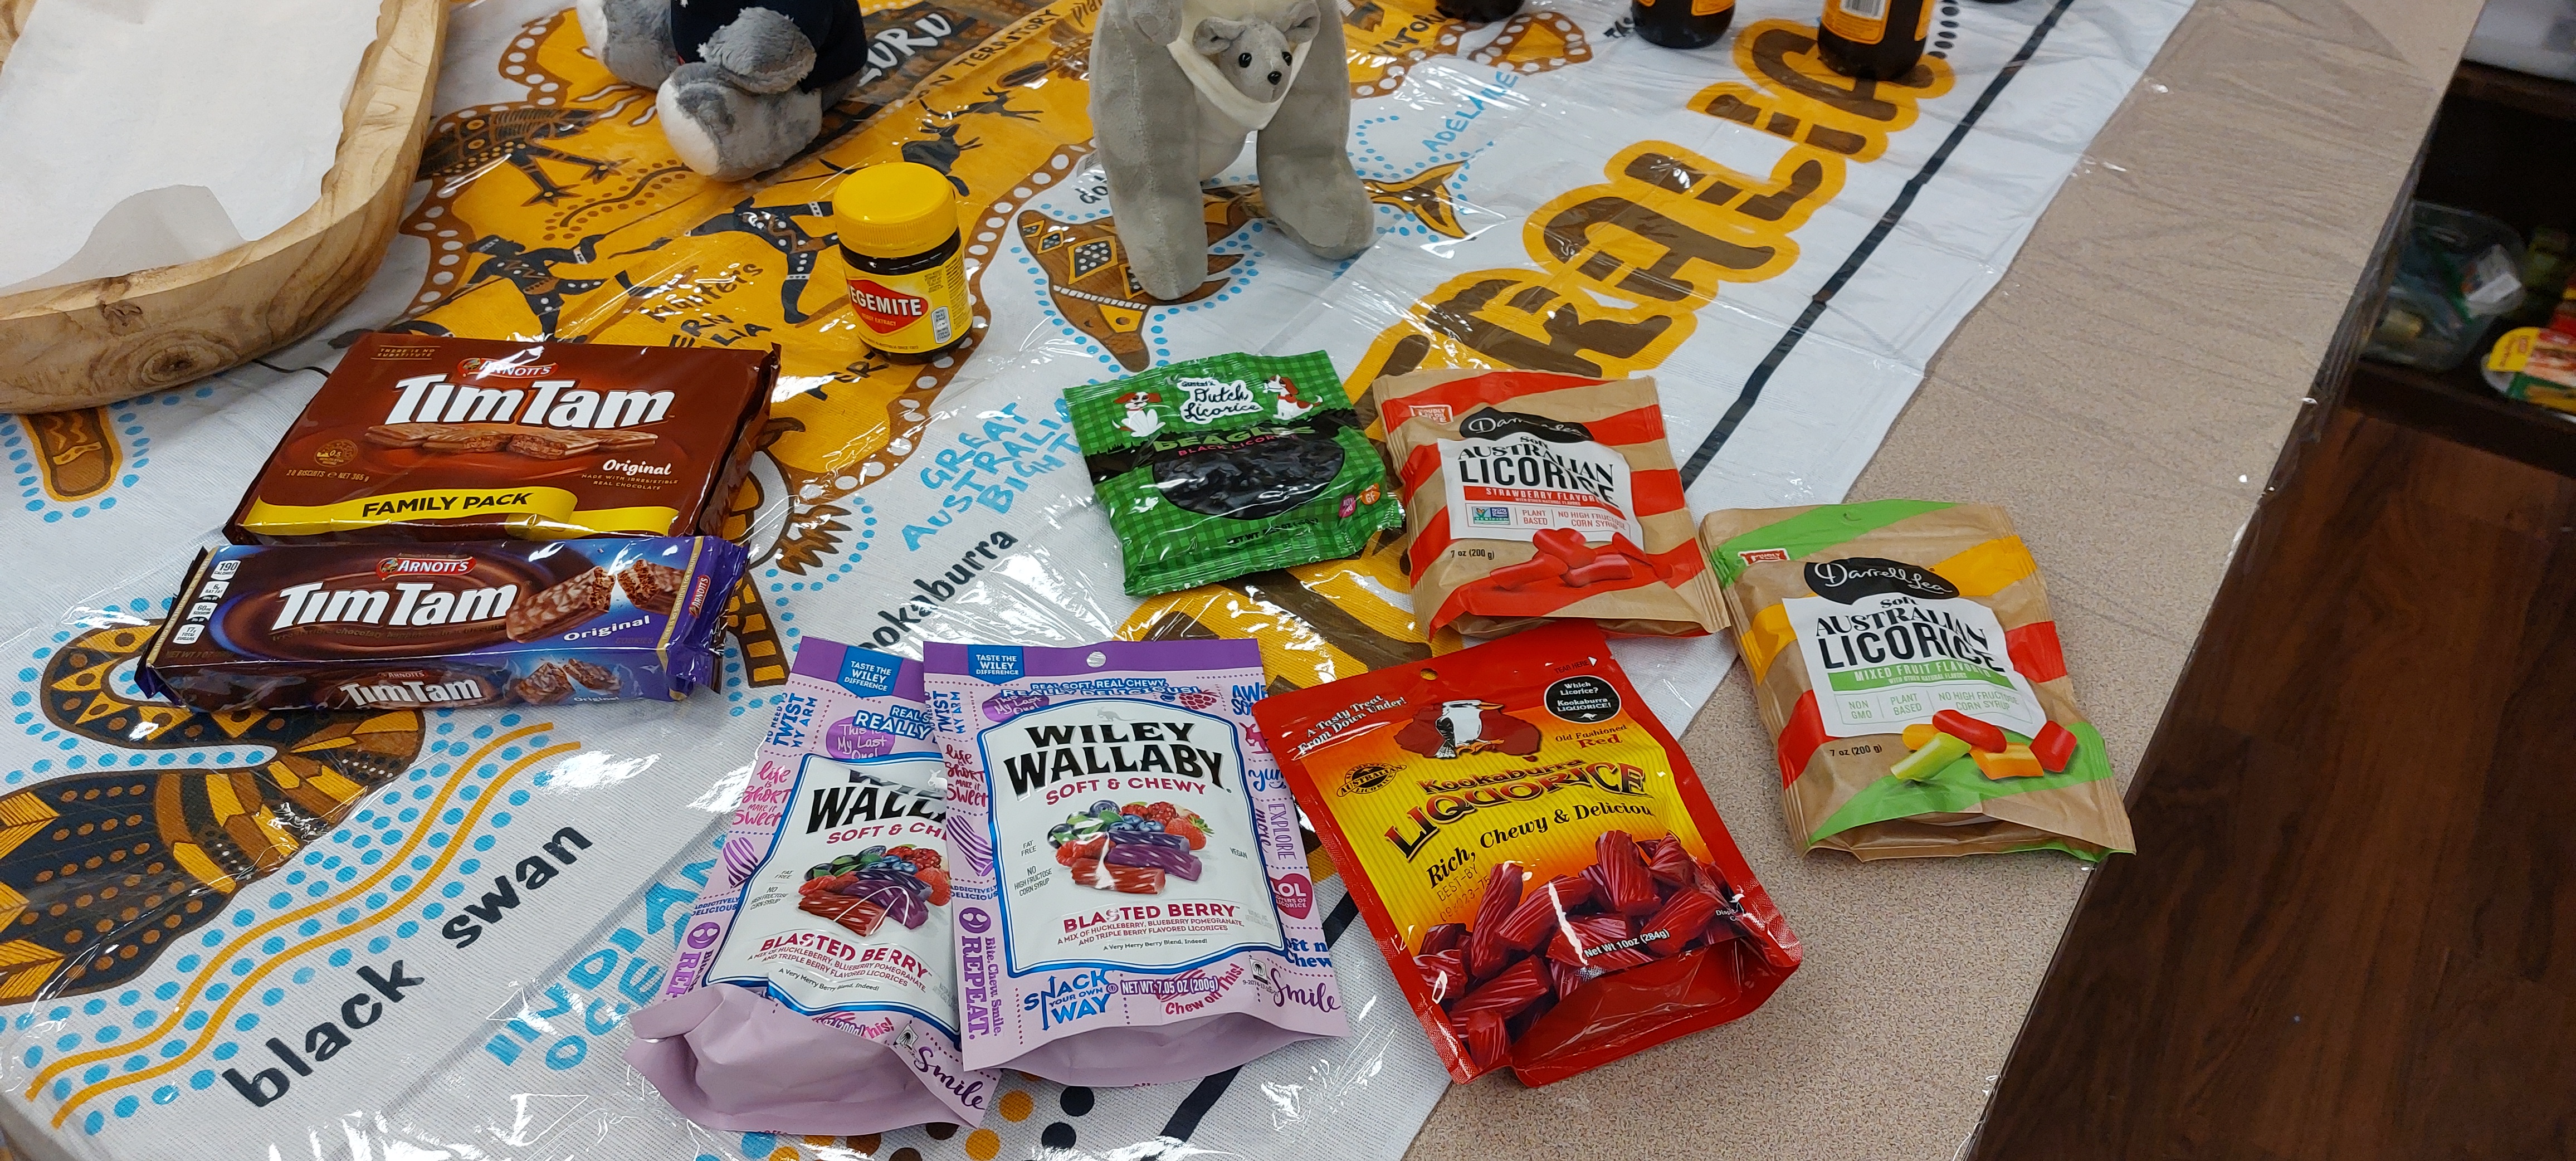
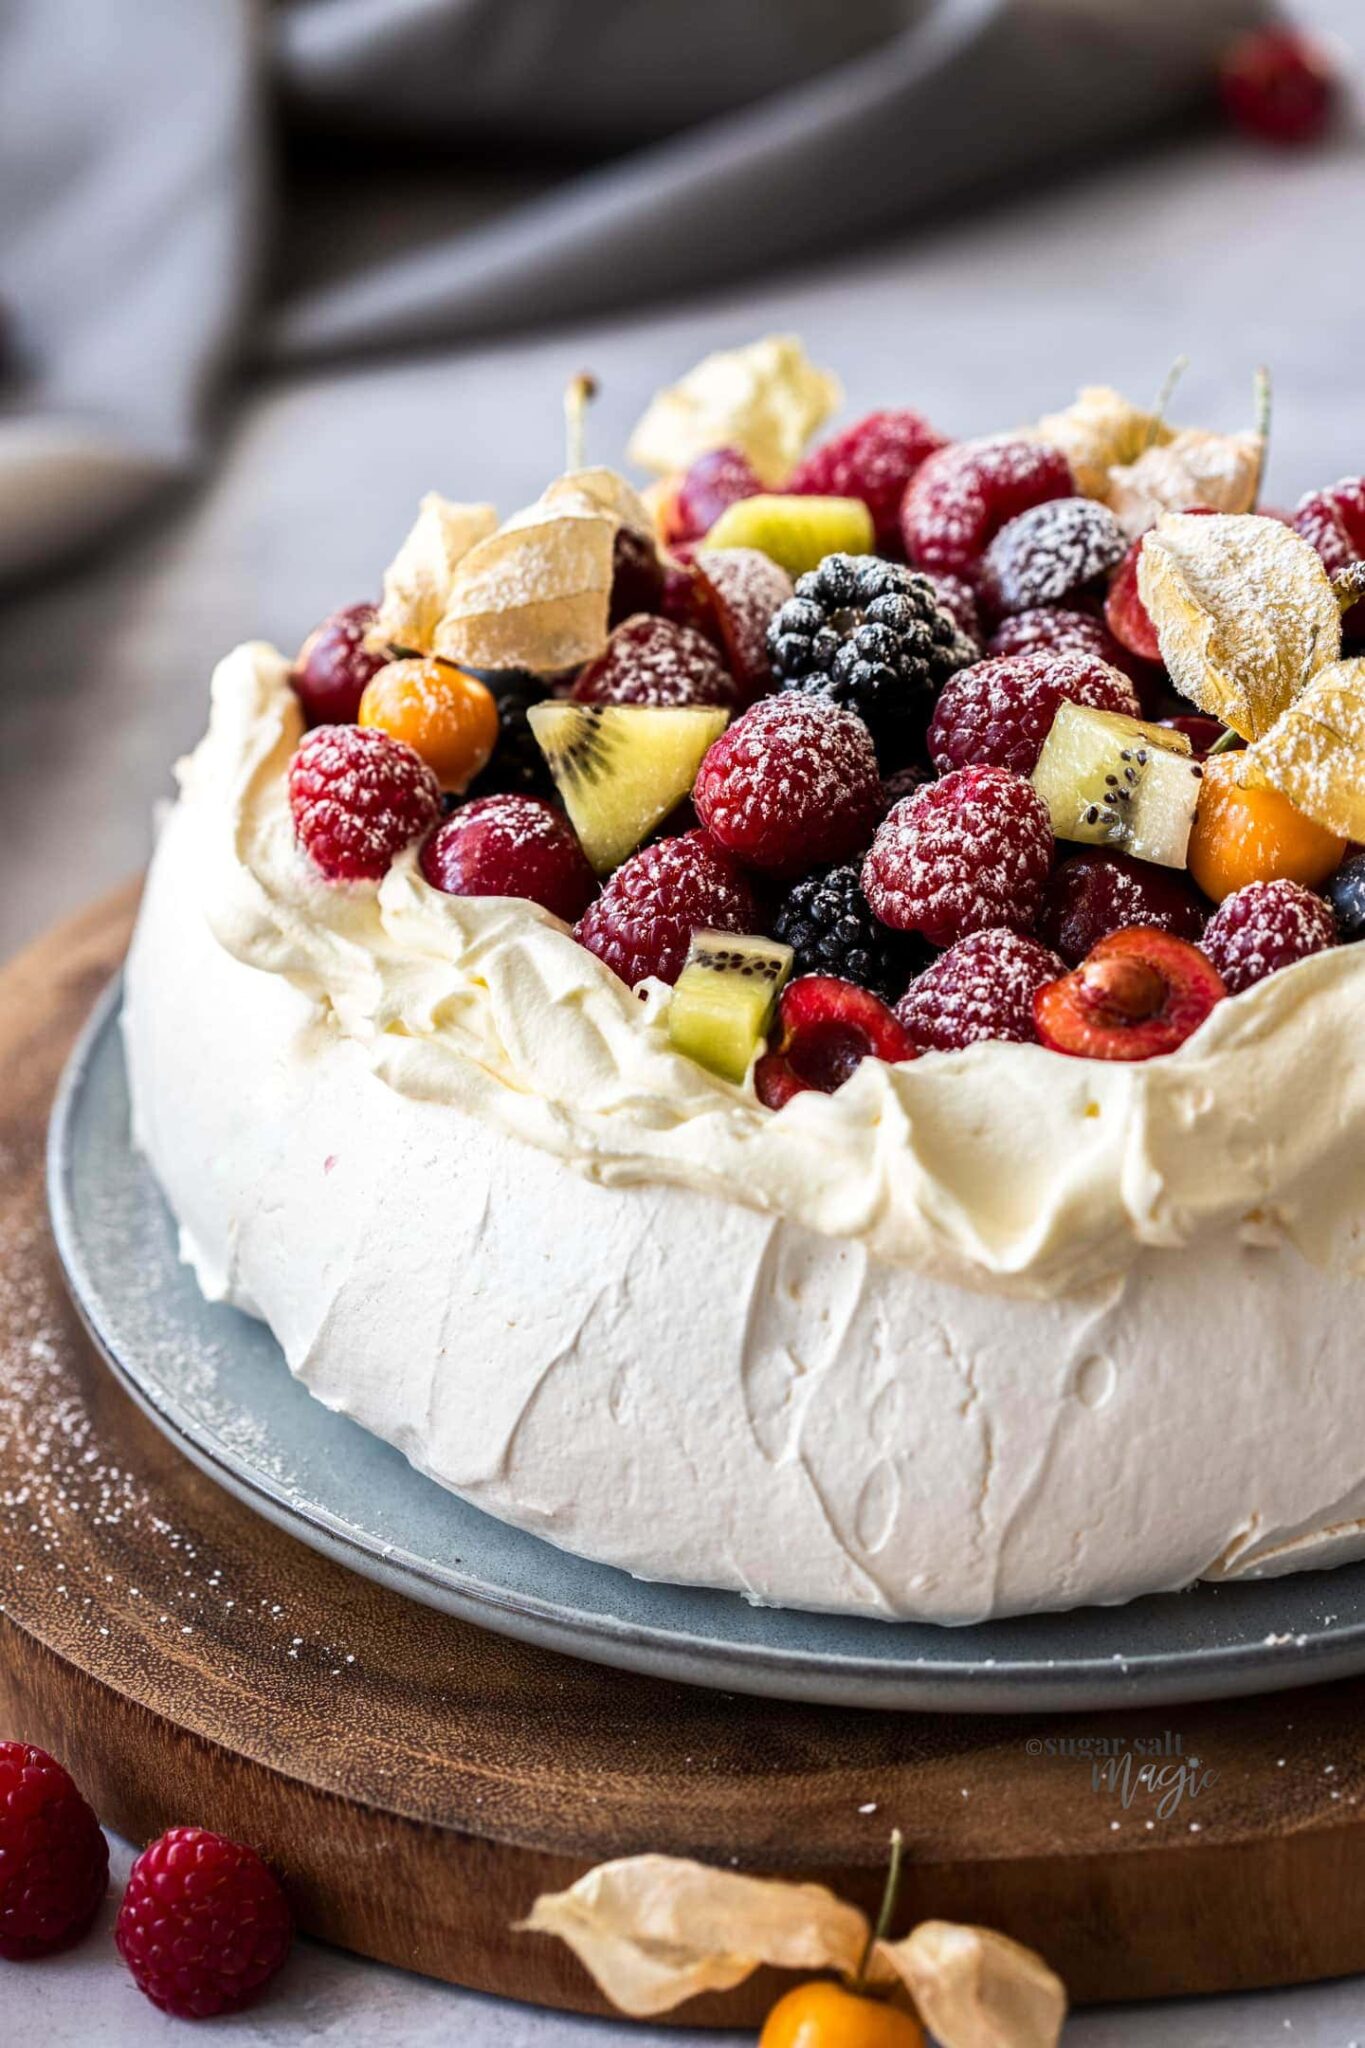

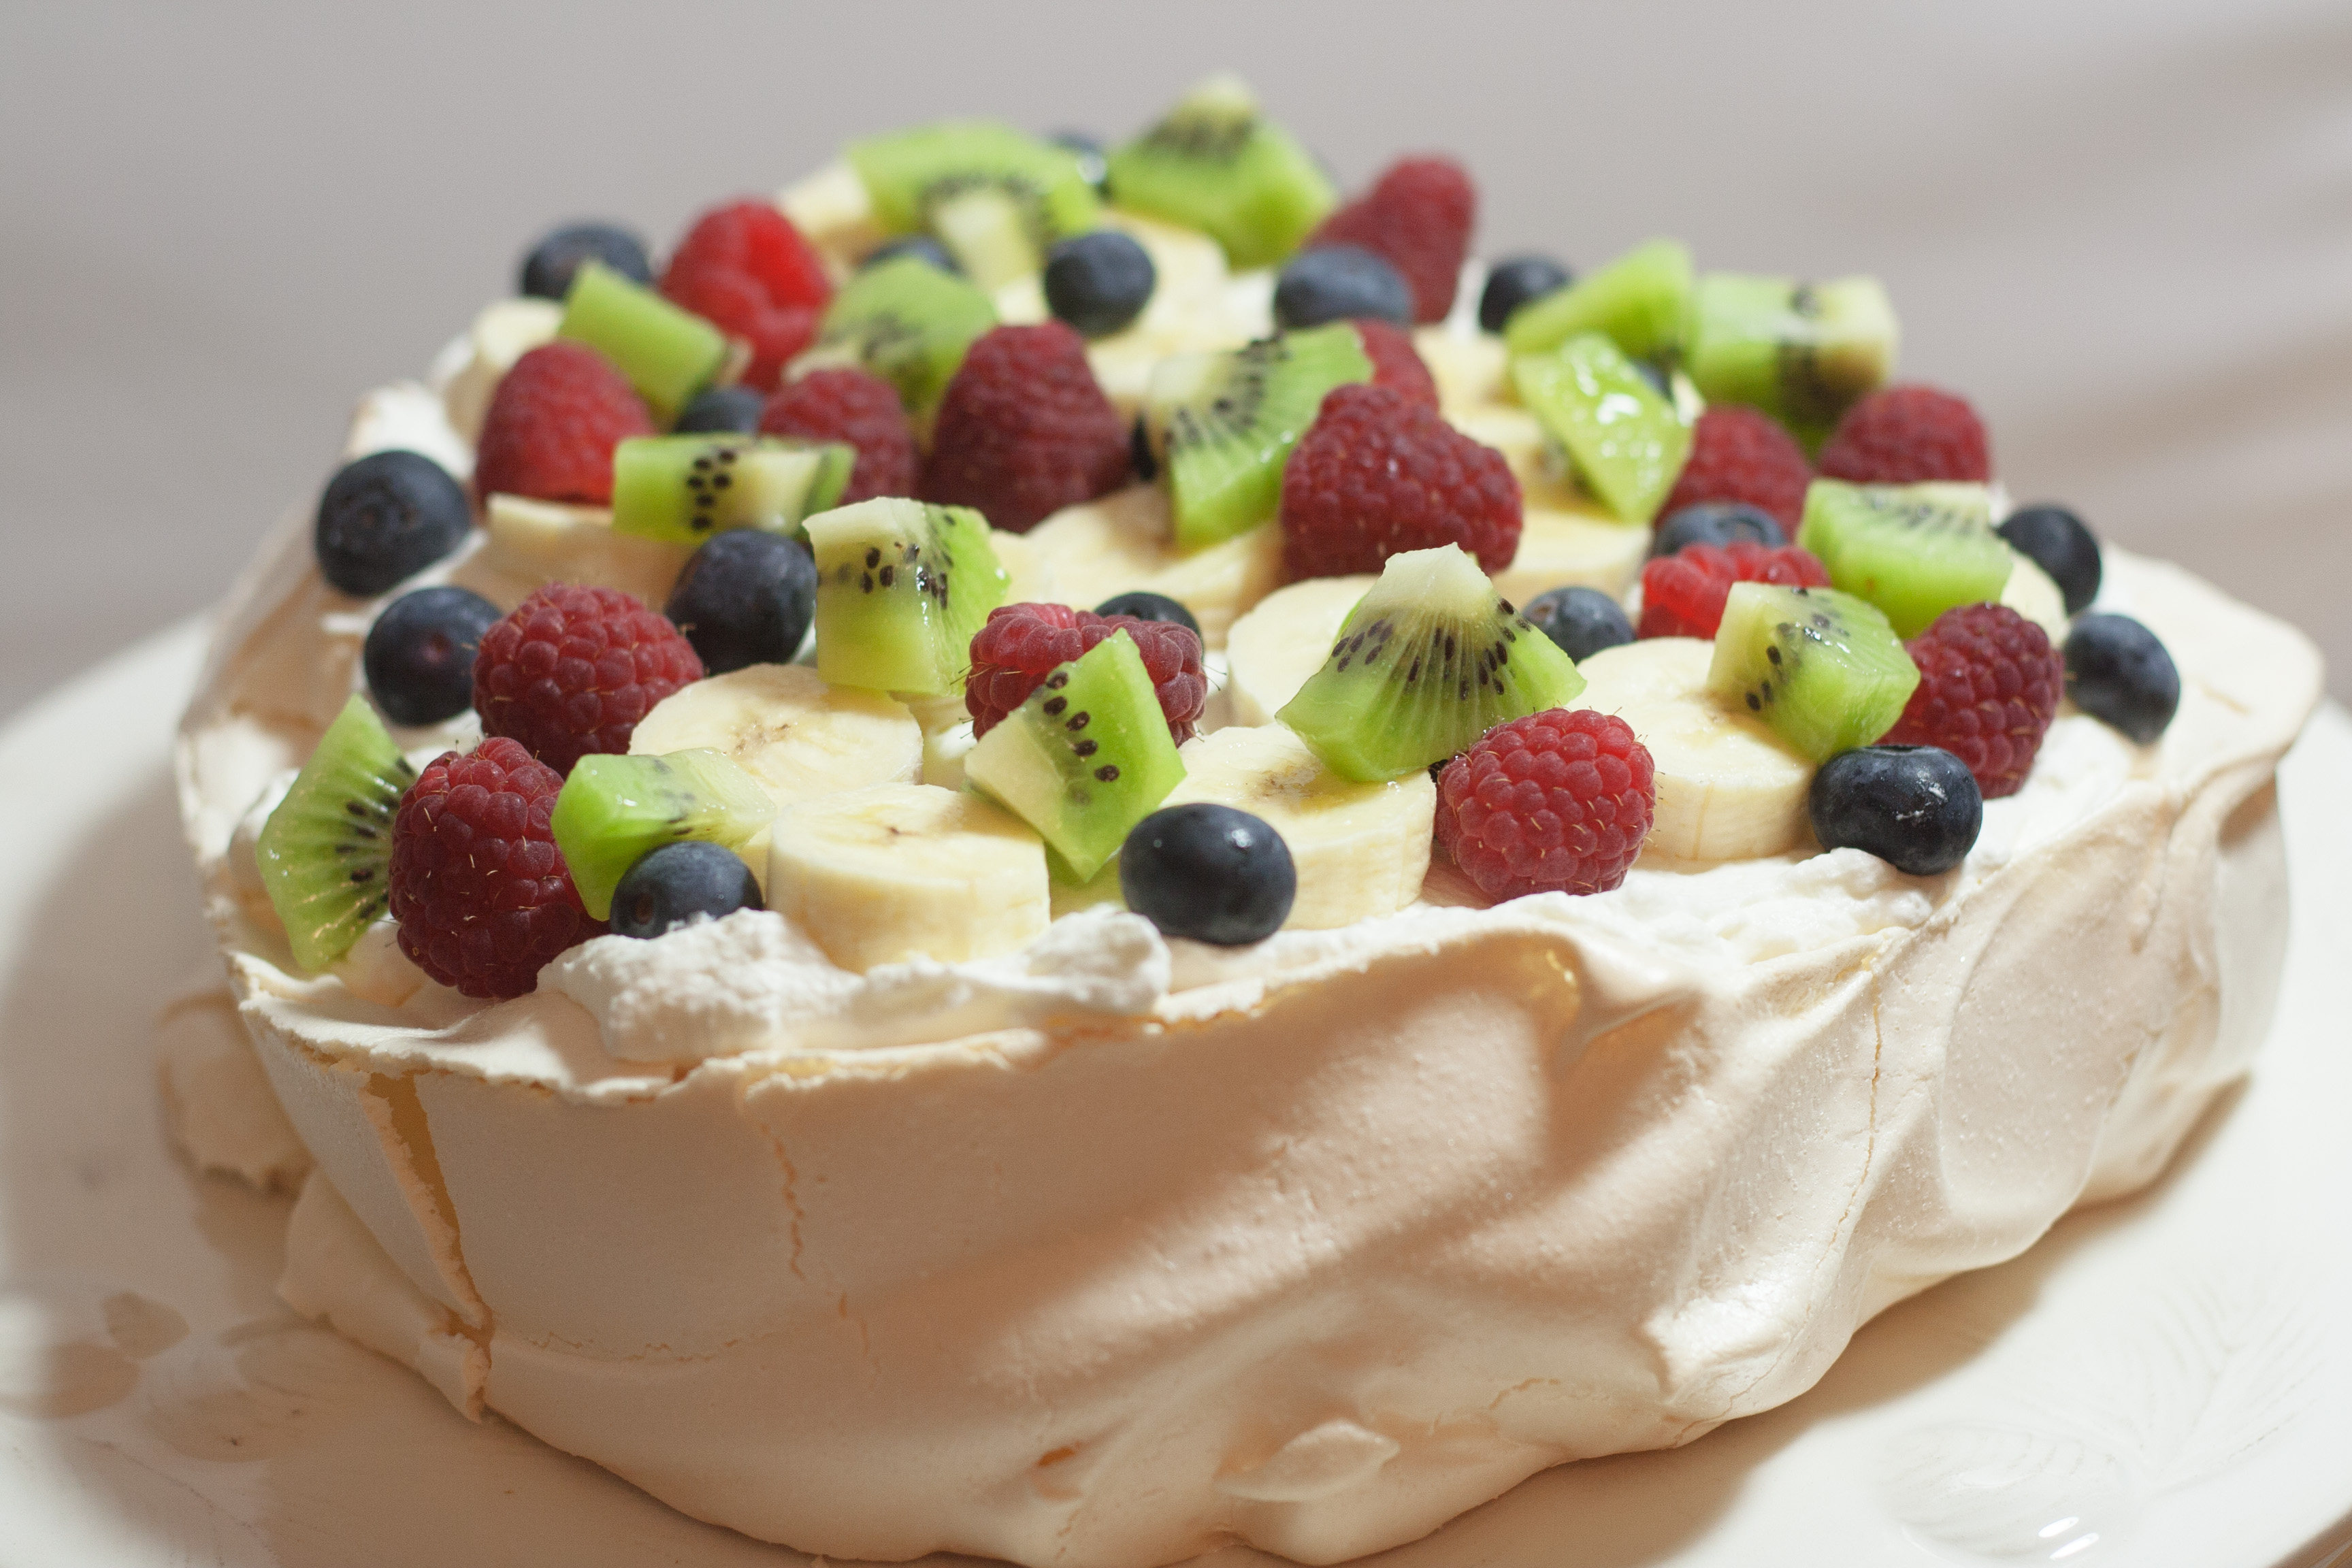
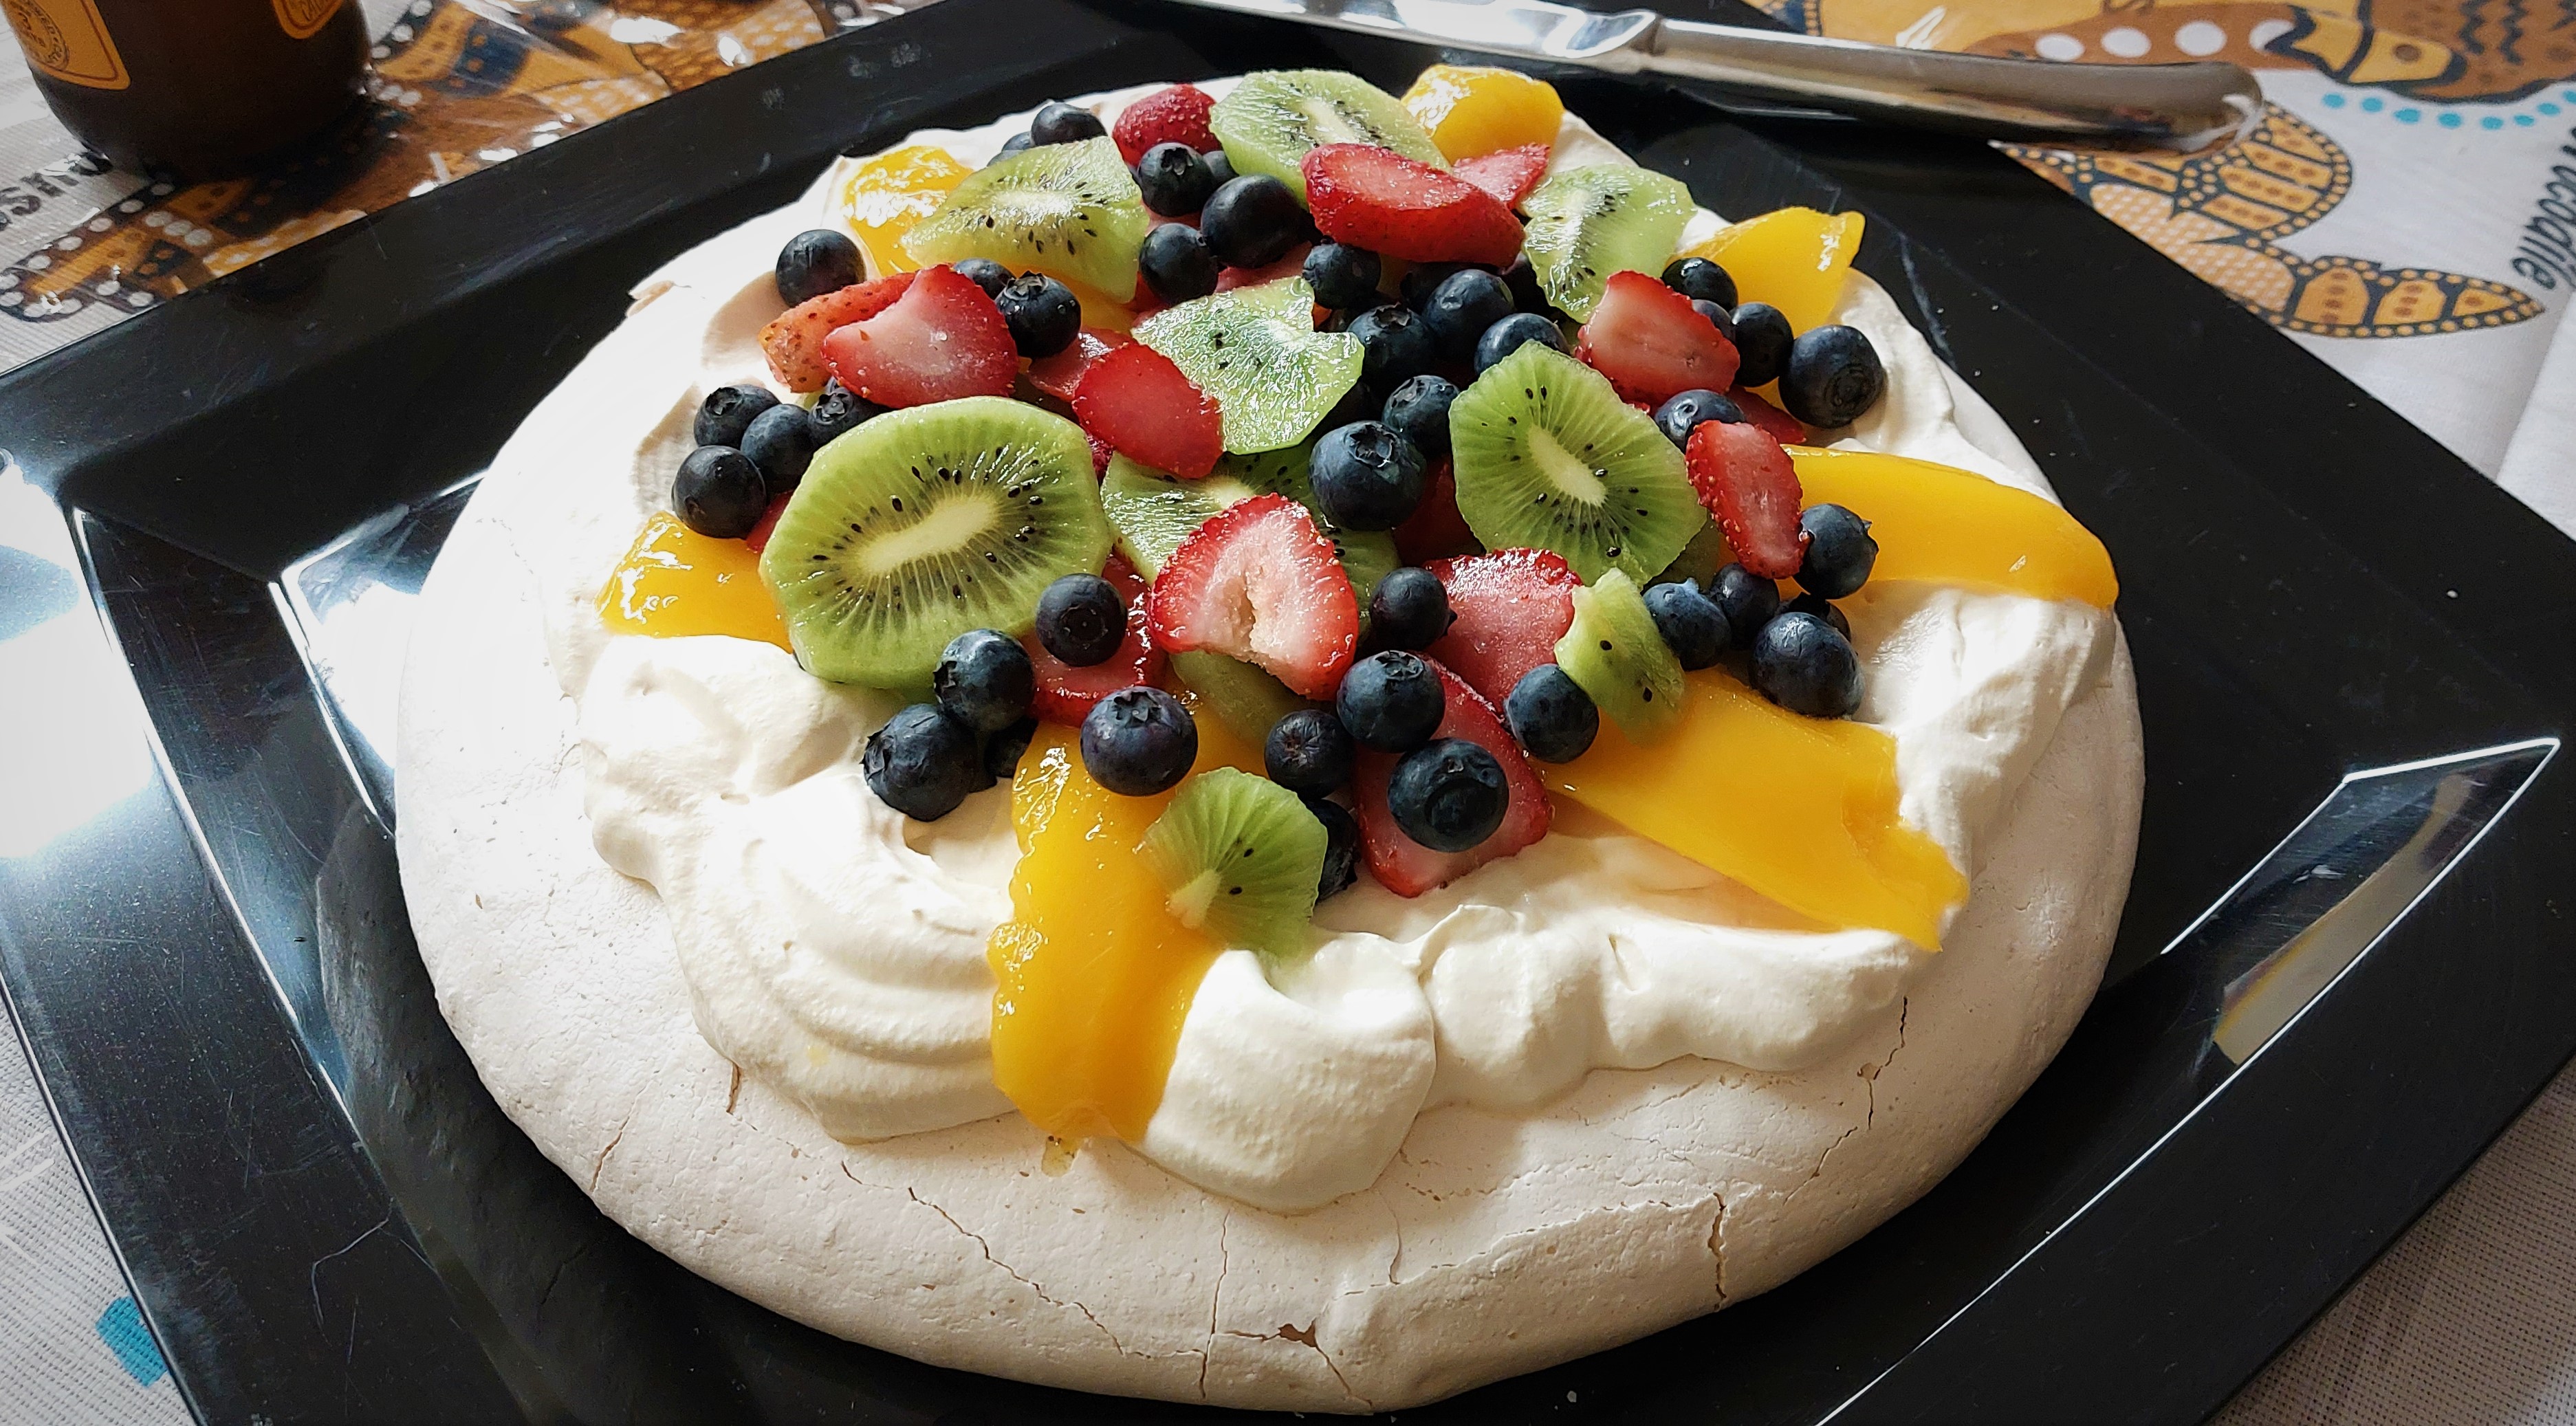


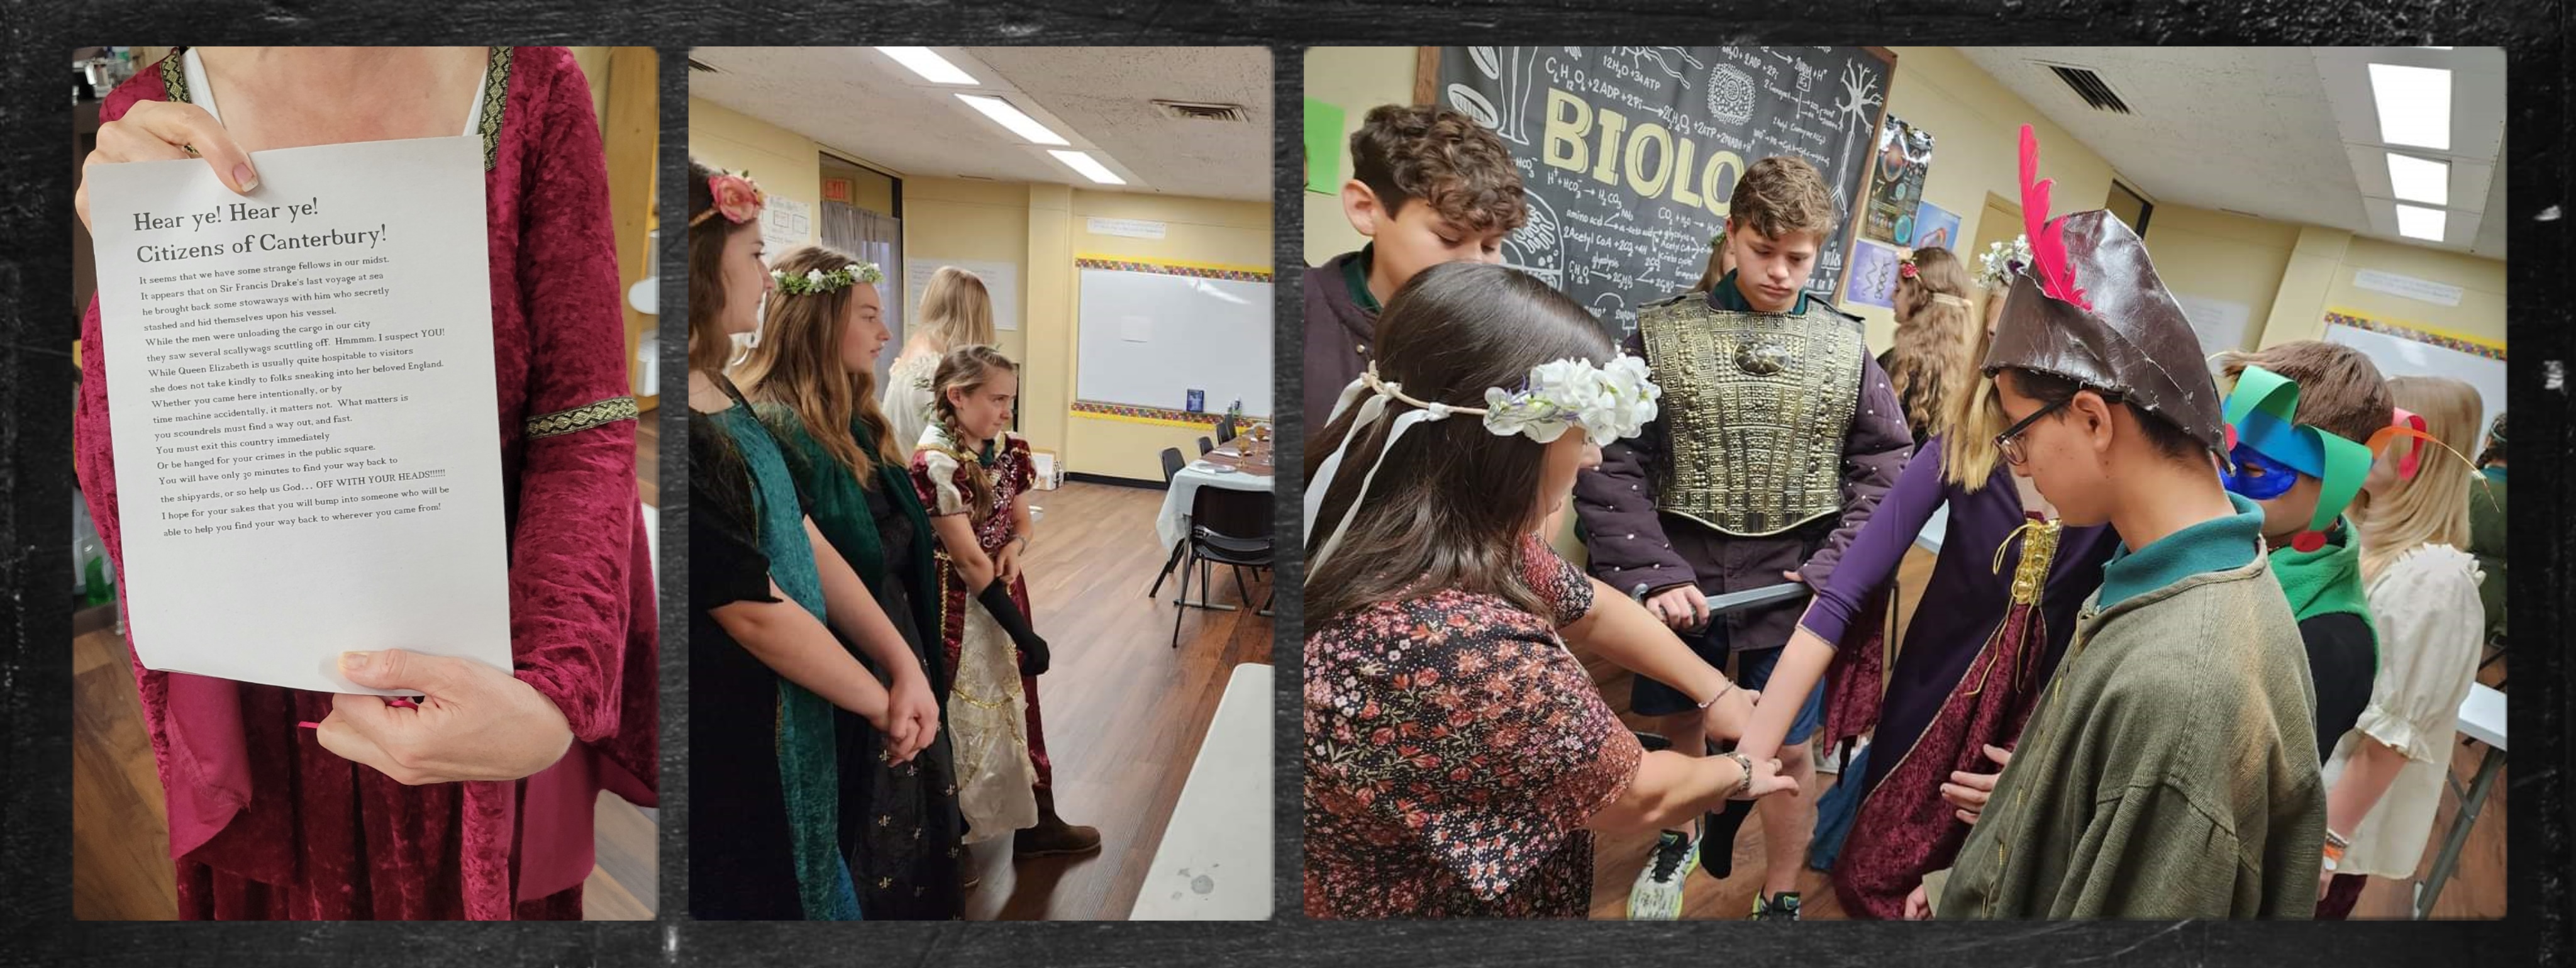


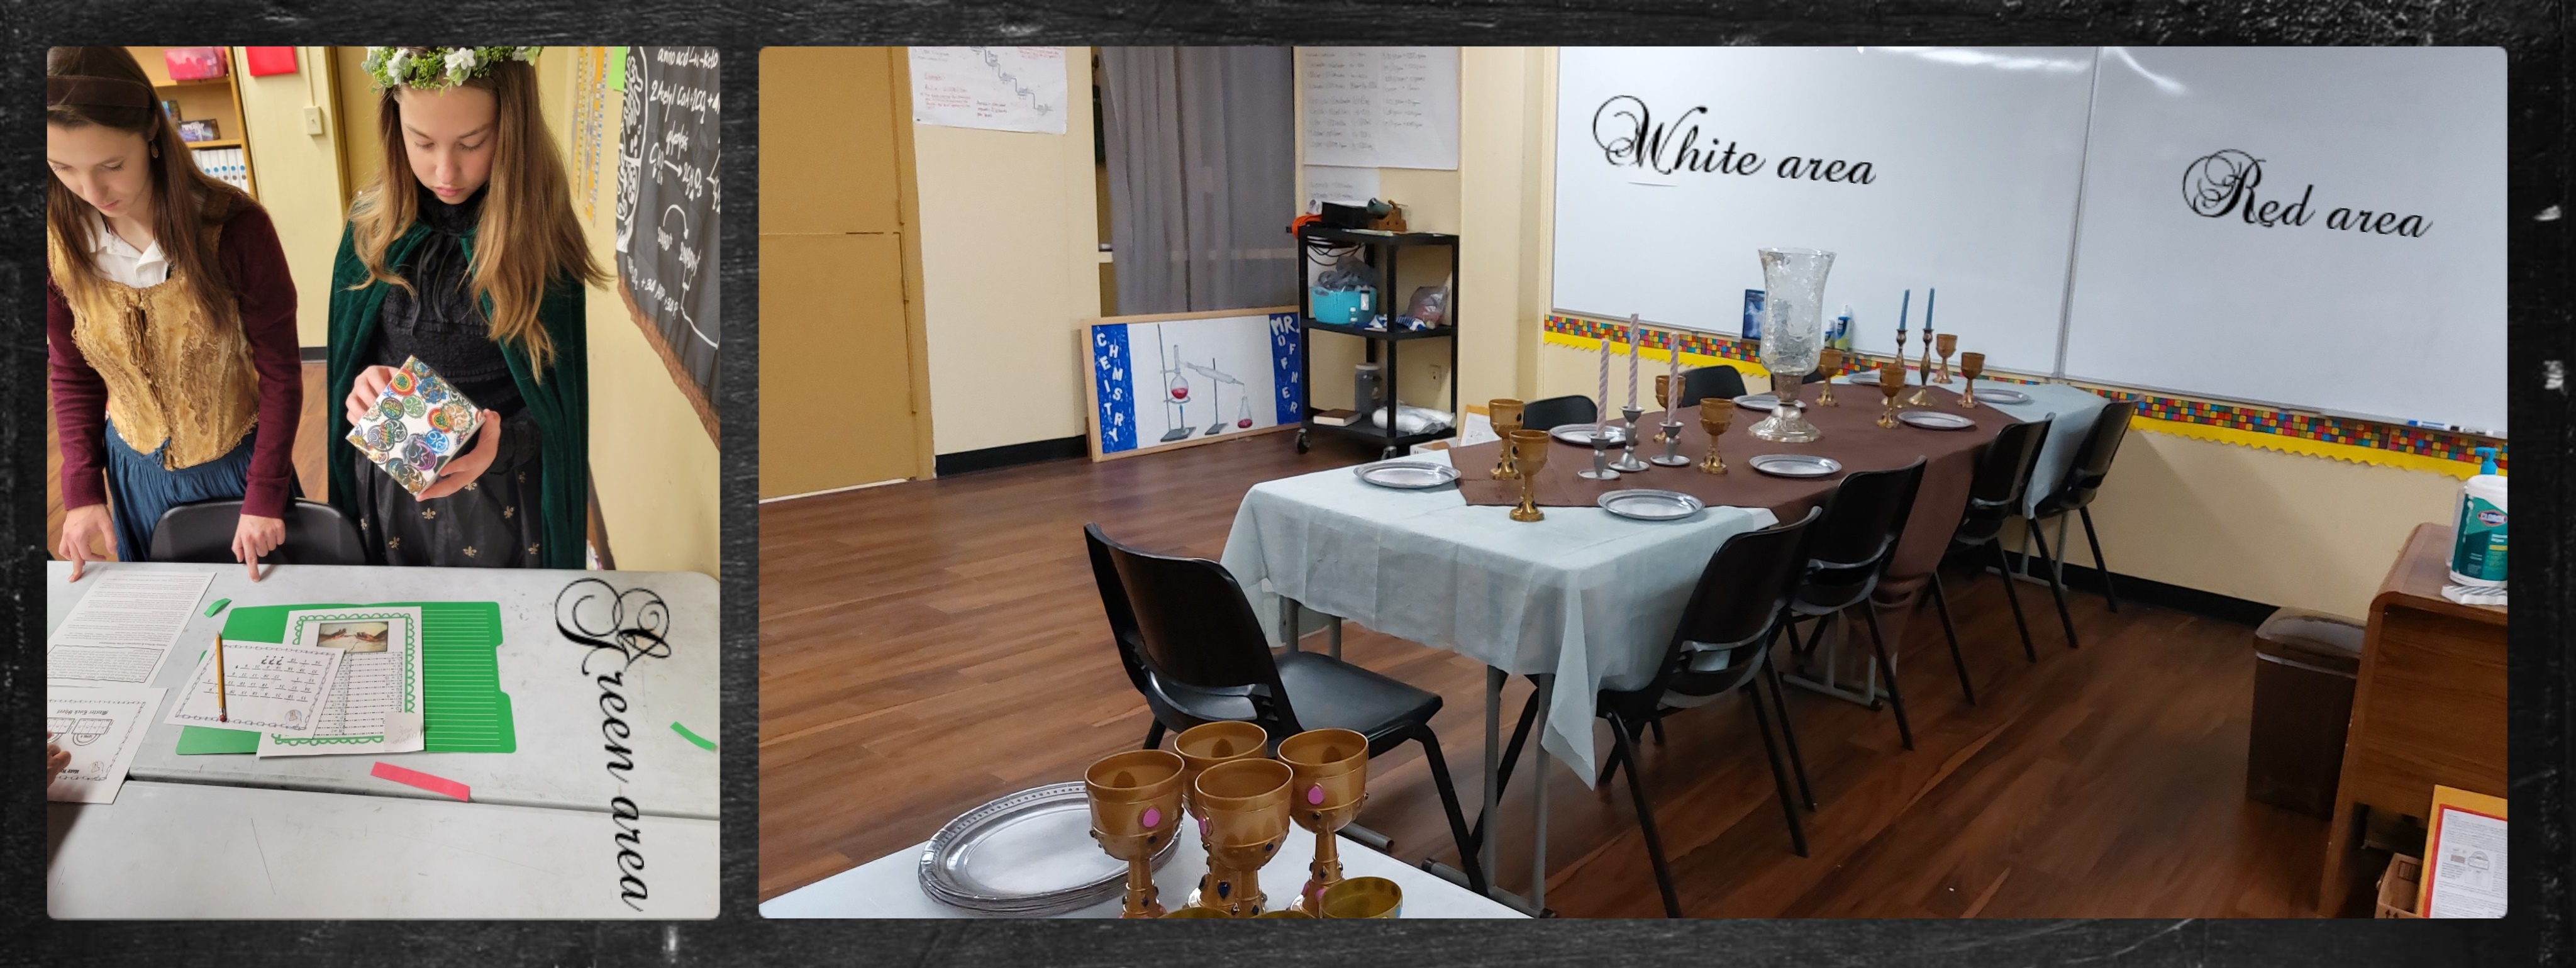

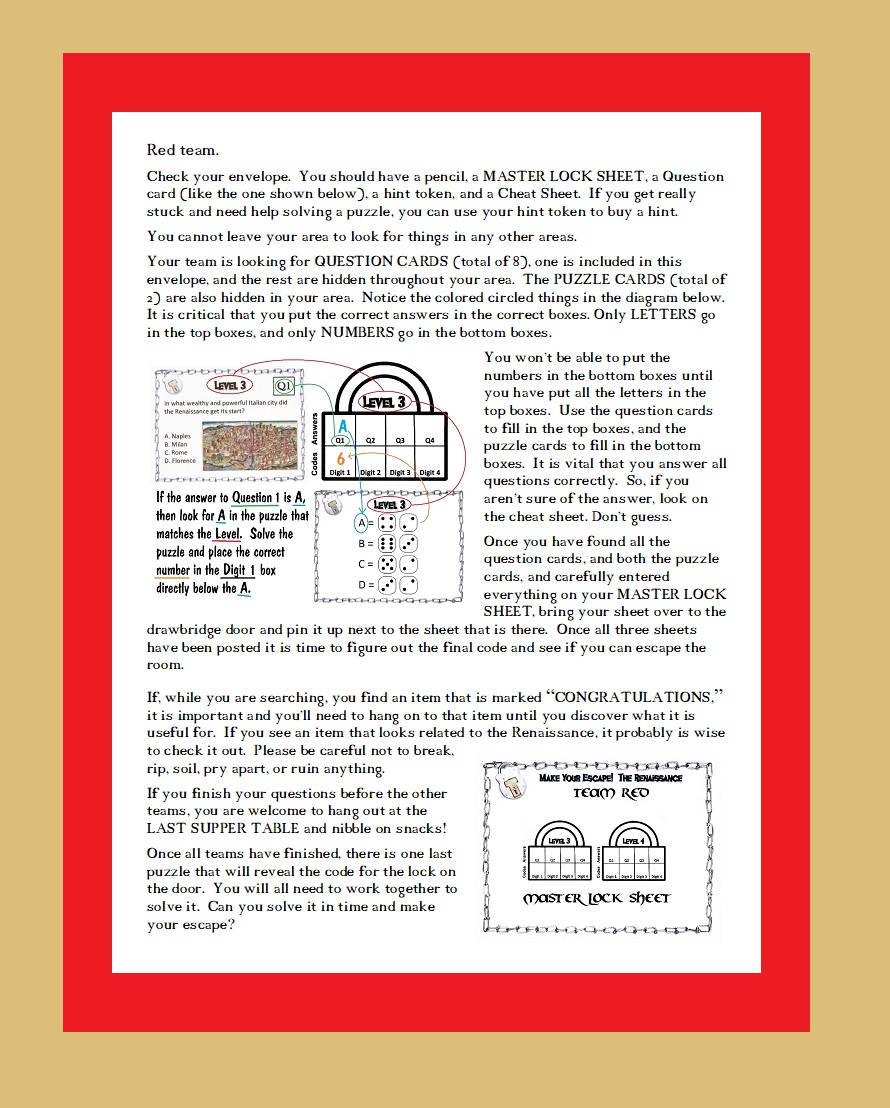
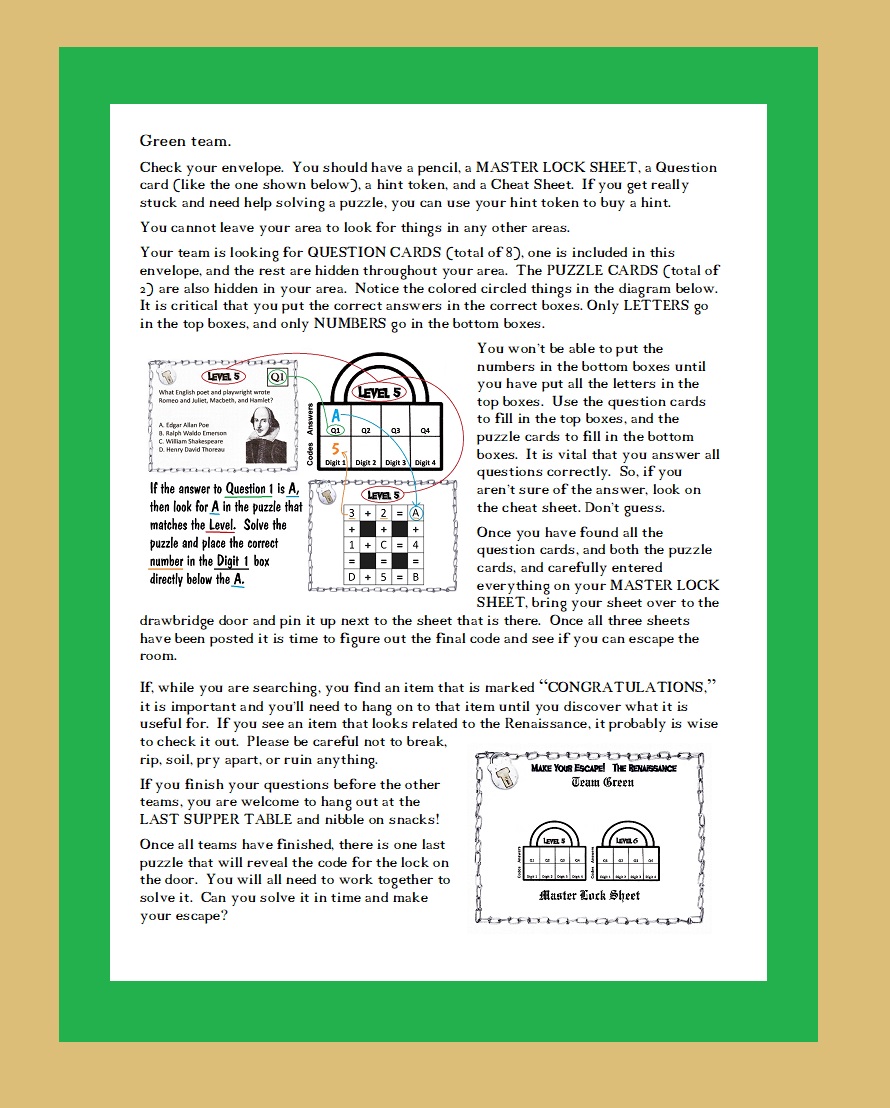


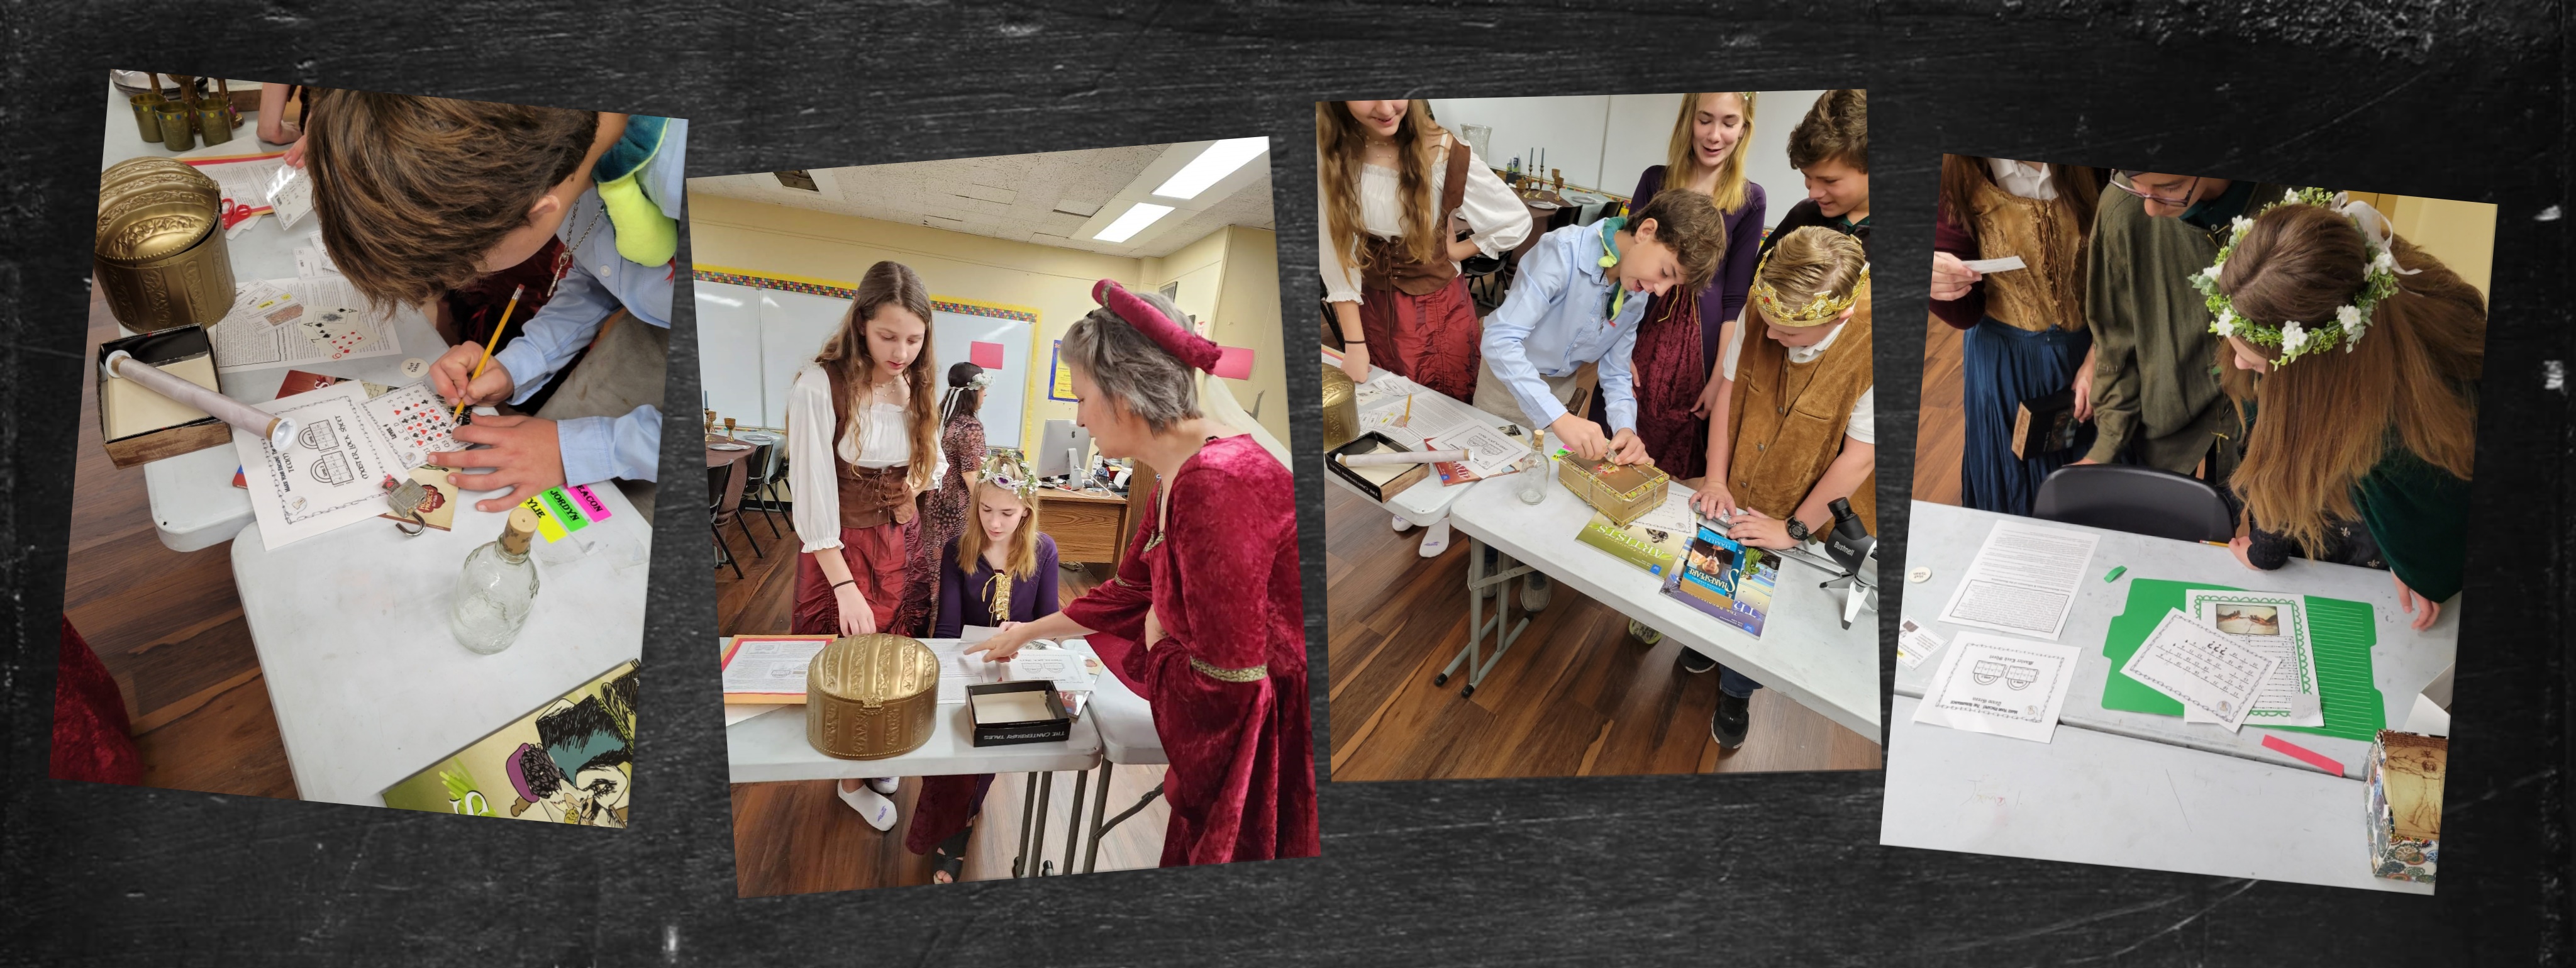

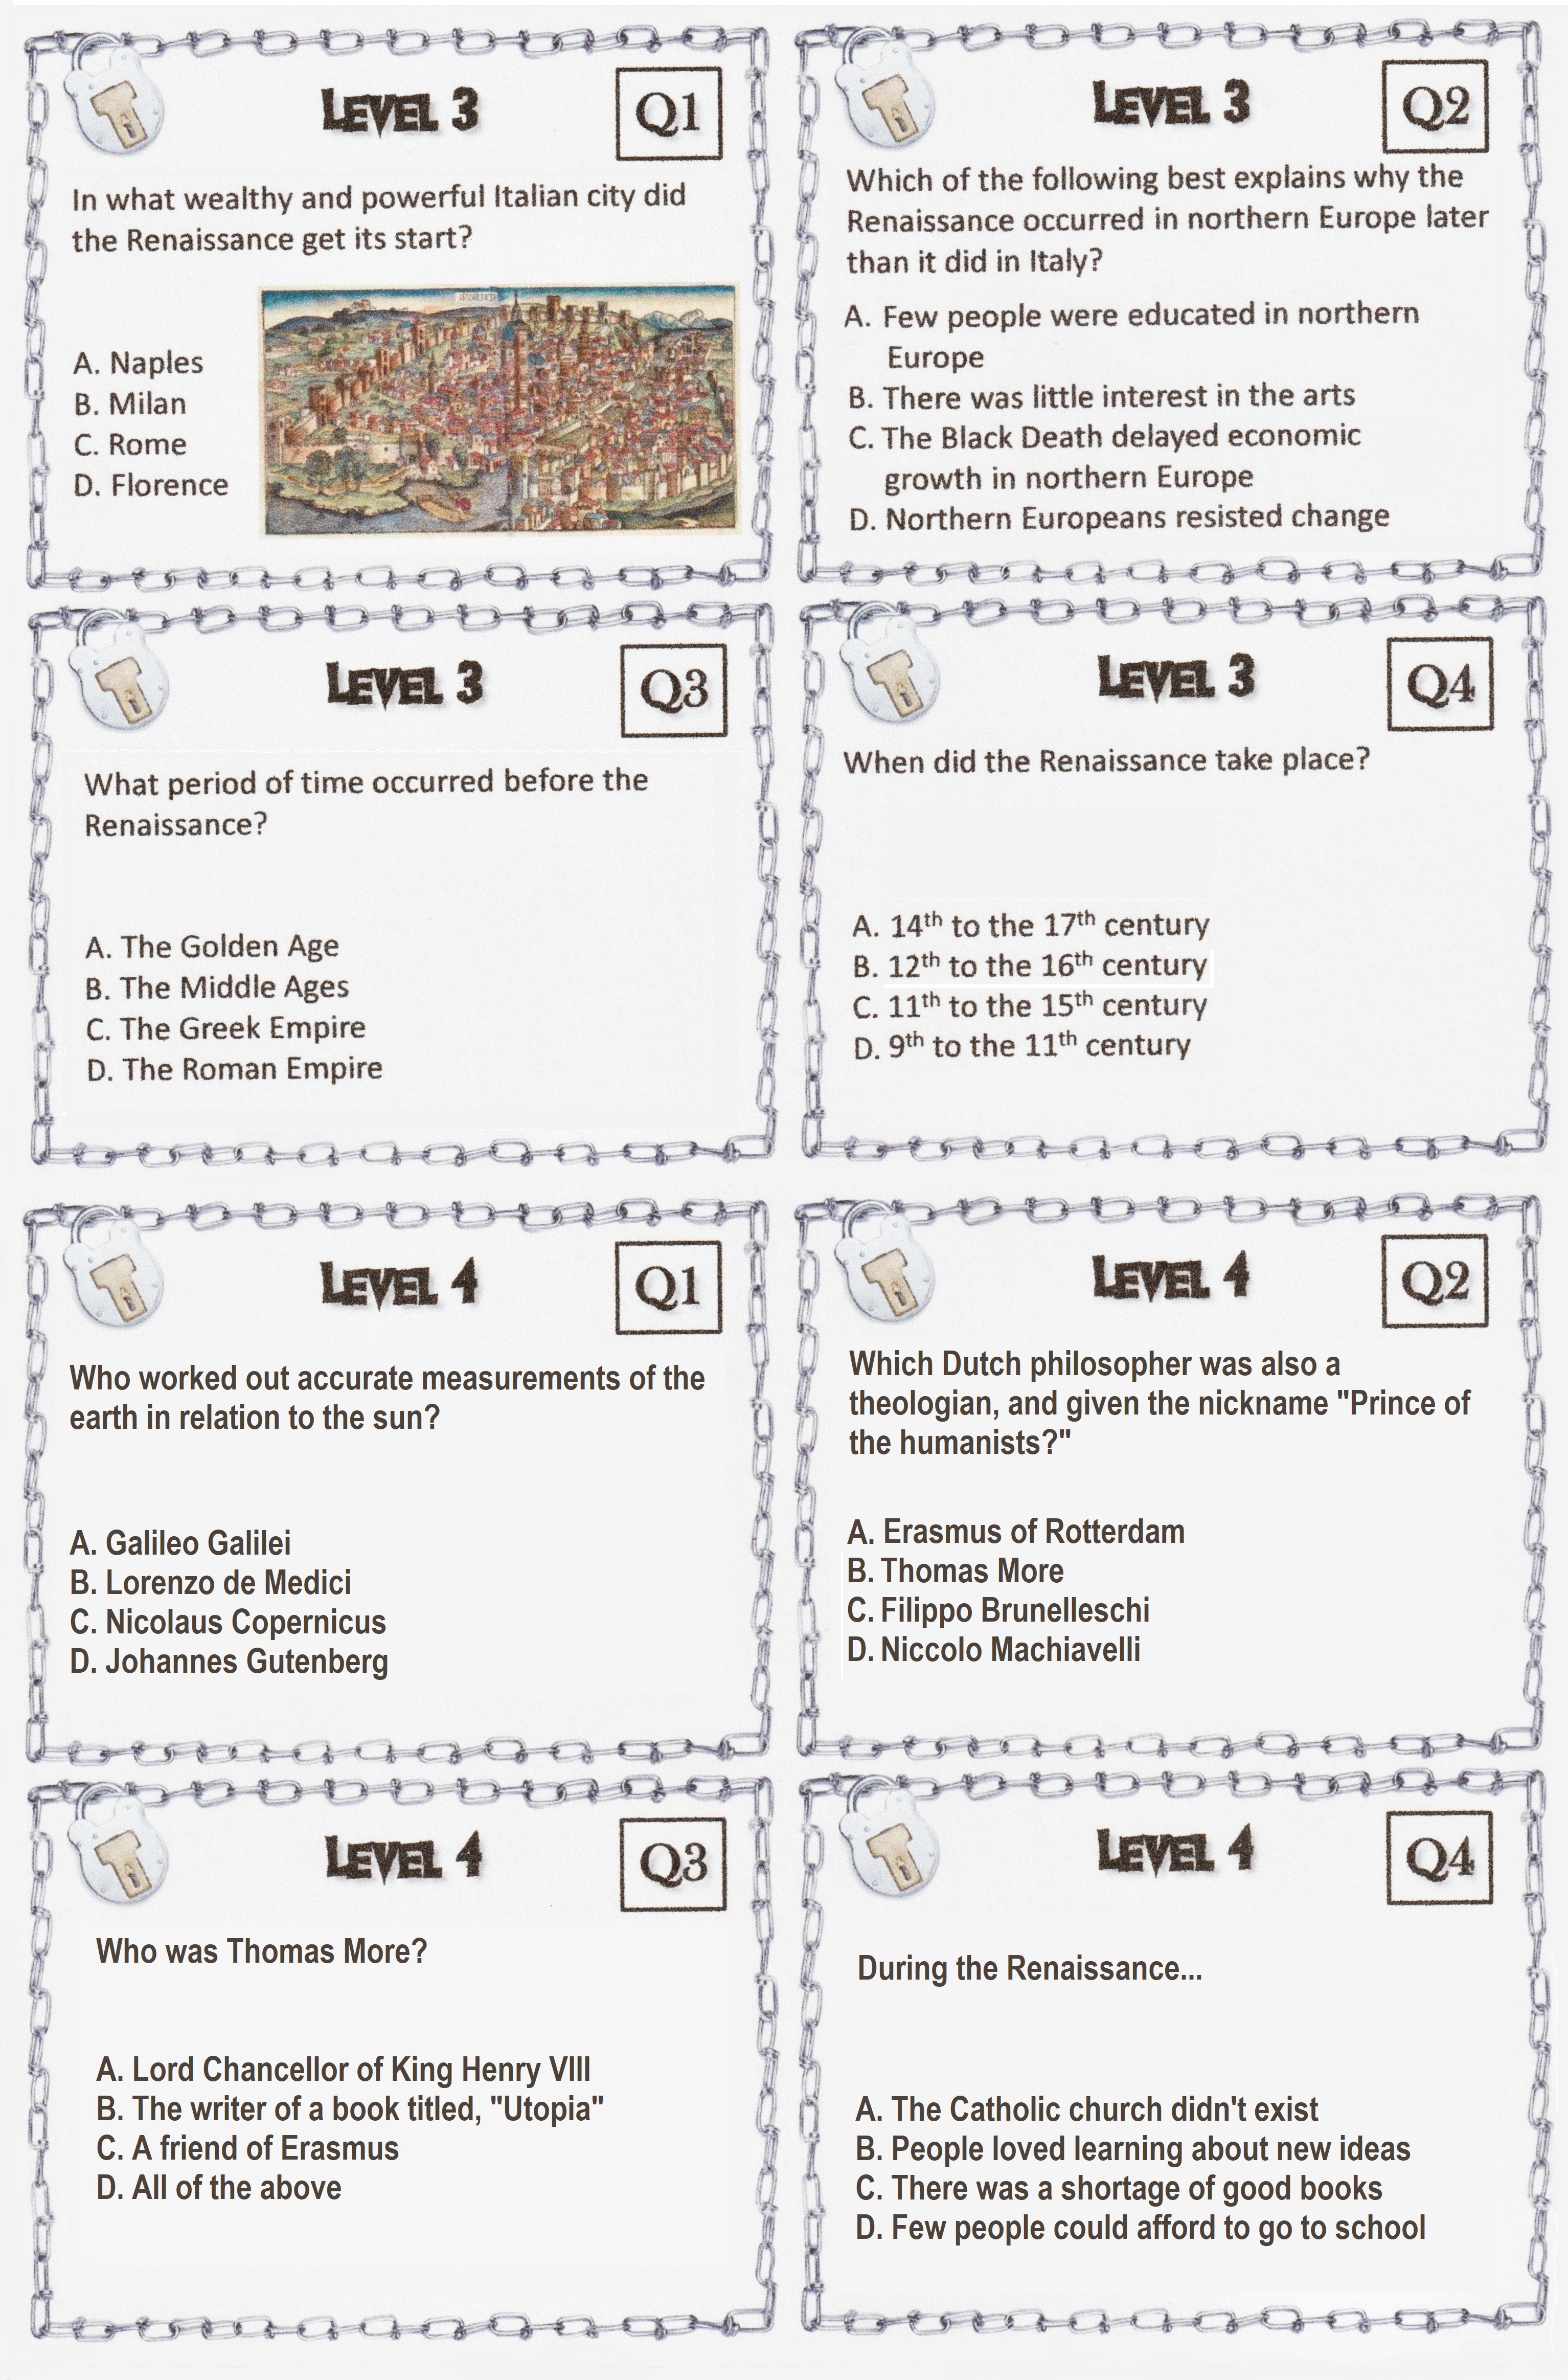
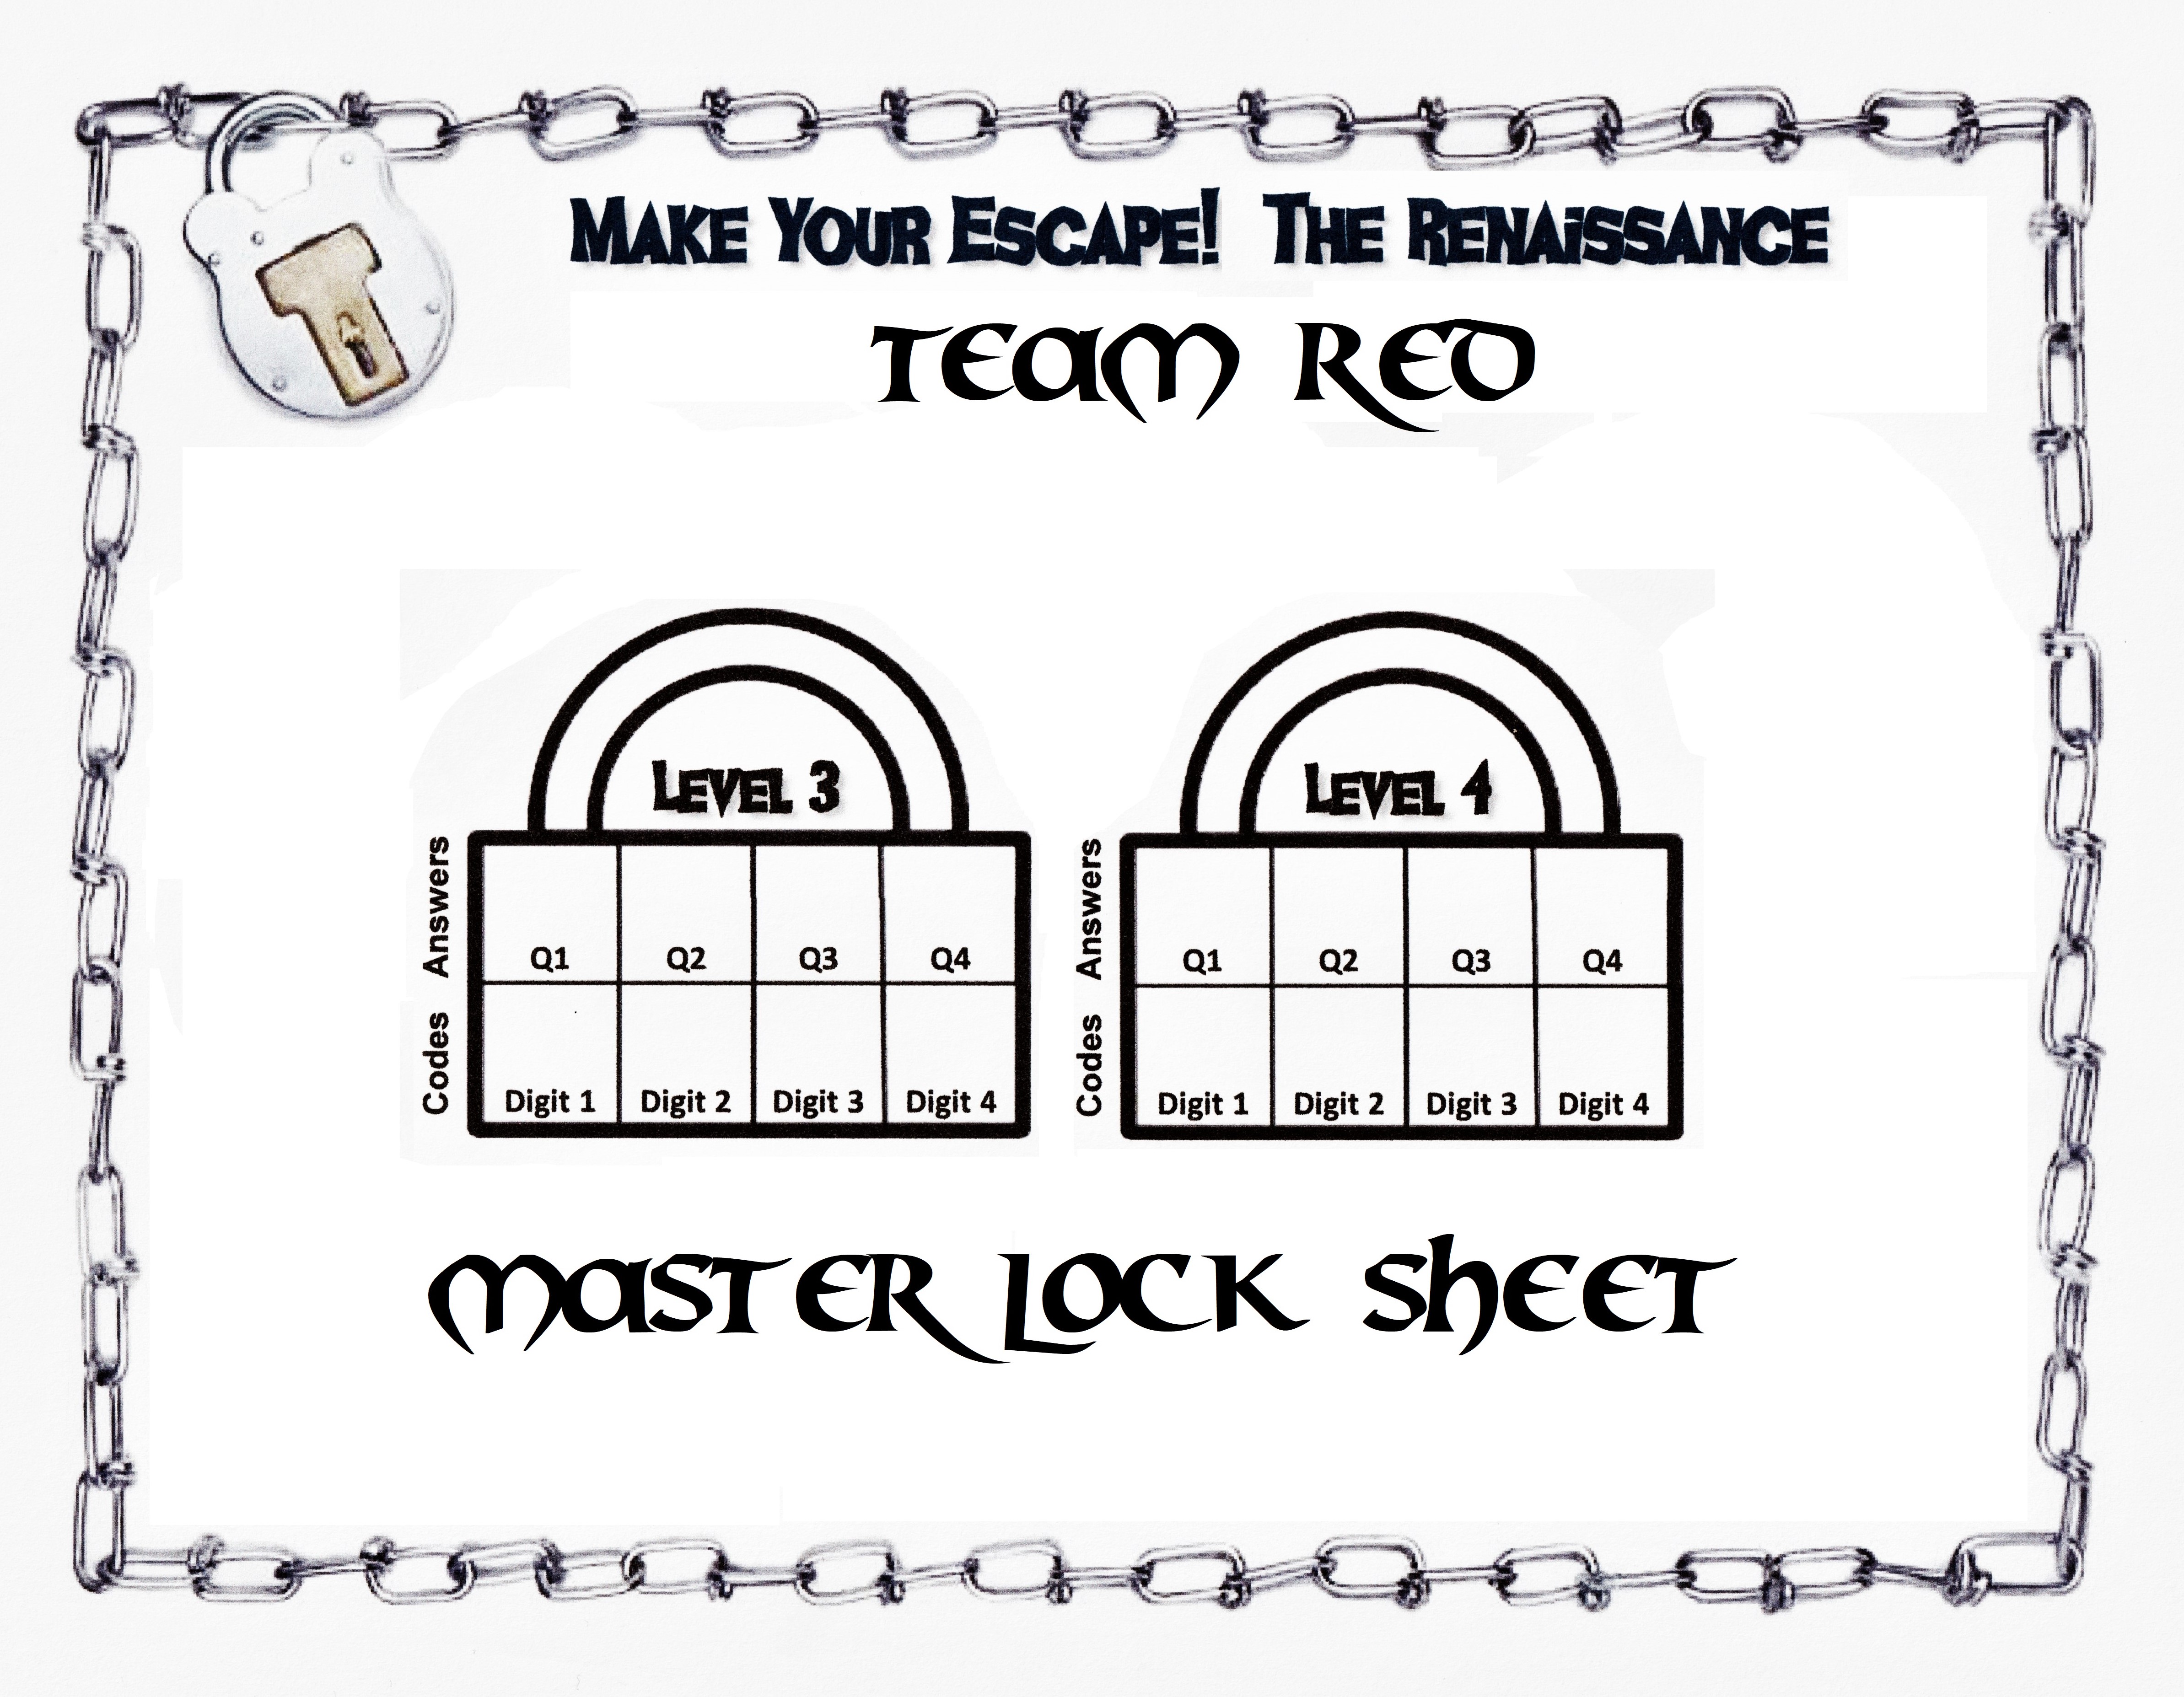

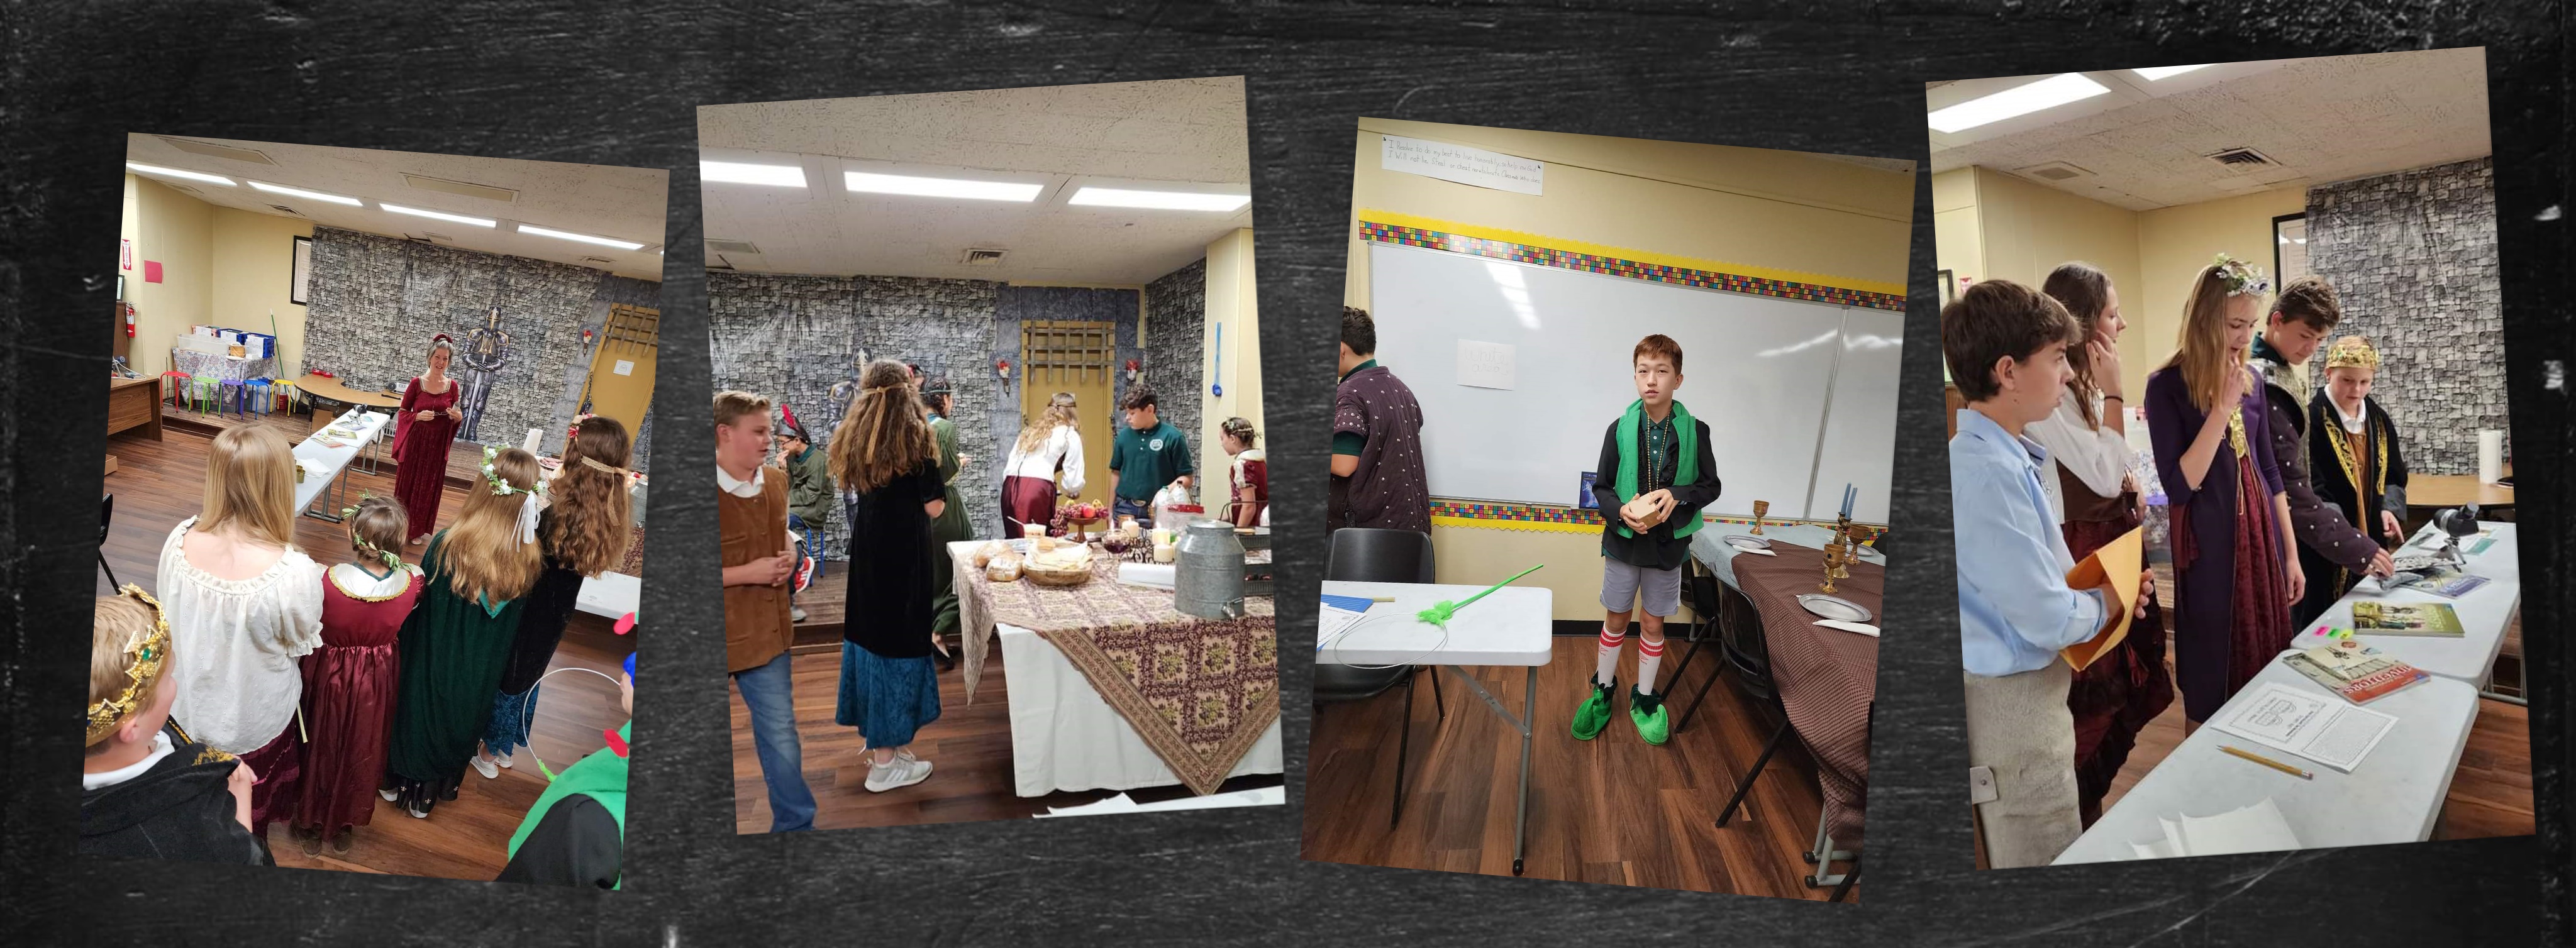

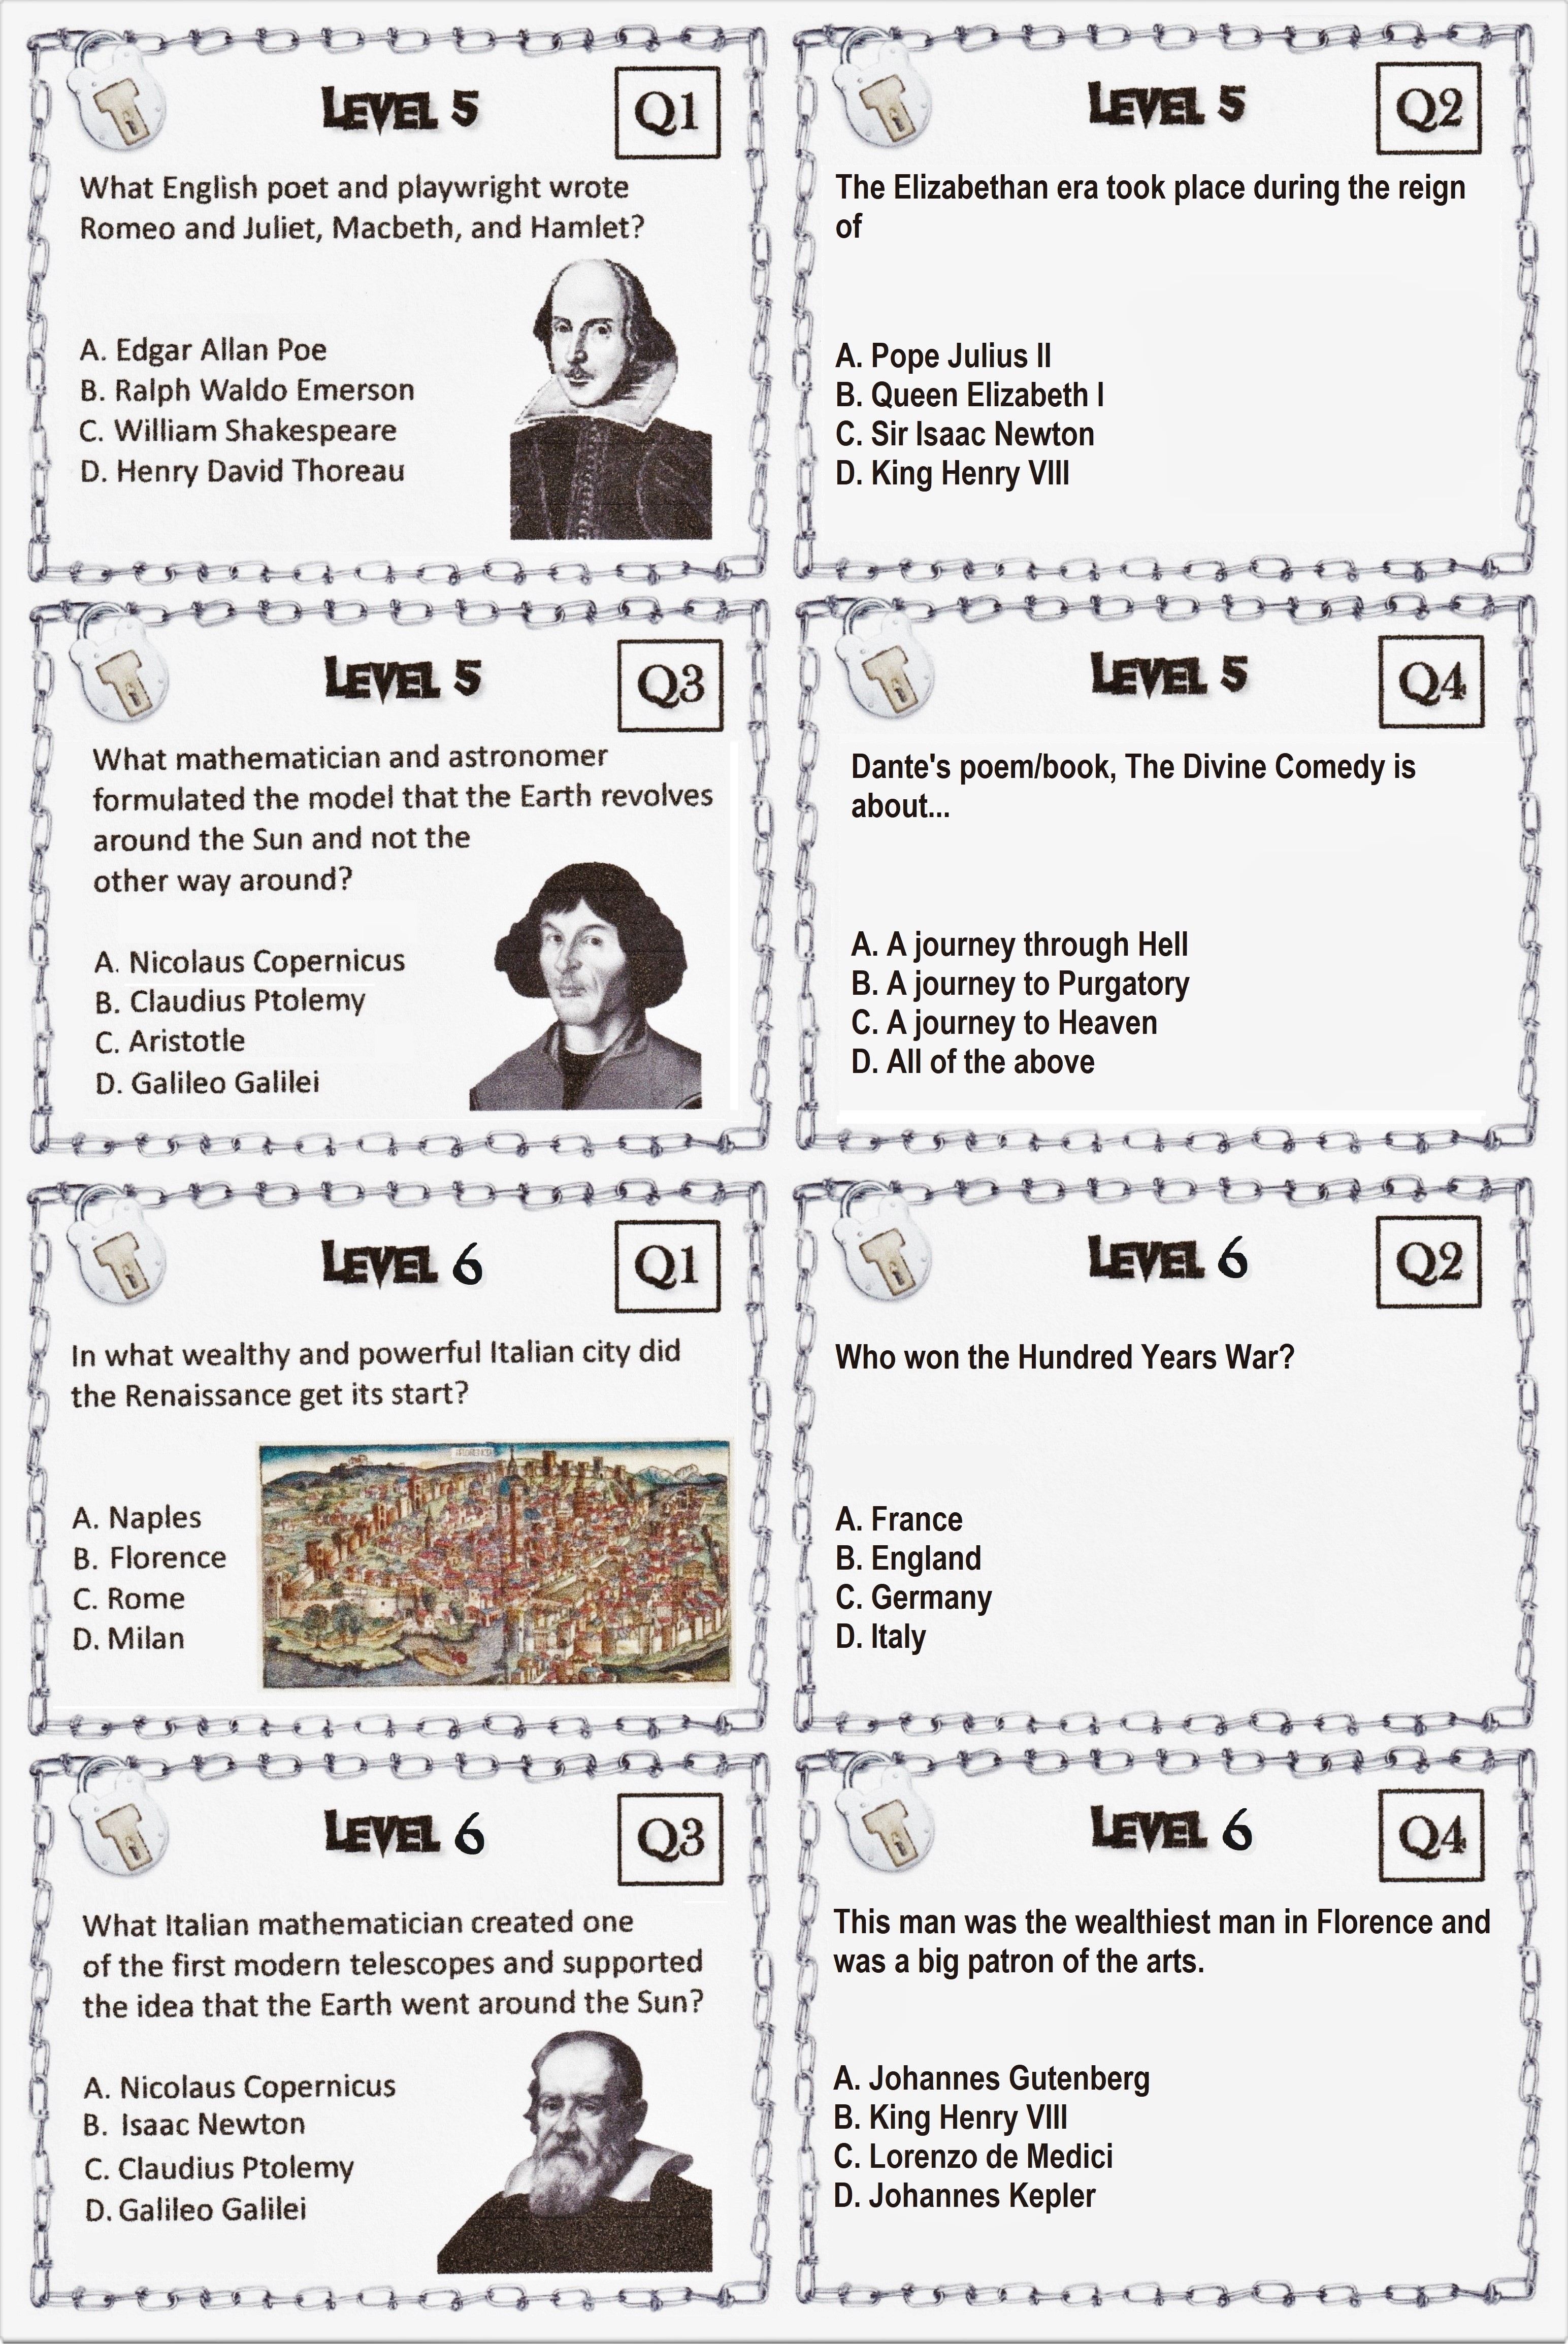


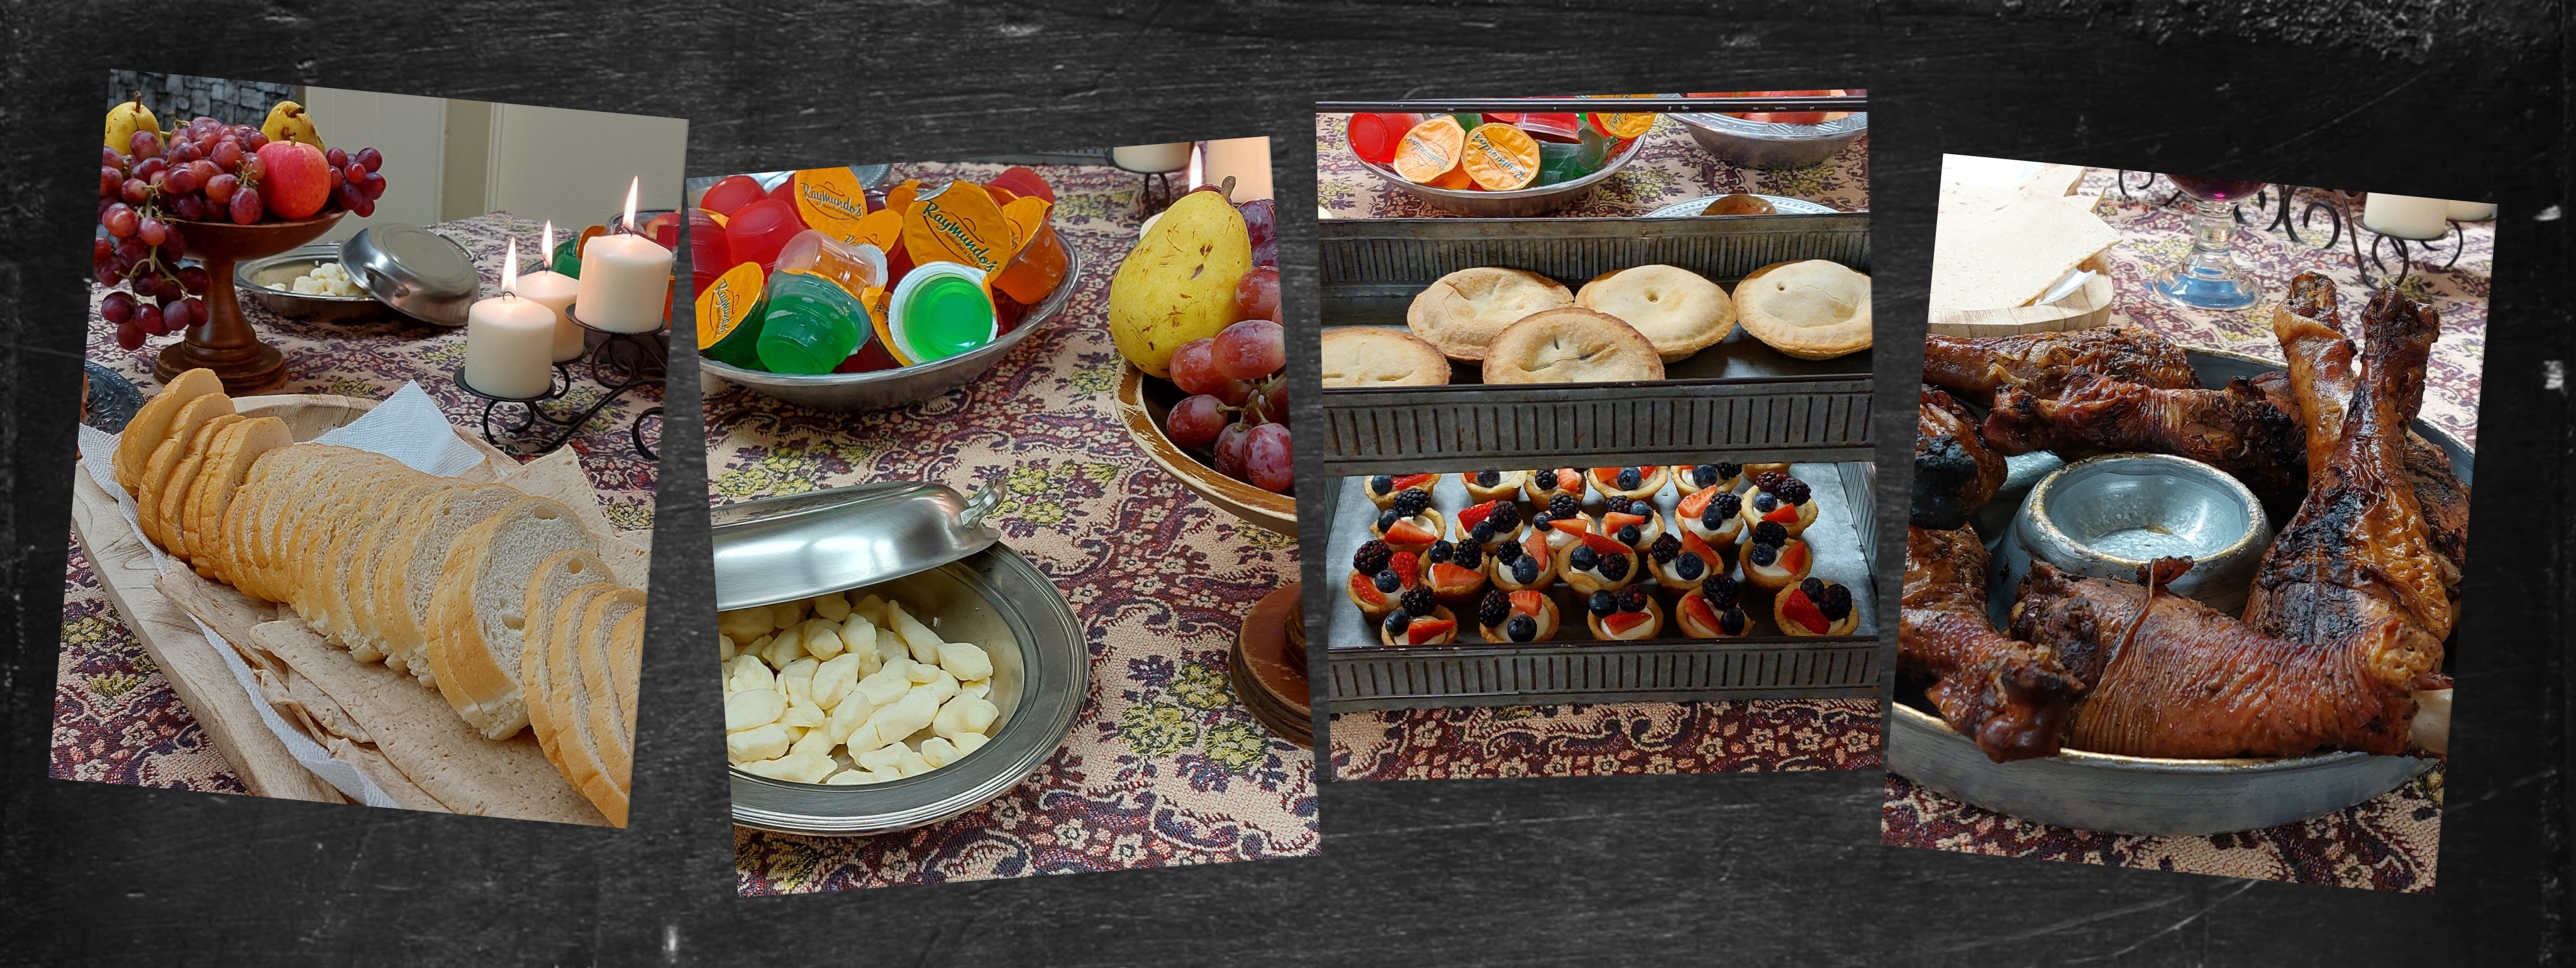


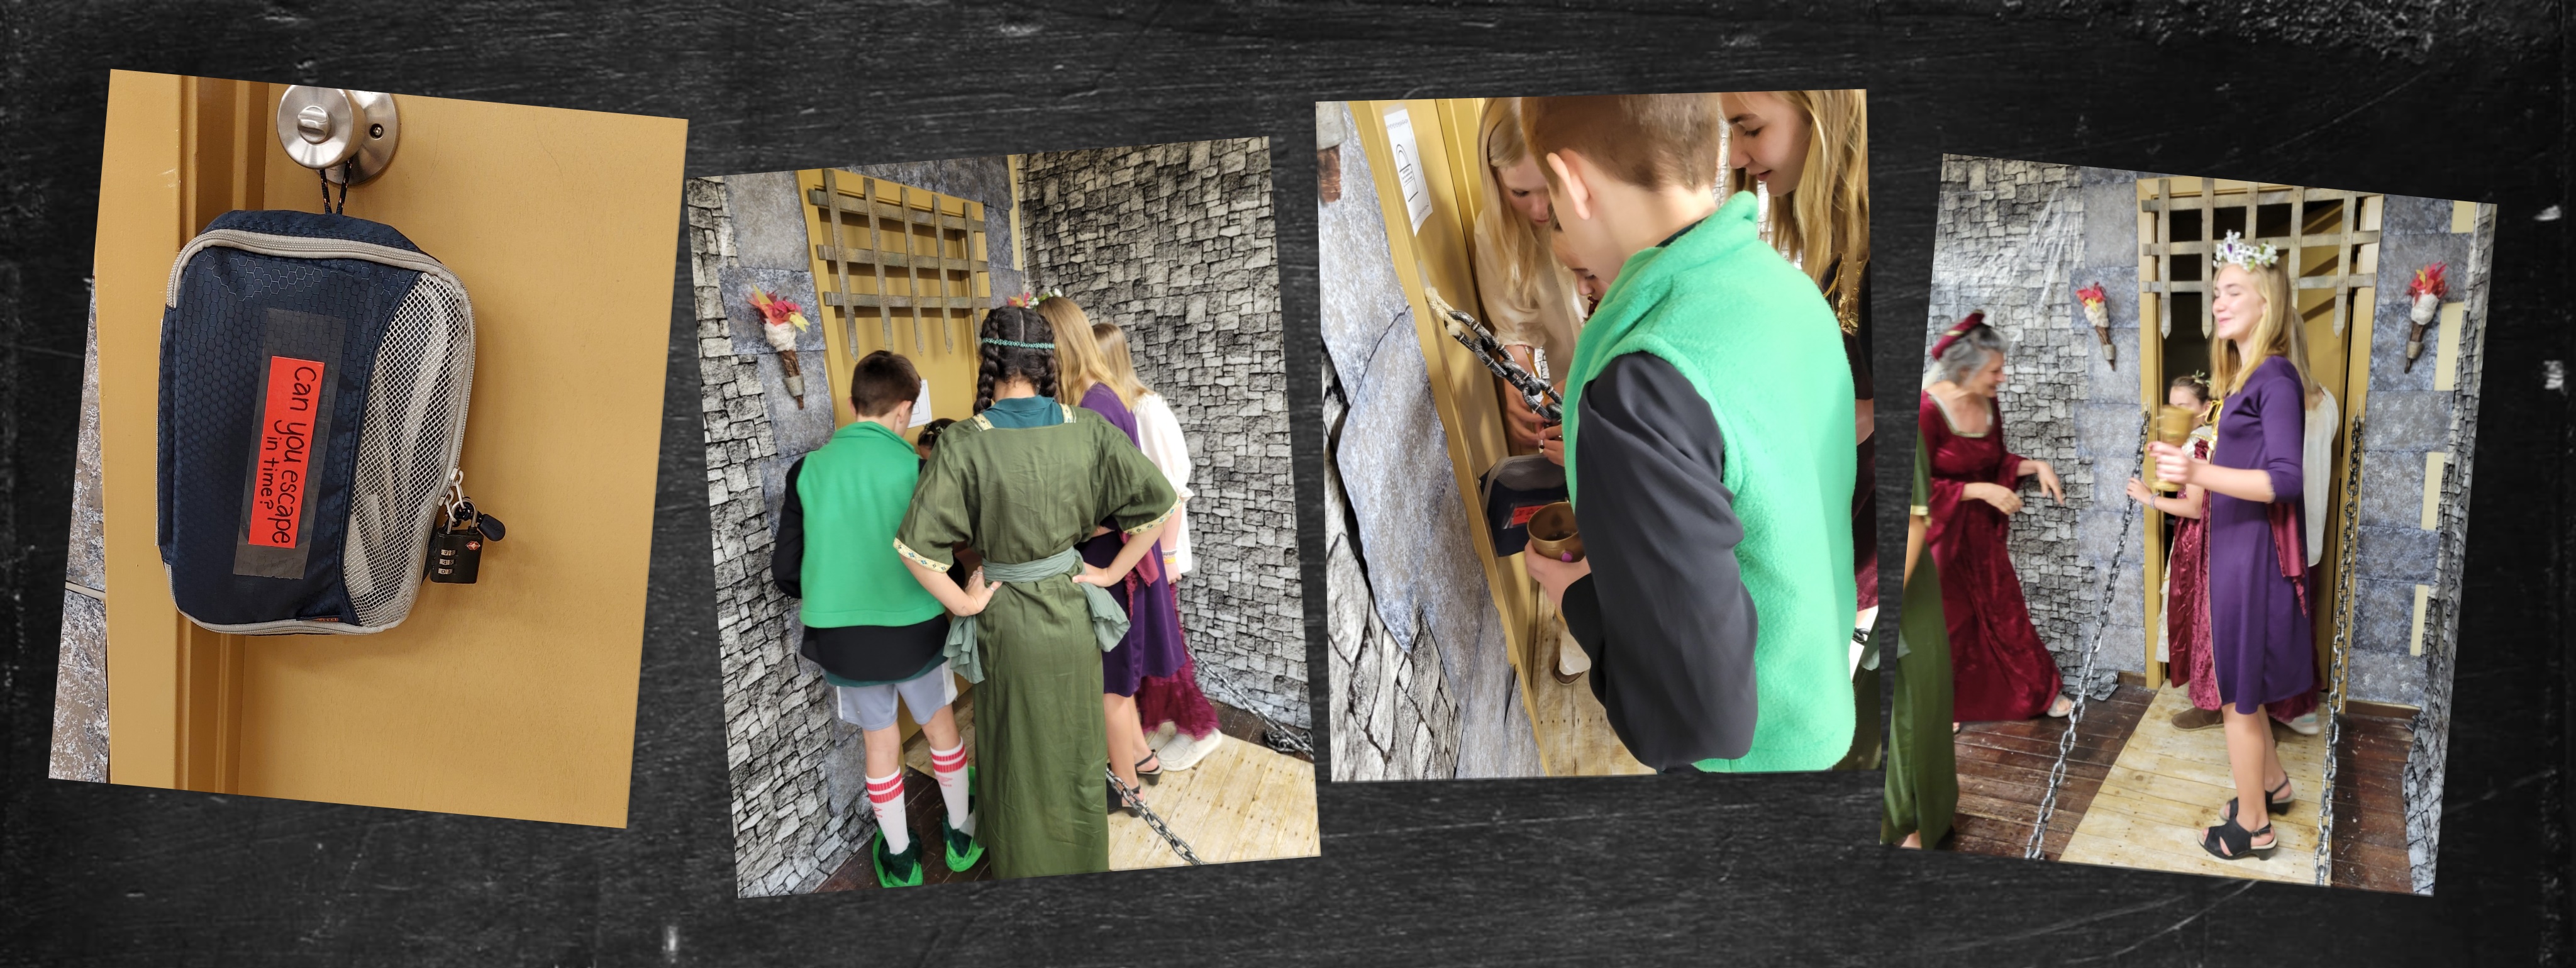
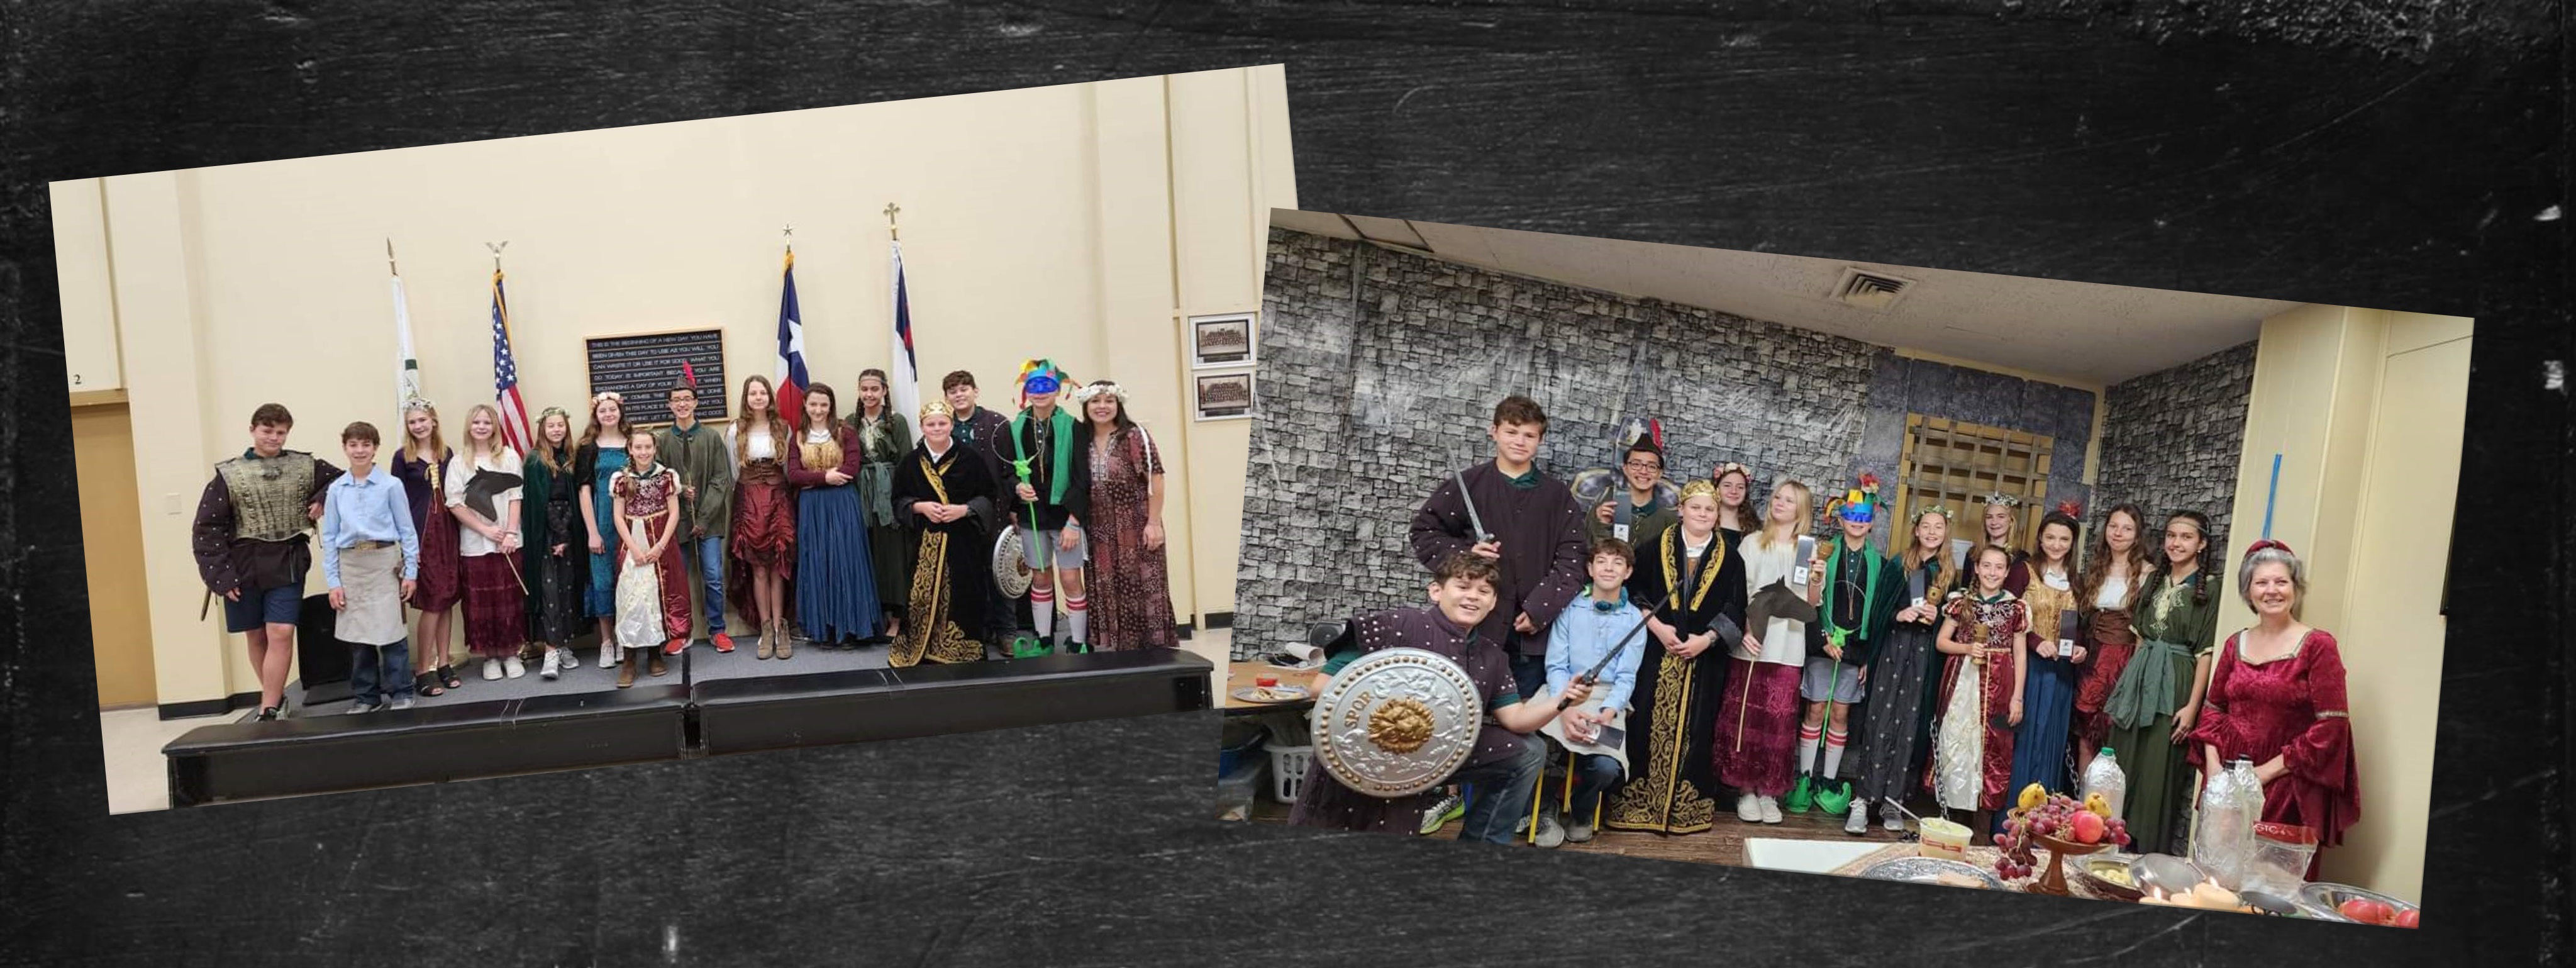


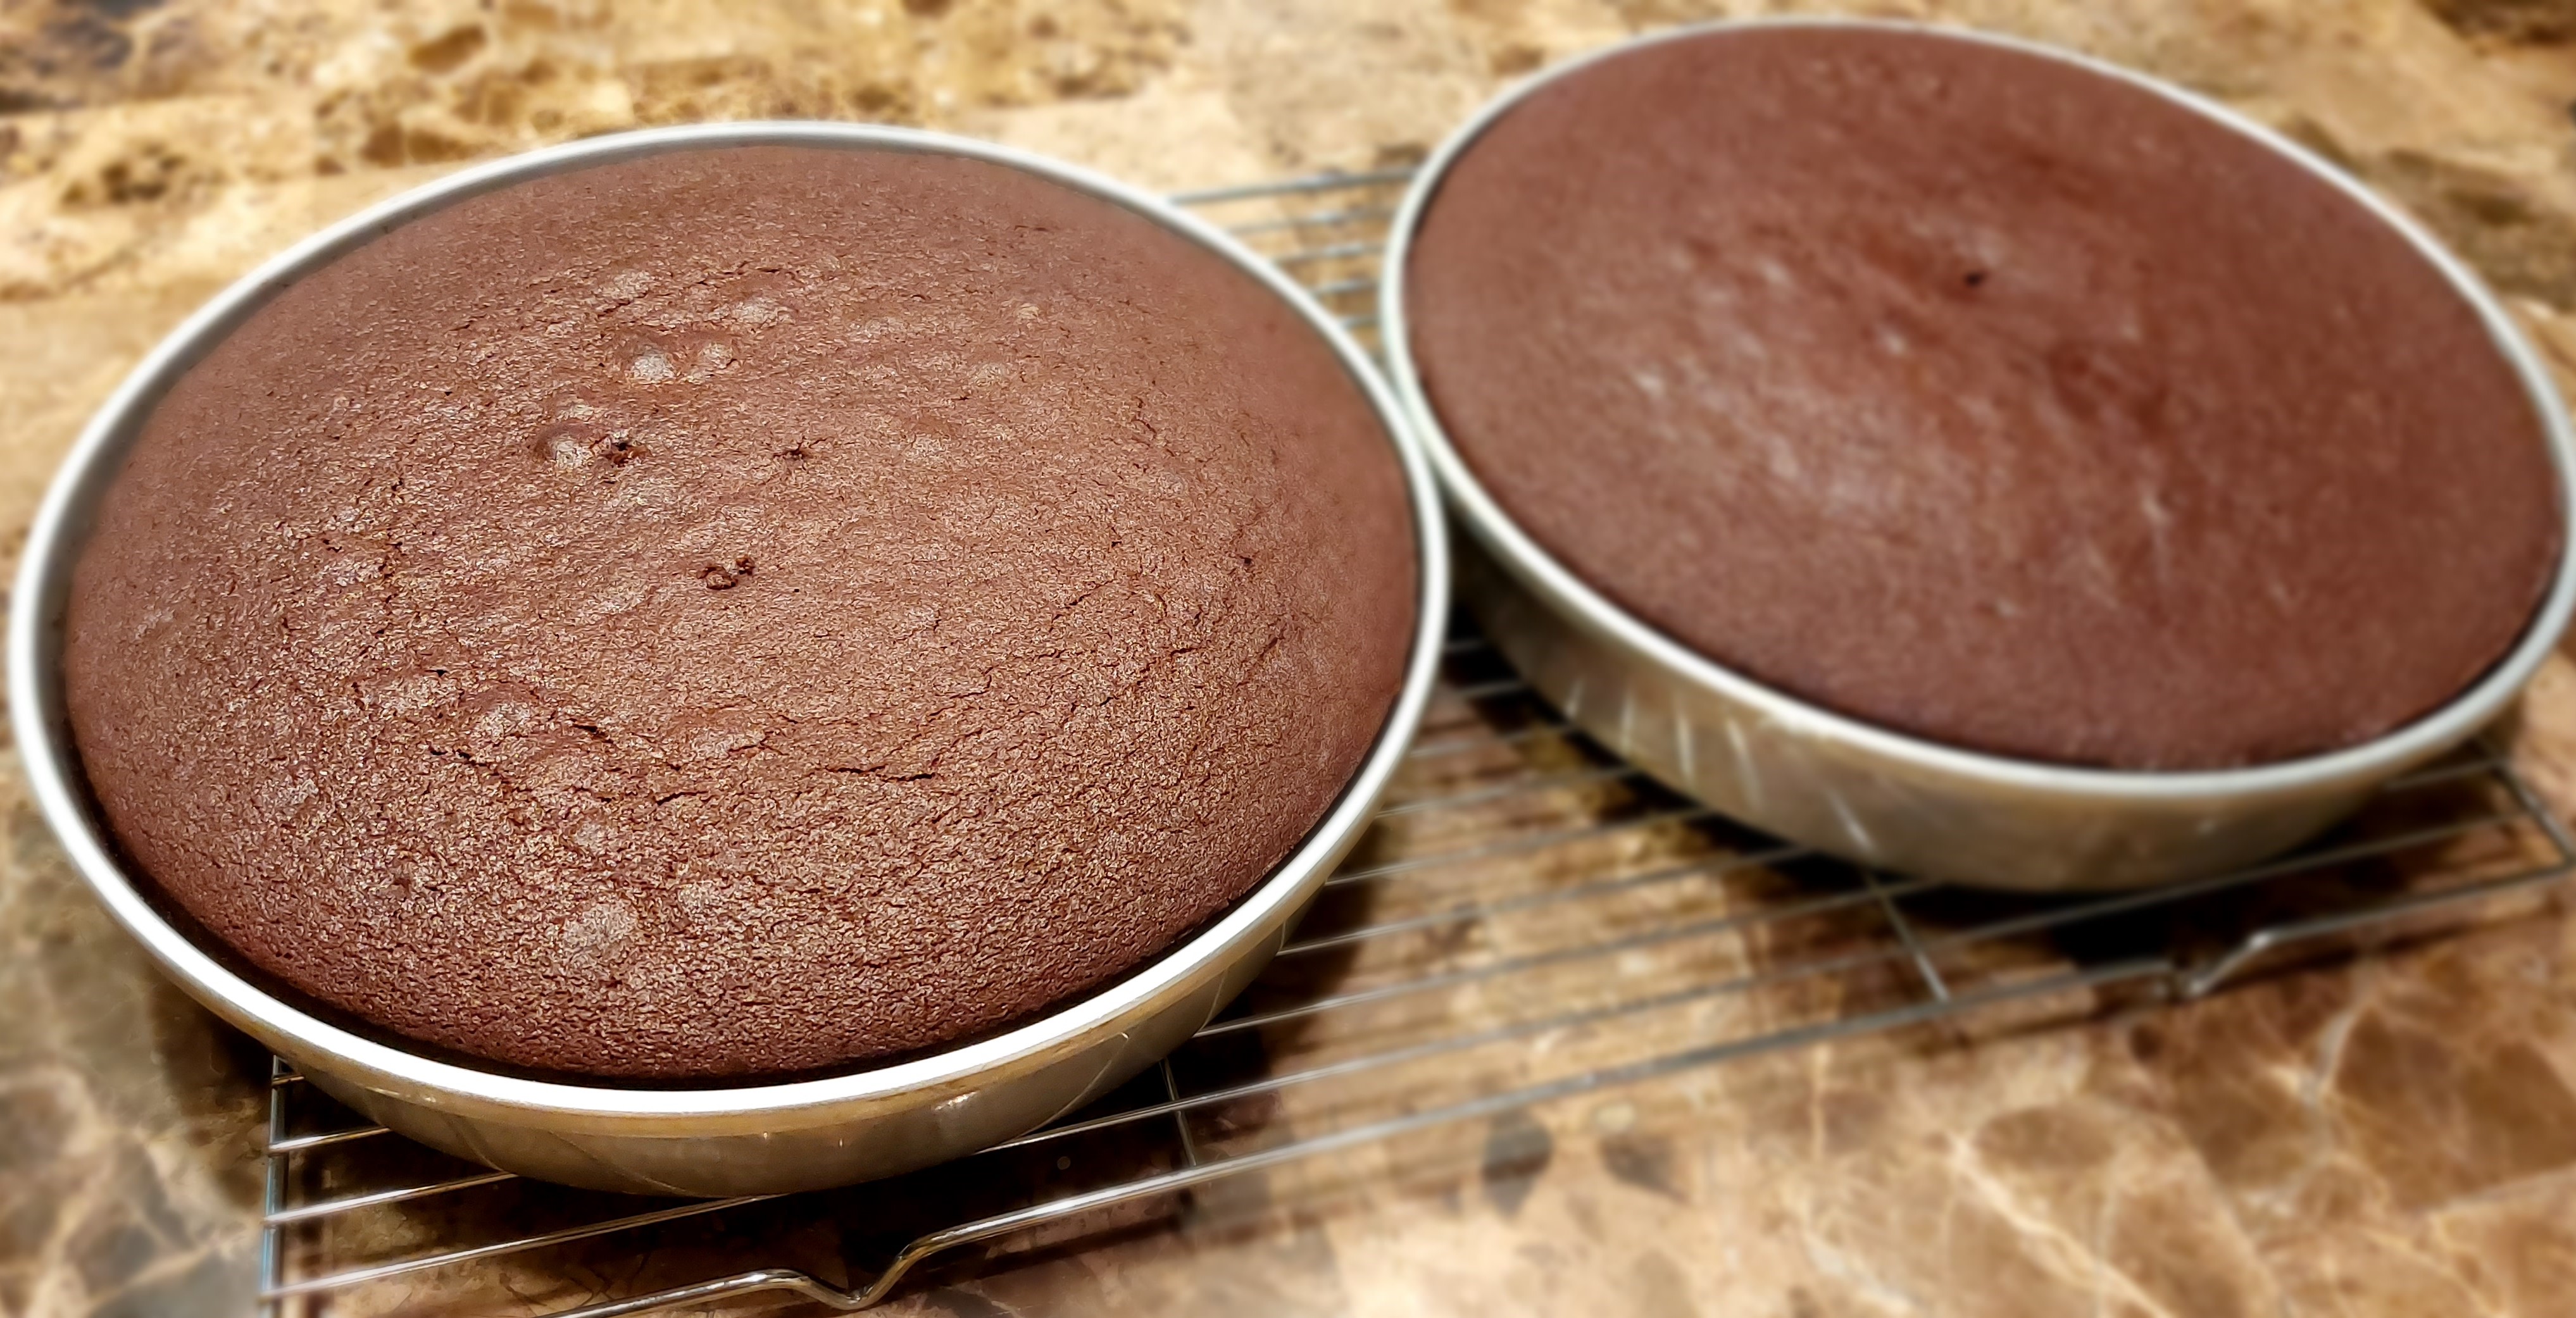
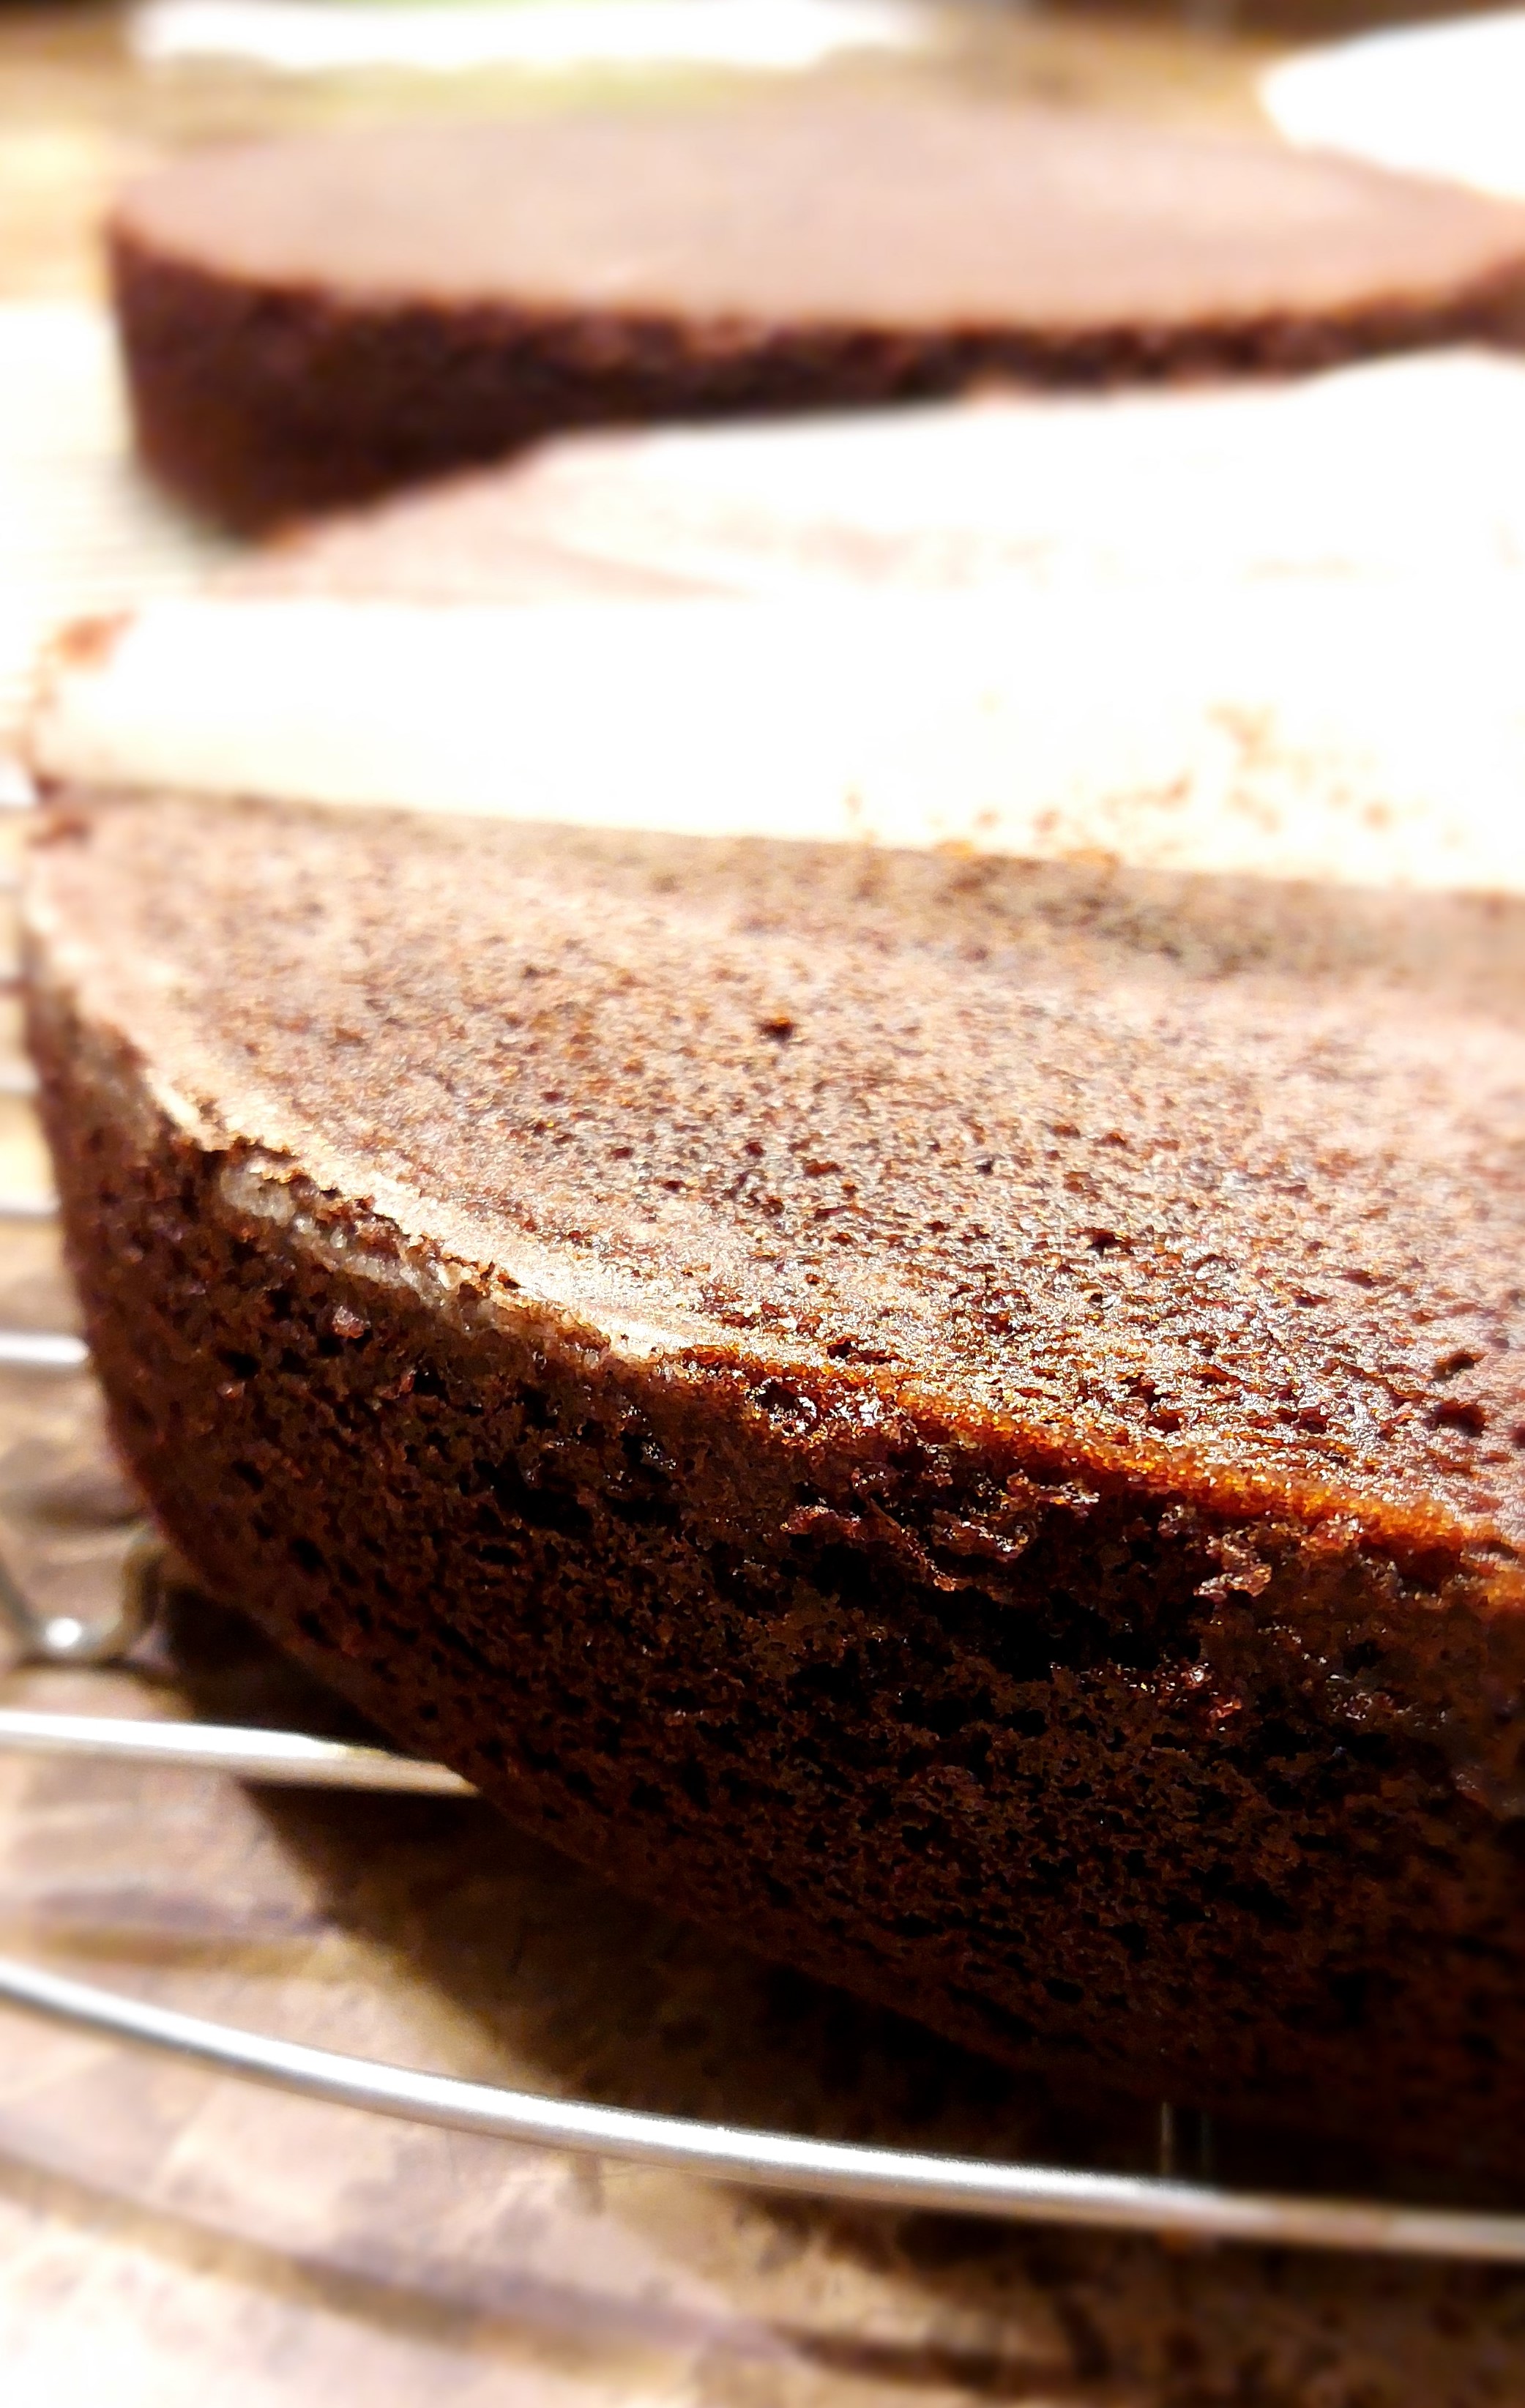


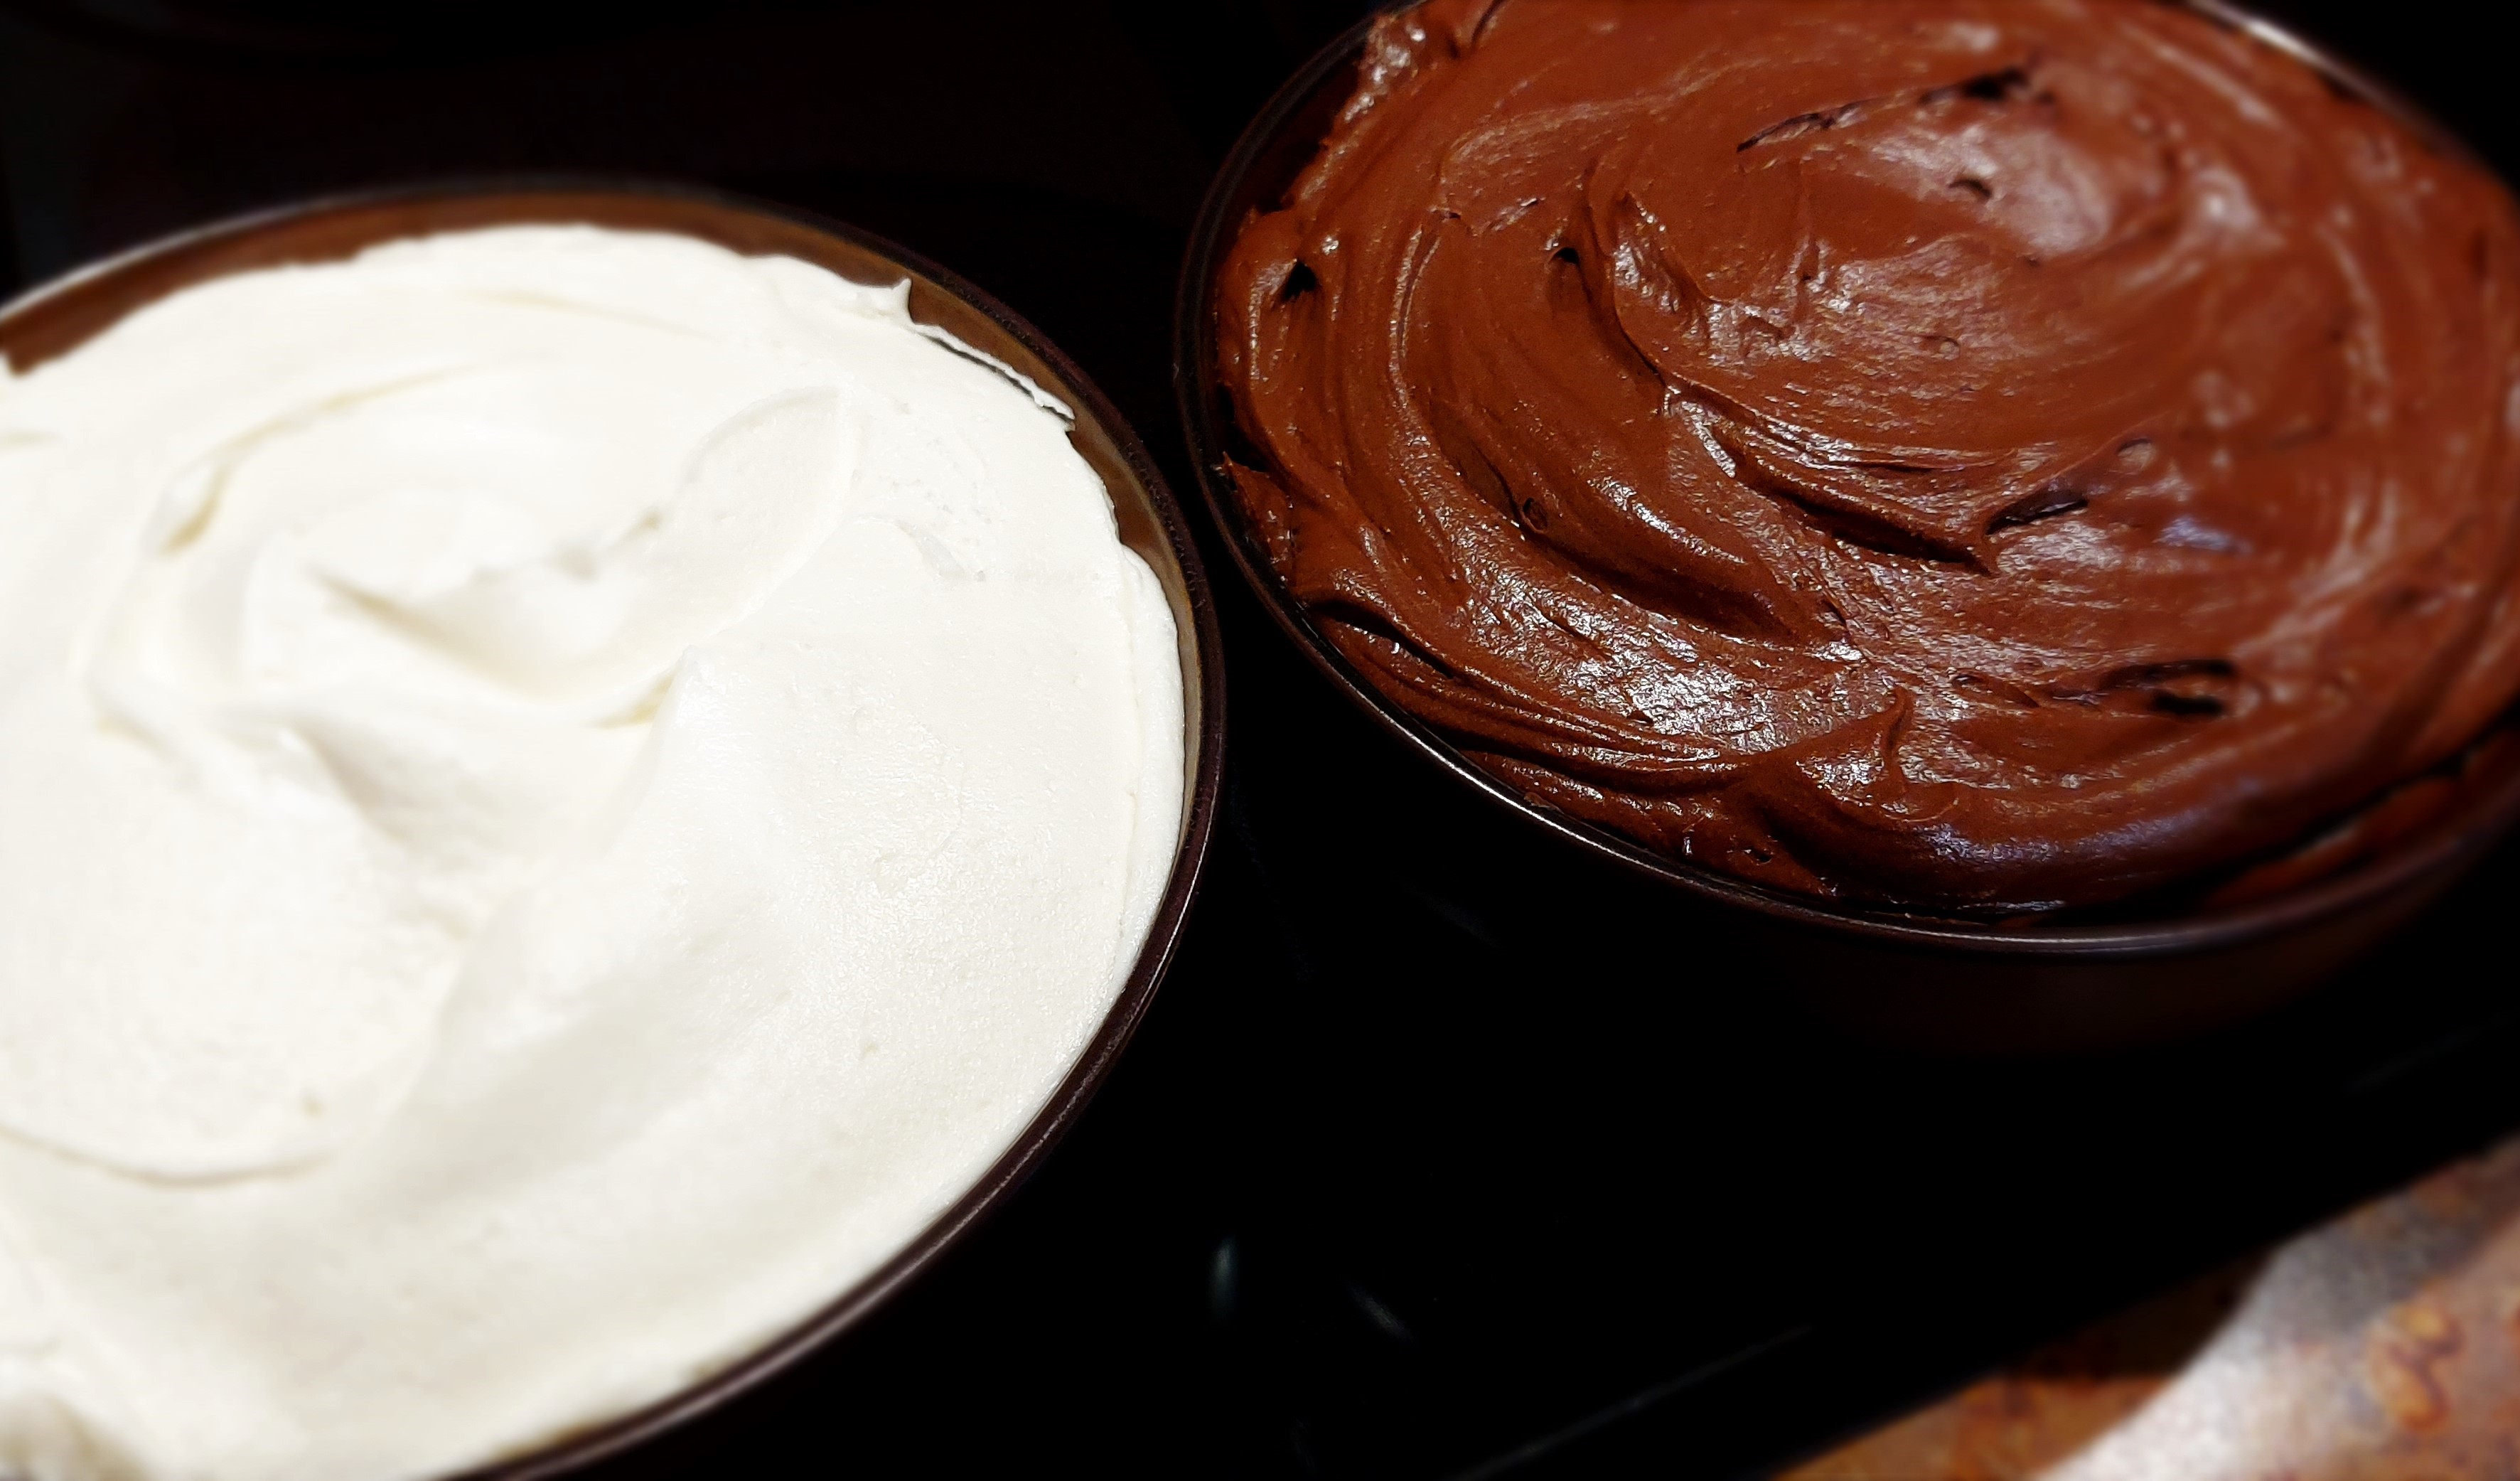
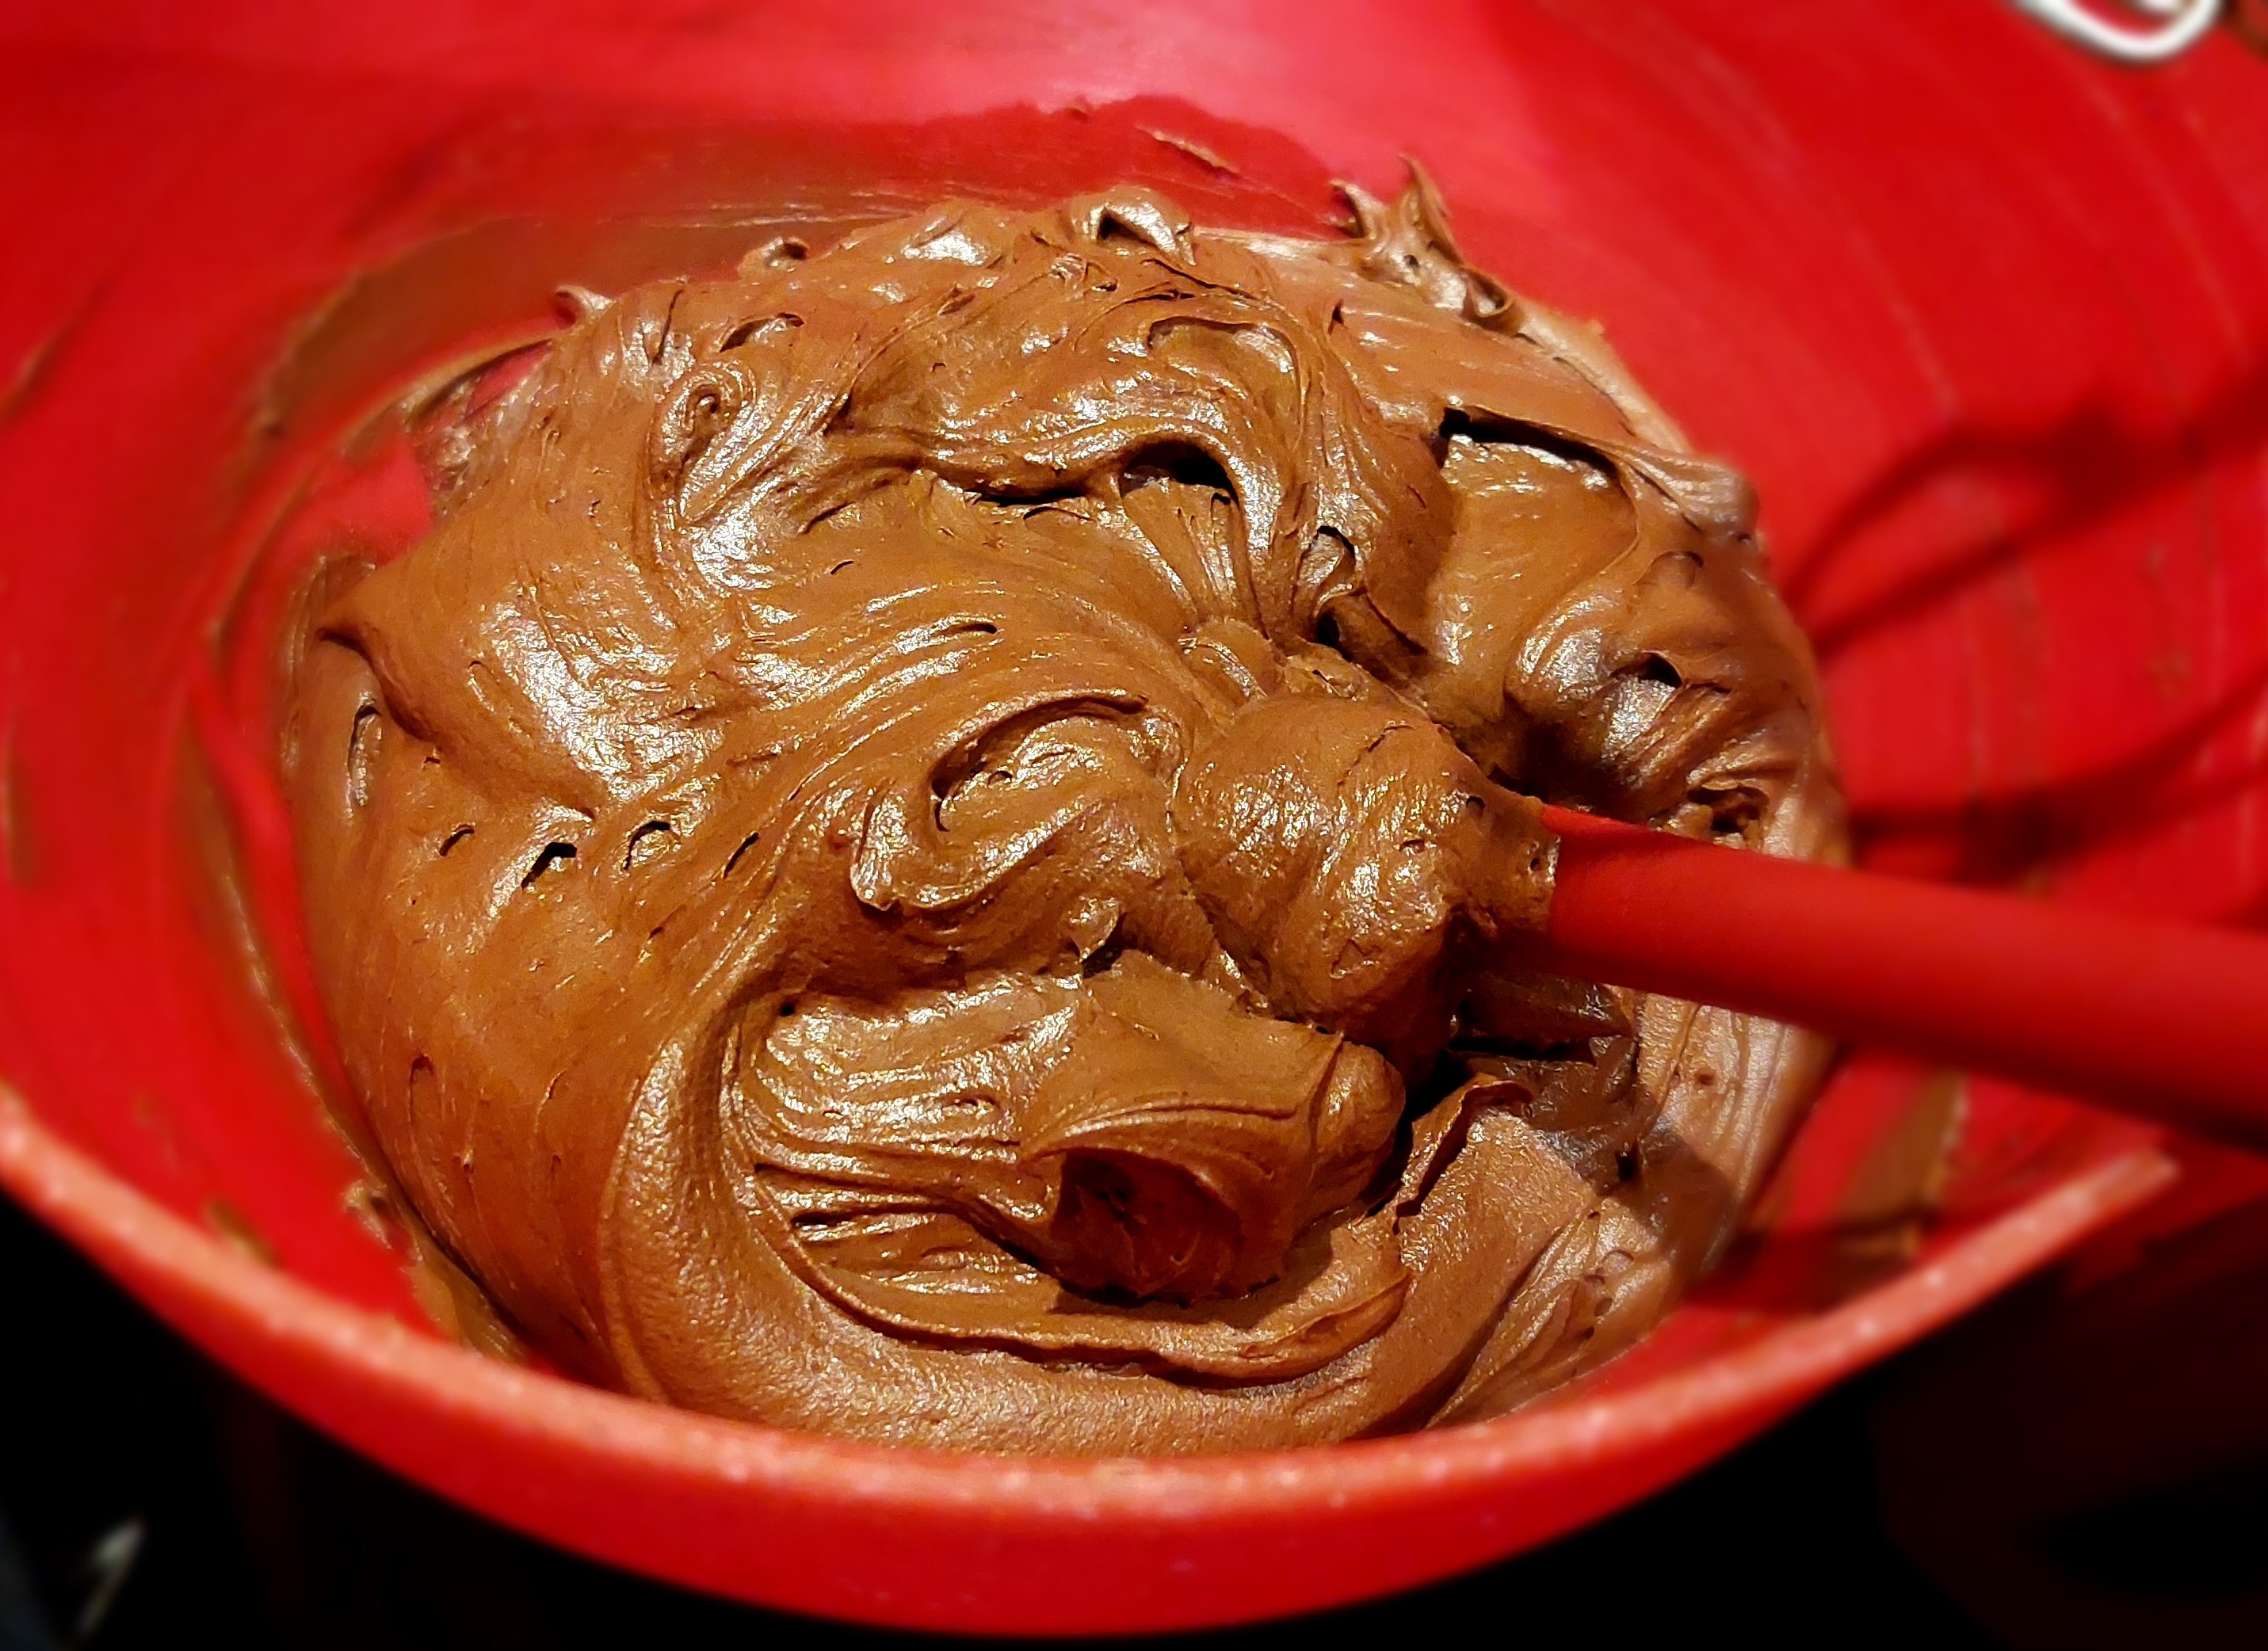
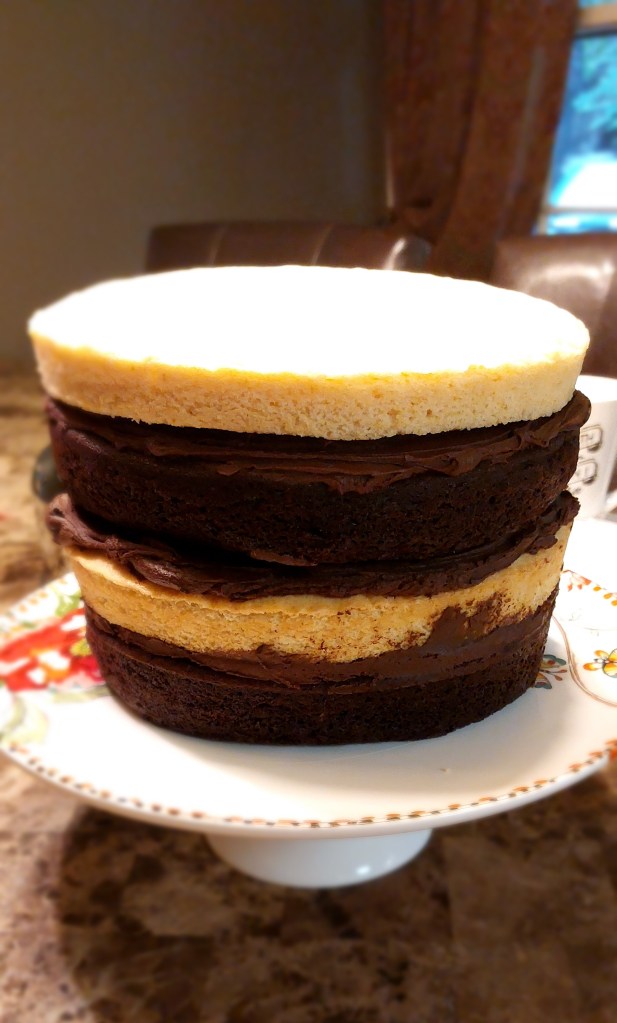


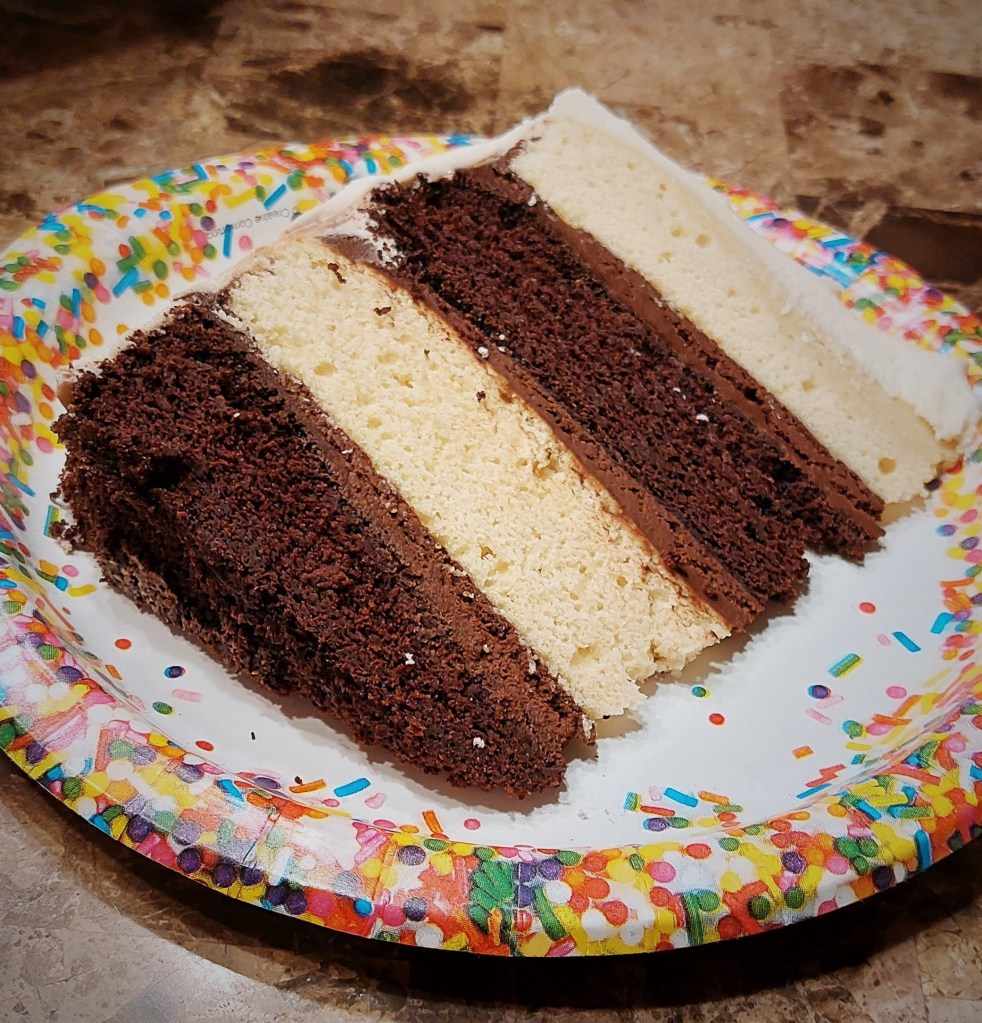

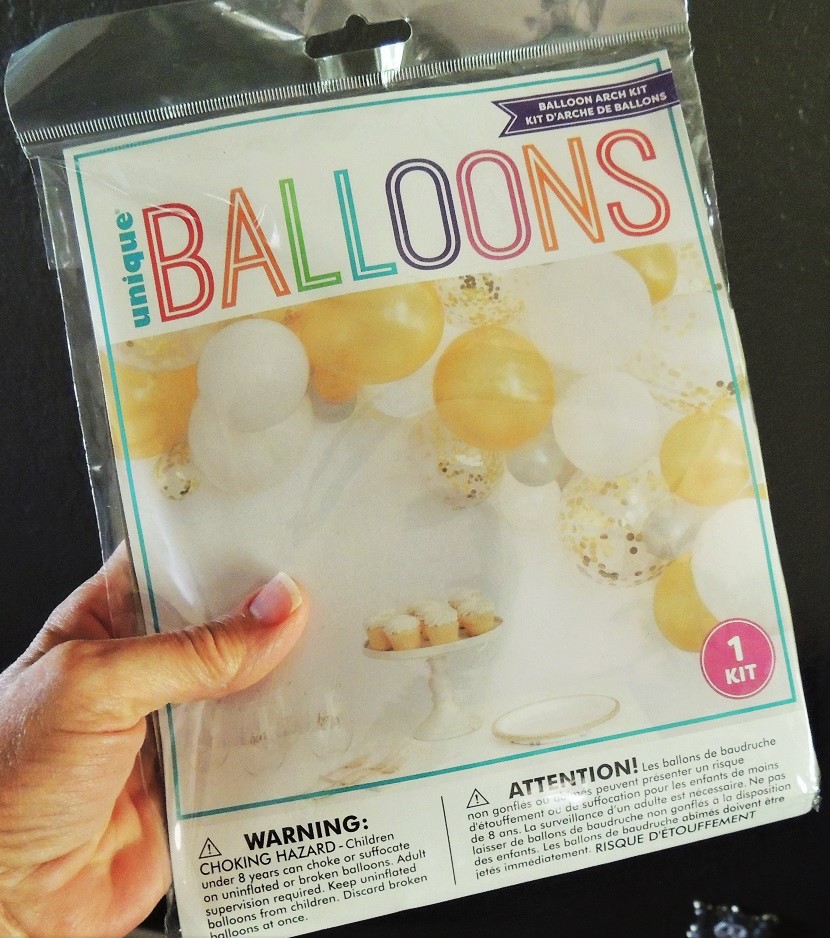


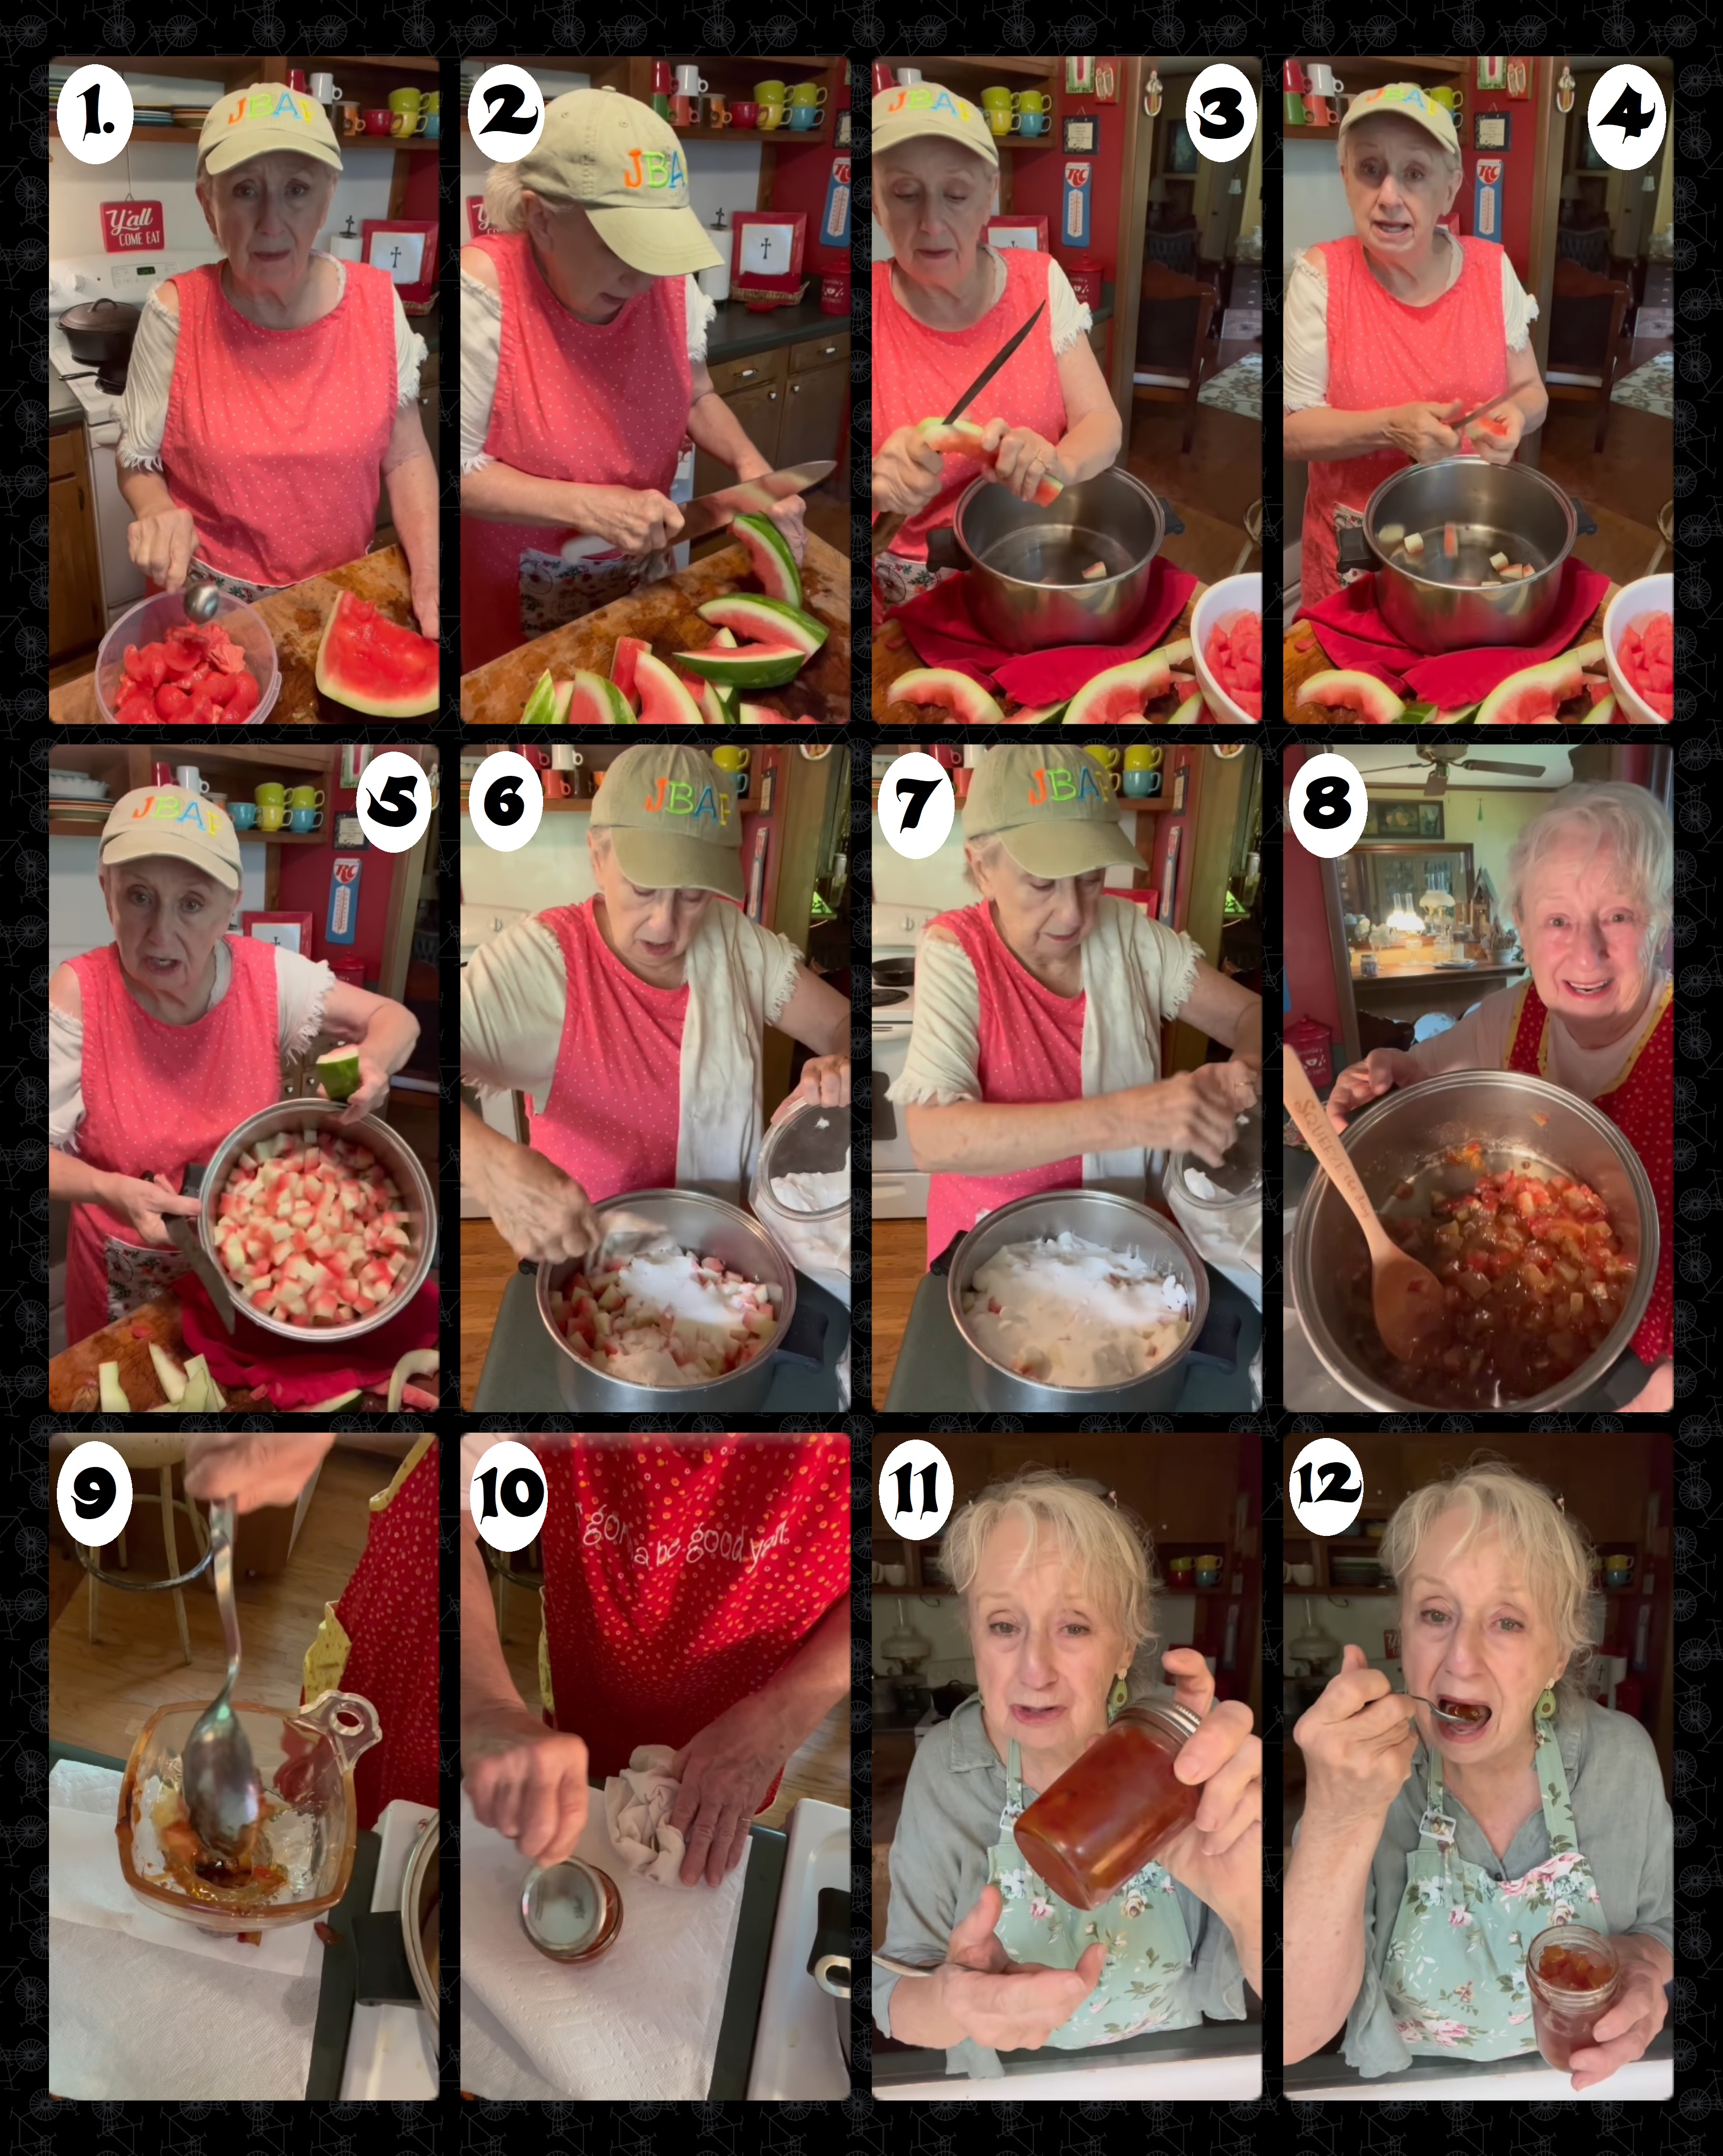
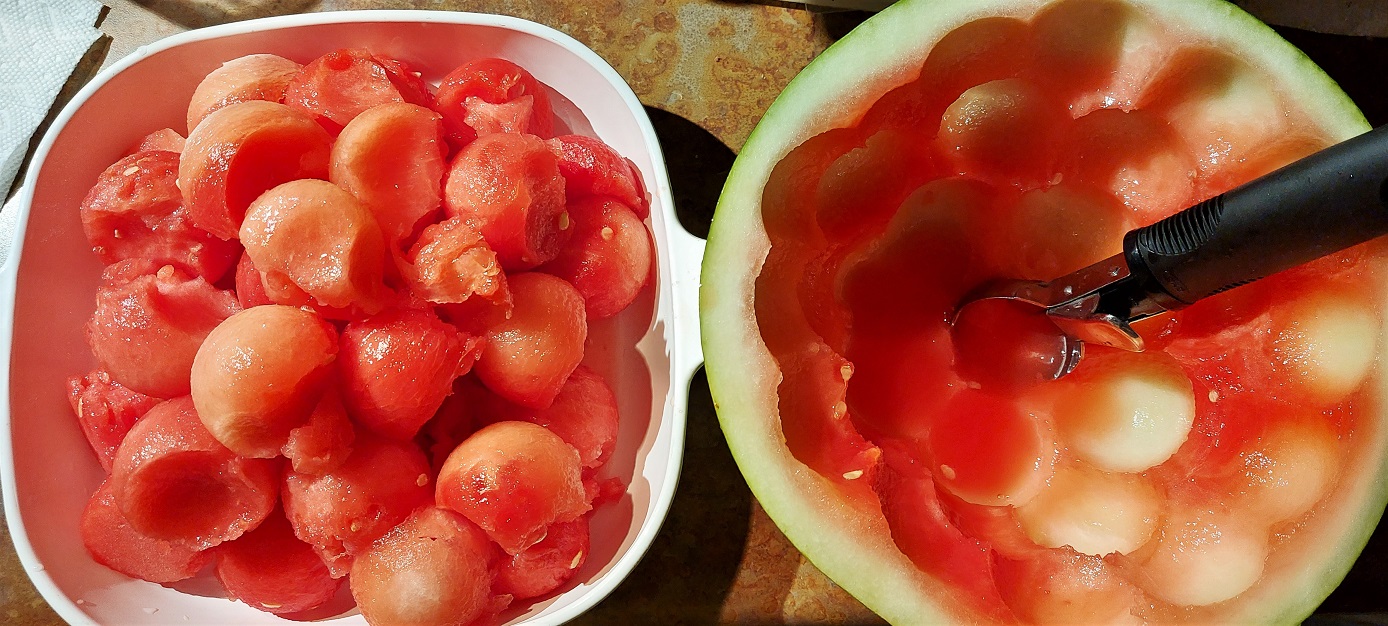
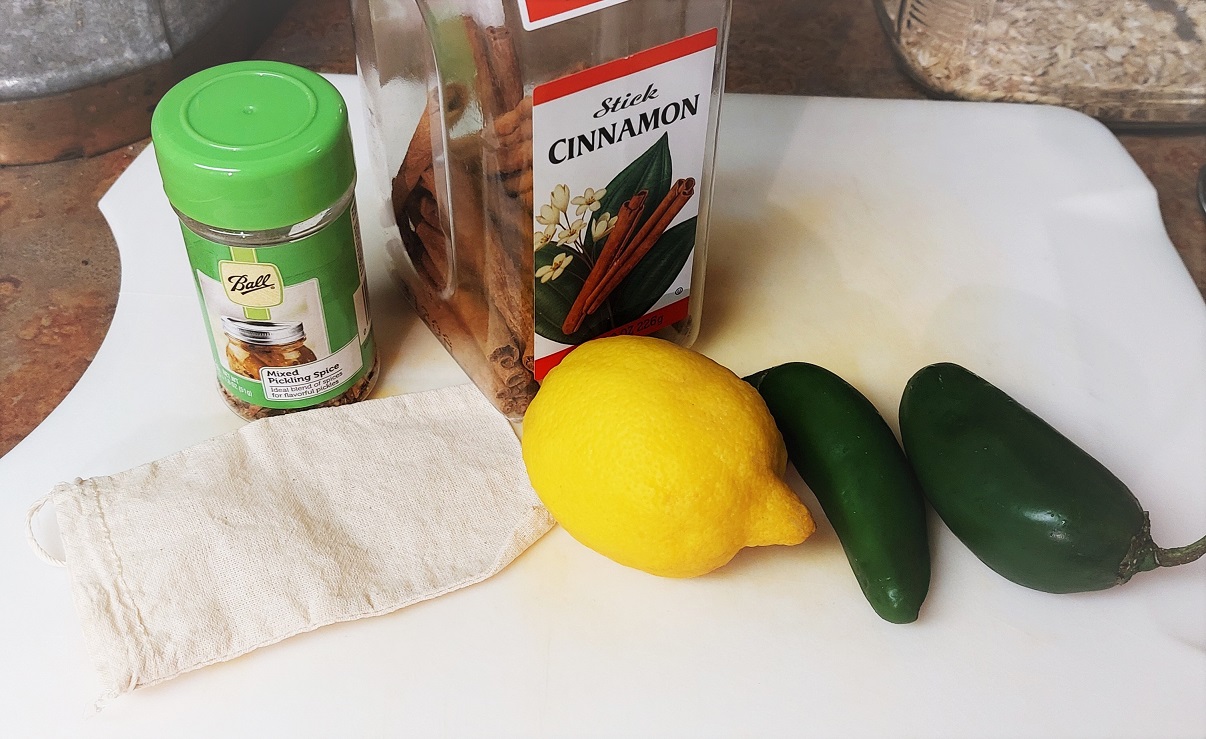

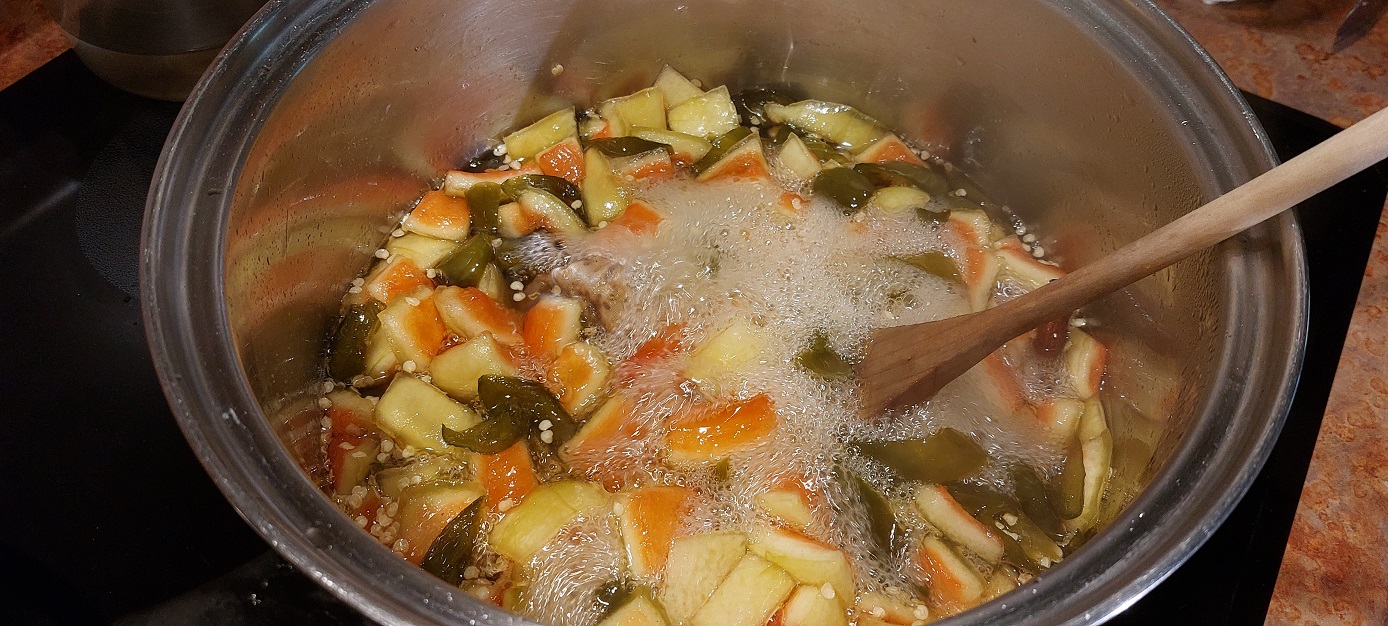
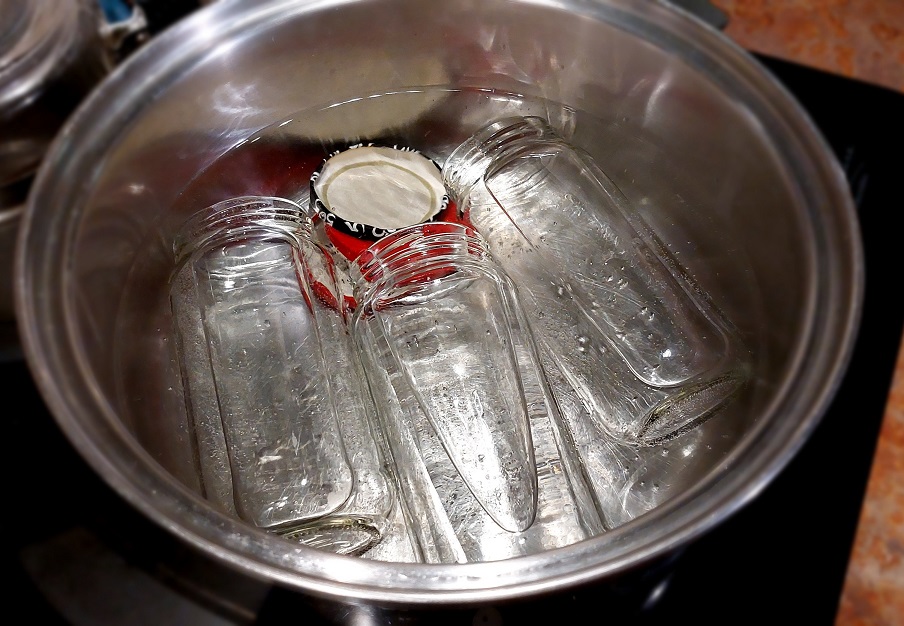
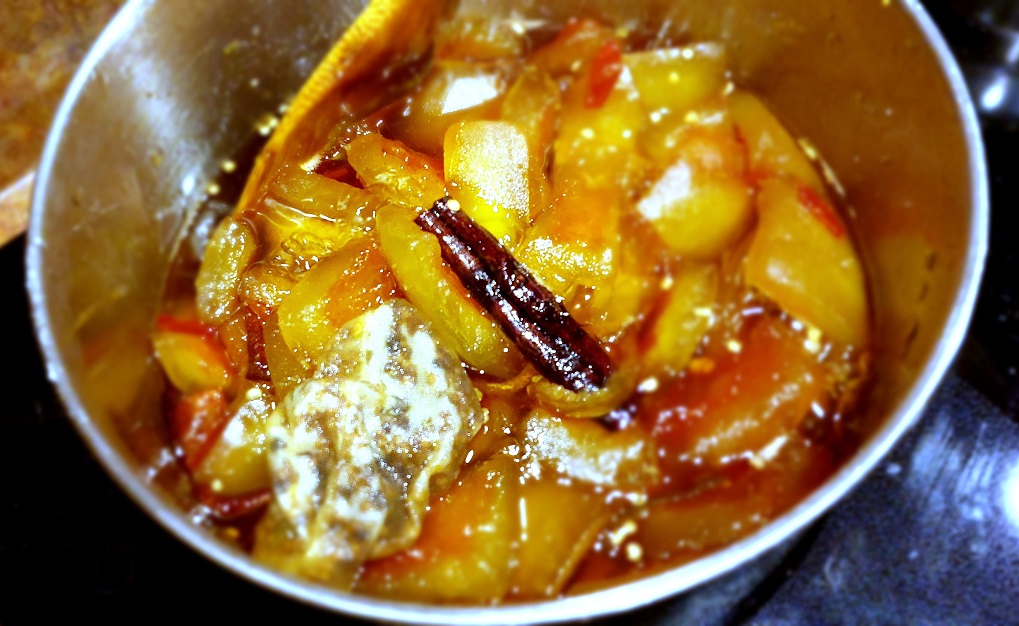
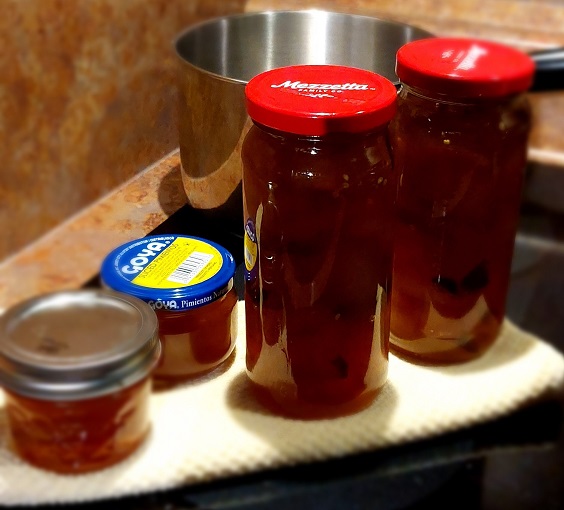

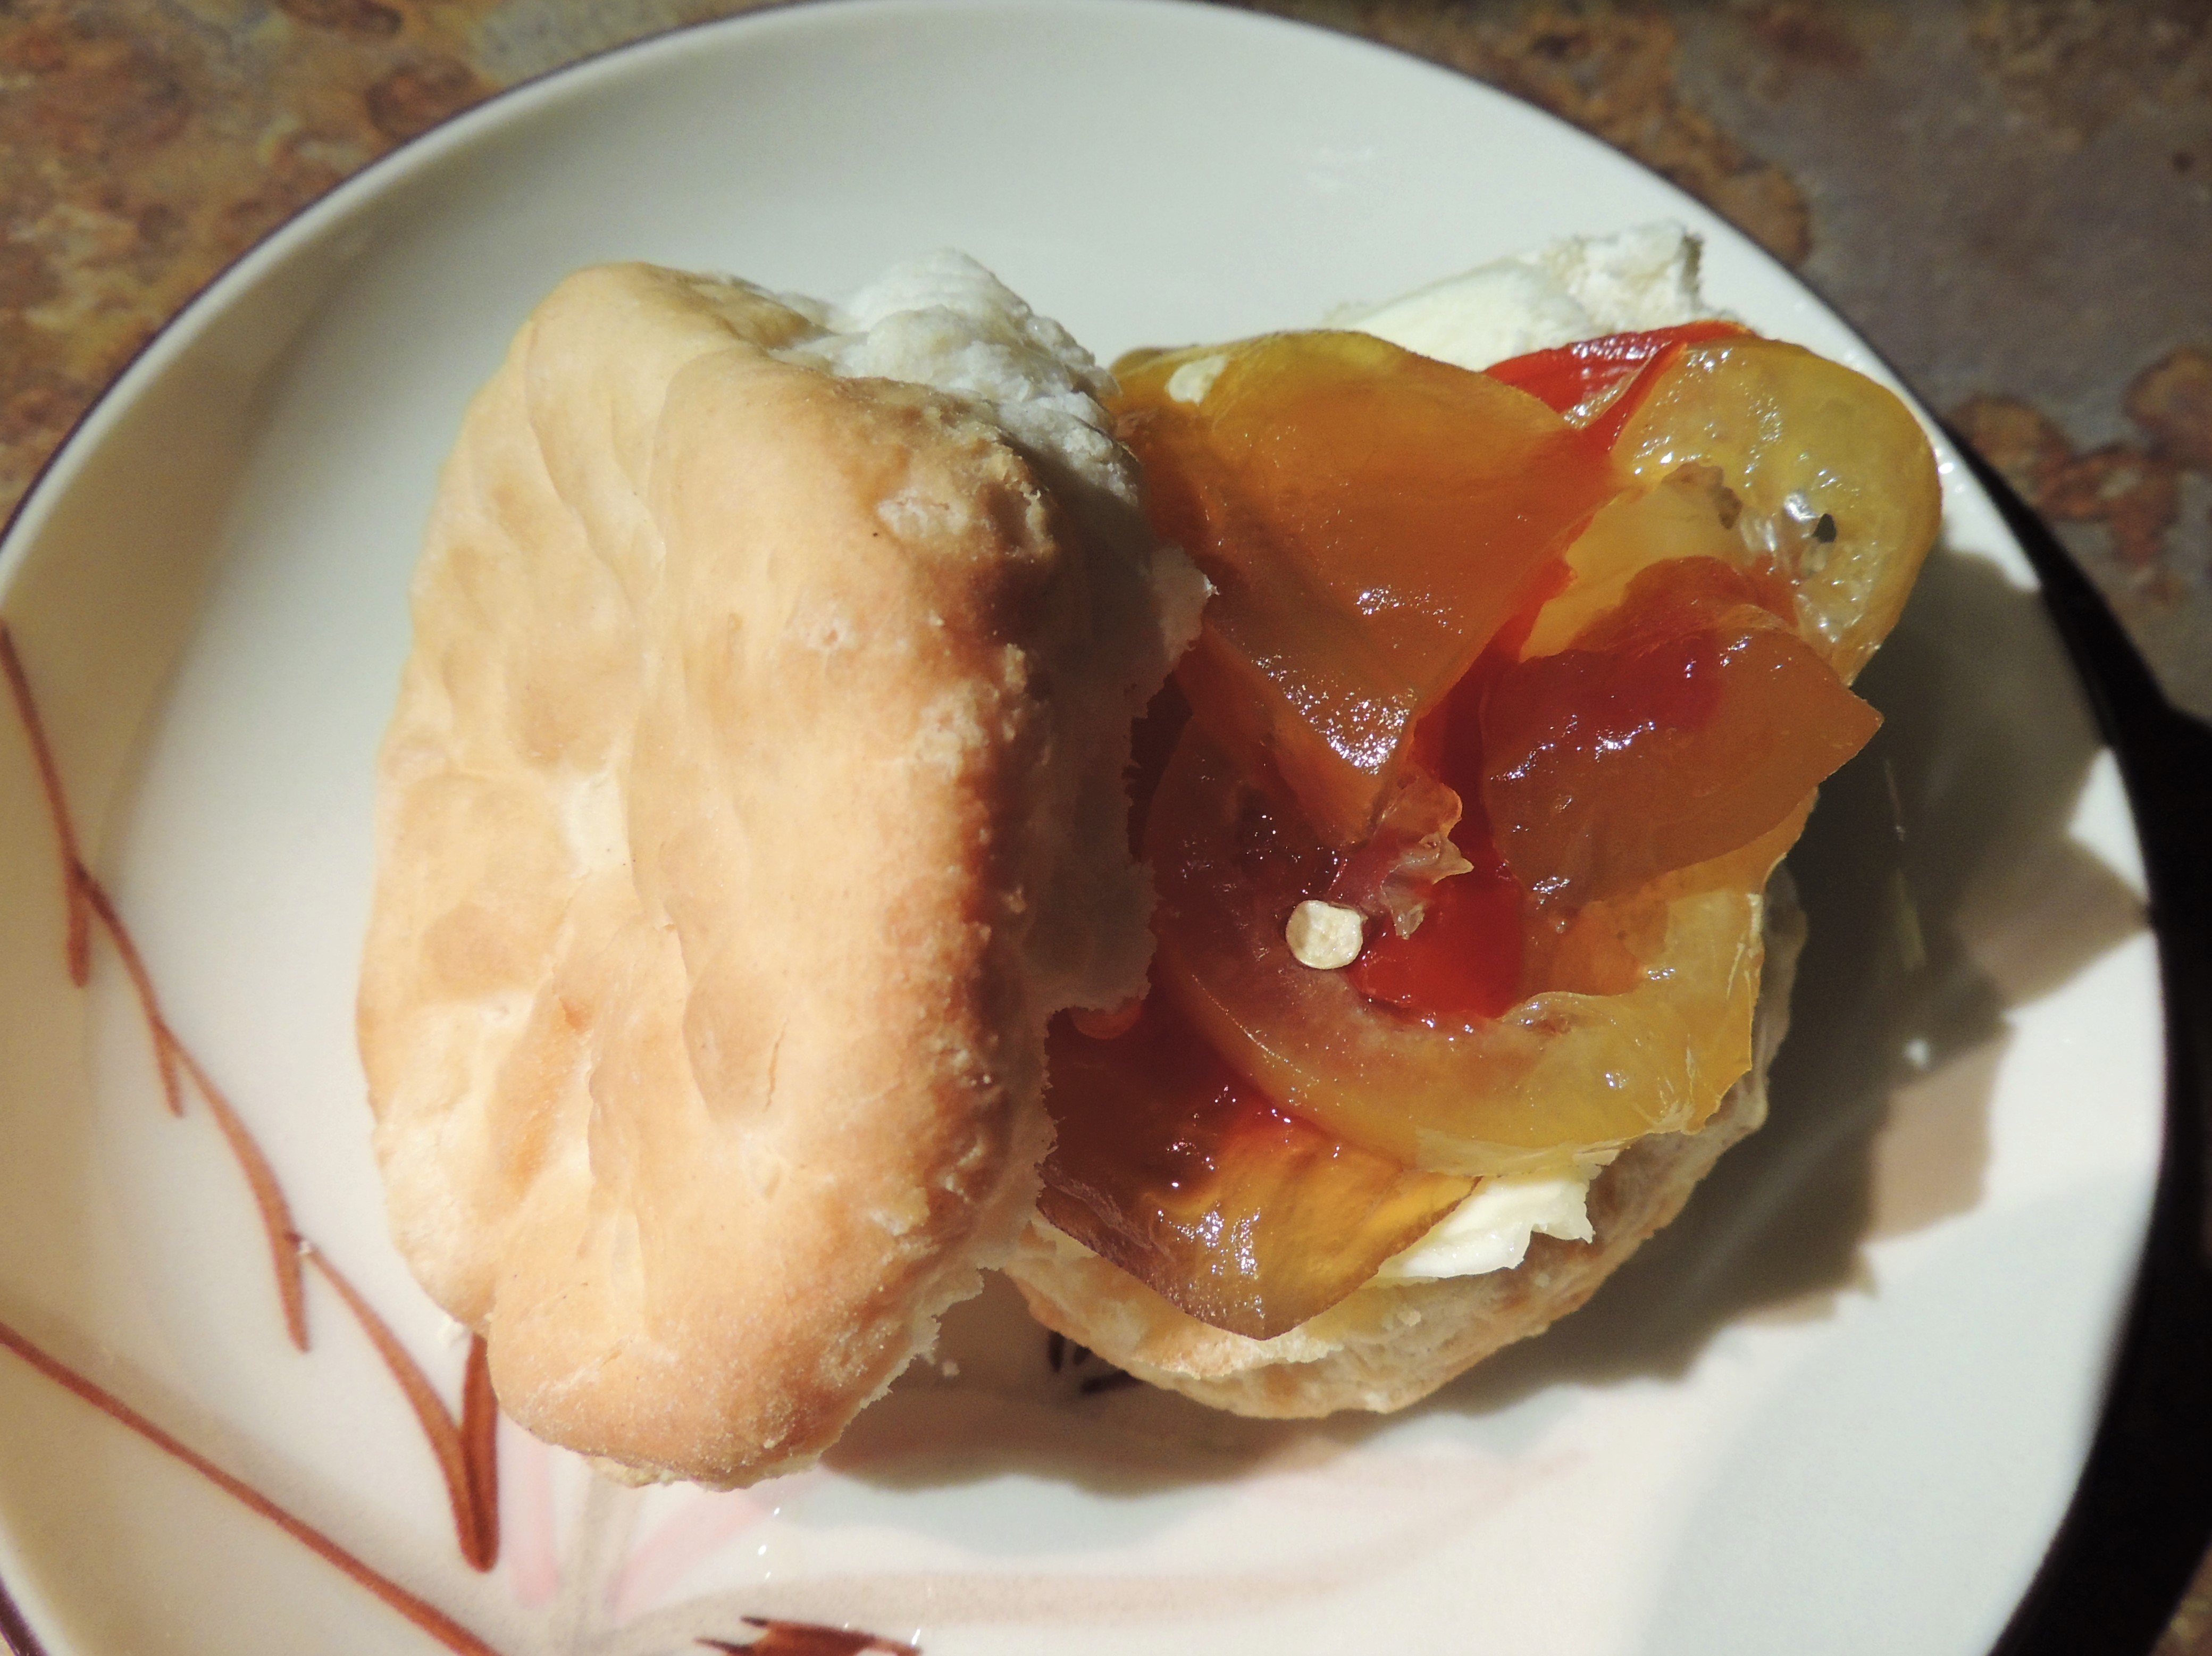


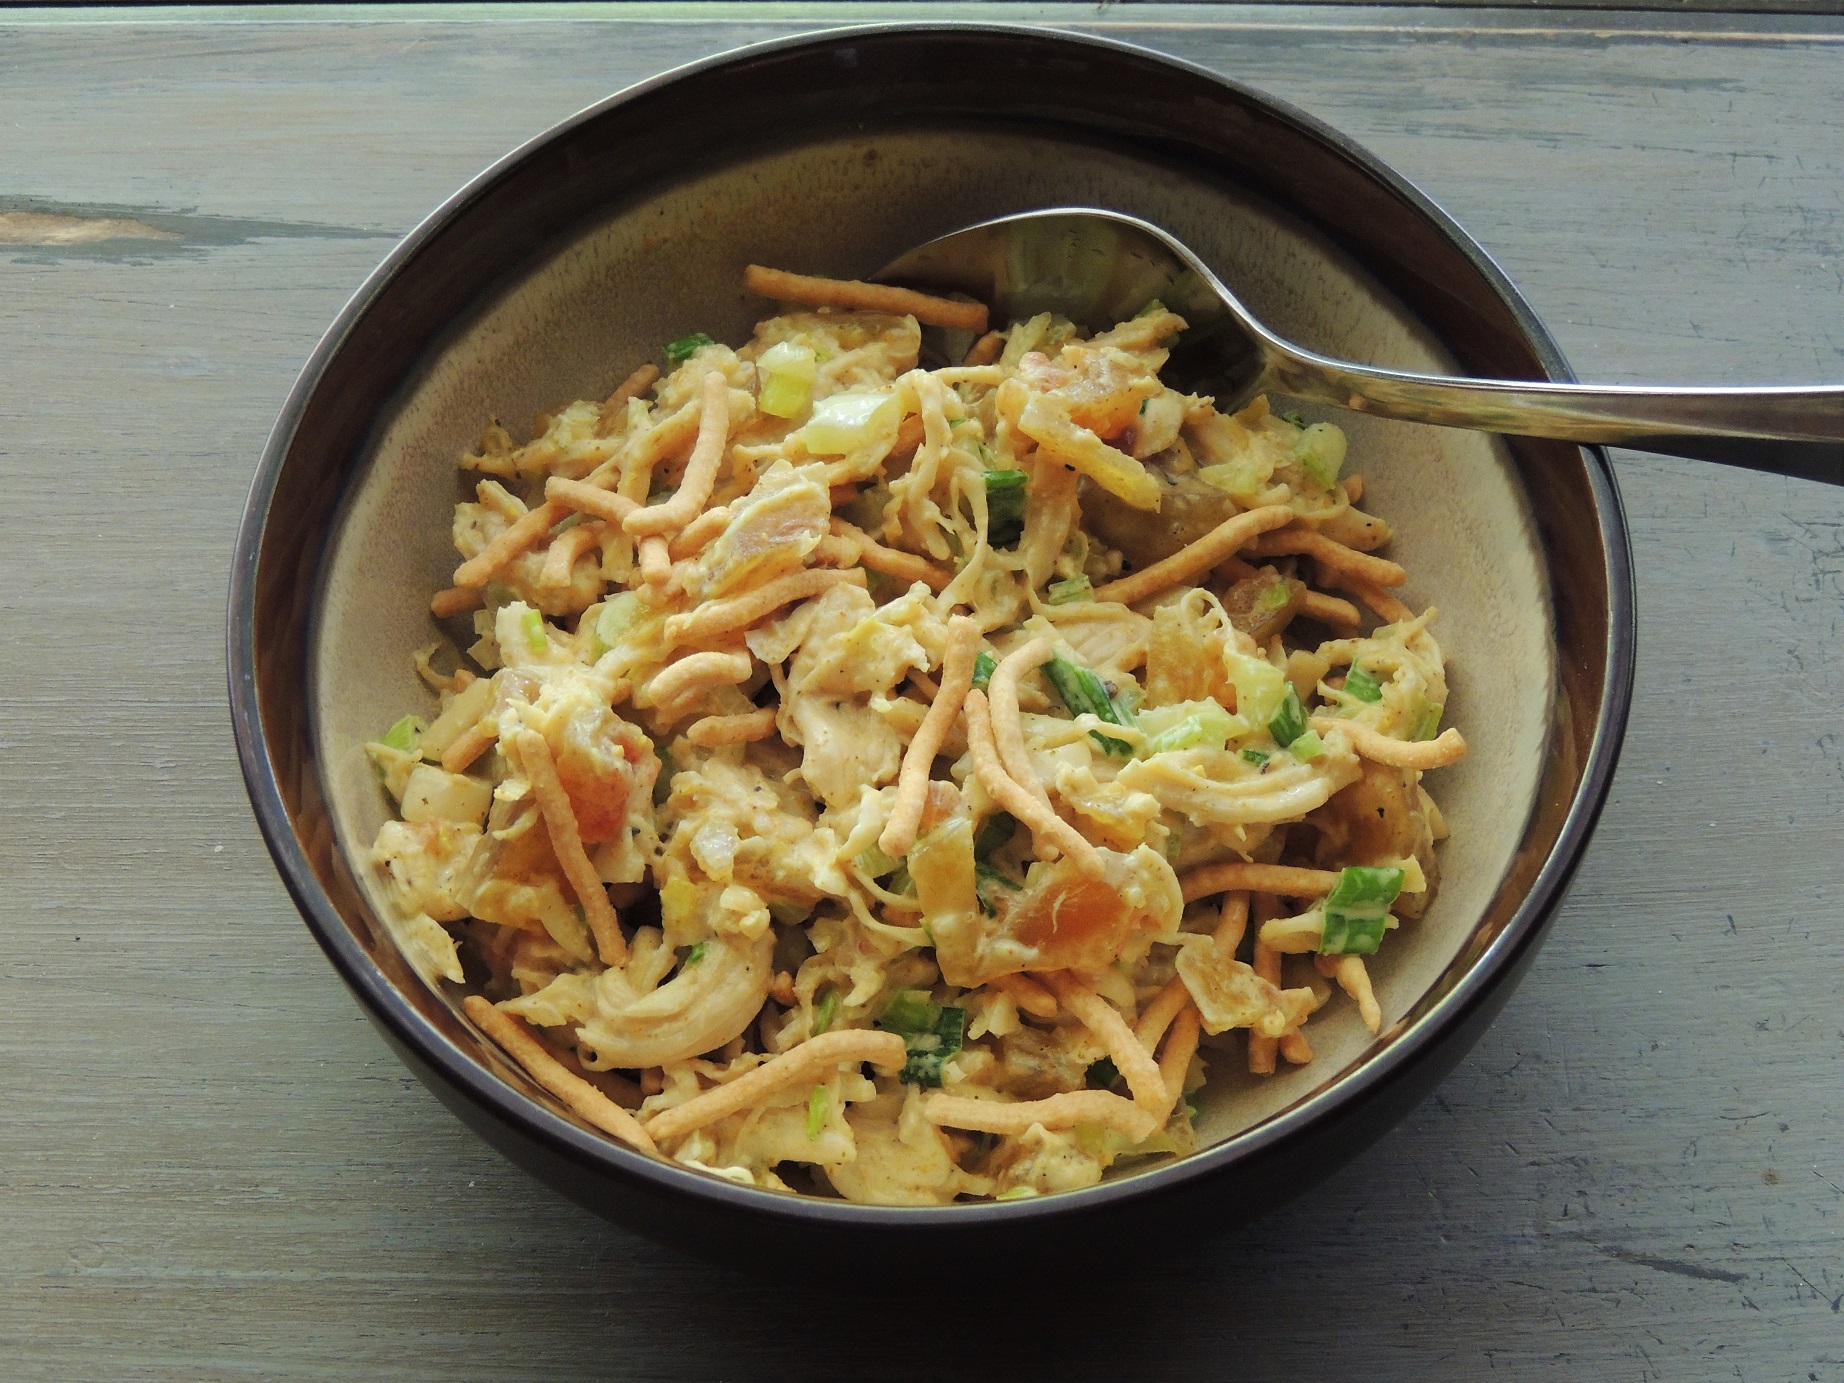


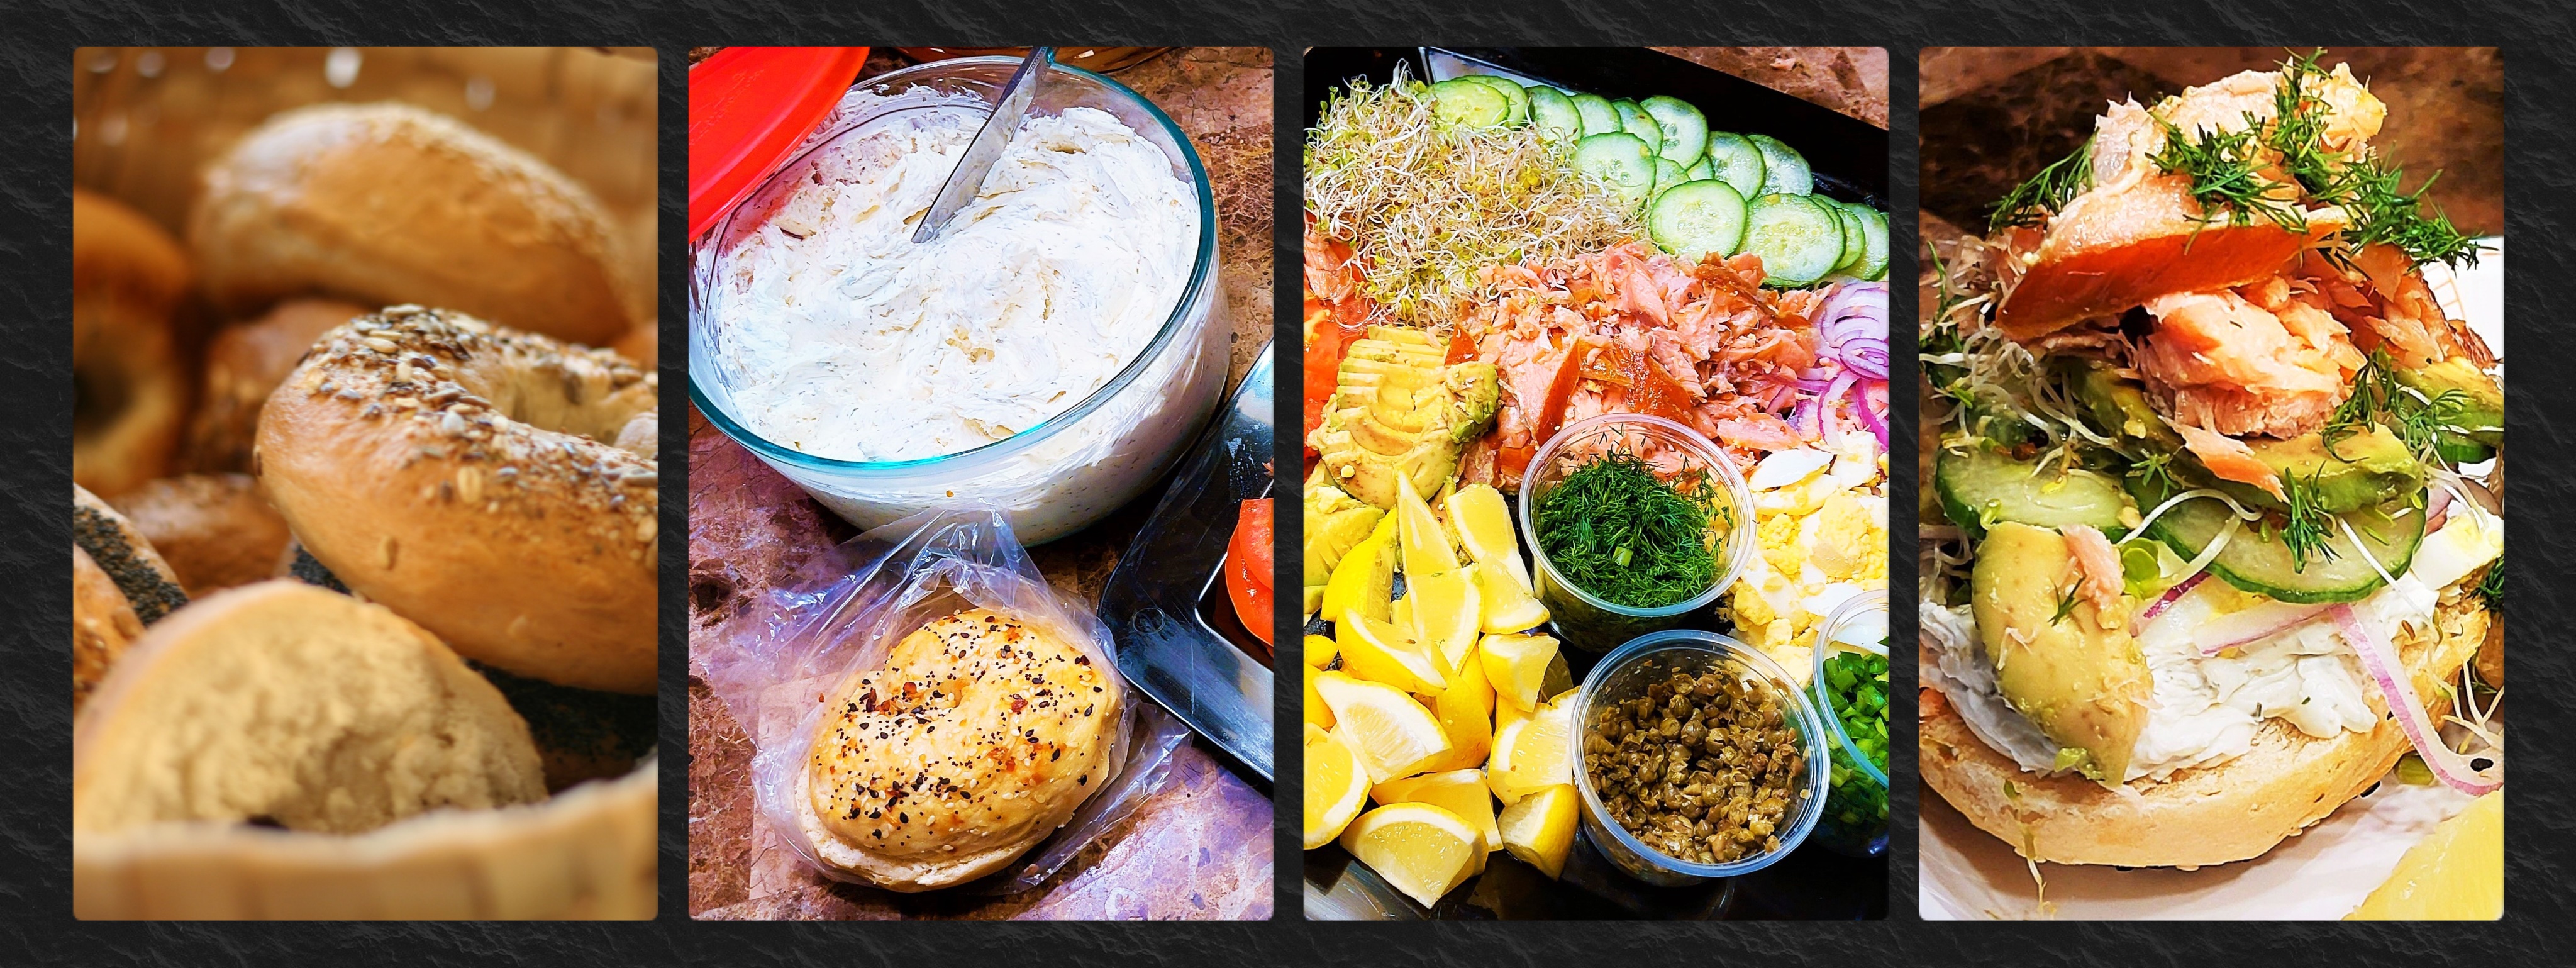

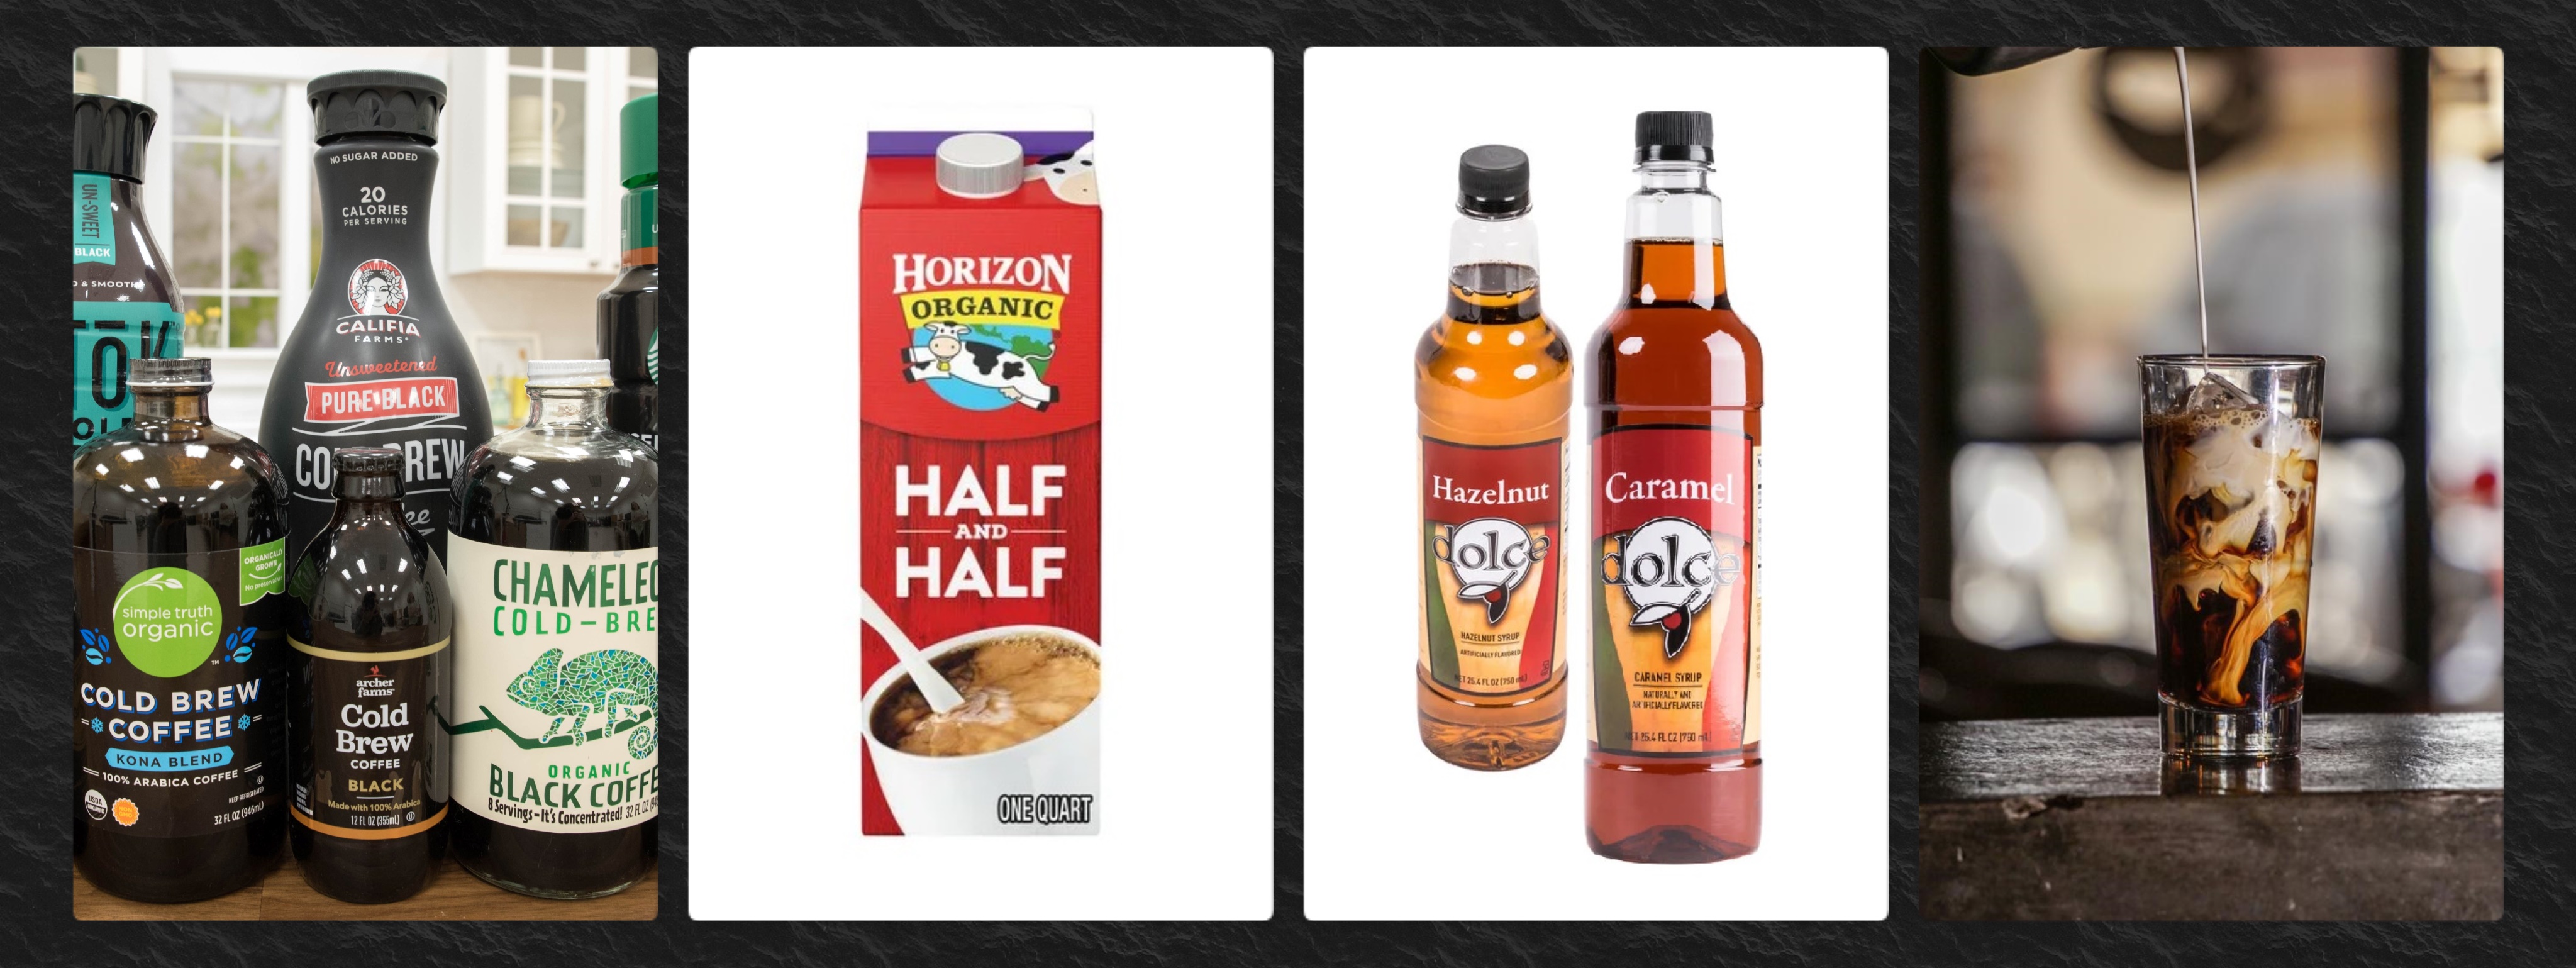


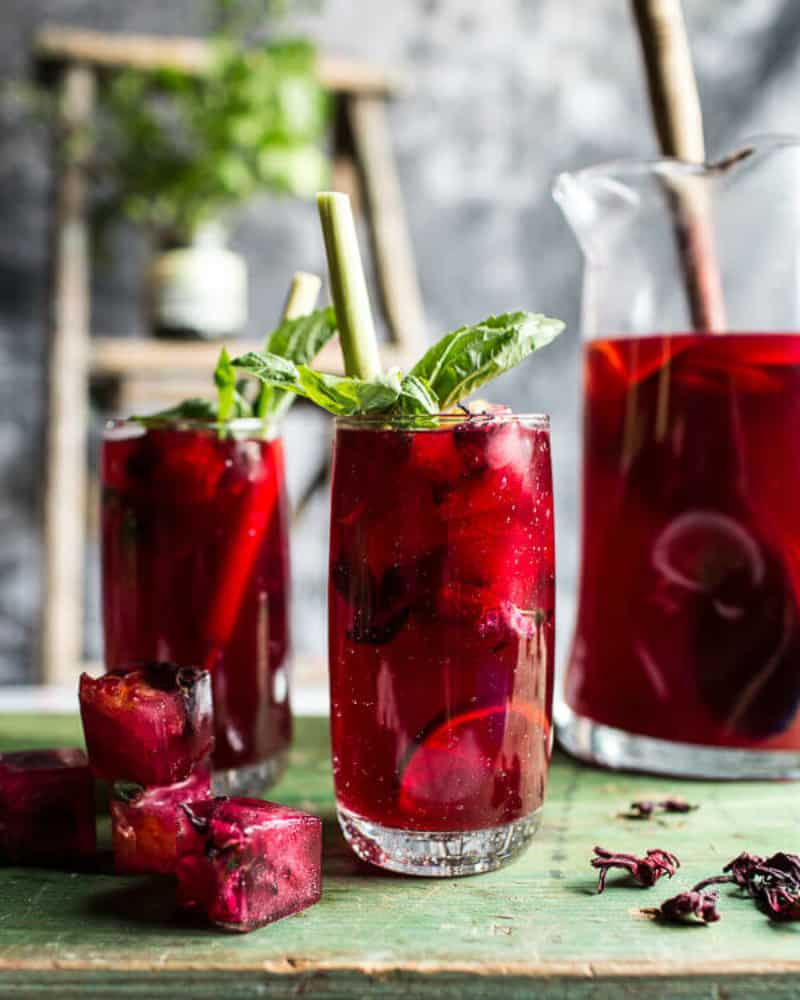
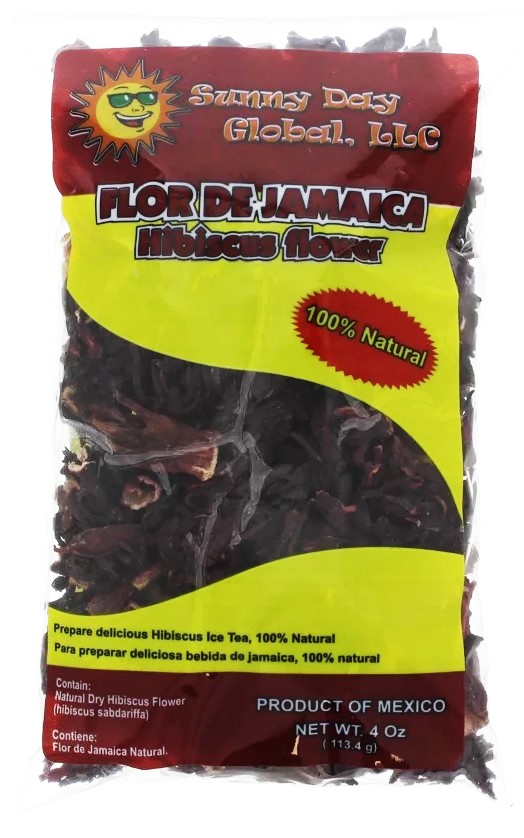
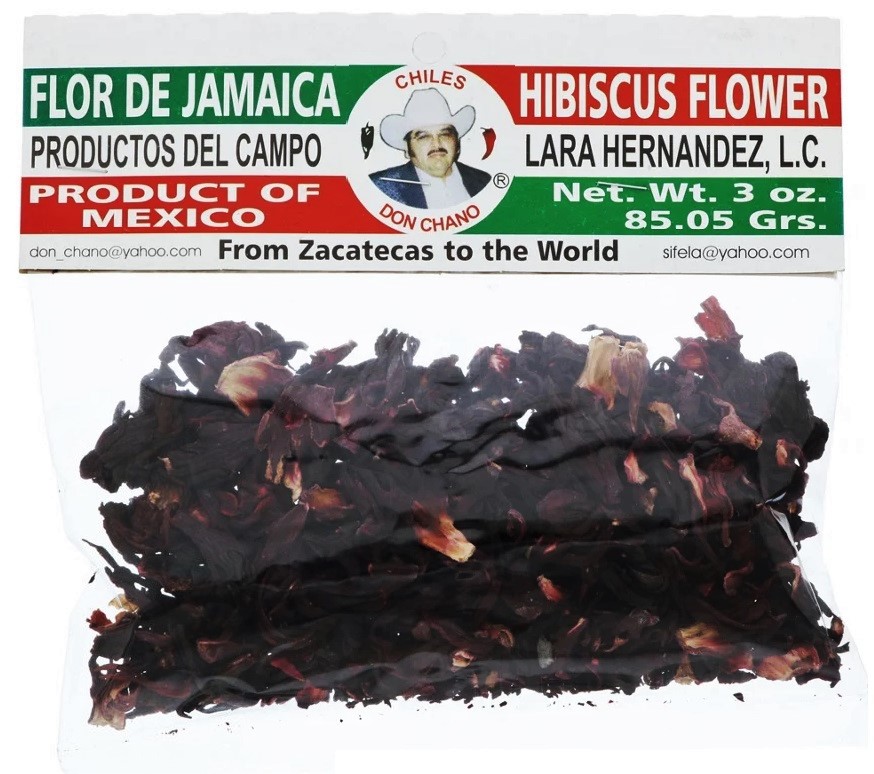


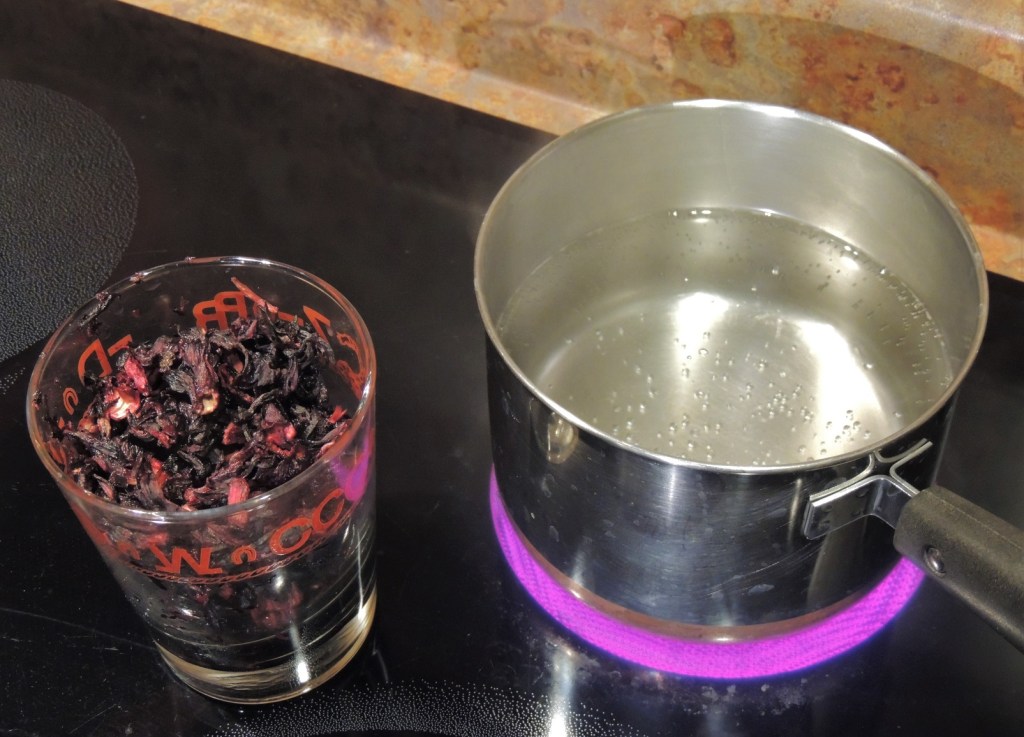

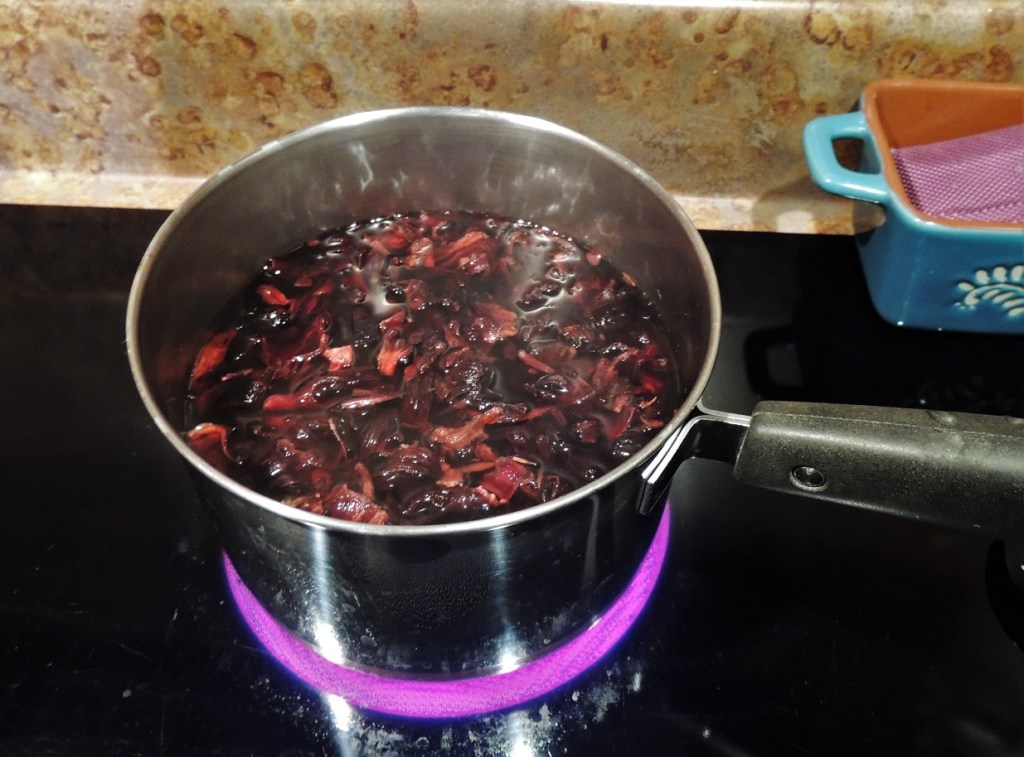
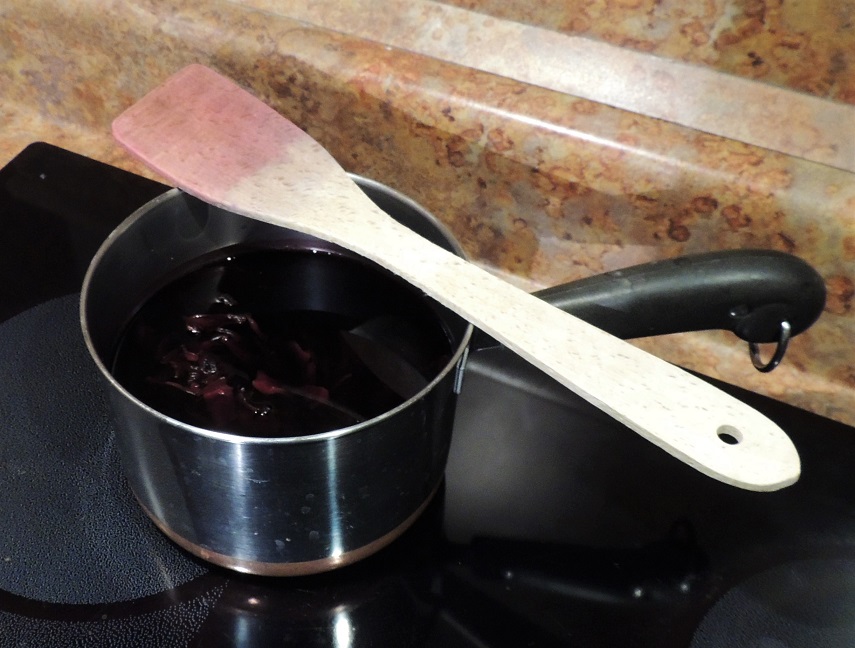


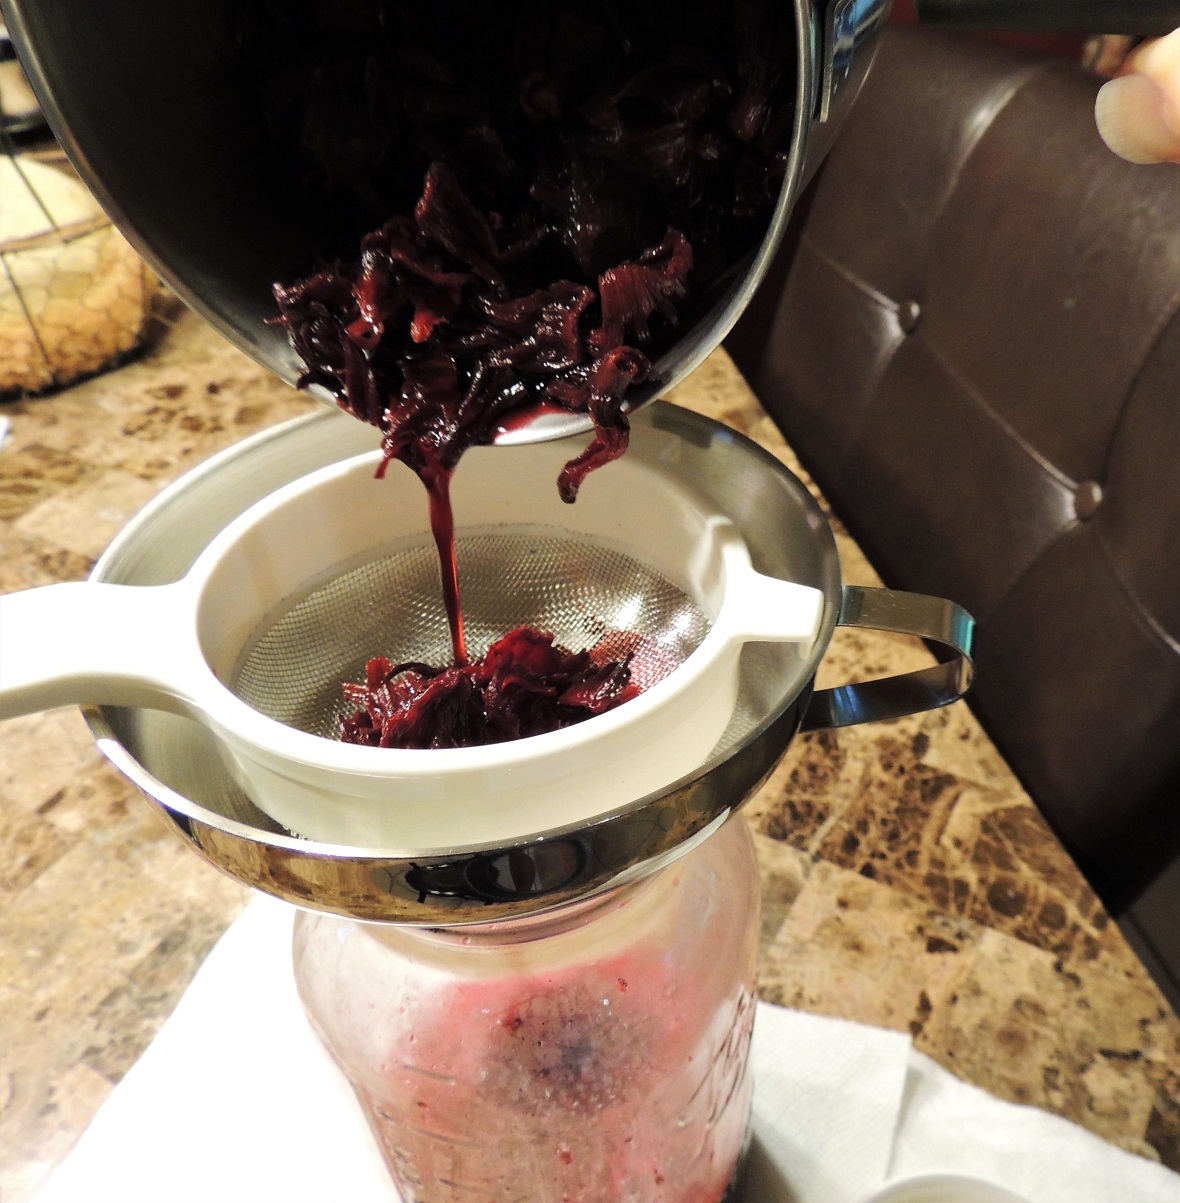
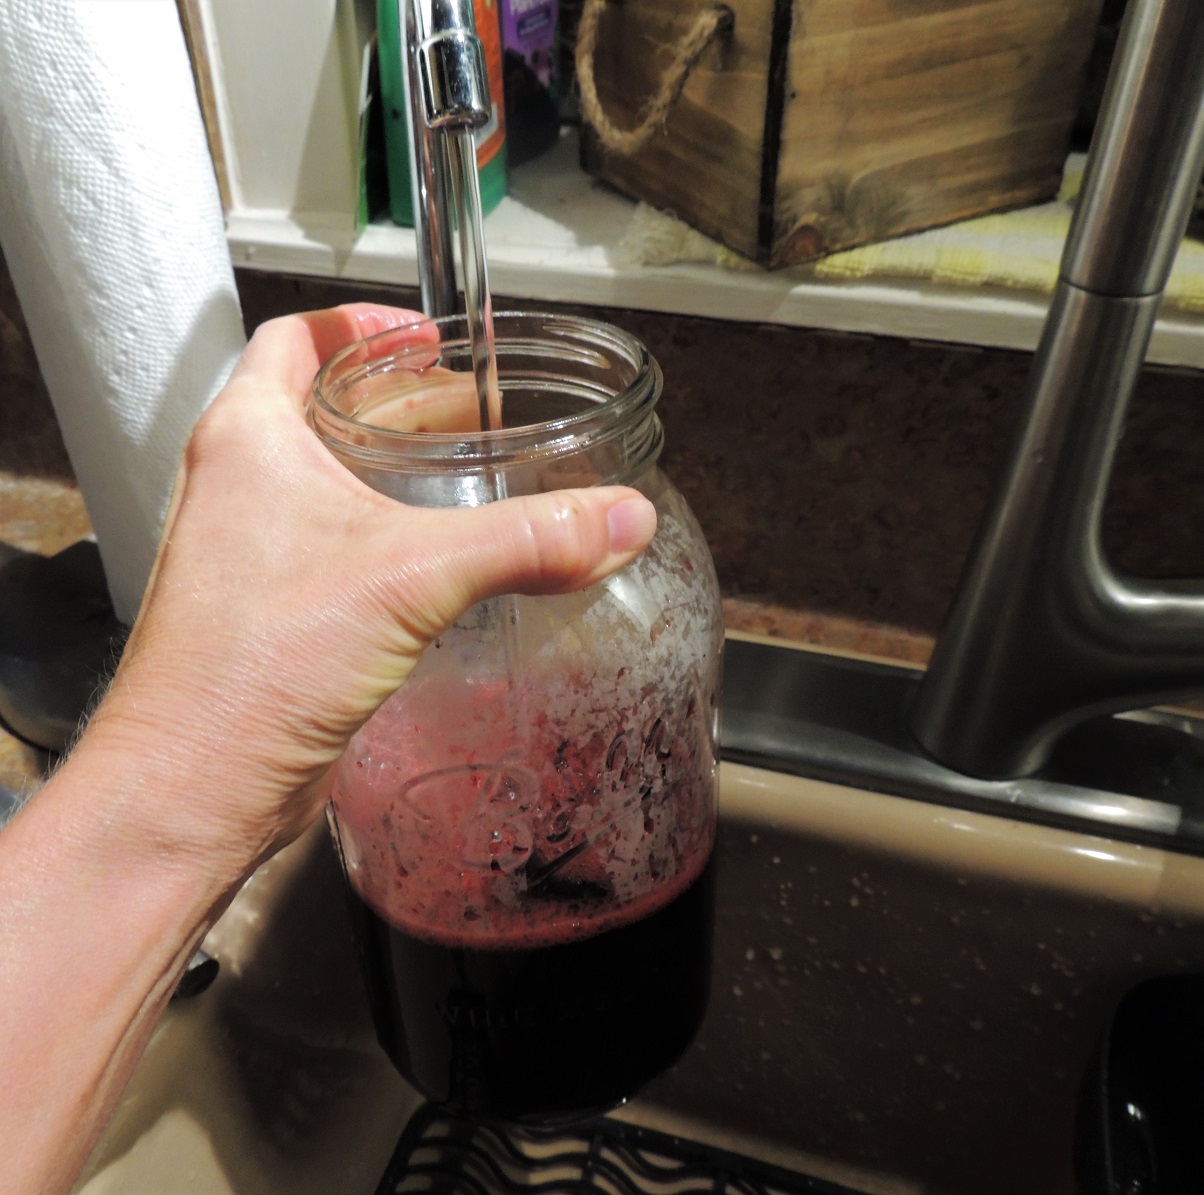


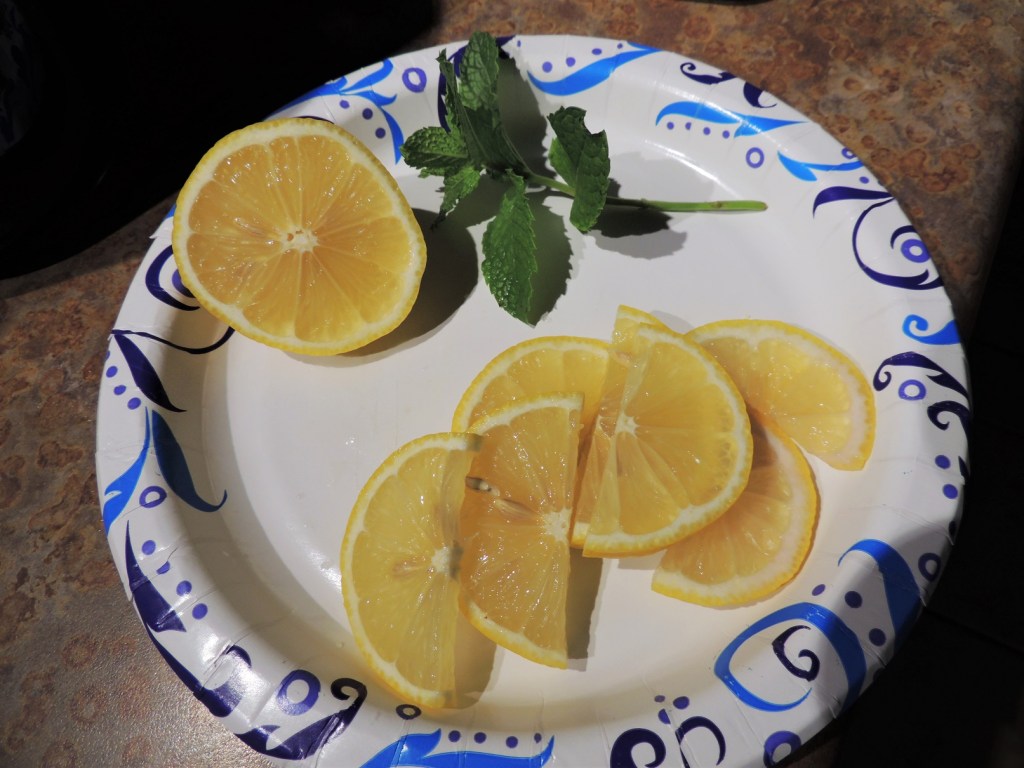
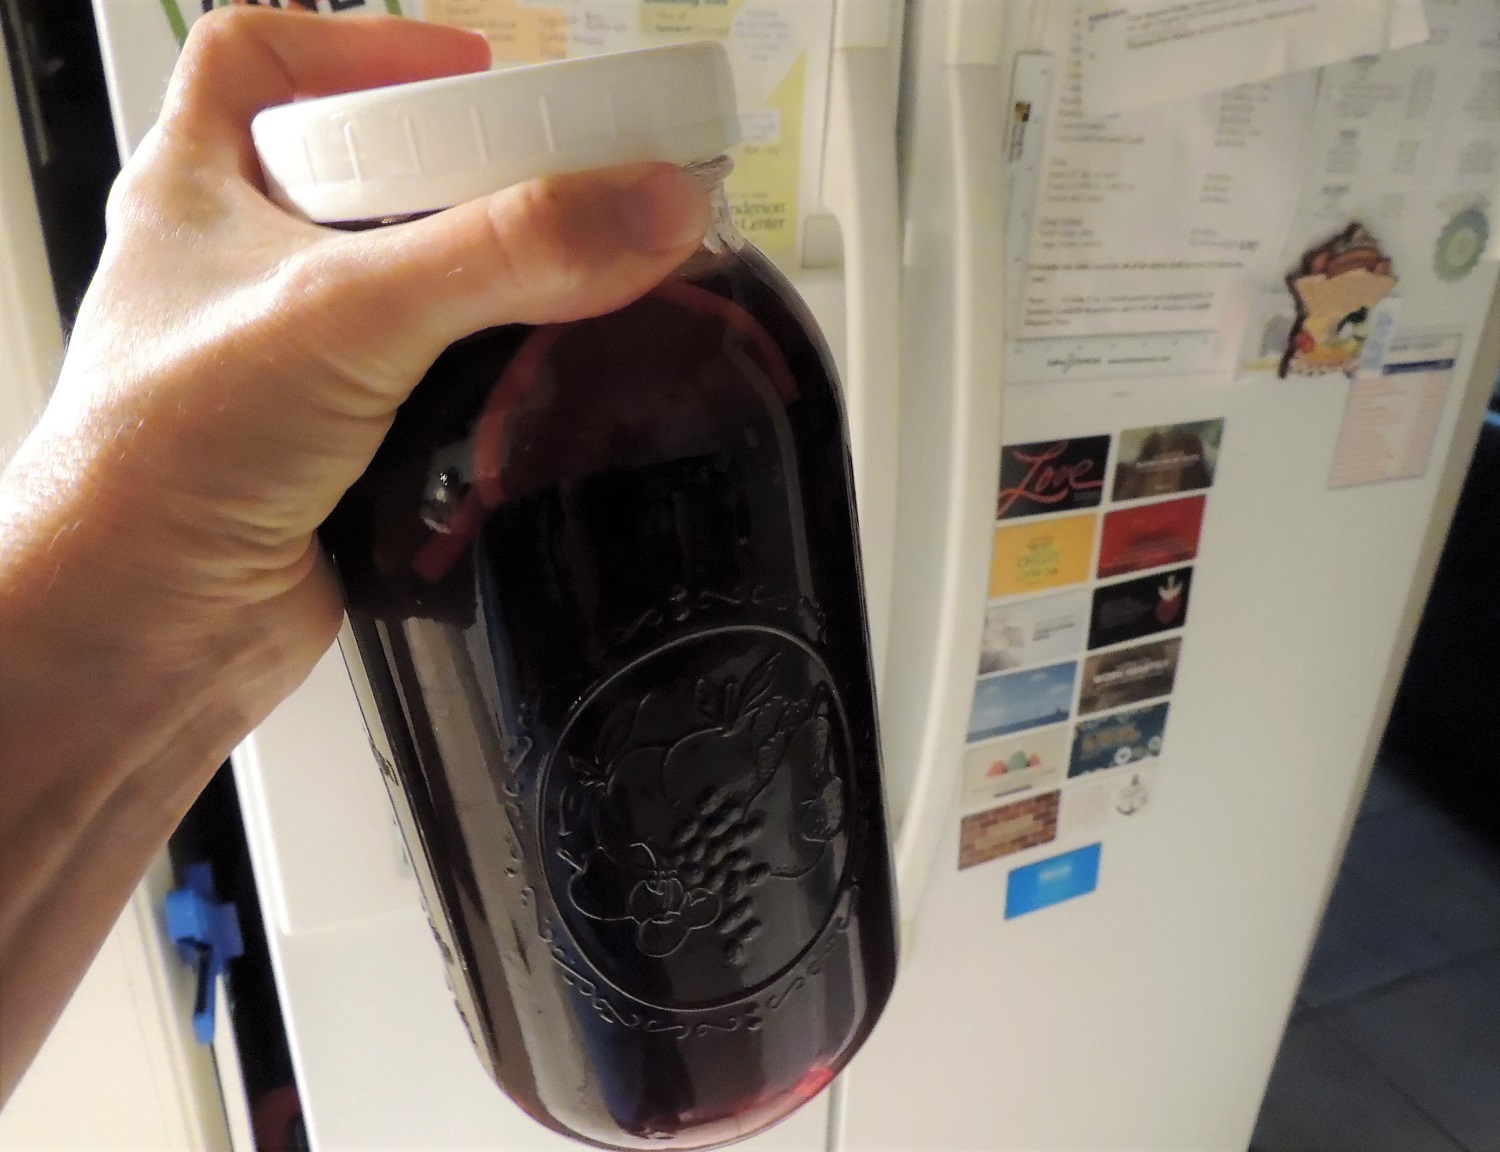
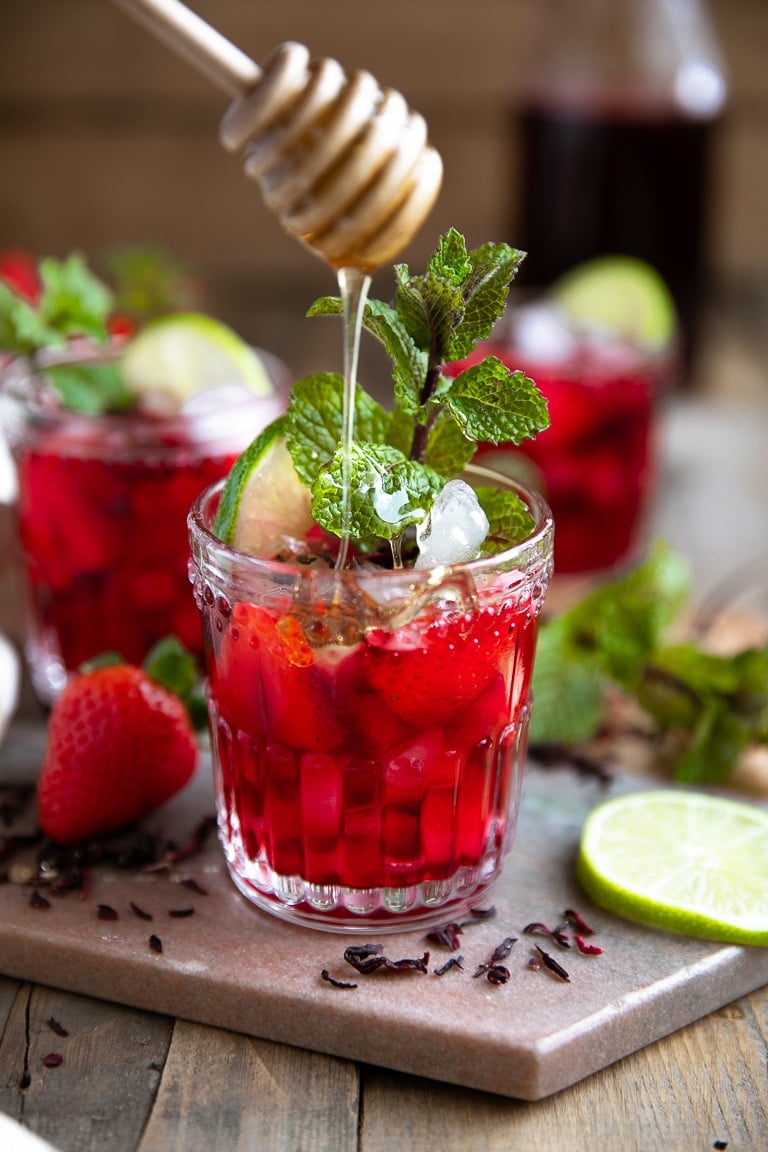


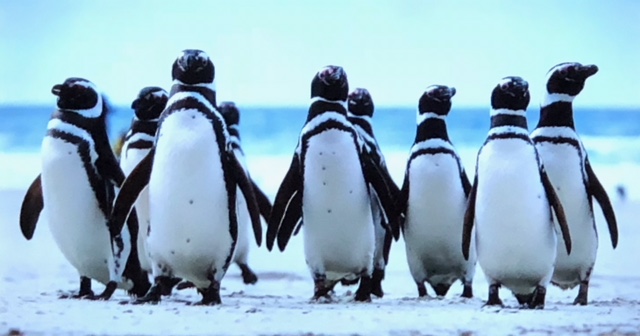


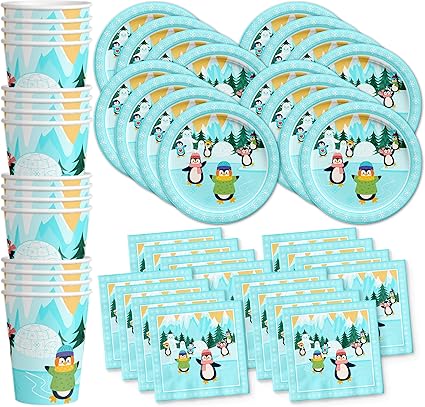
 Penguin Rice Crispy Treats
  Penguin Banana Snacks
 Snowcones in a cup – our little school happens to have a snowcone machine – hurray!!!!


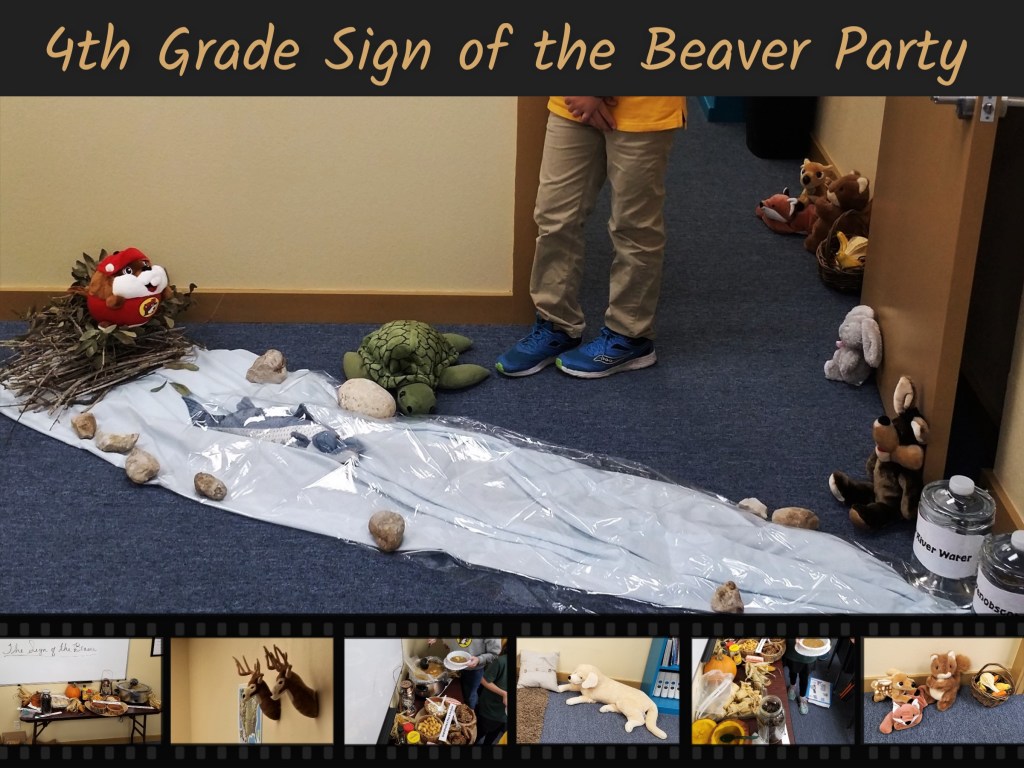
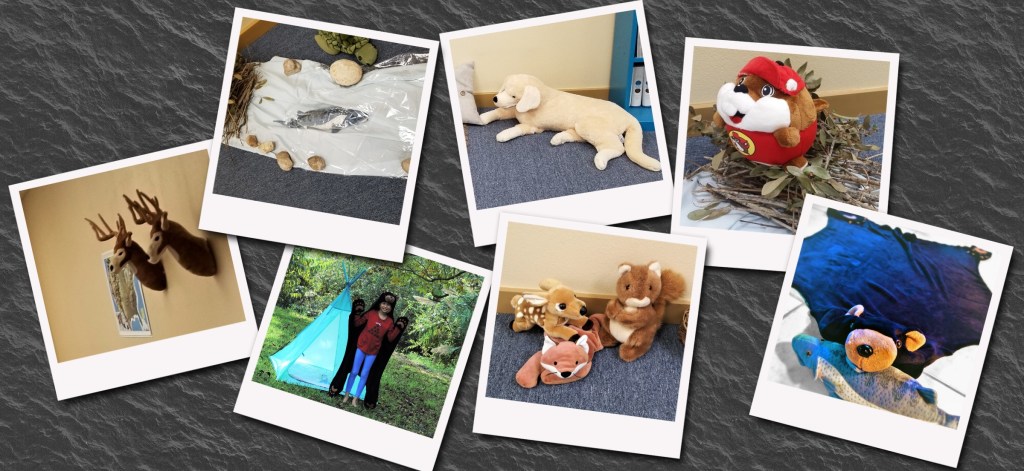
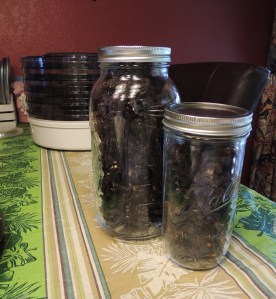


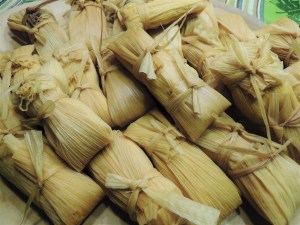


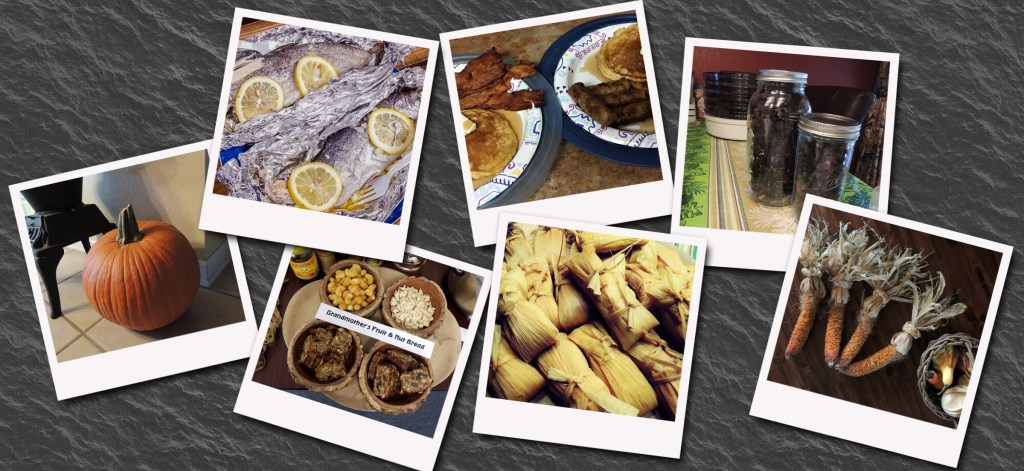
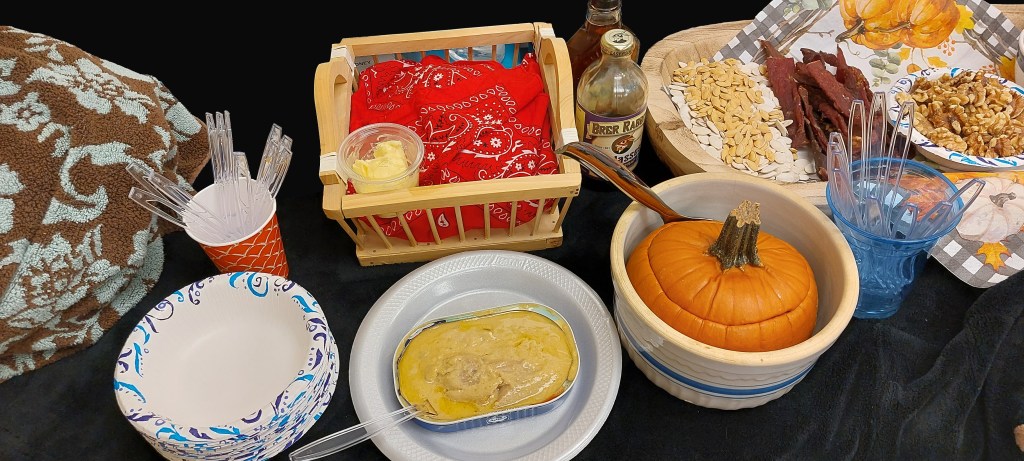
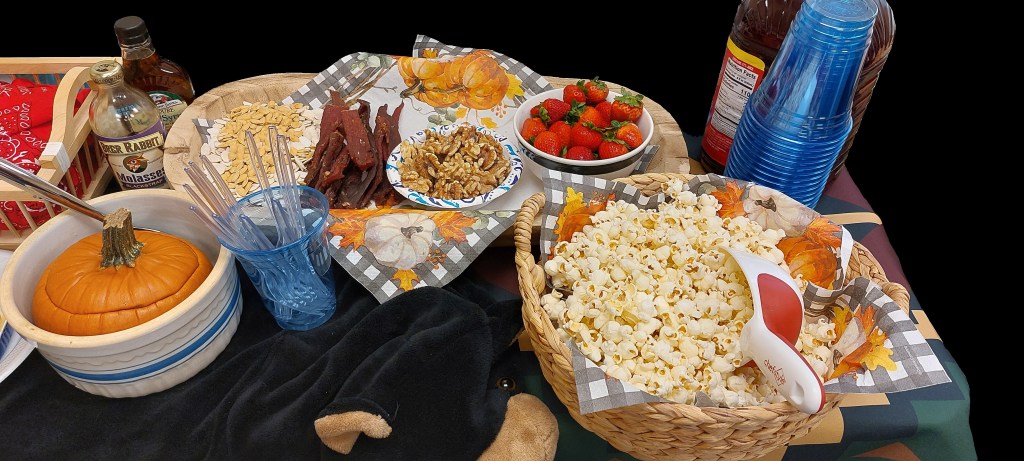


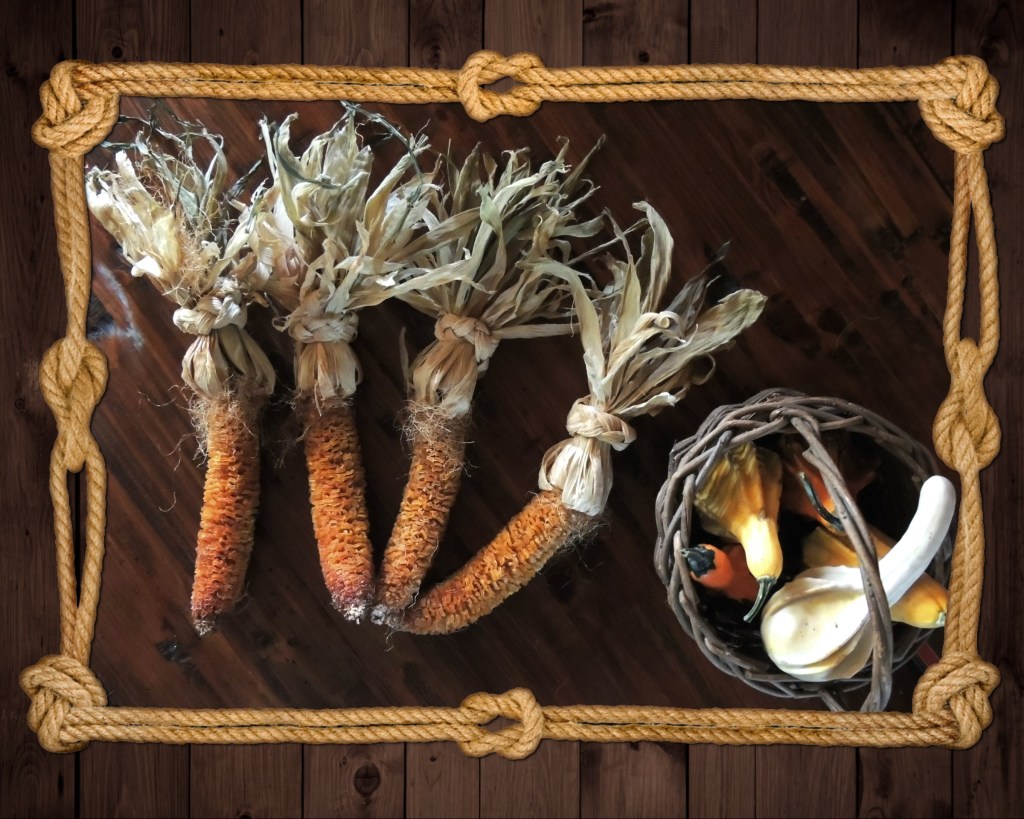


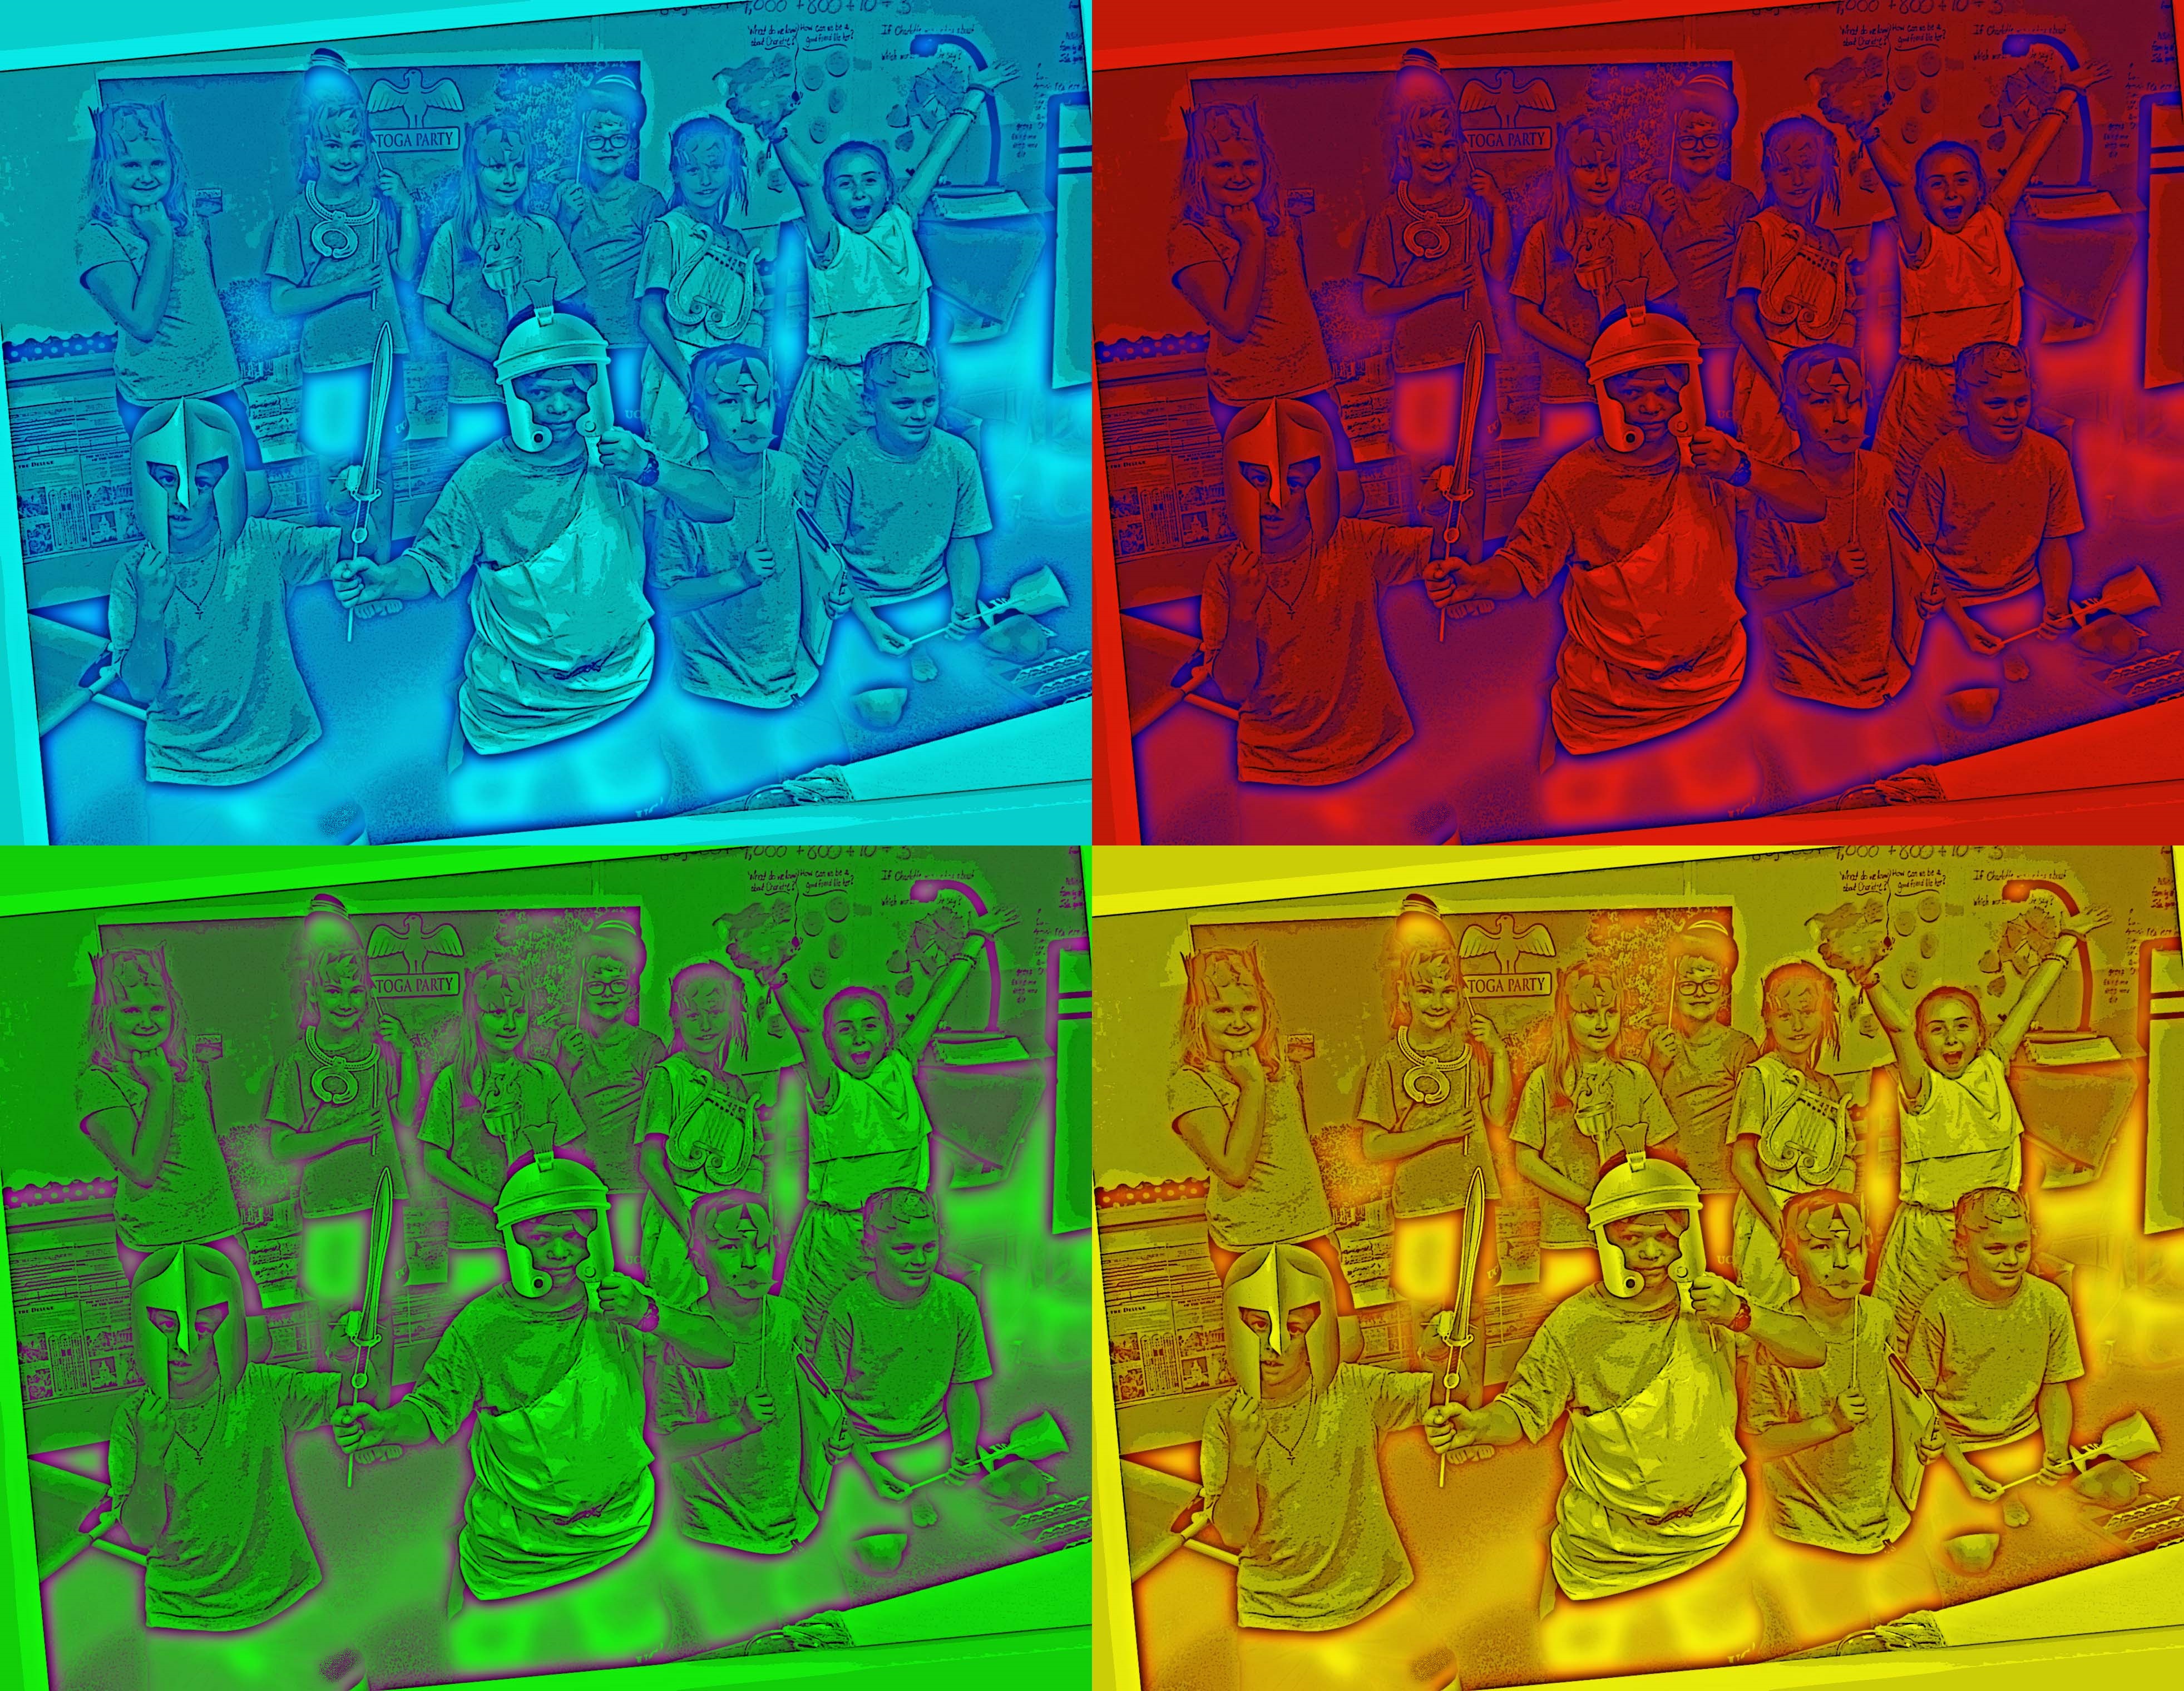
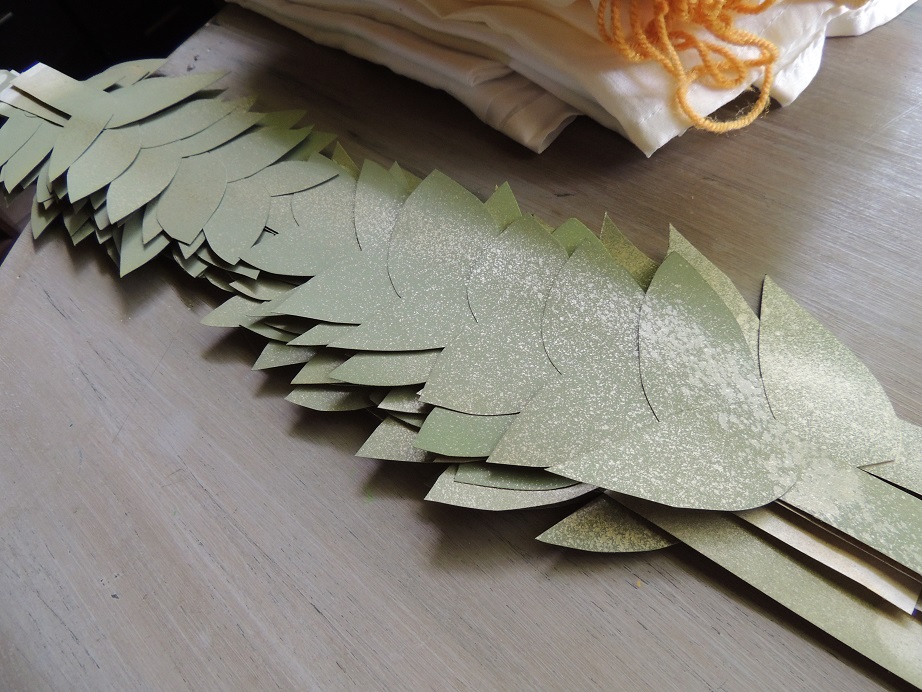
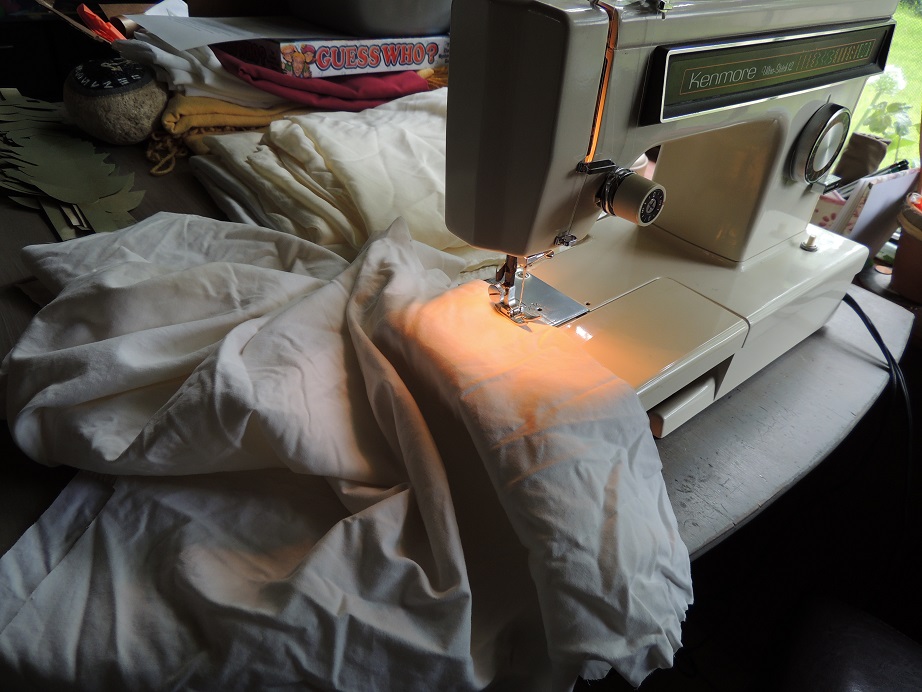

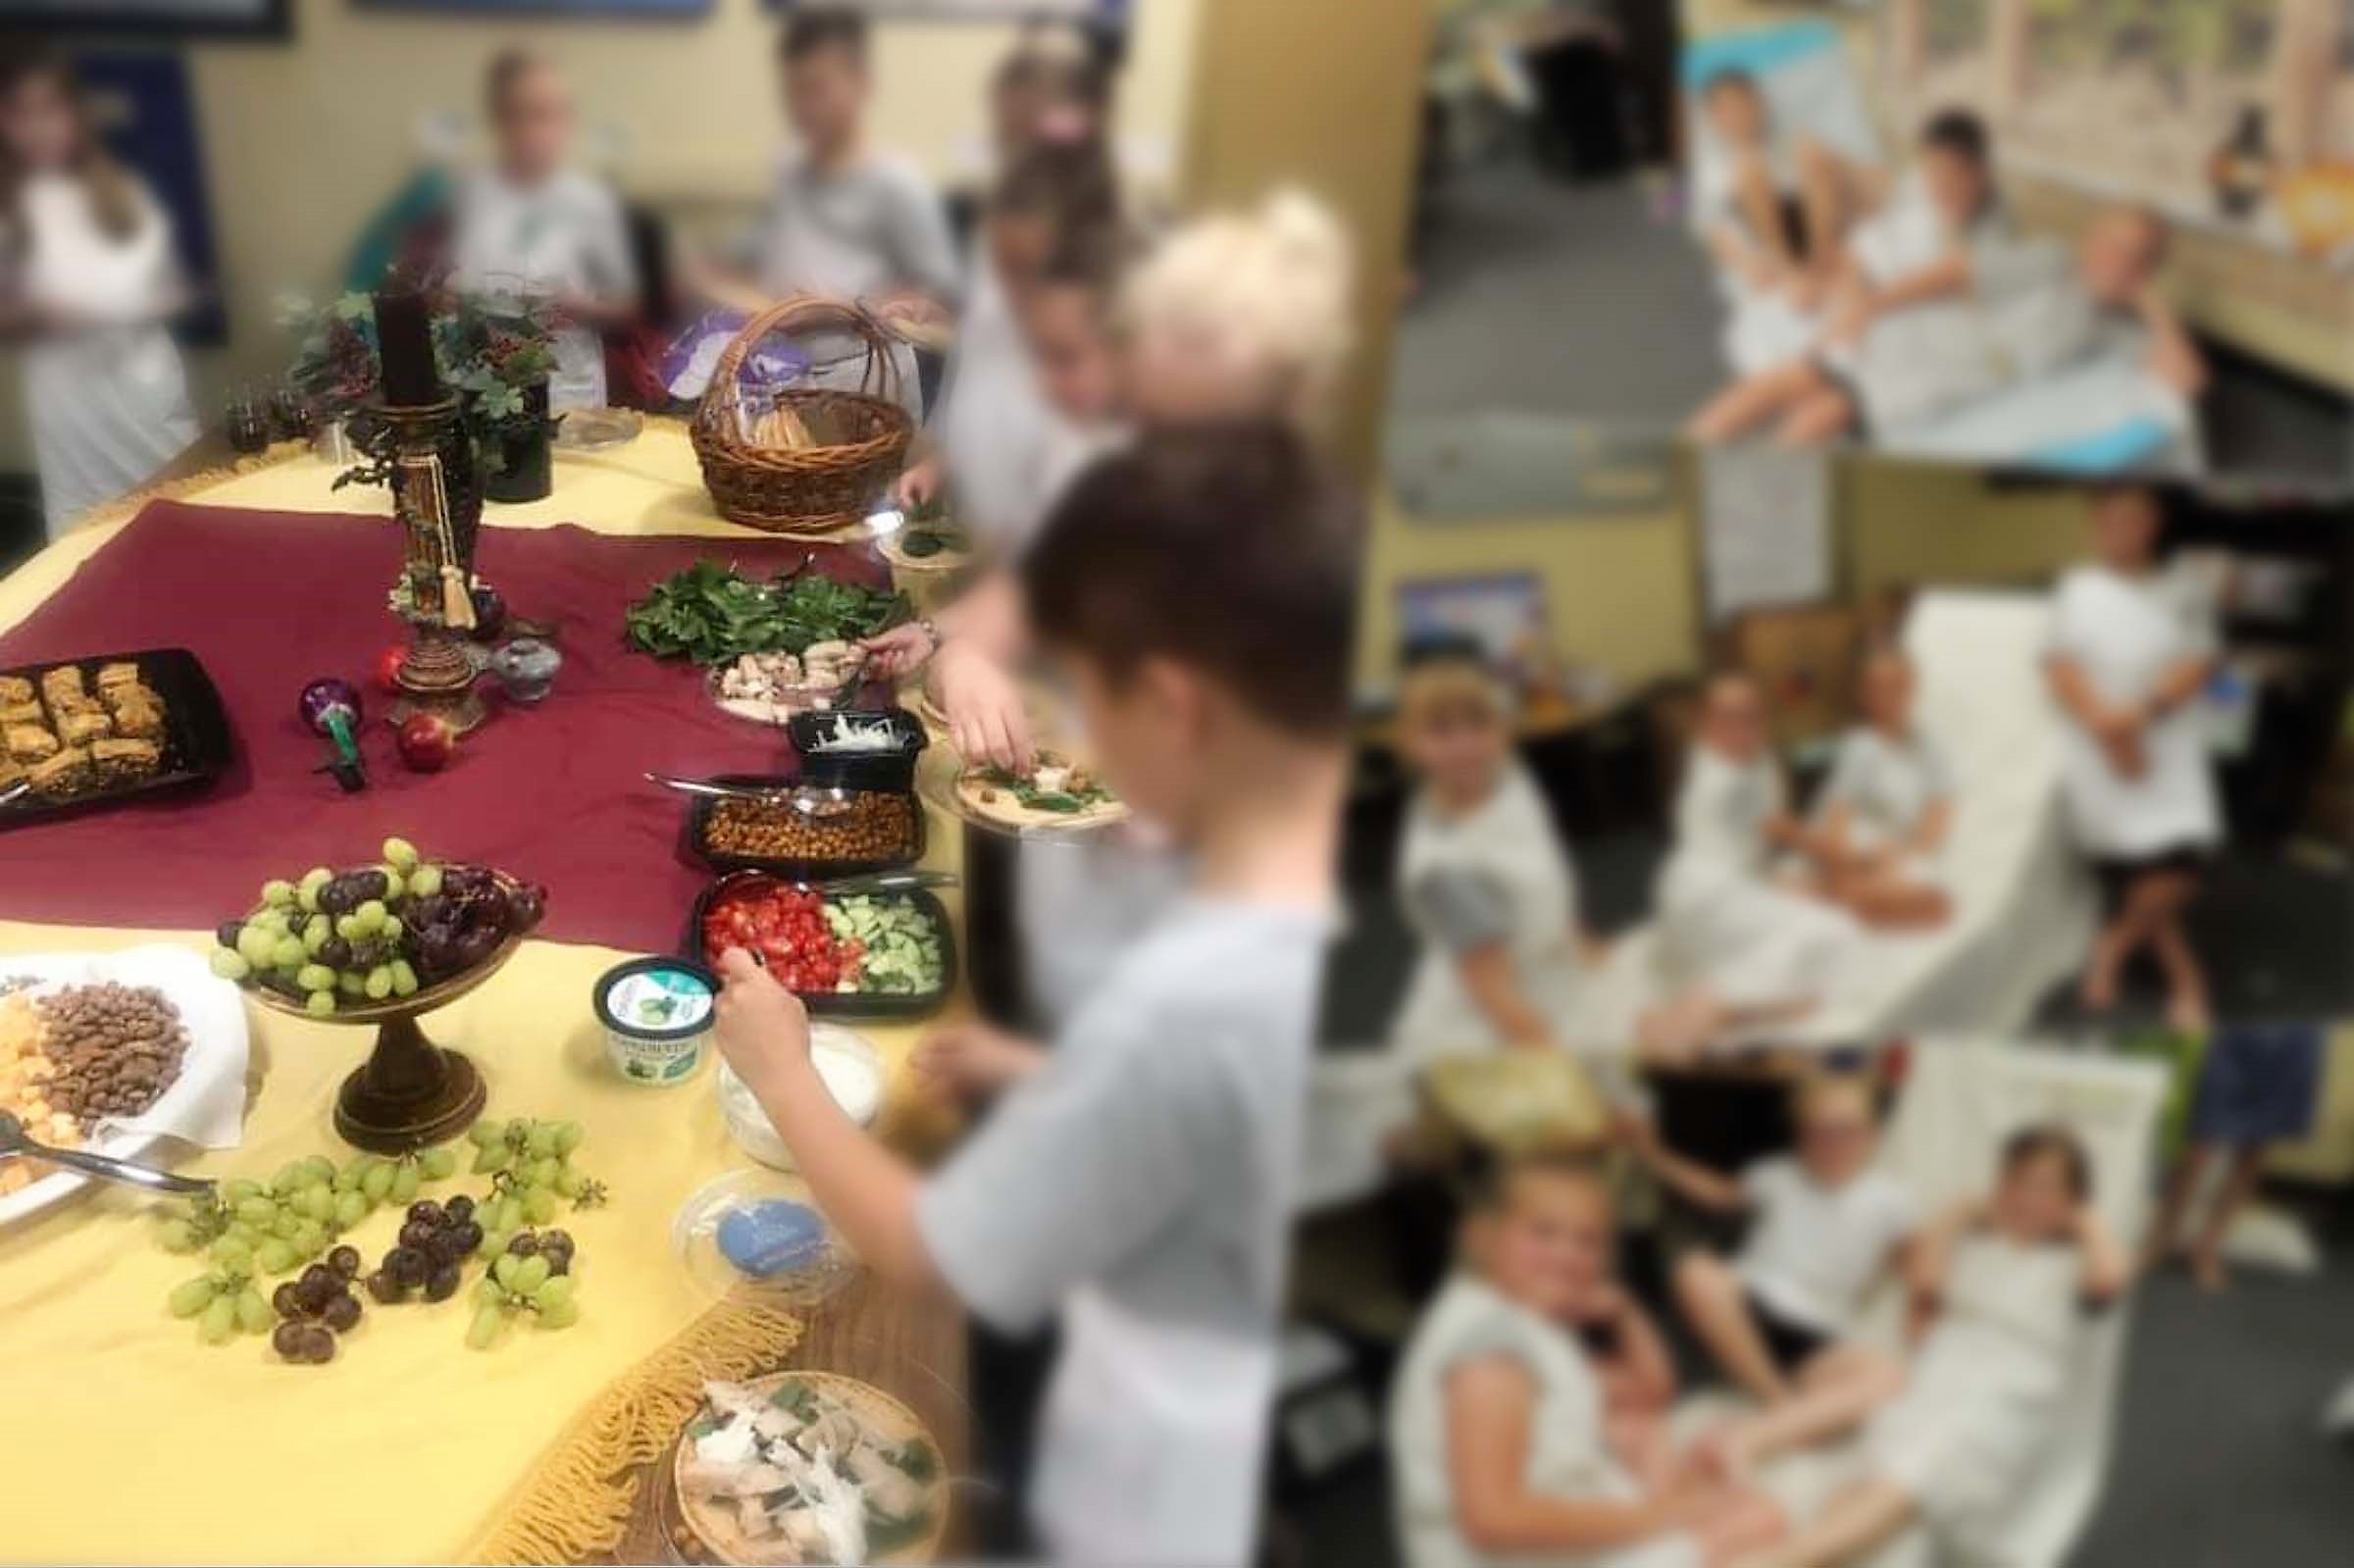
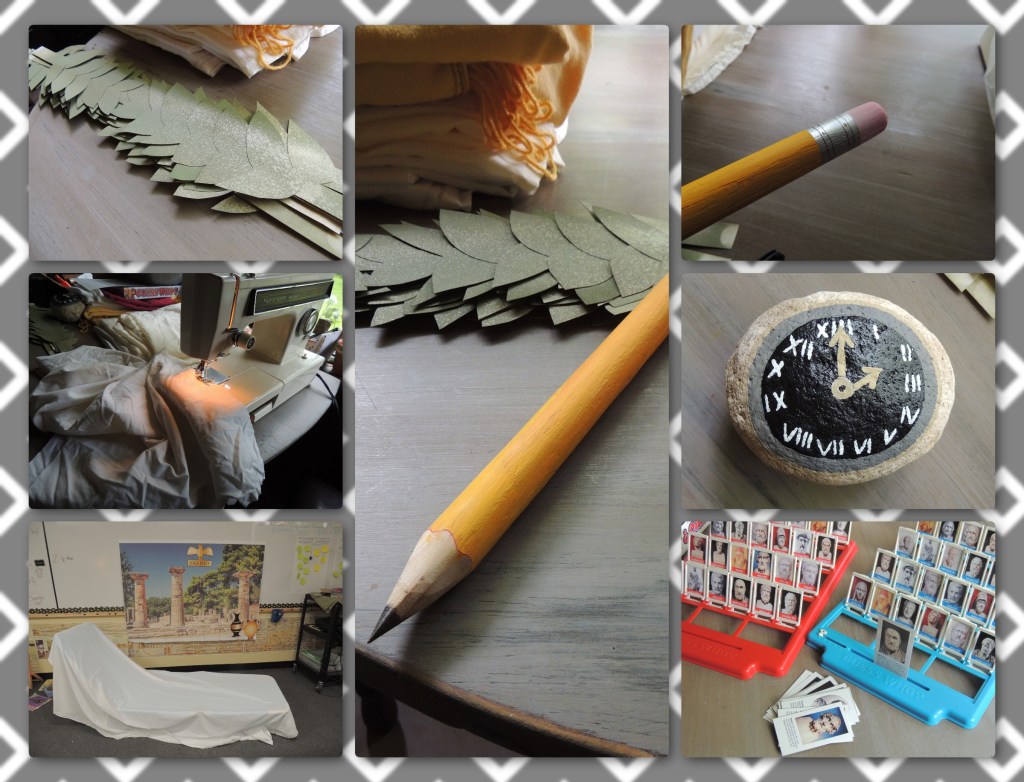

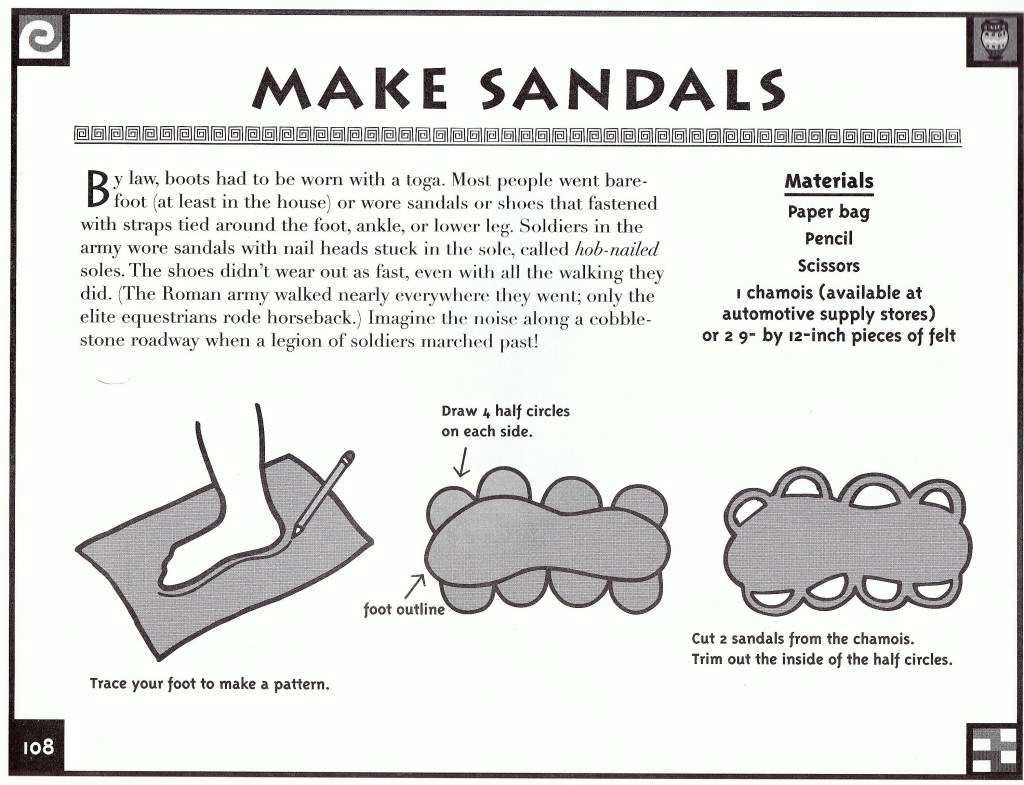

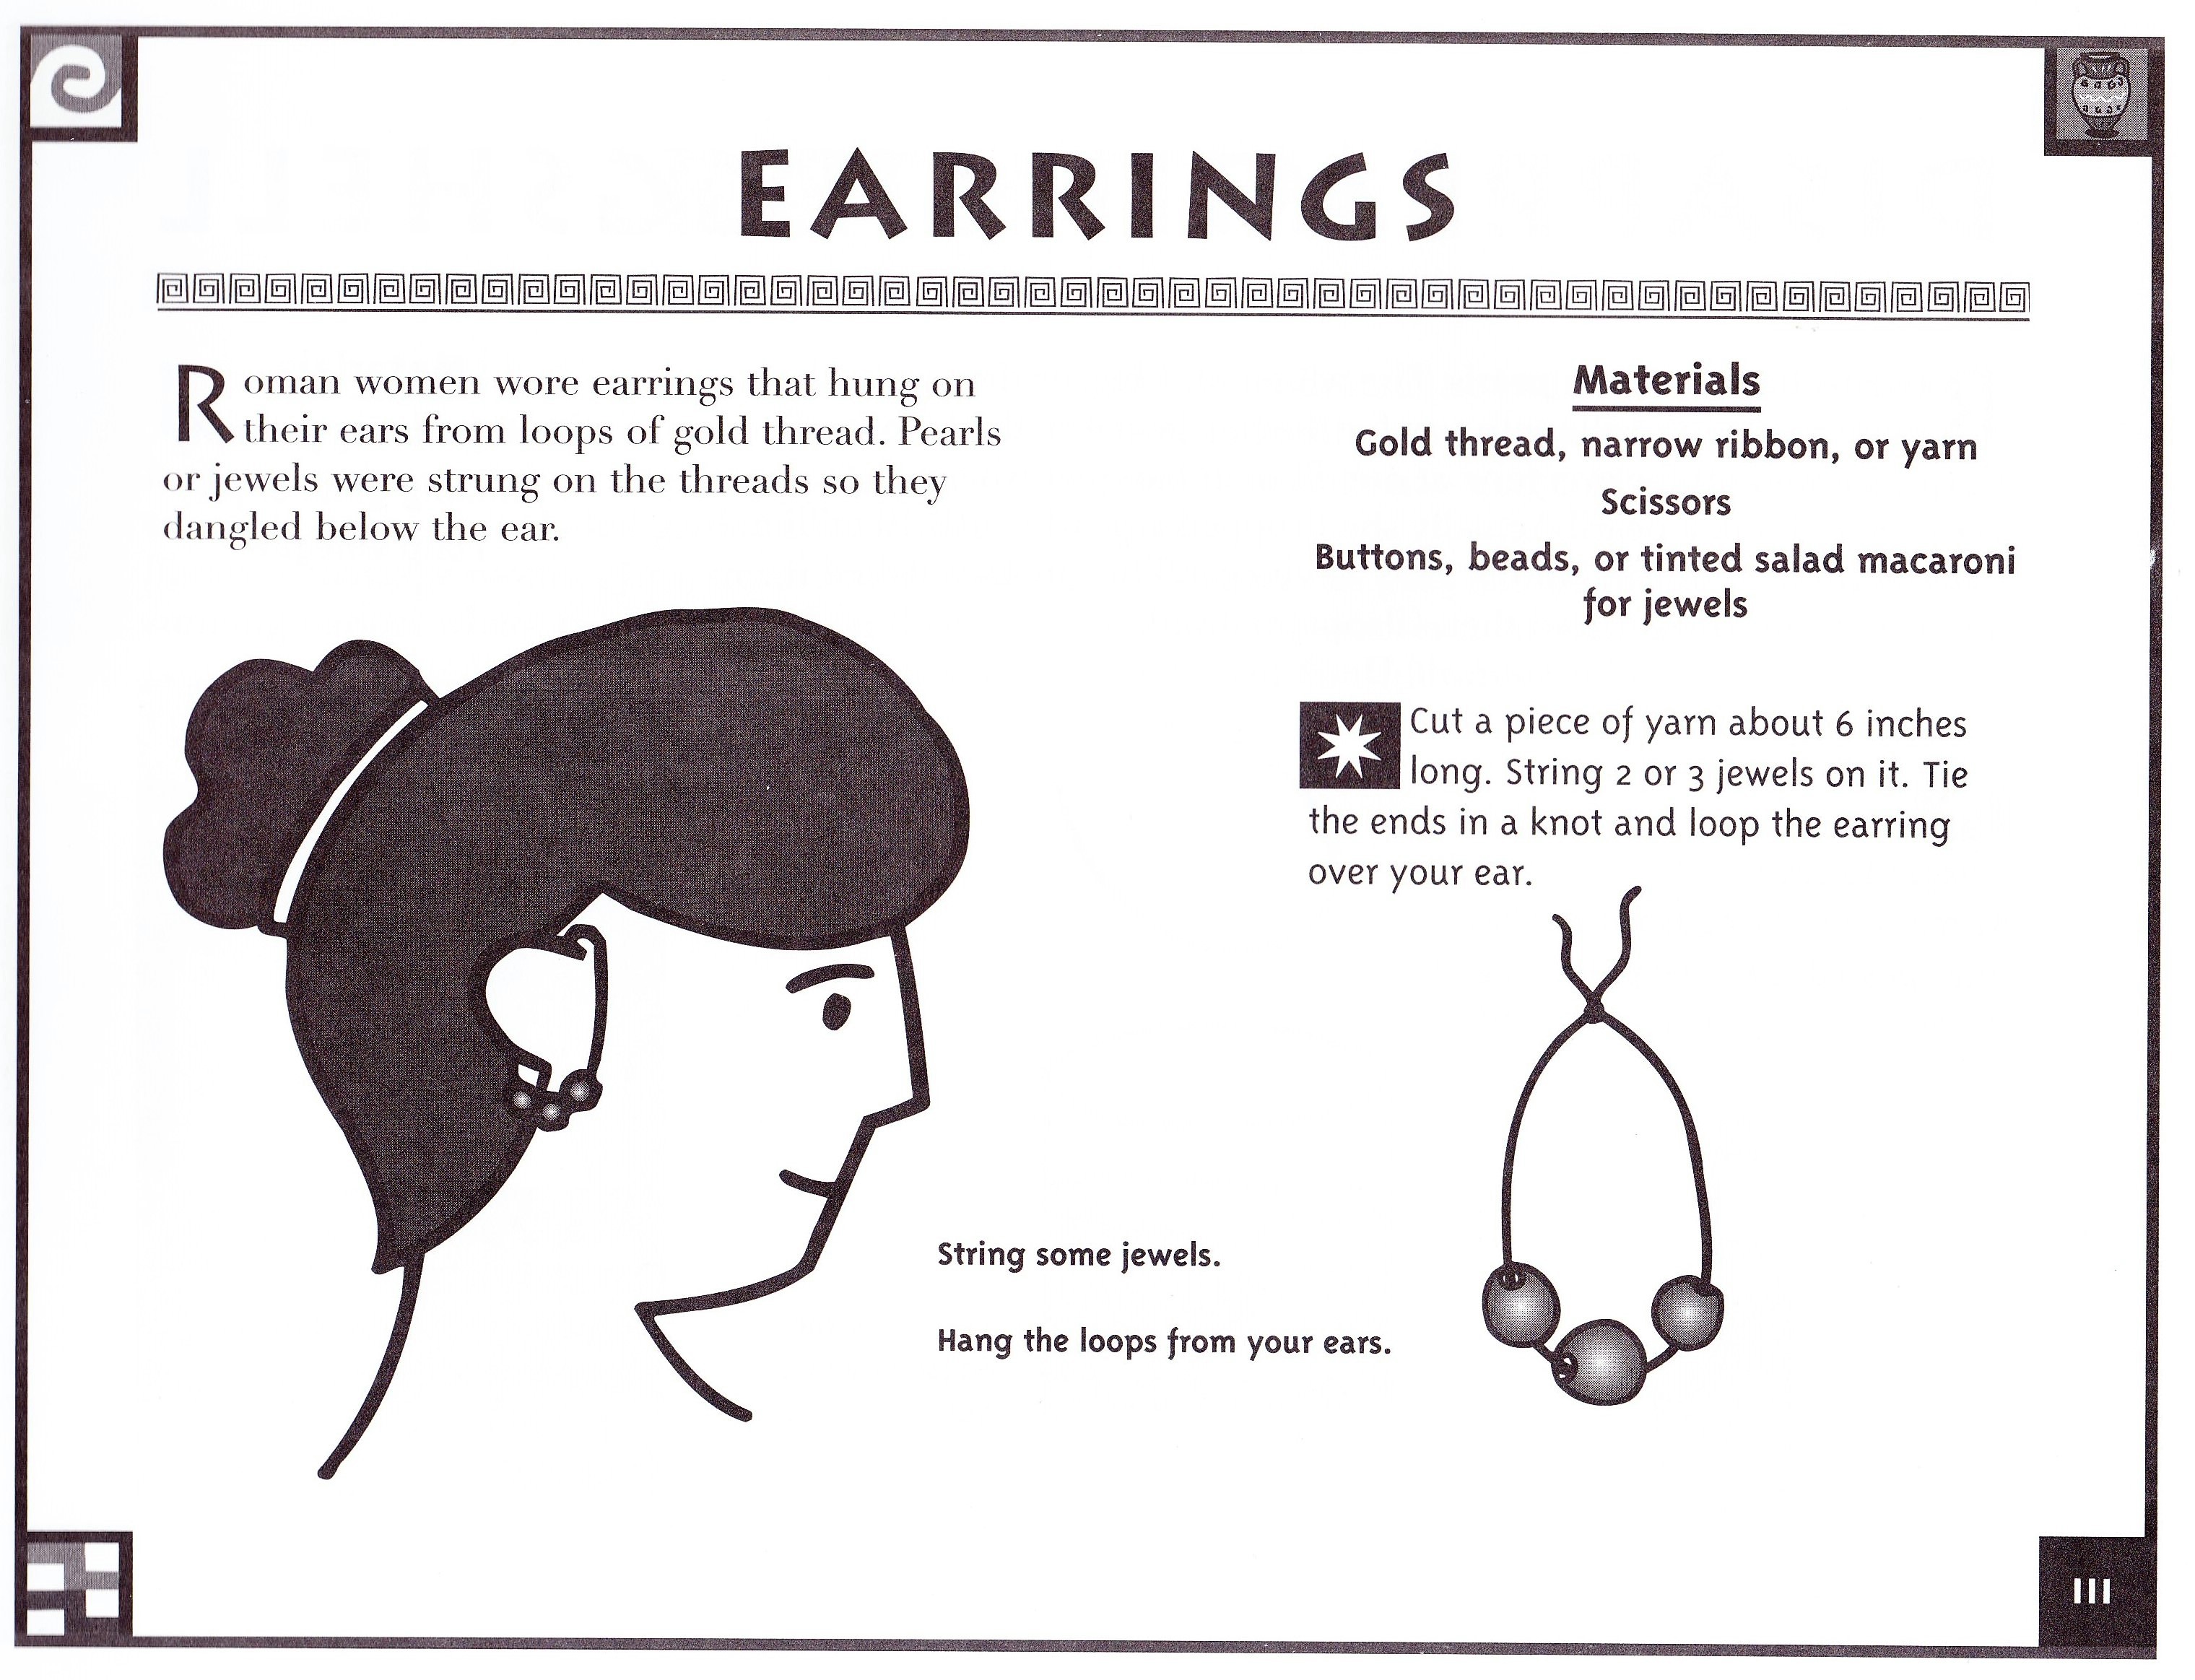
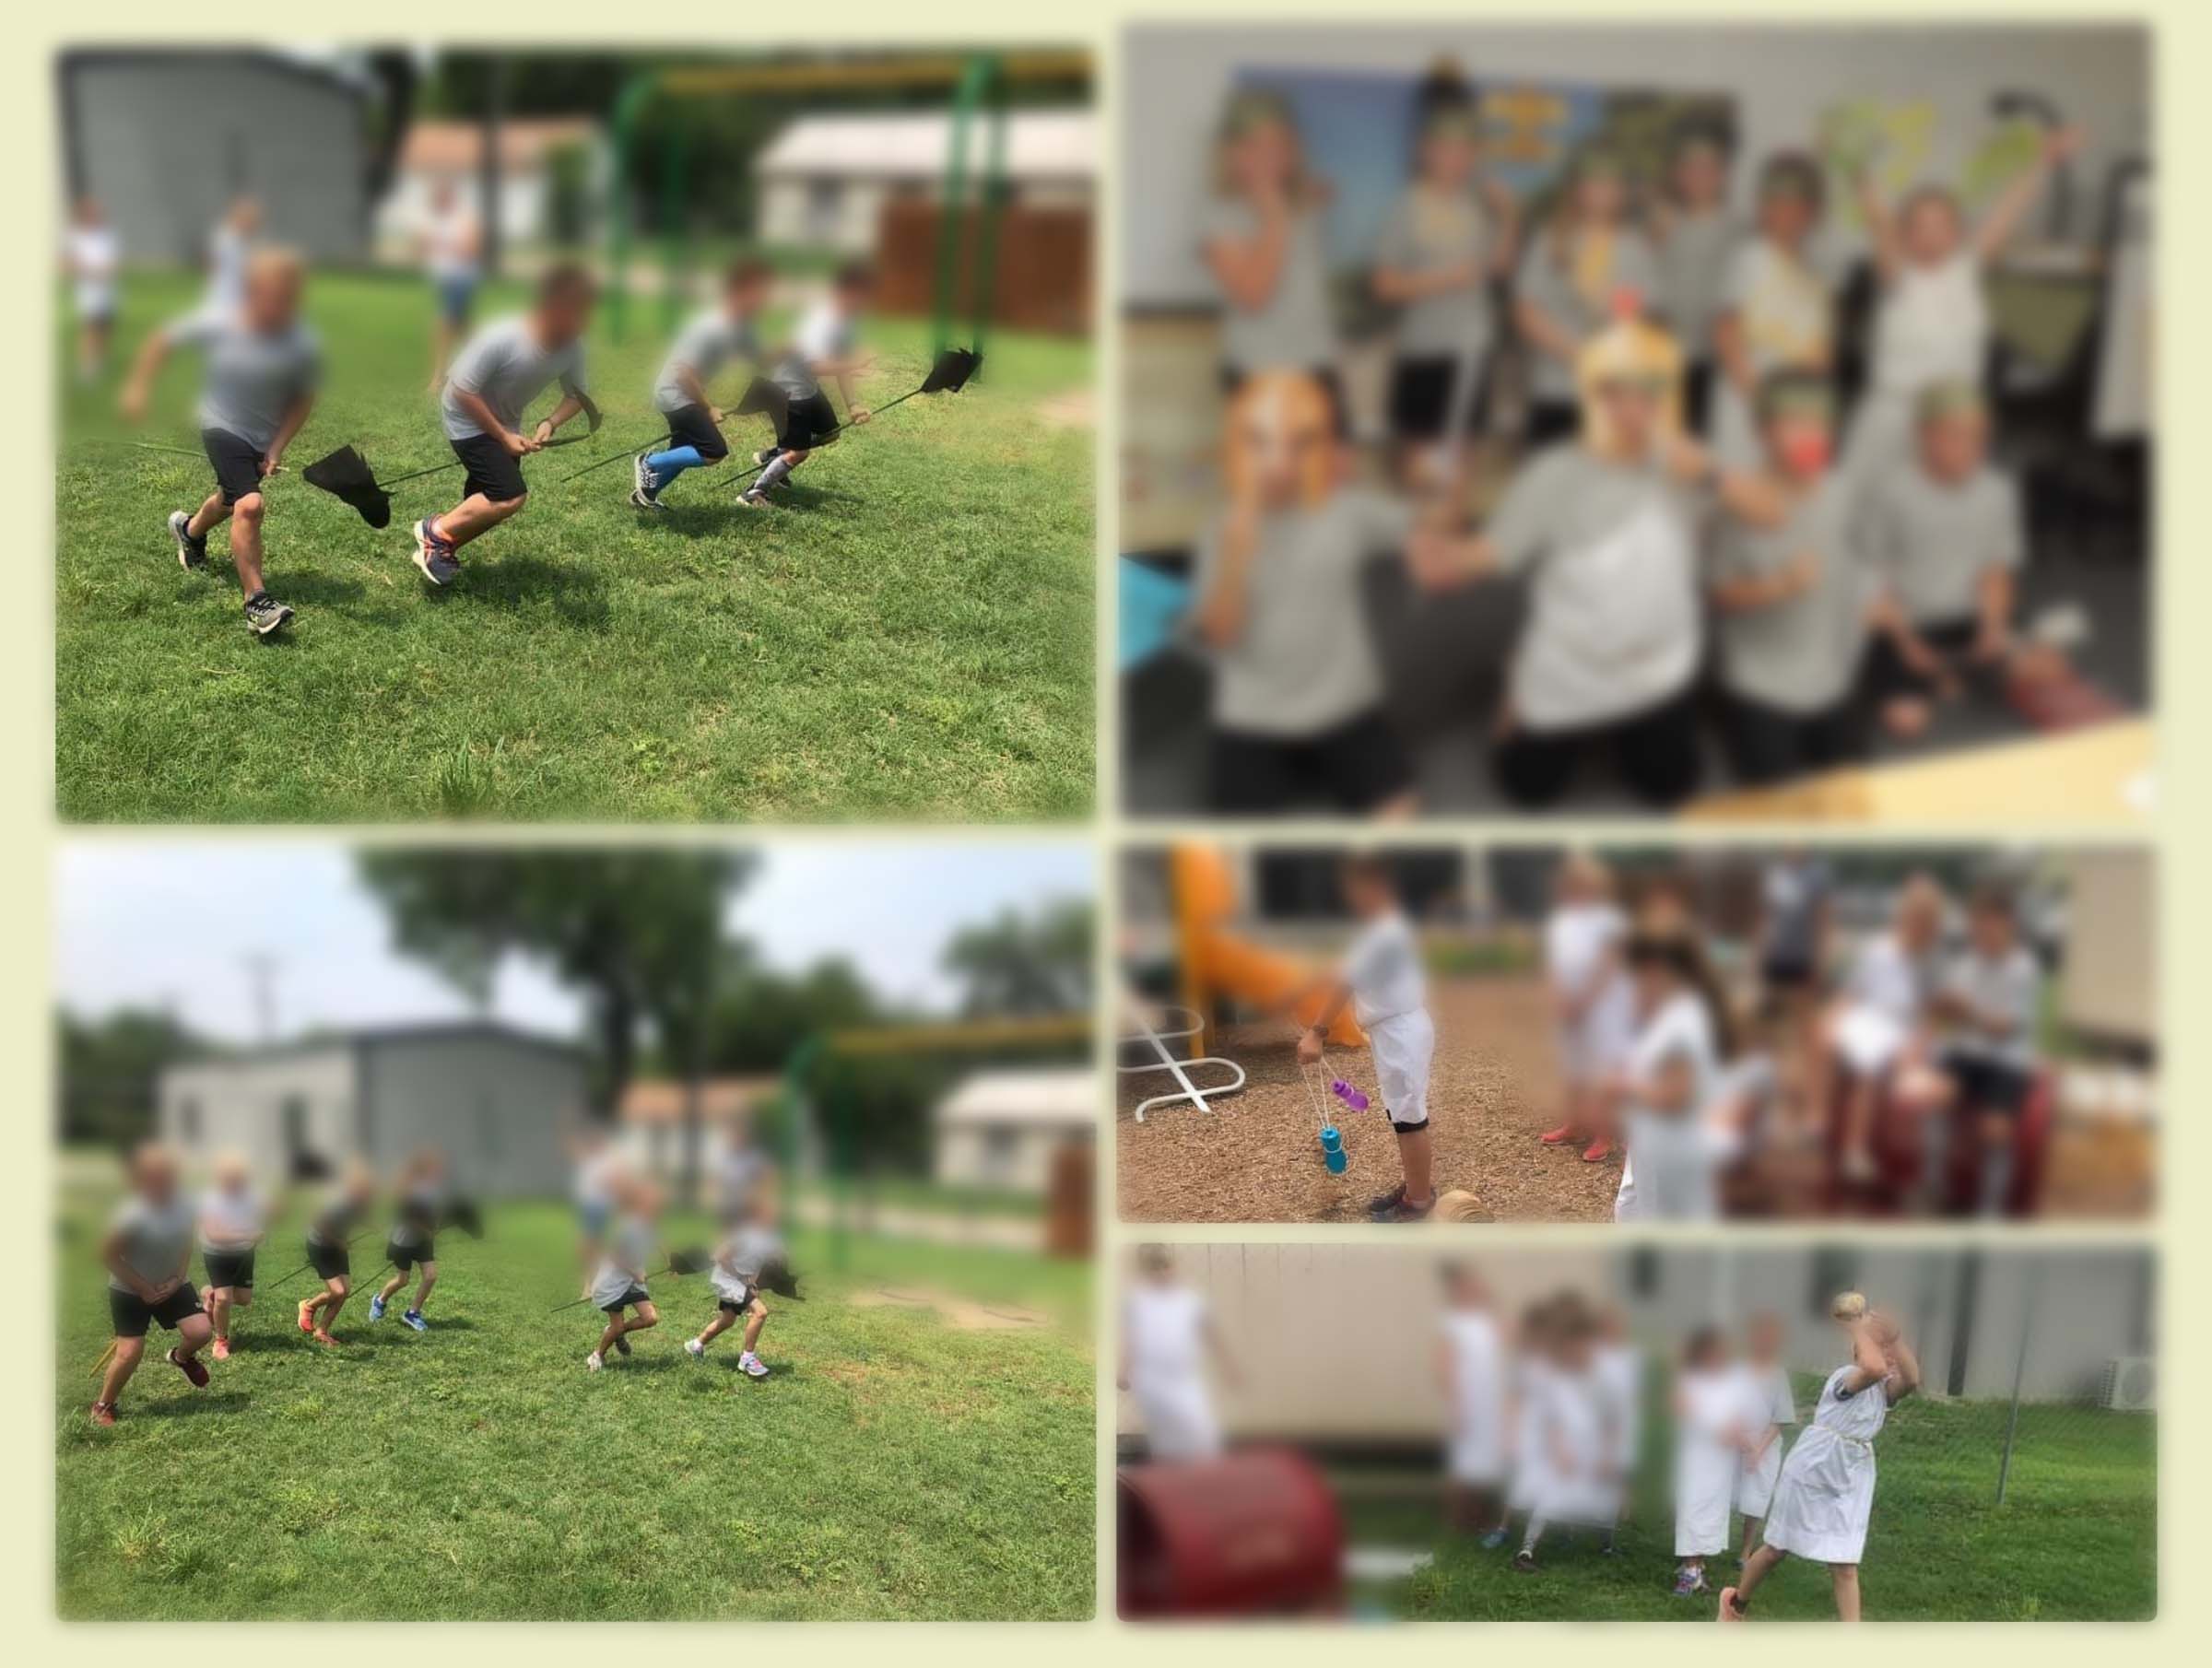

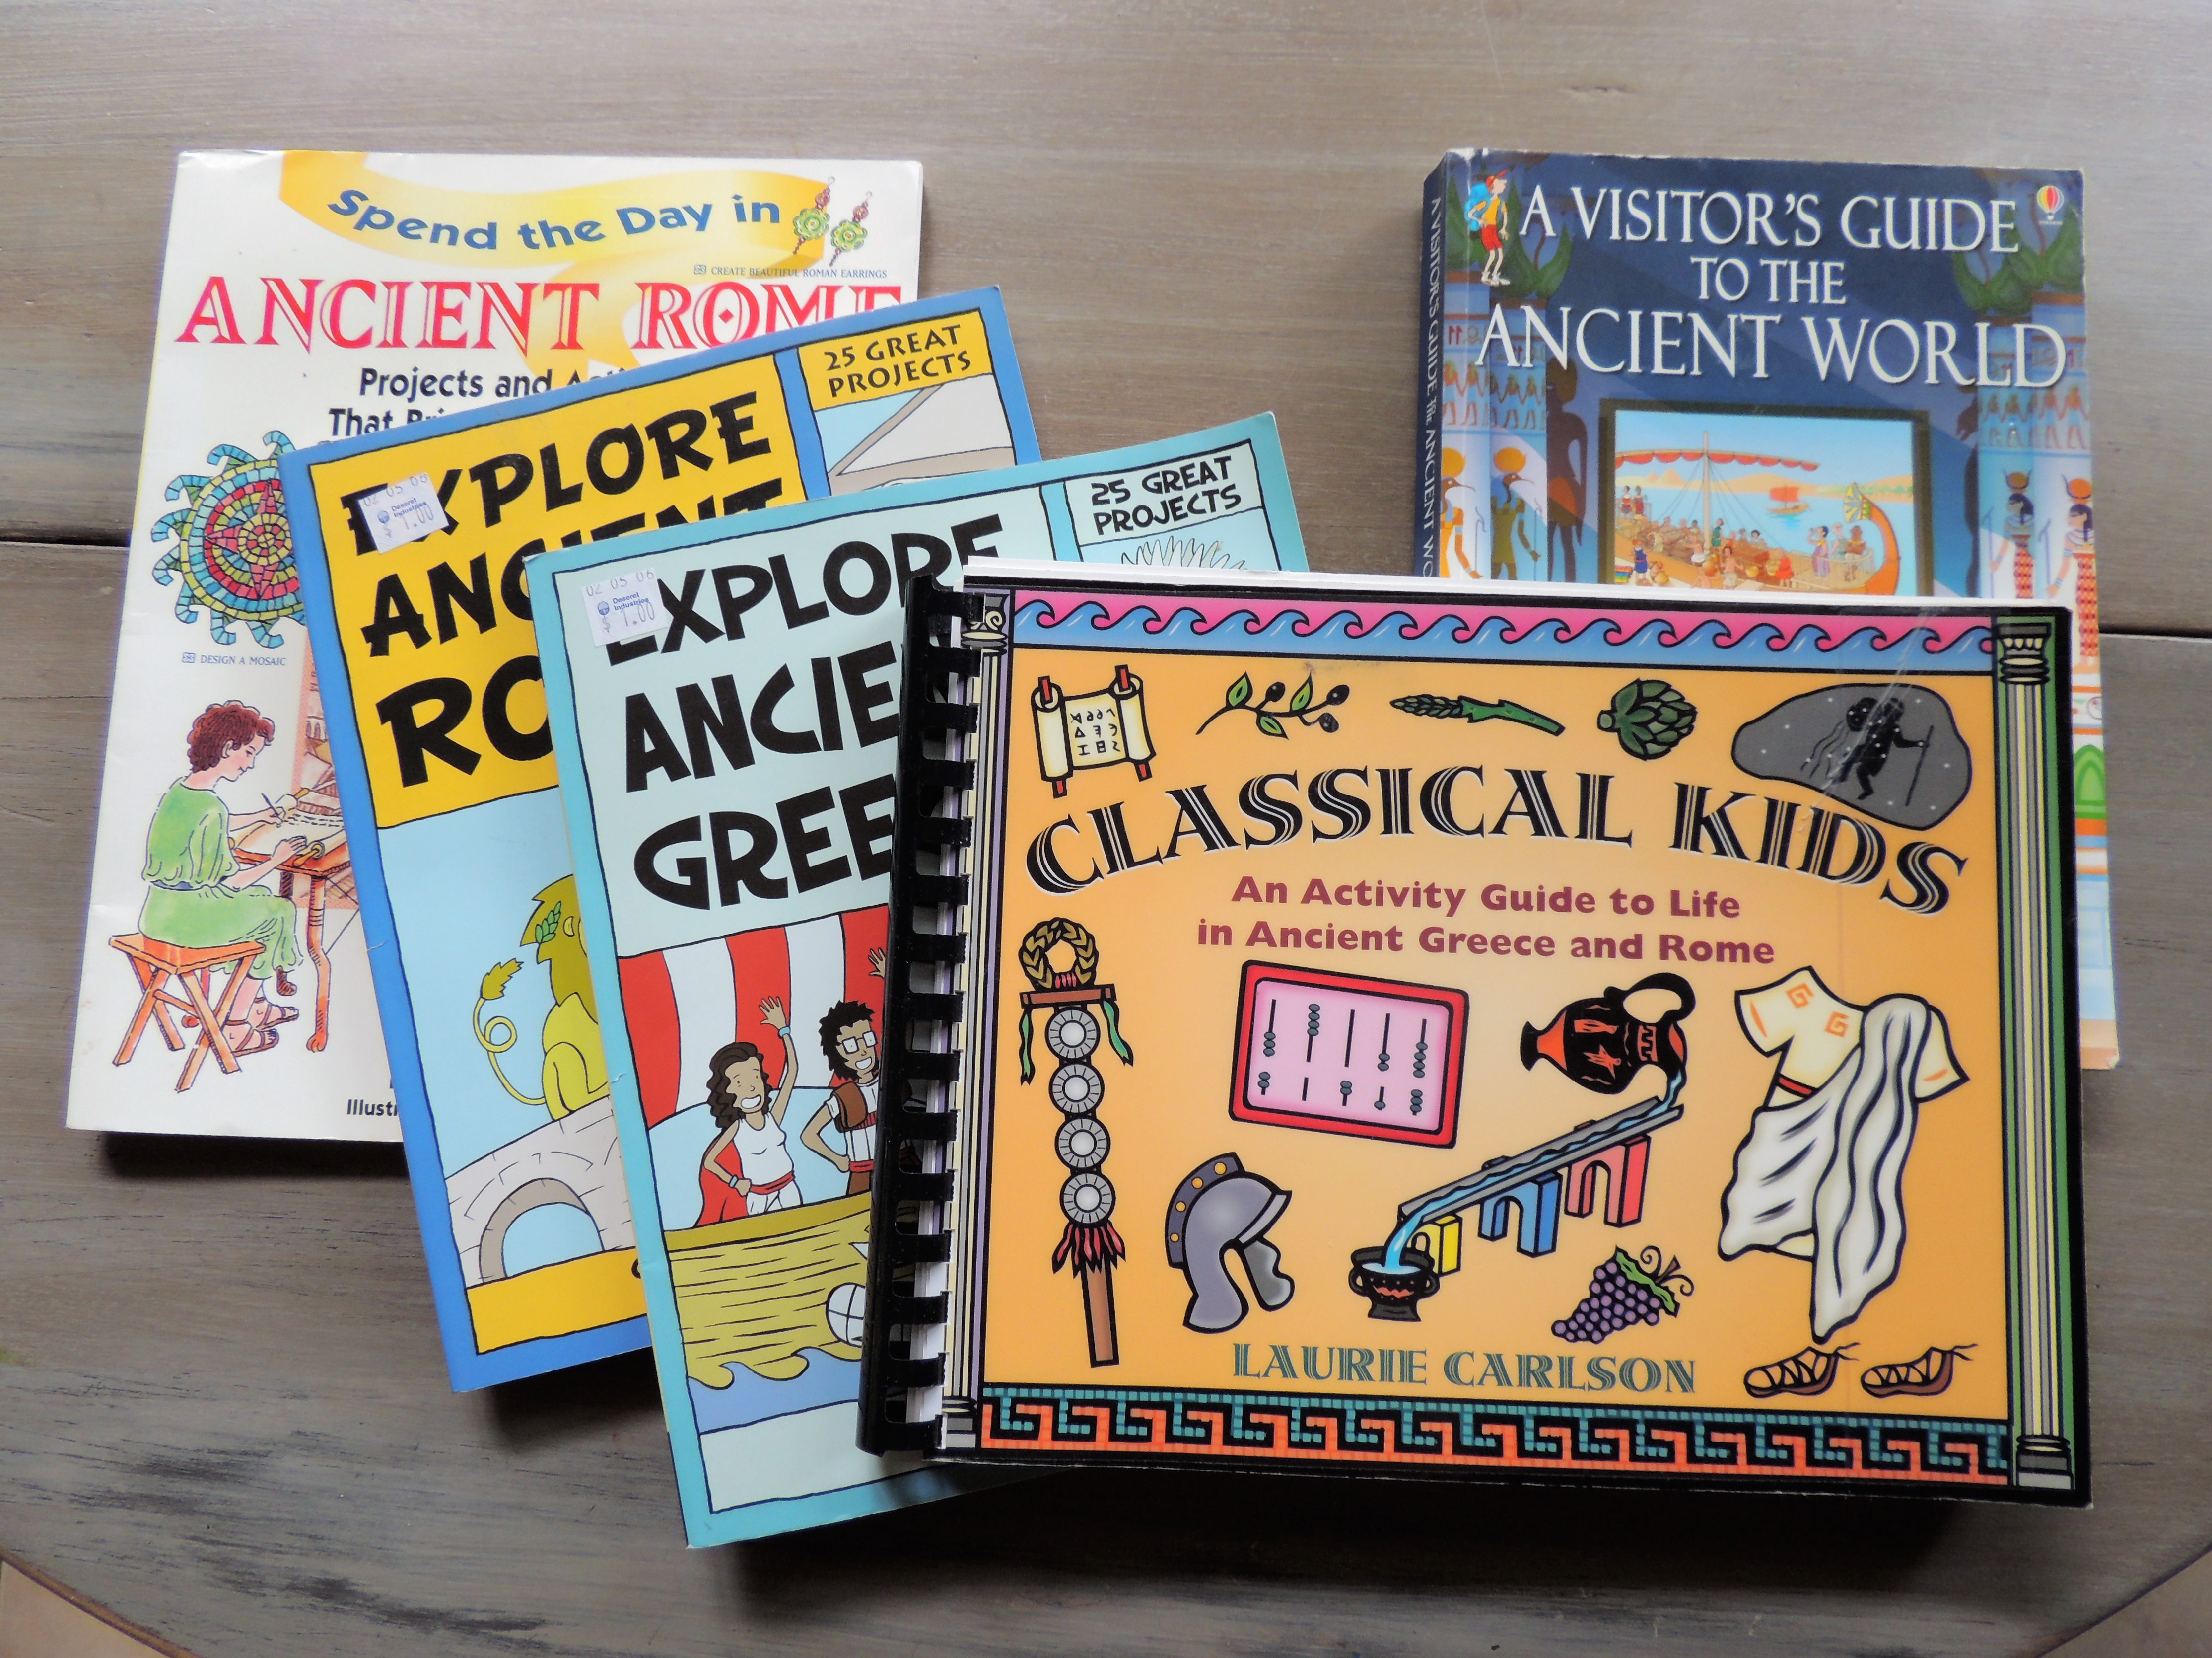
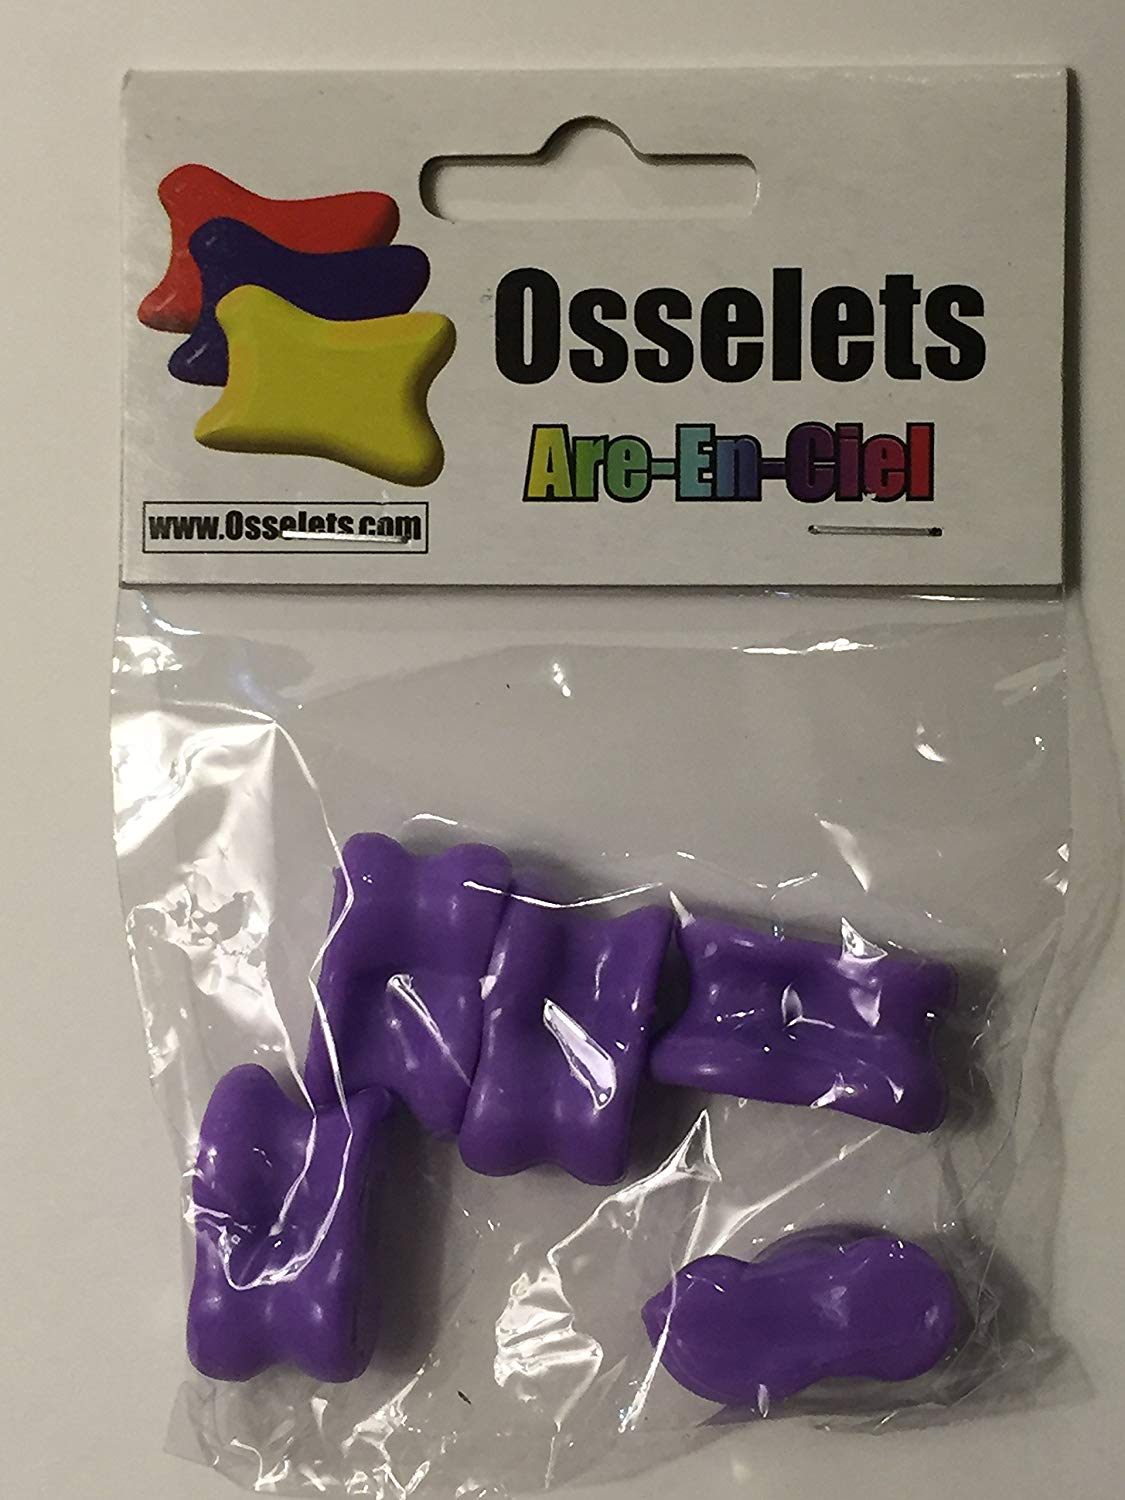


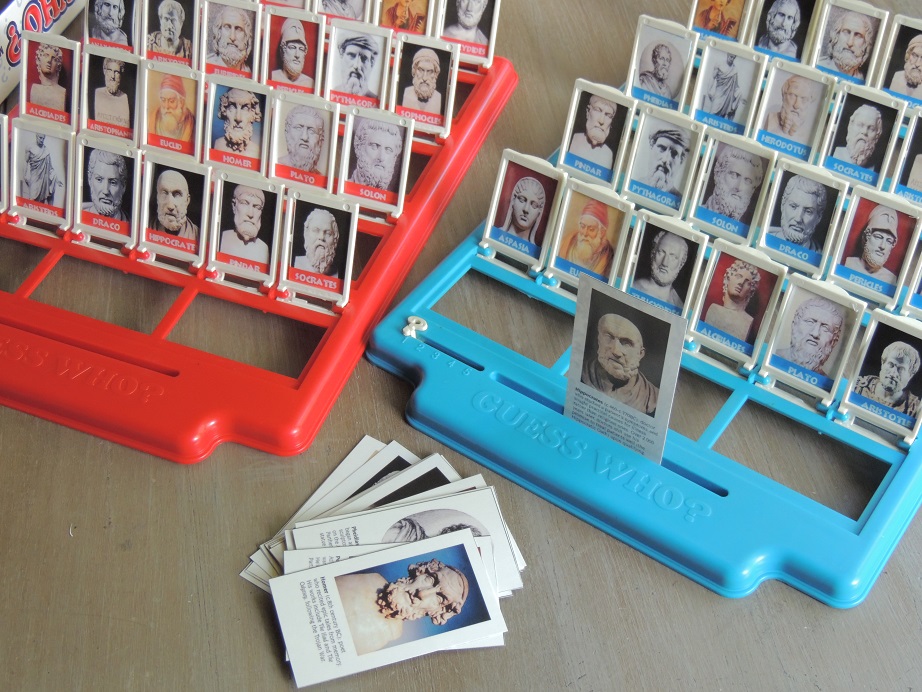
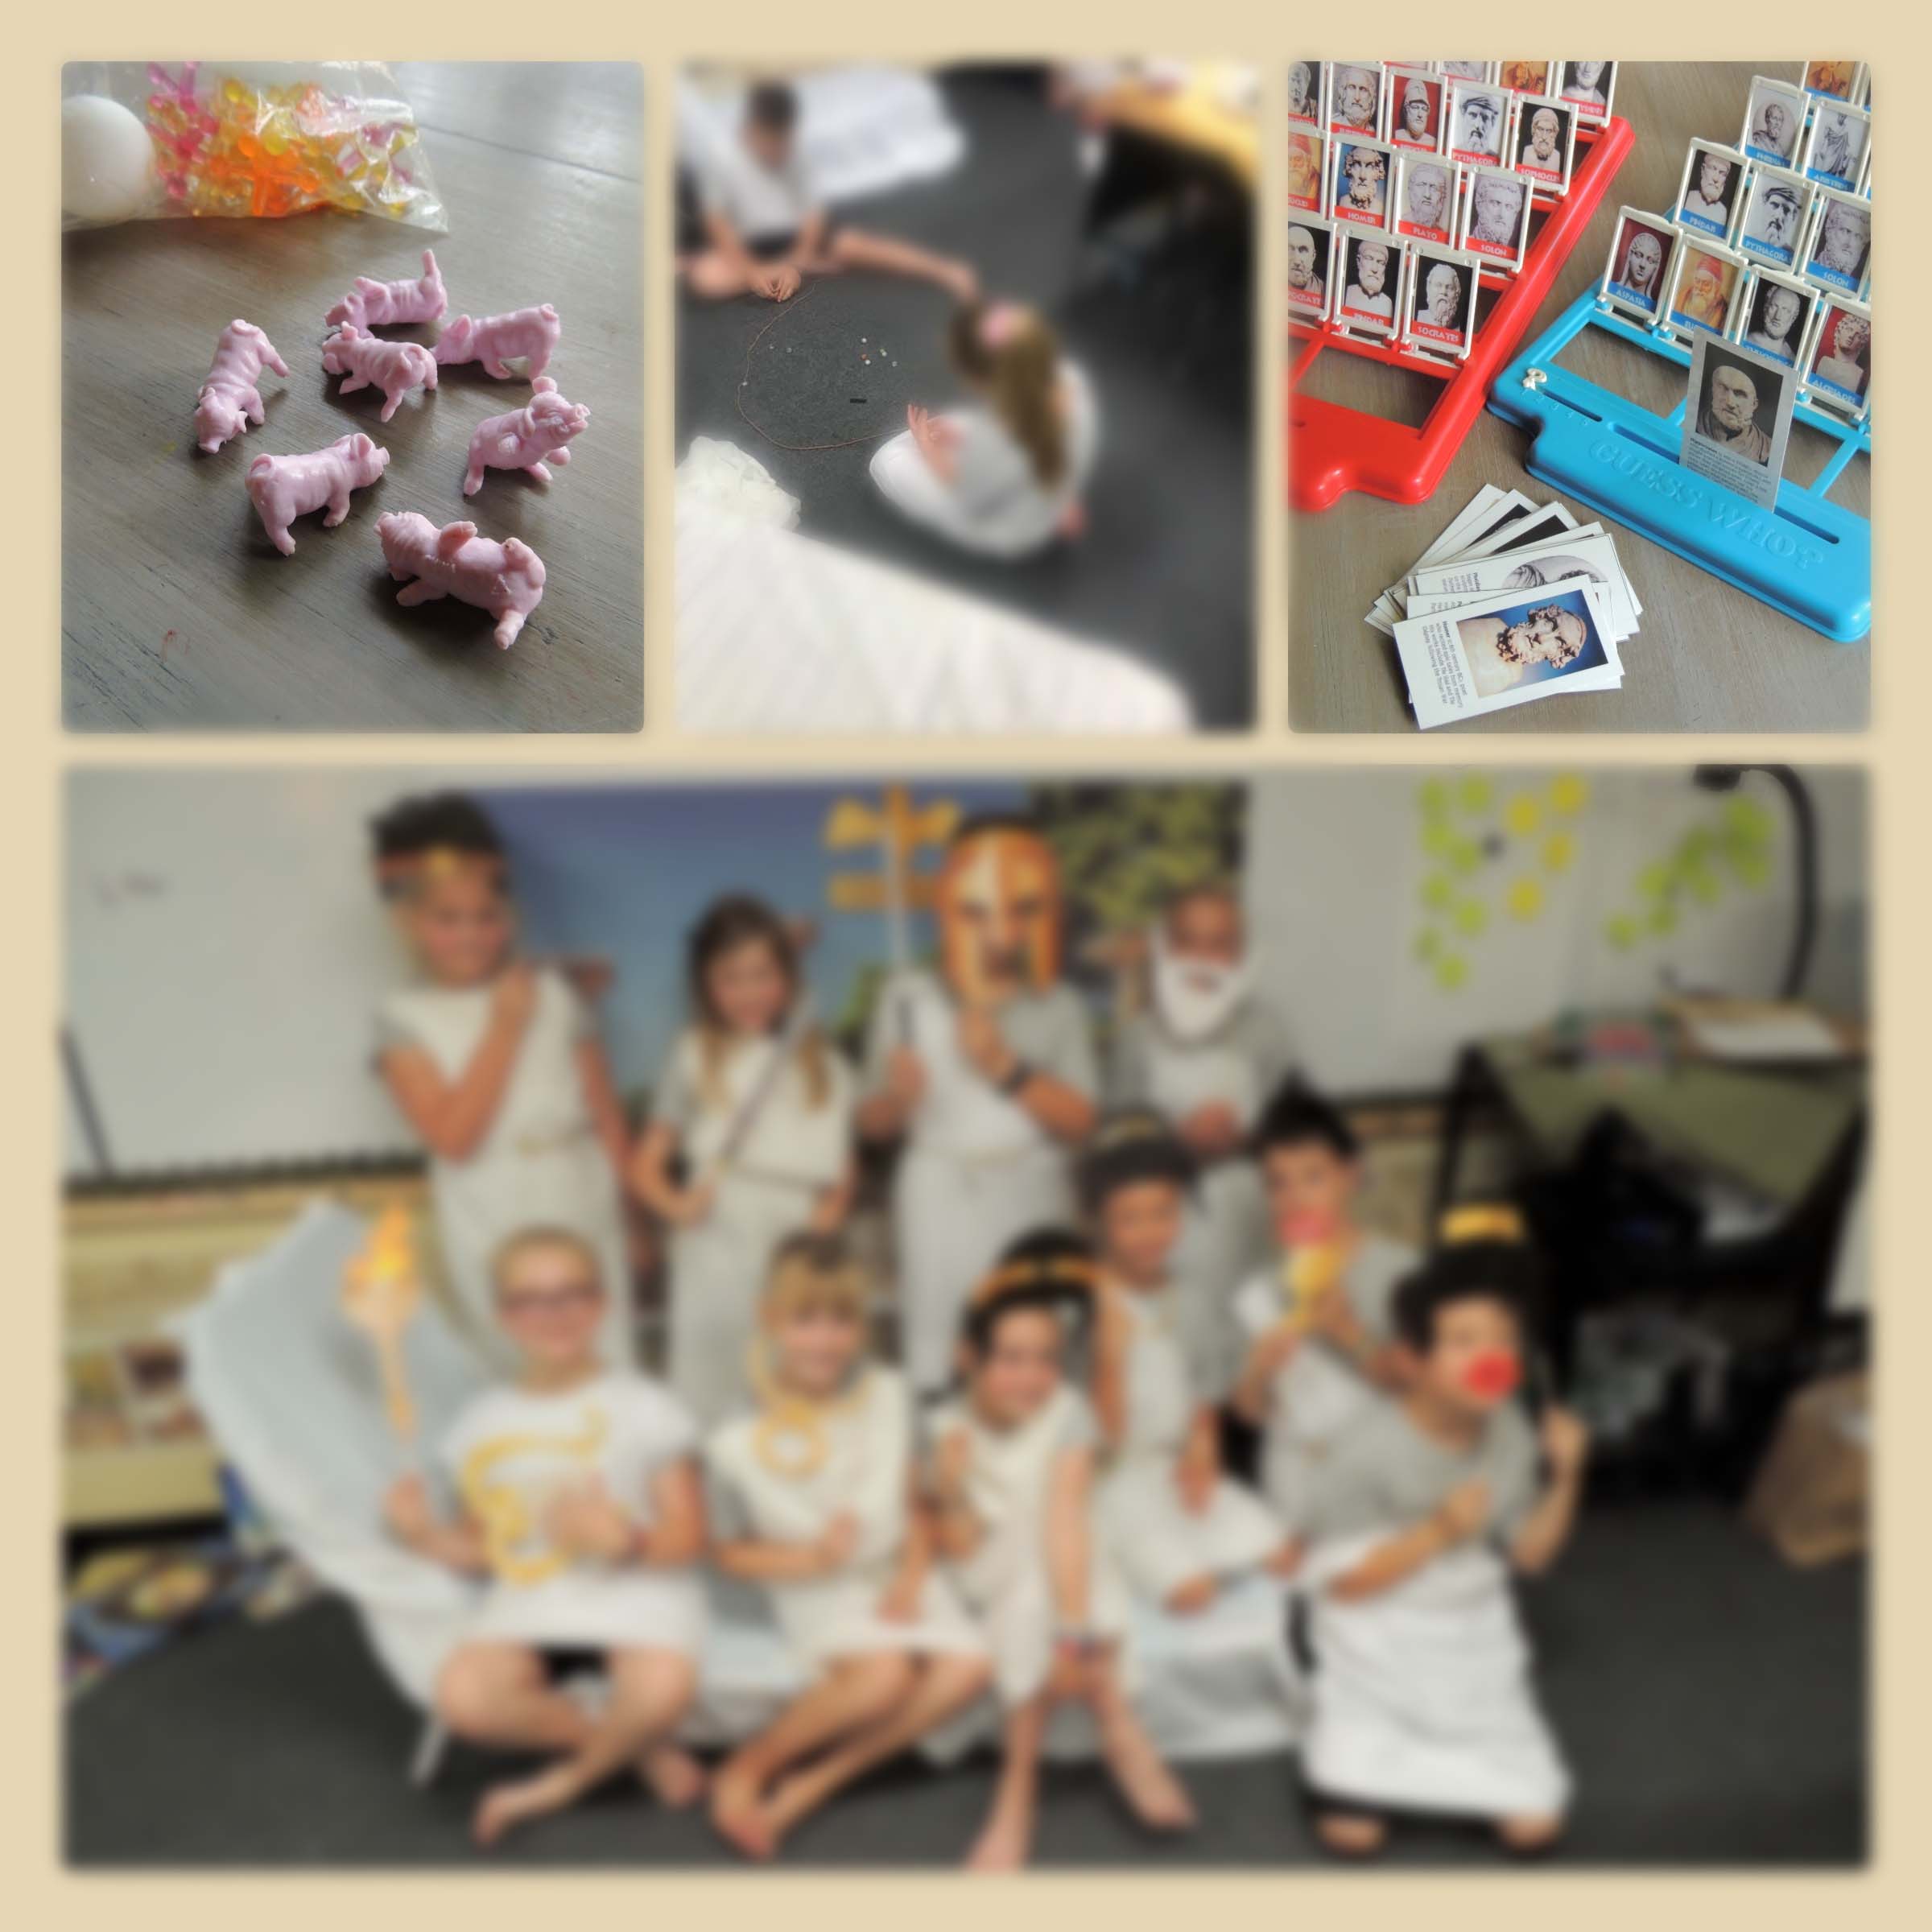

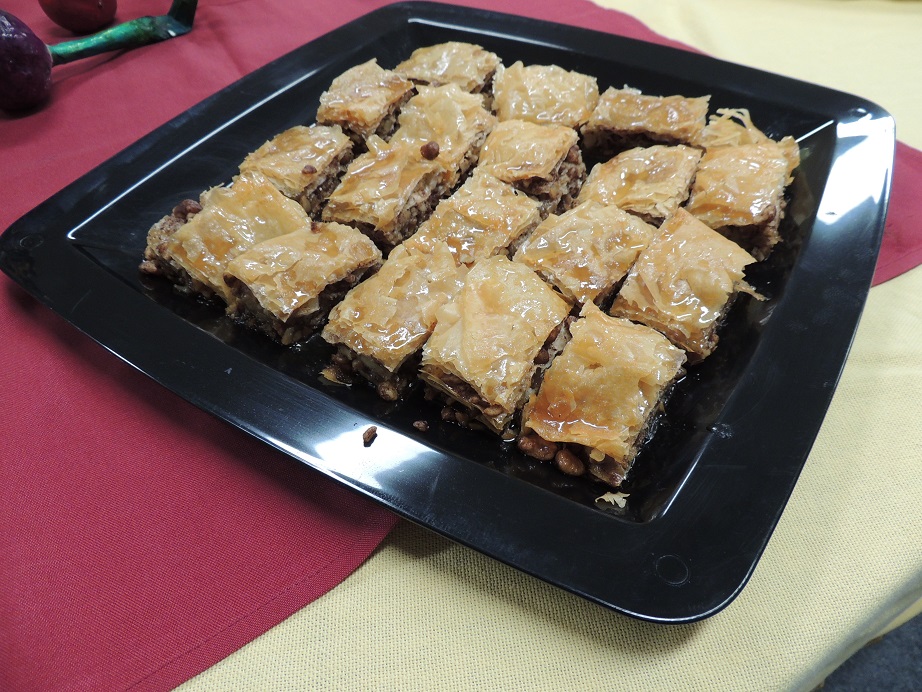


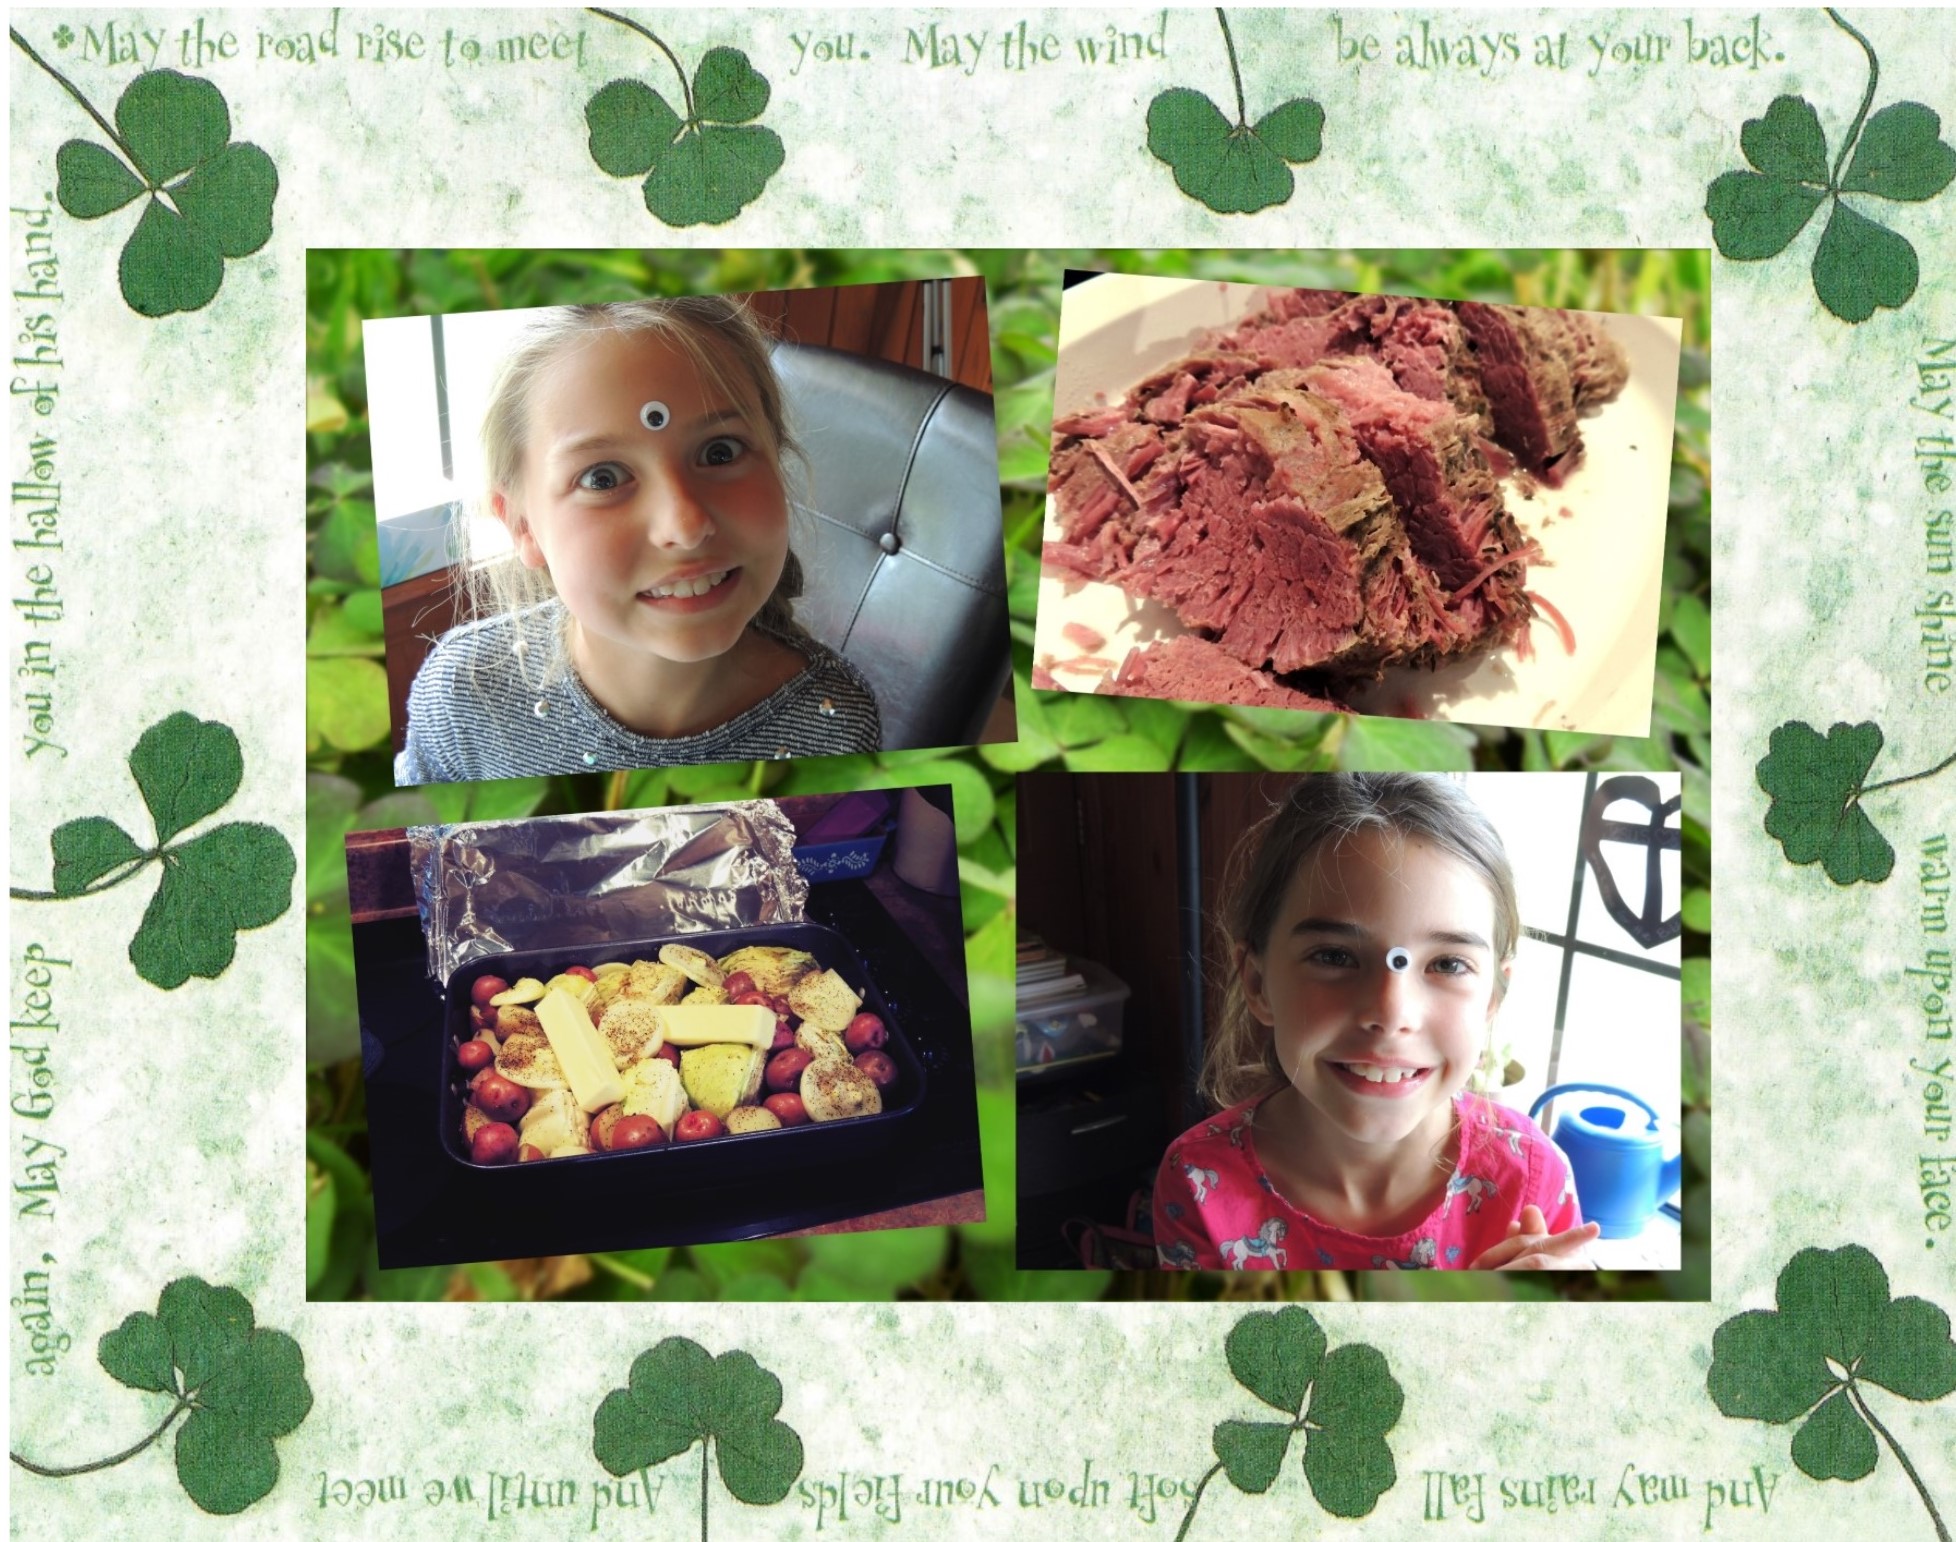

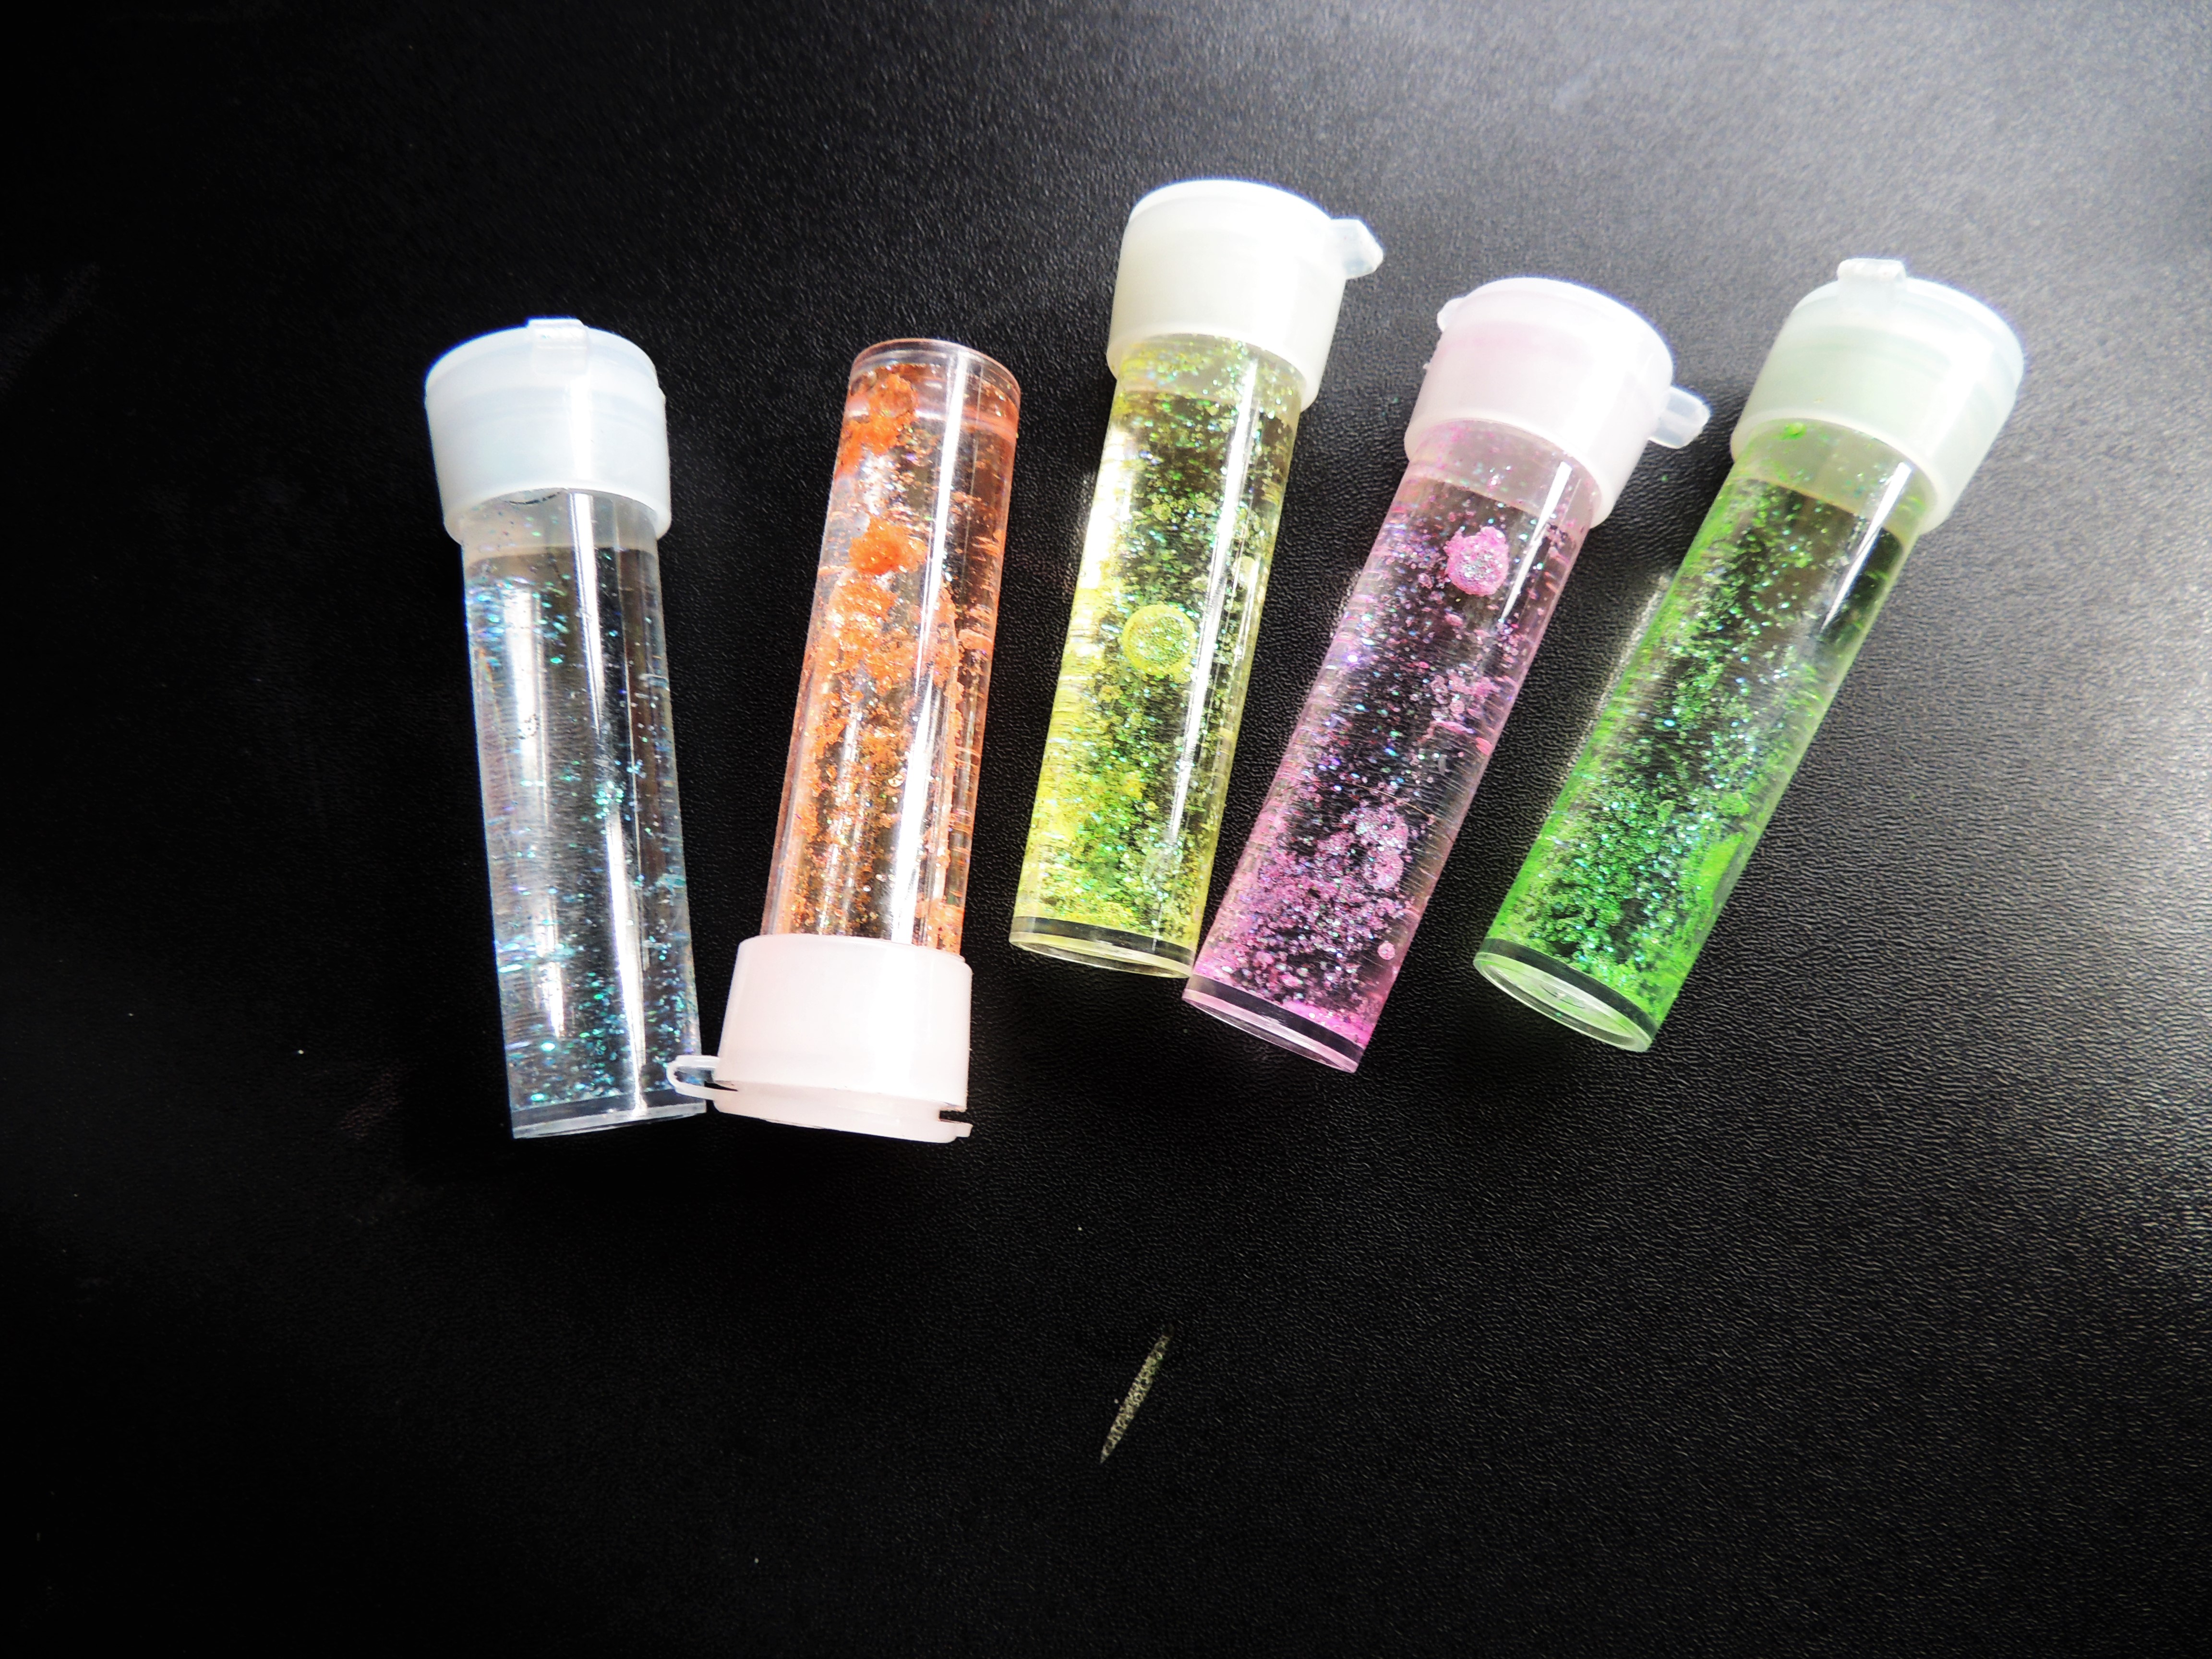
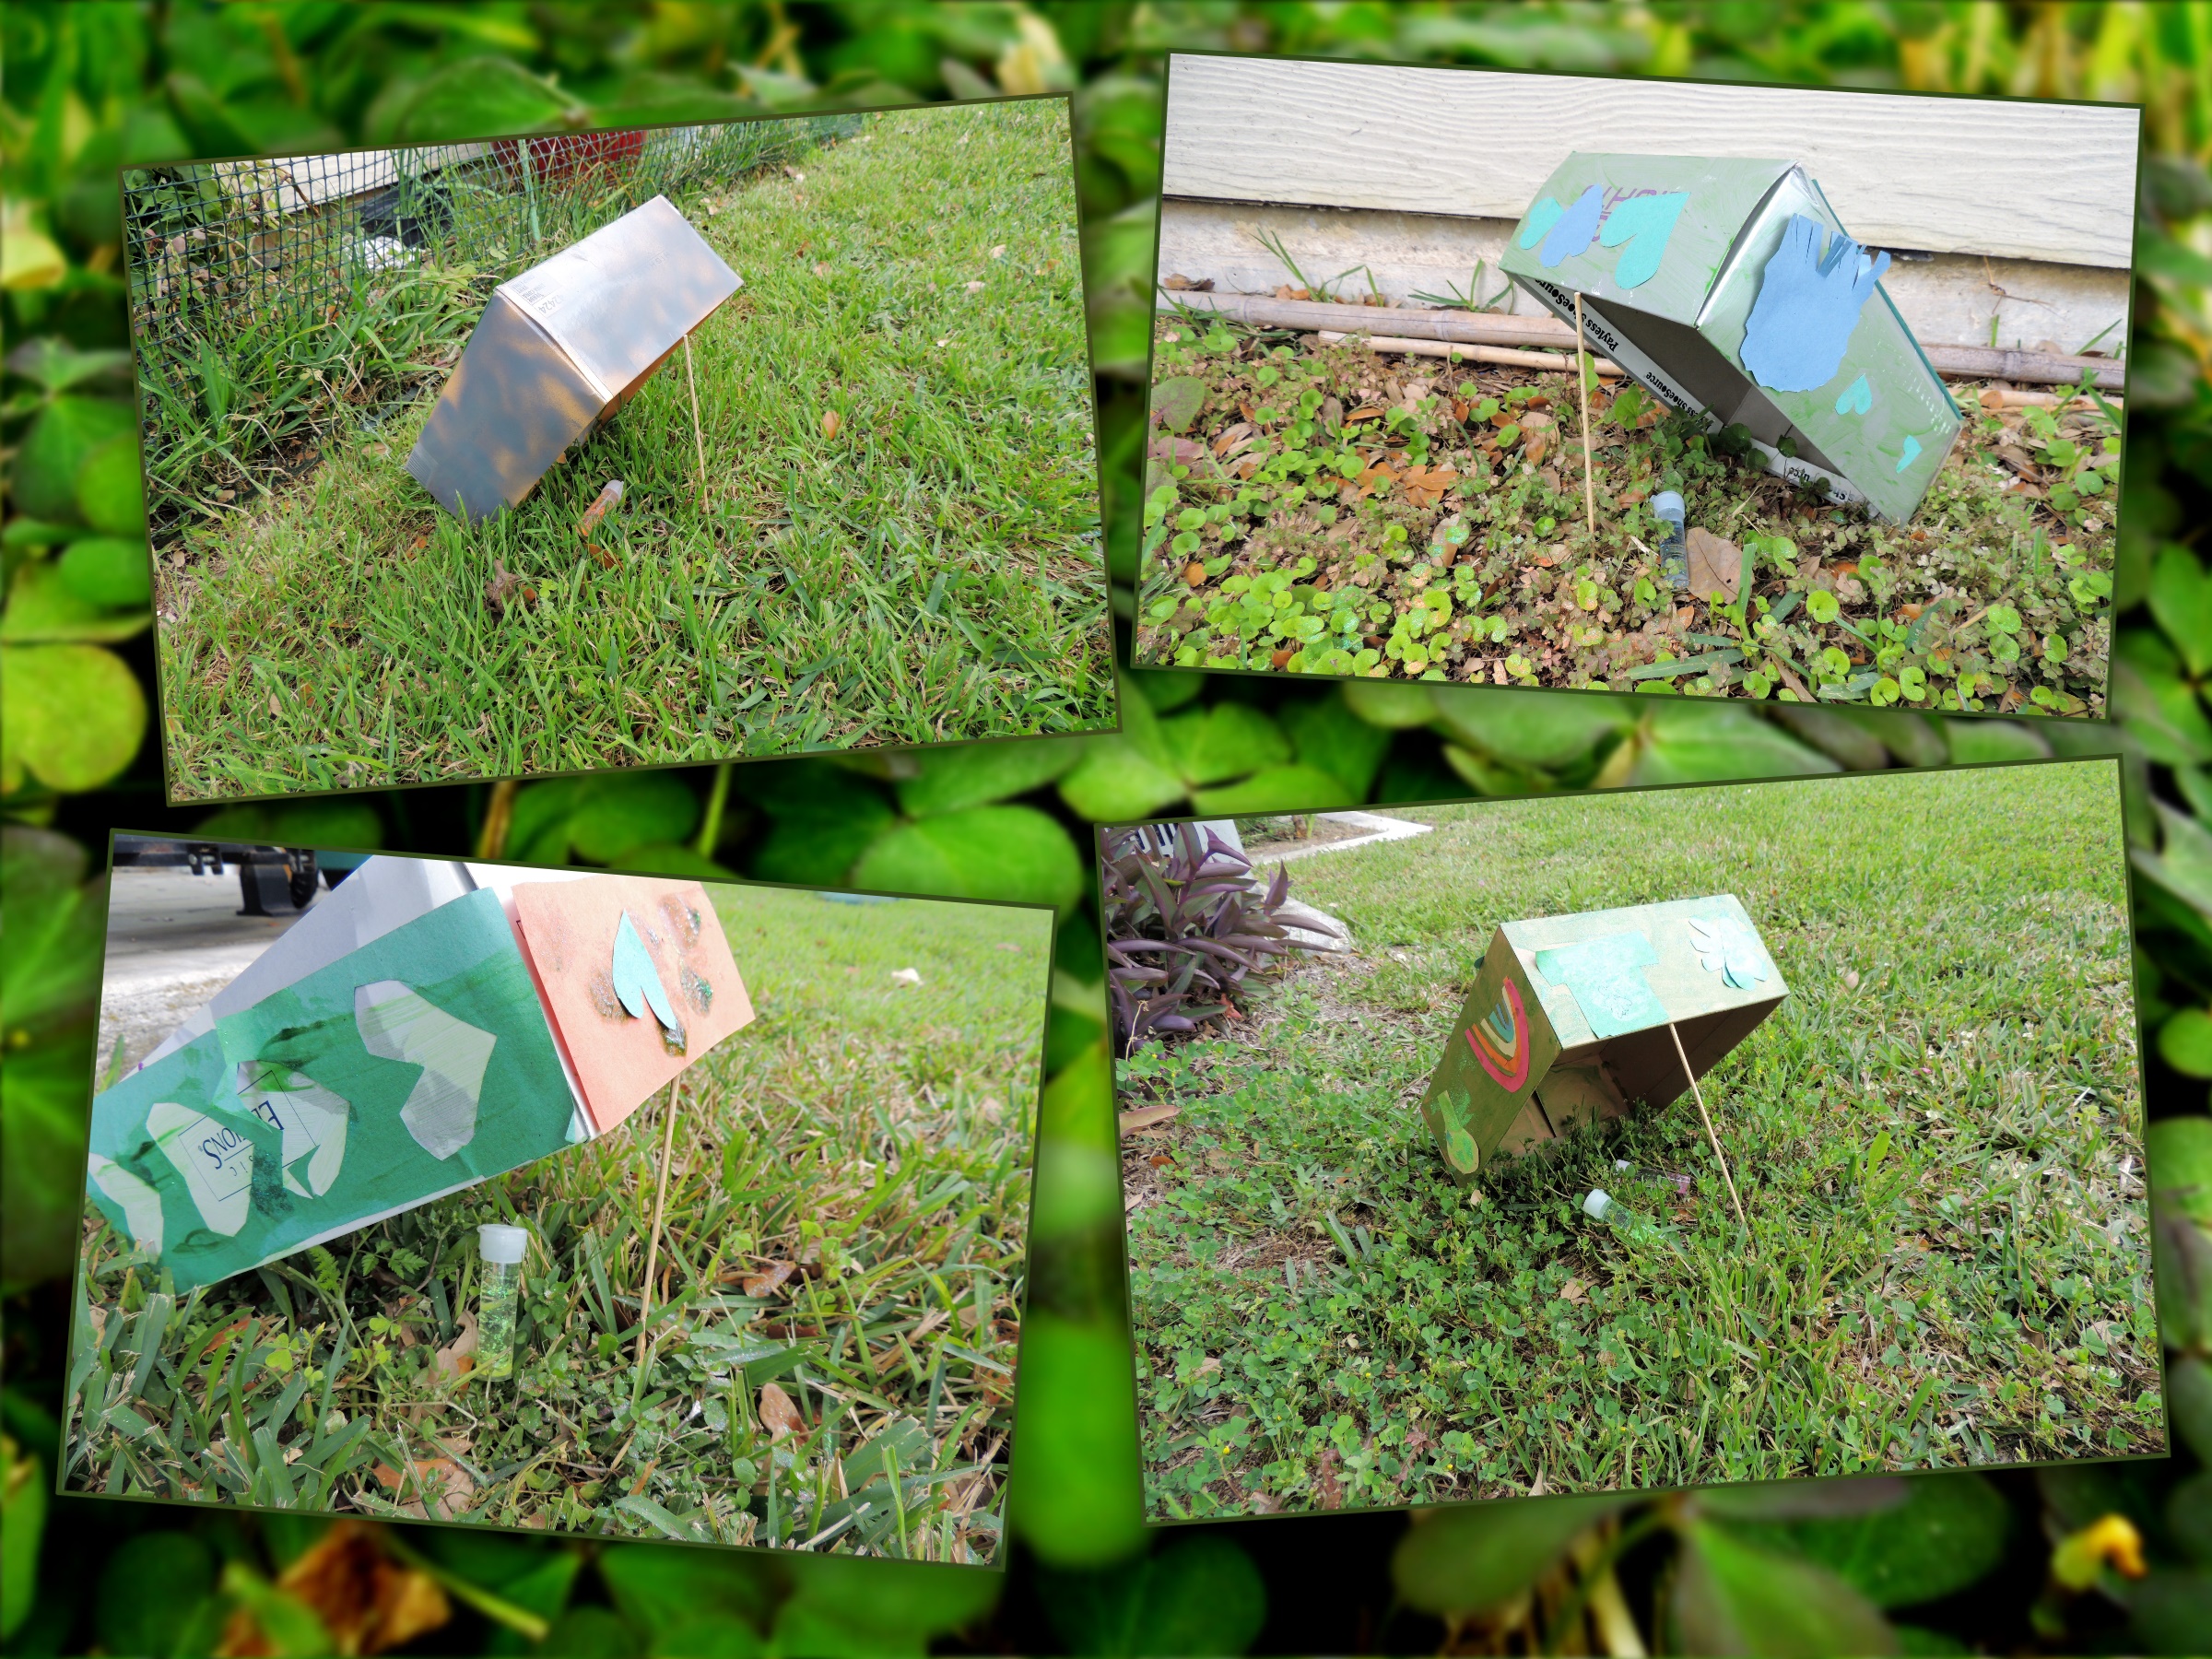


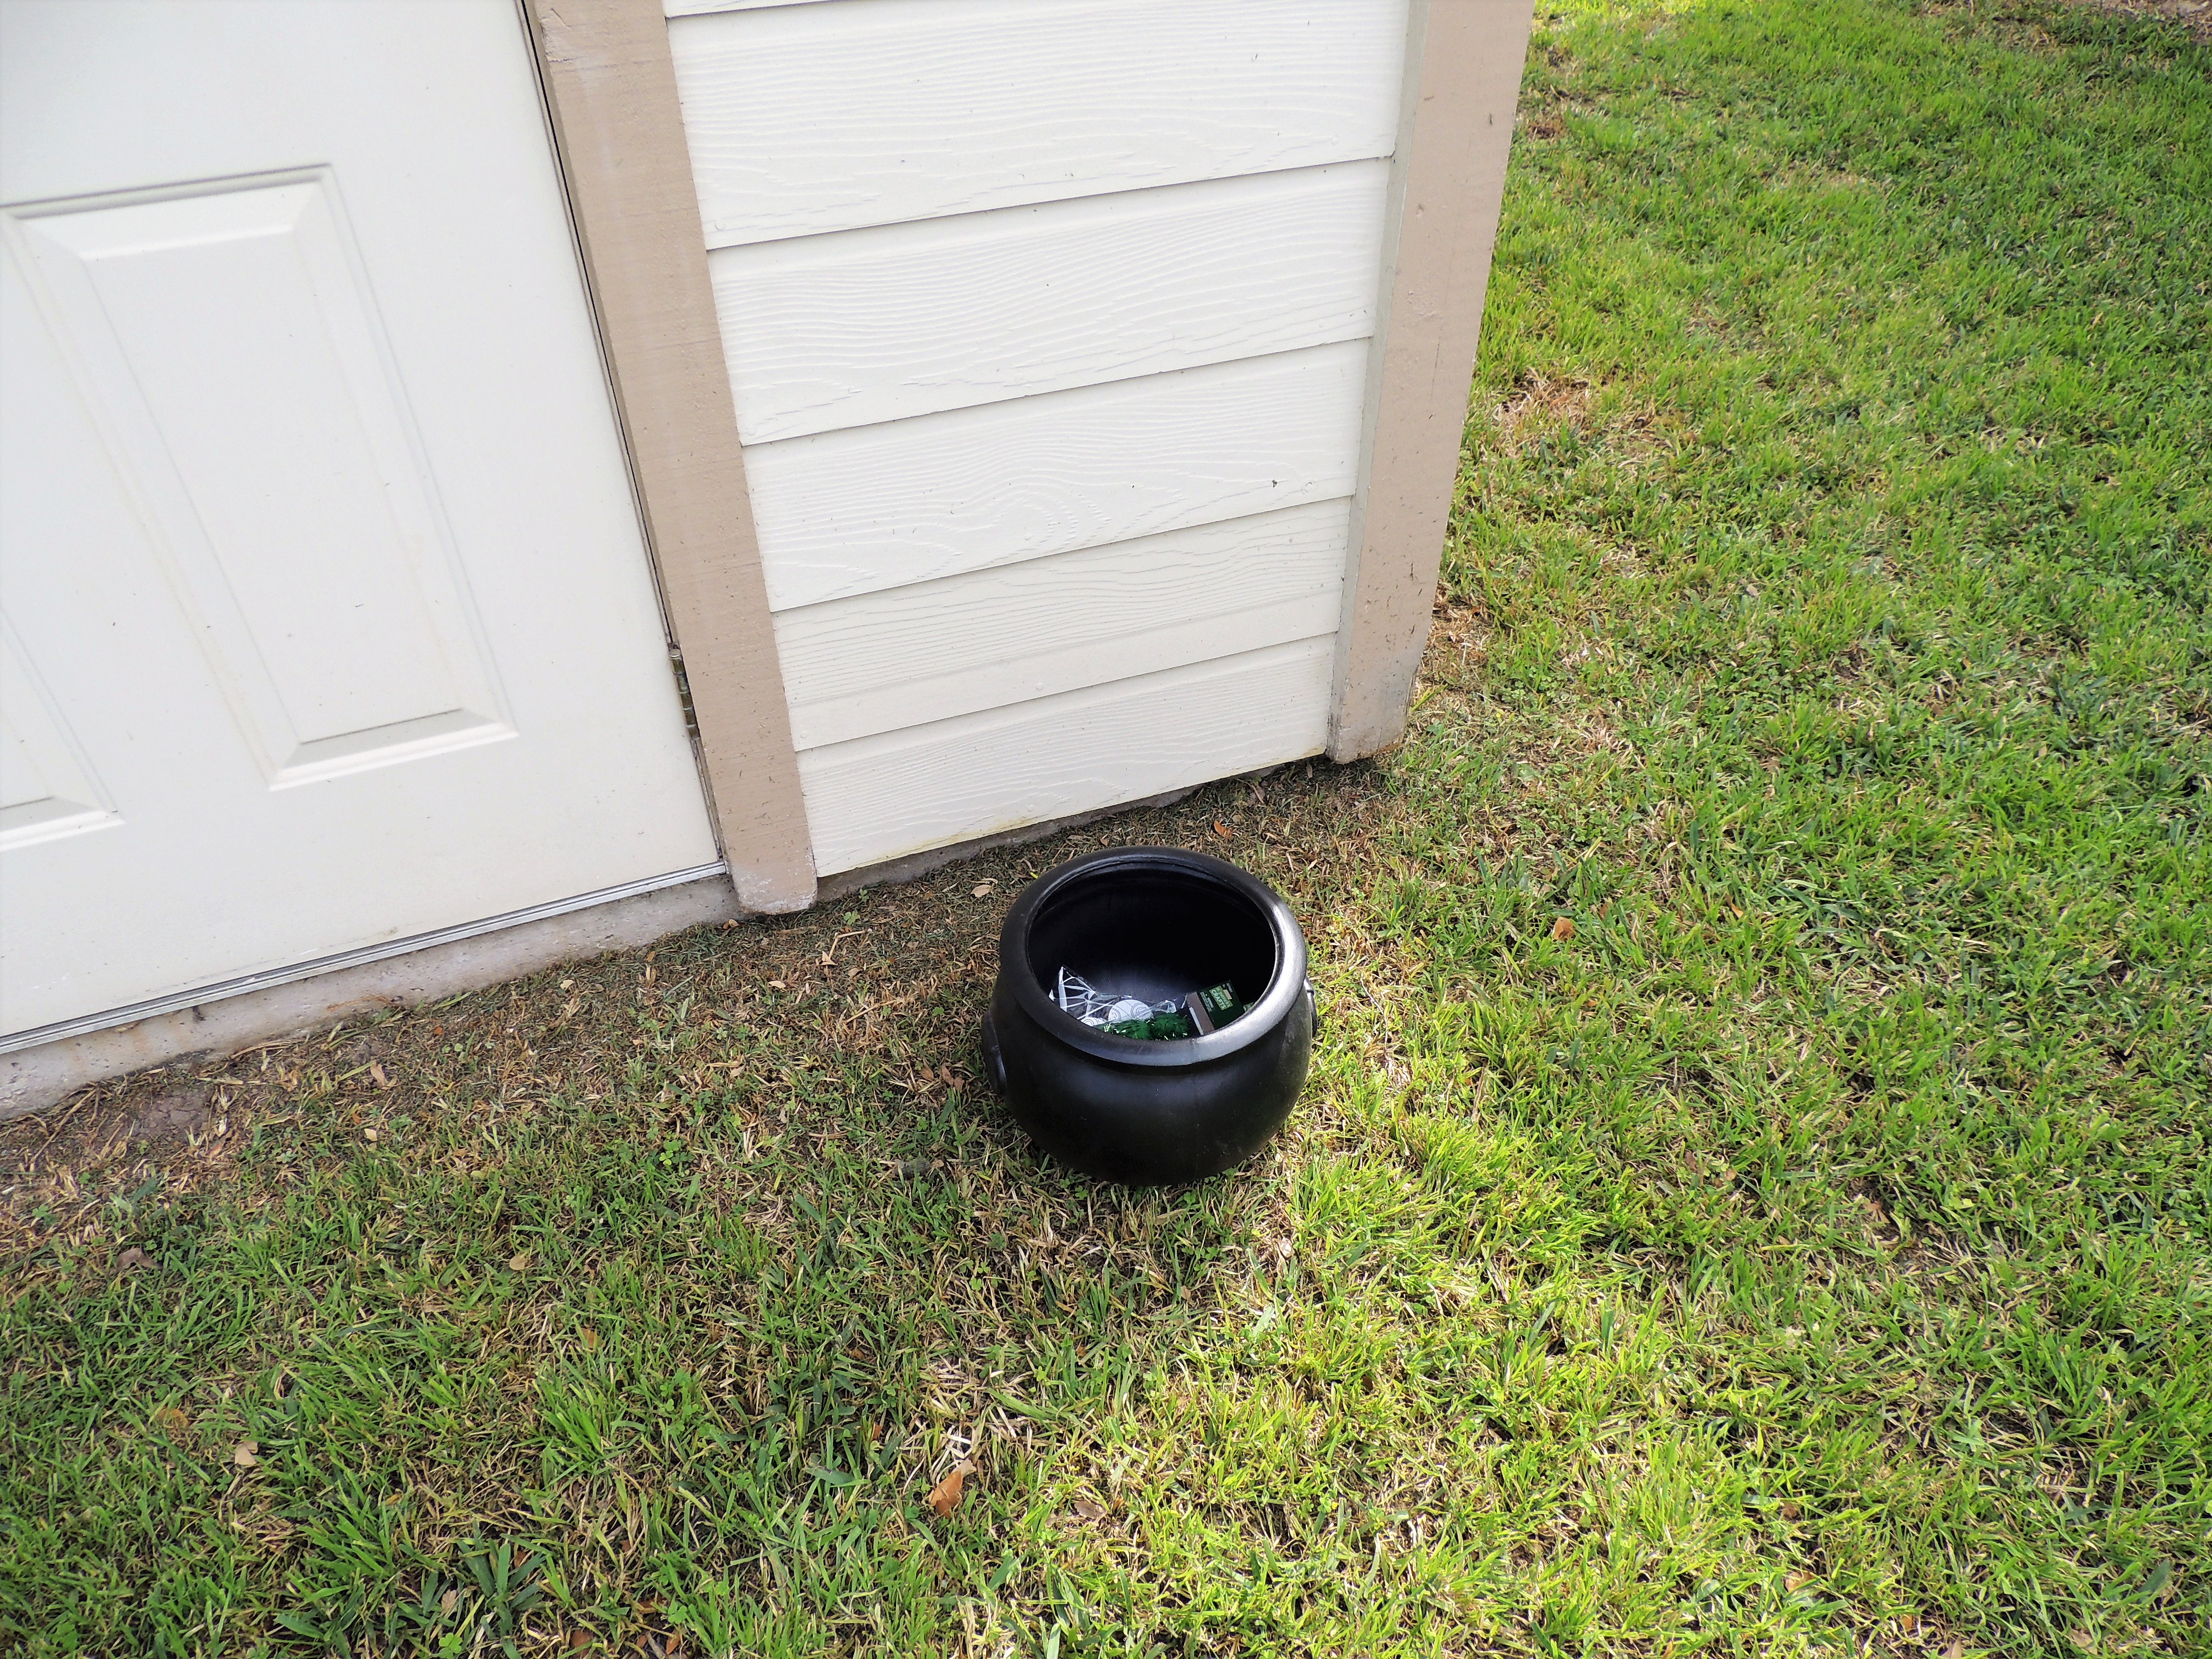

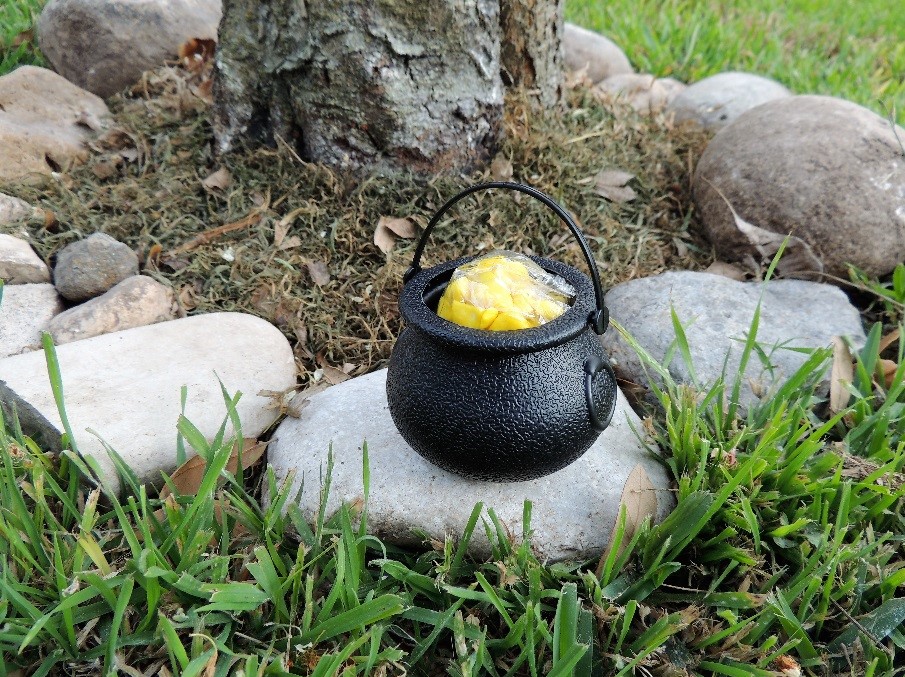


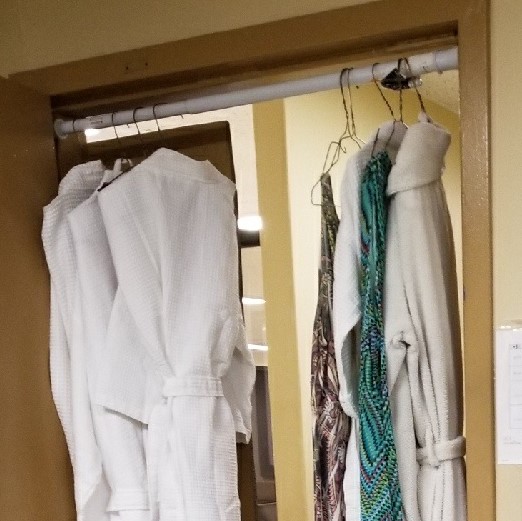


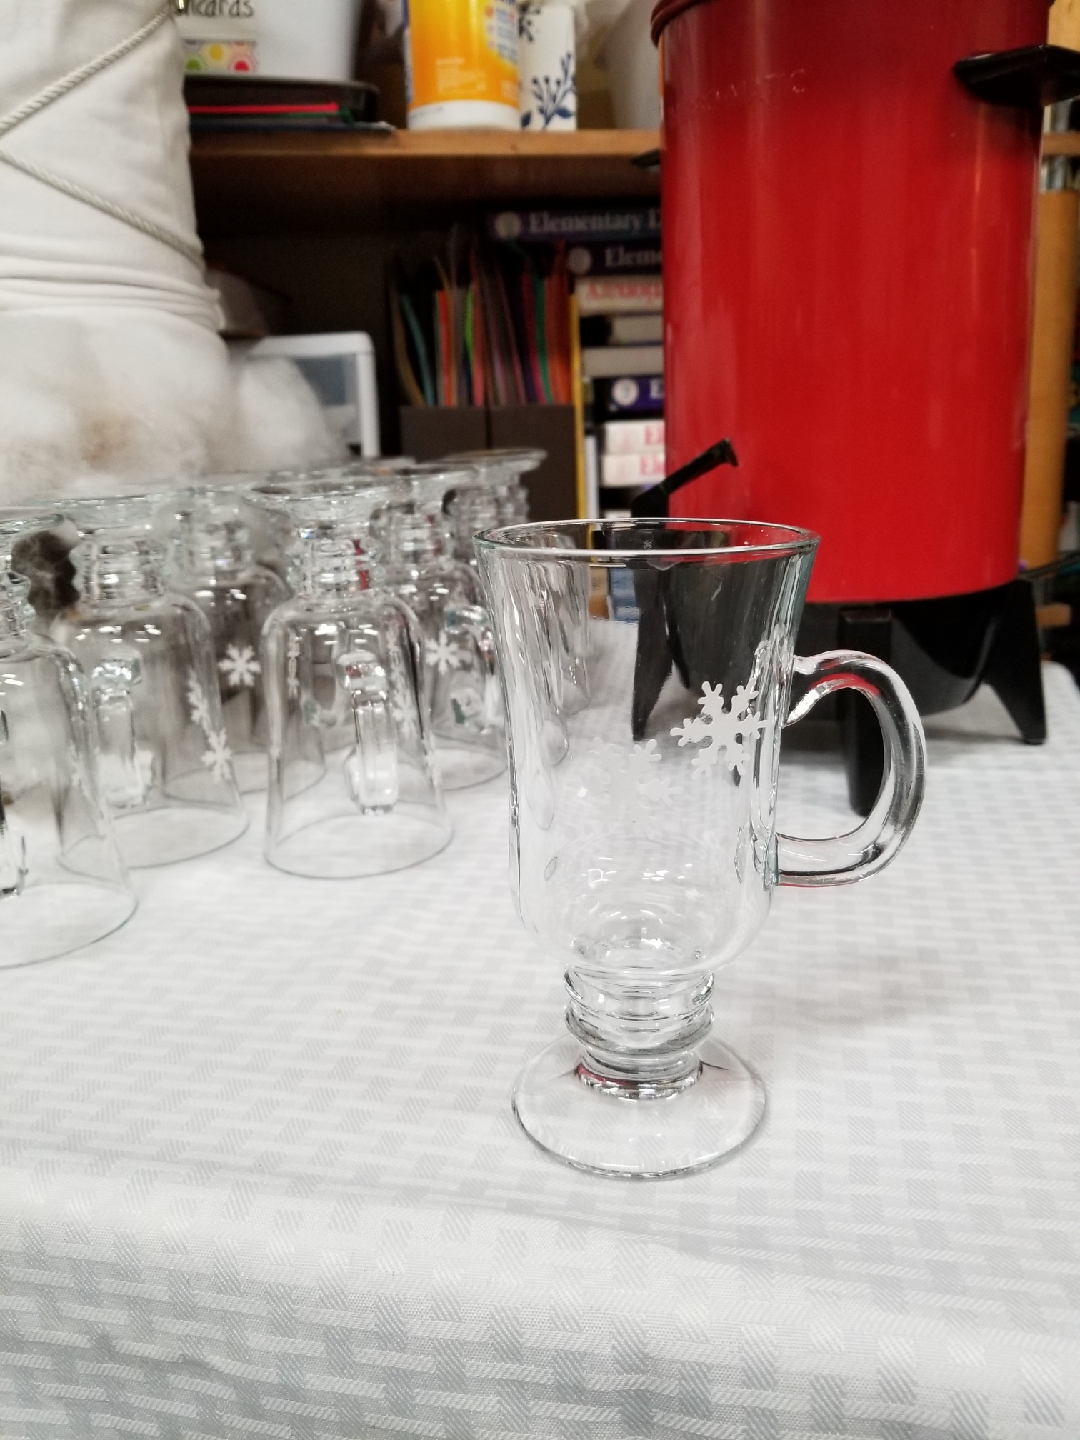


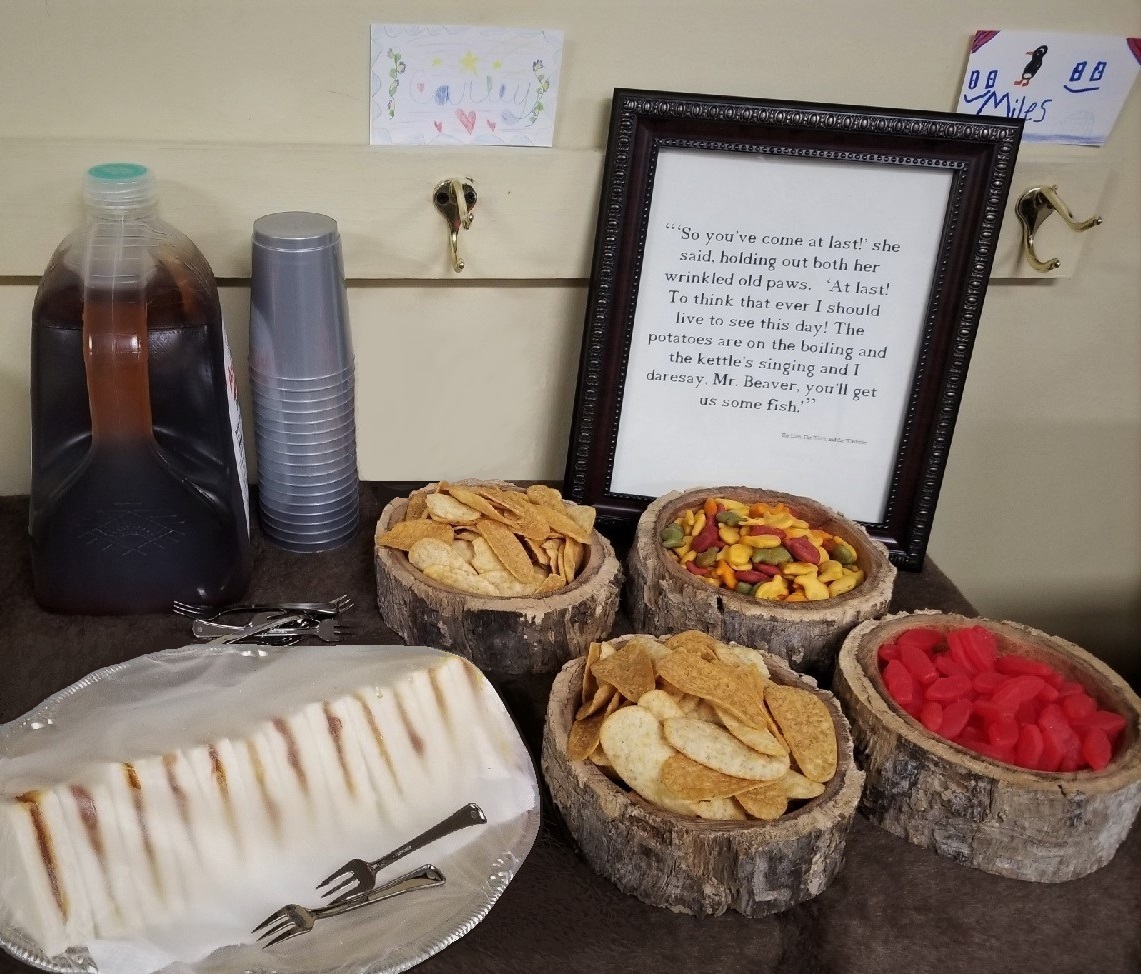
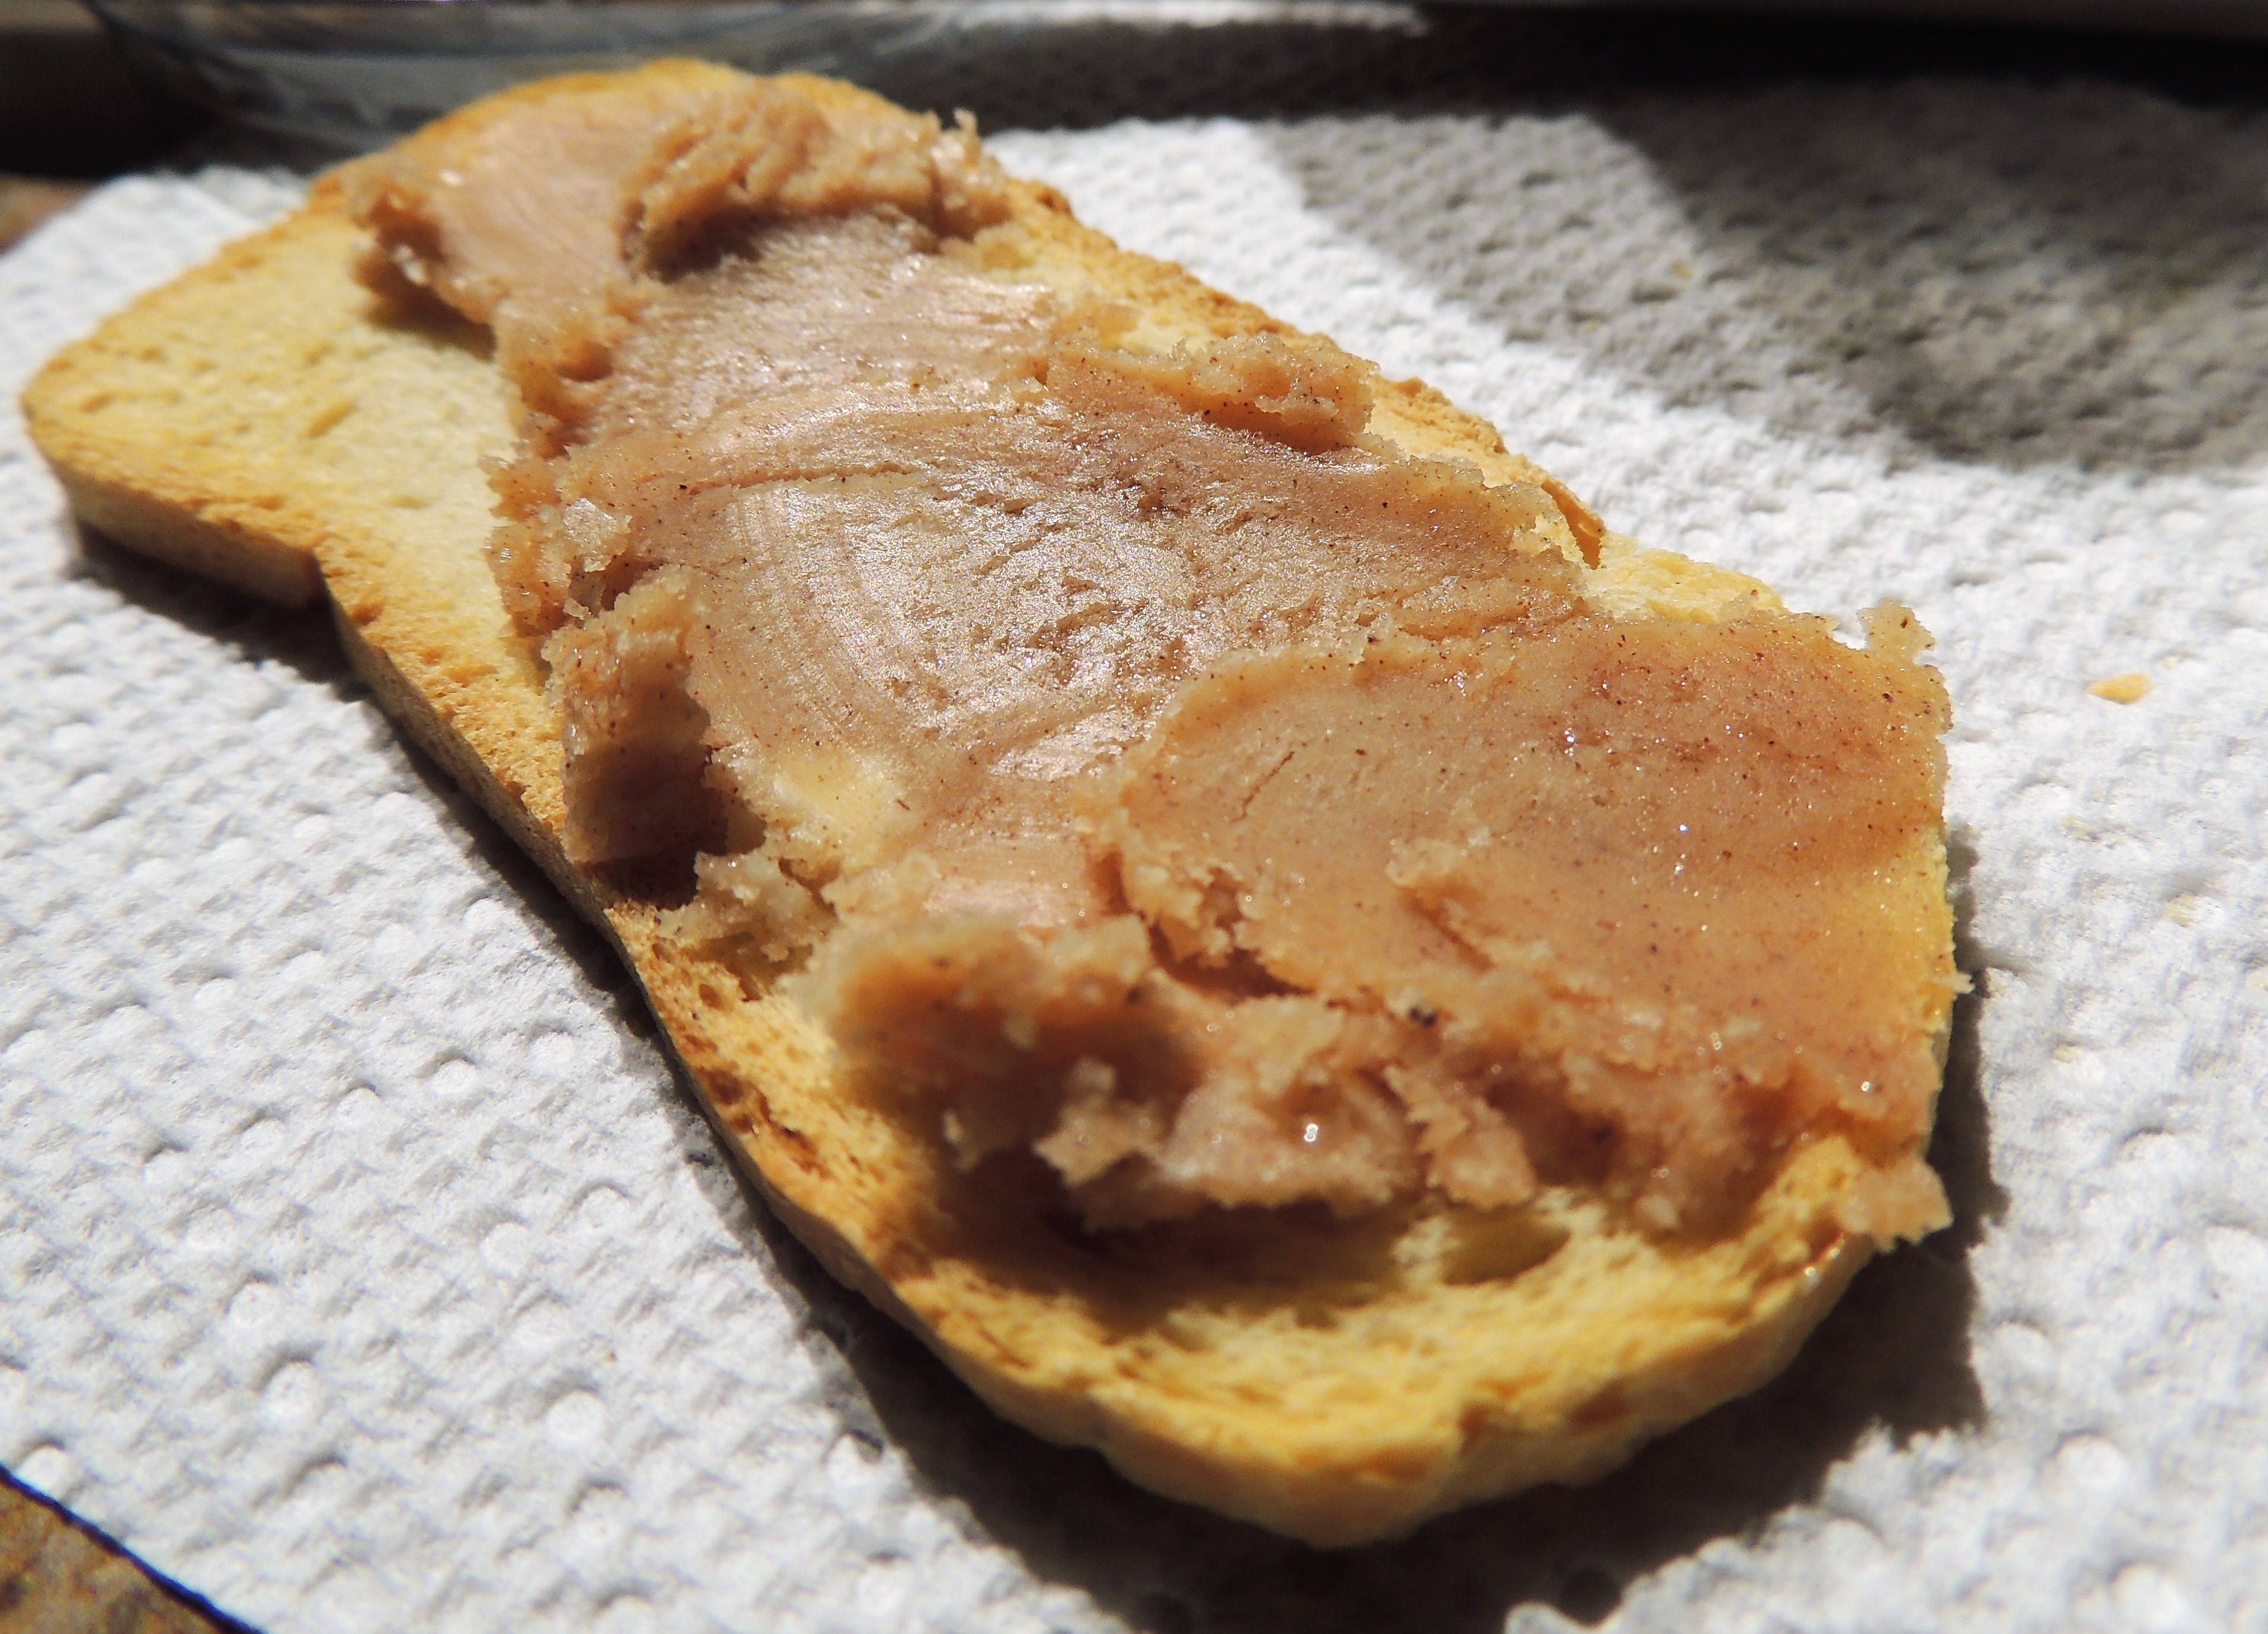
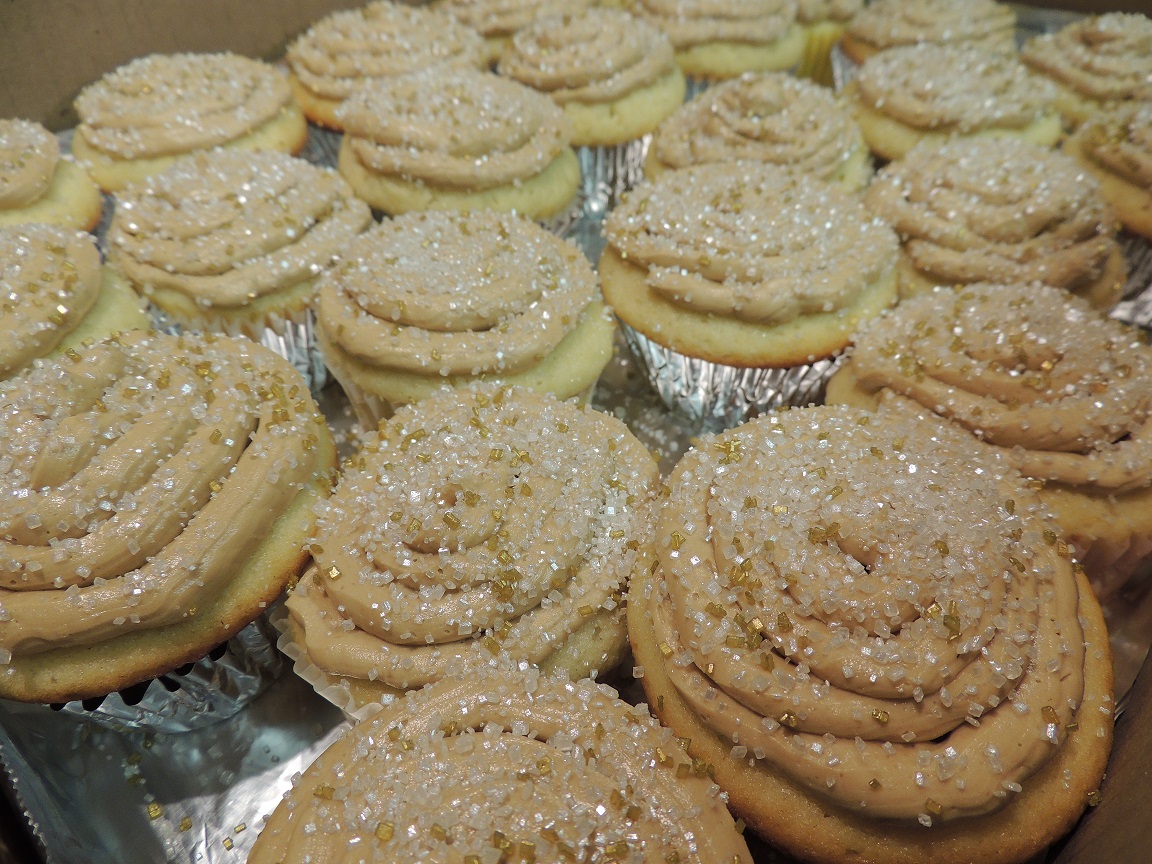
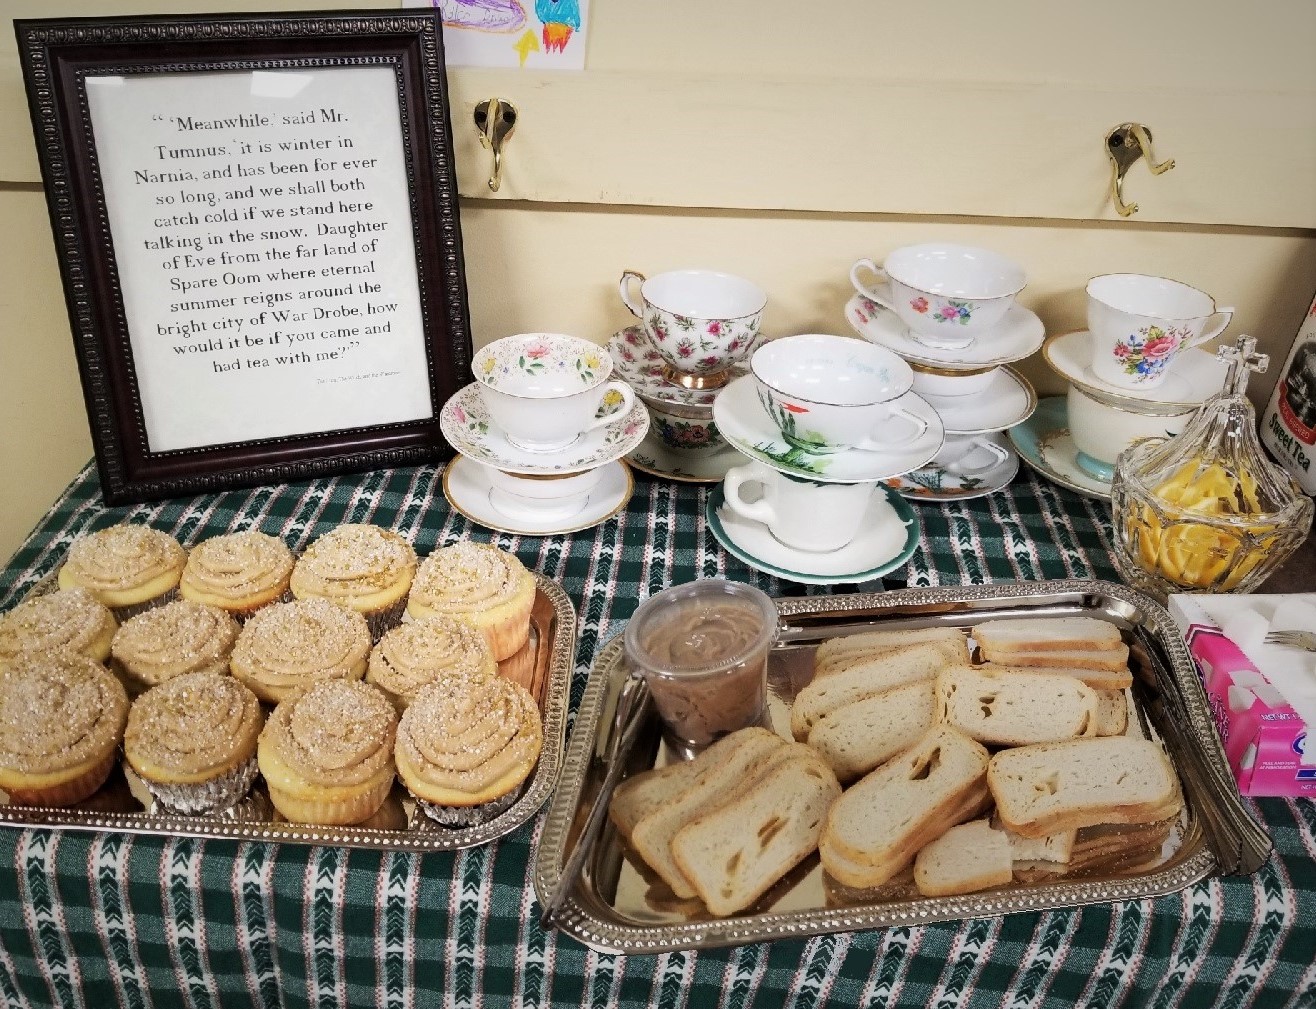
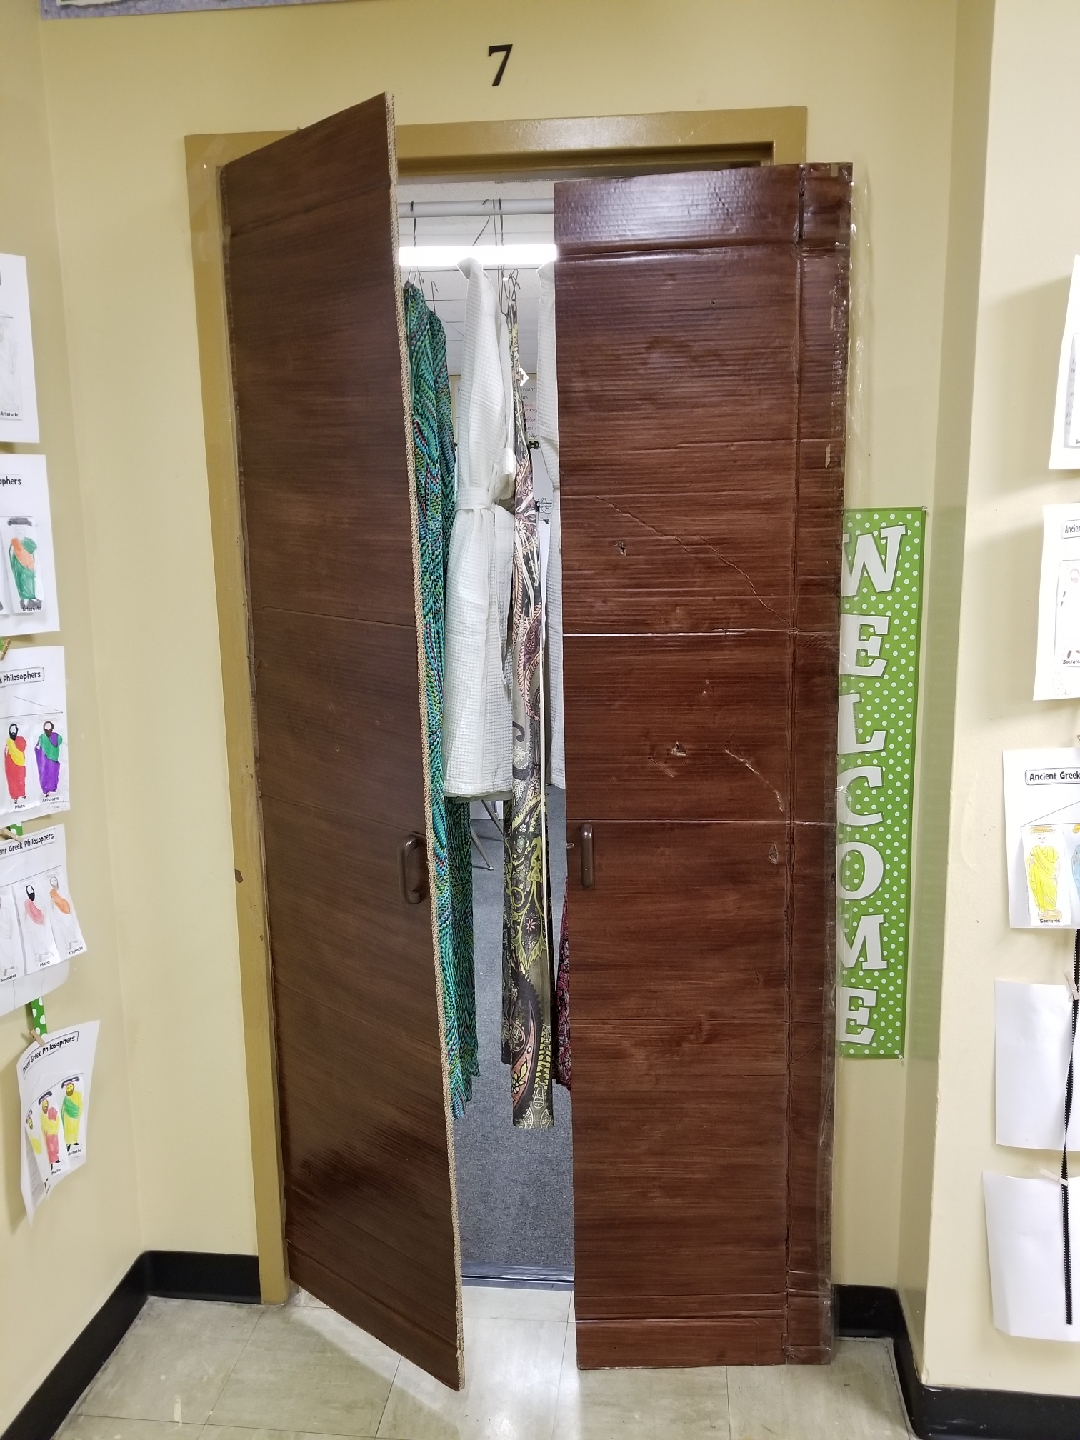
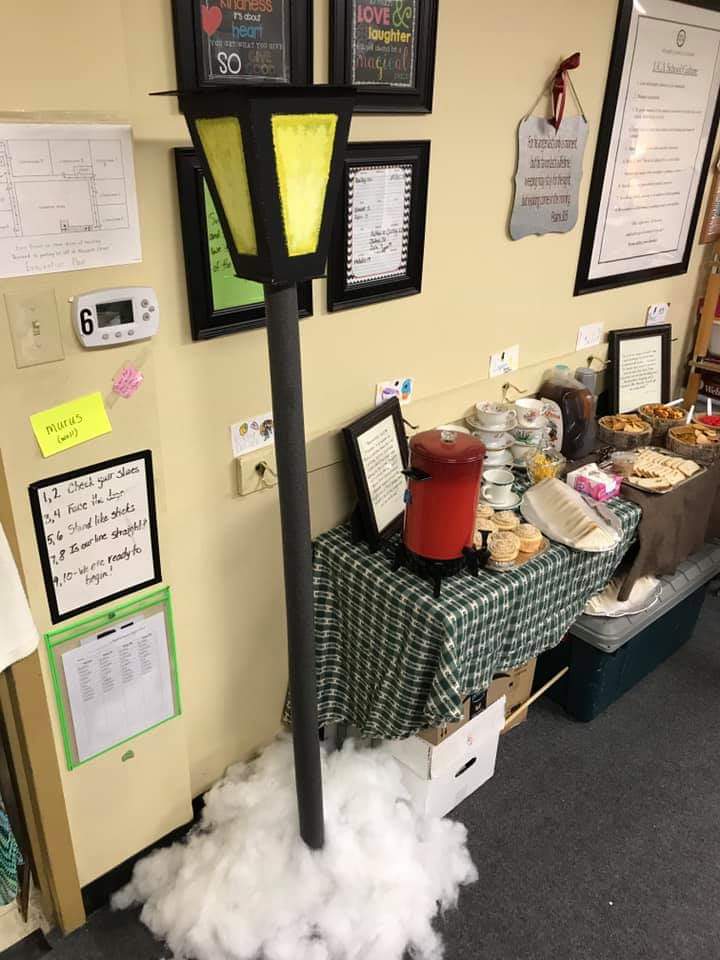
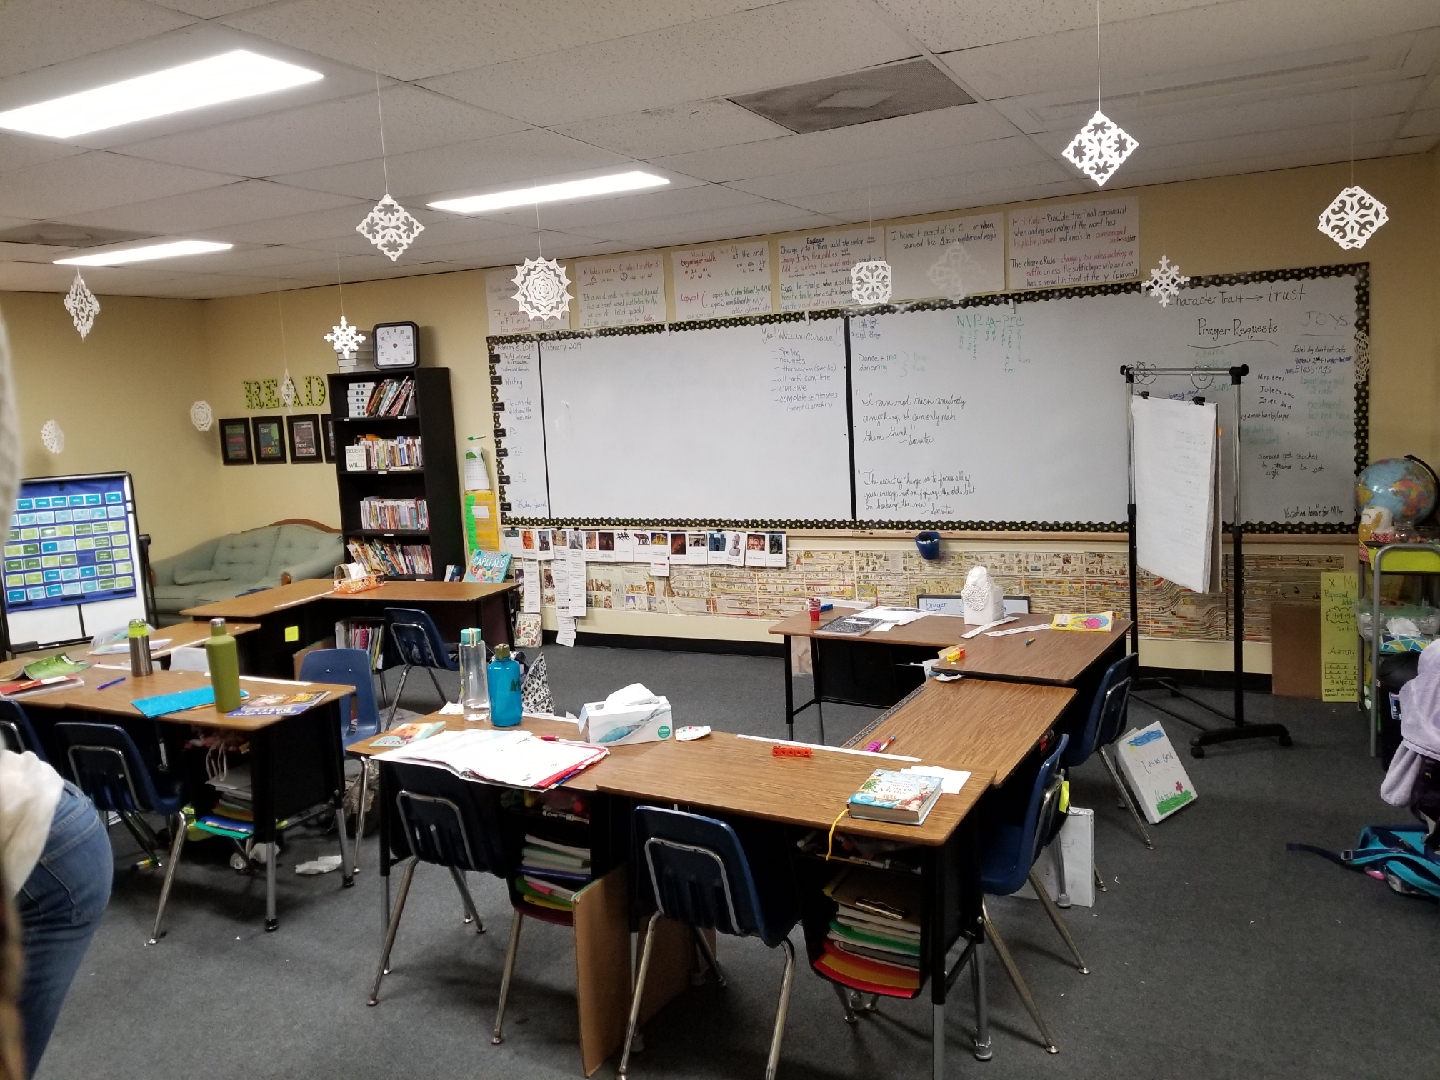


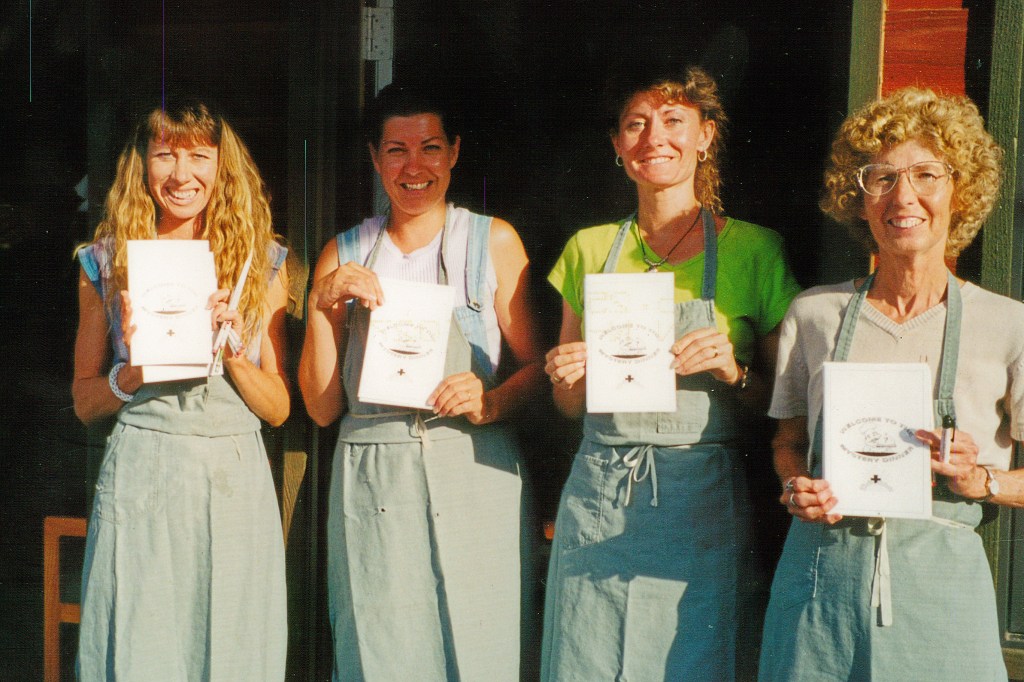


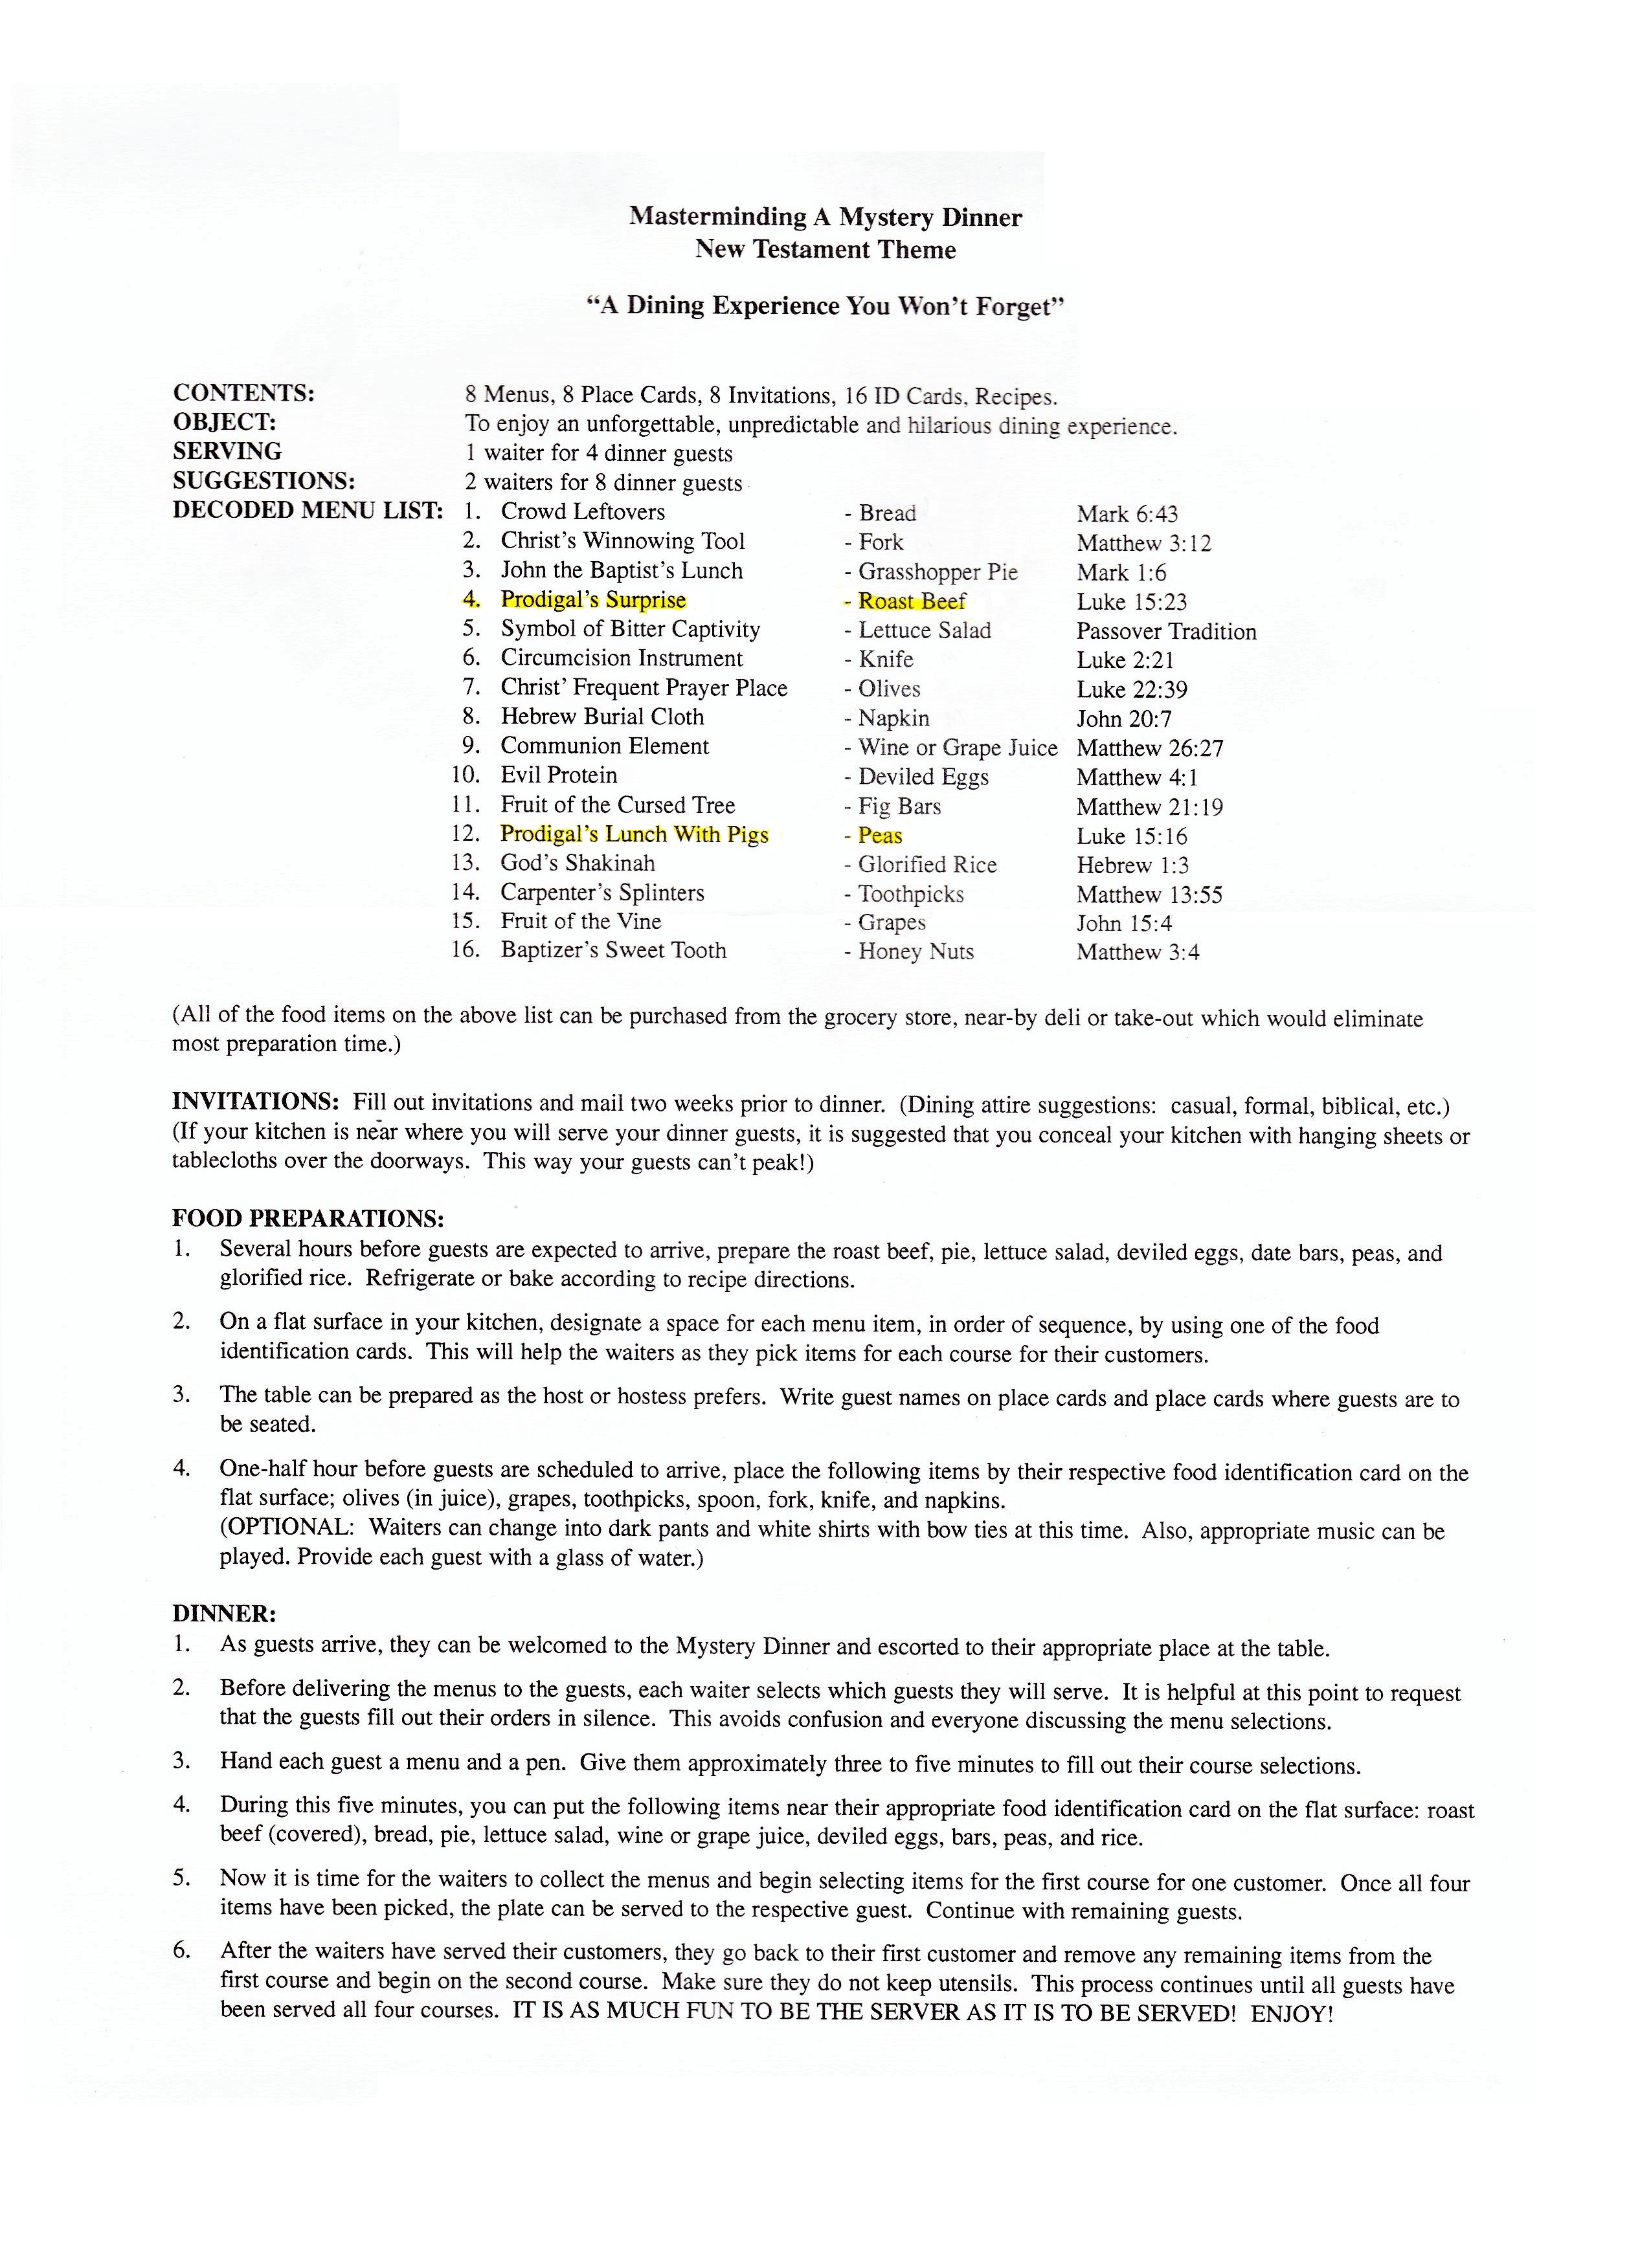

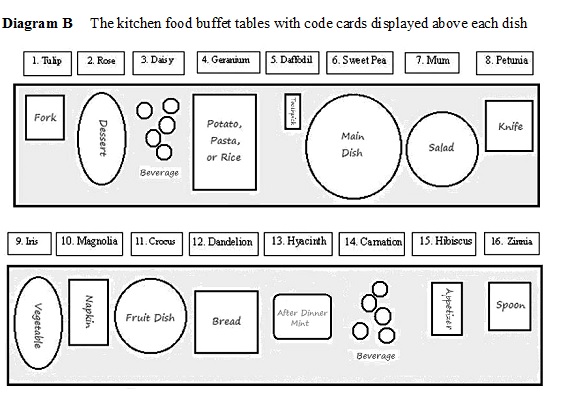


 I was given the opportunity recently to make a bunch of tissue paper flowers for a school project. I had so much fun with it honestly, and thought, these sure would make a beautiful decoration, or they could be used for head garlands (as pictured here) which are pretty popular in Texas, or Homecoming Mums (another Texas thing), or to decorate Derby hats, or for a garden tea party, or luau, or
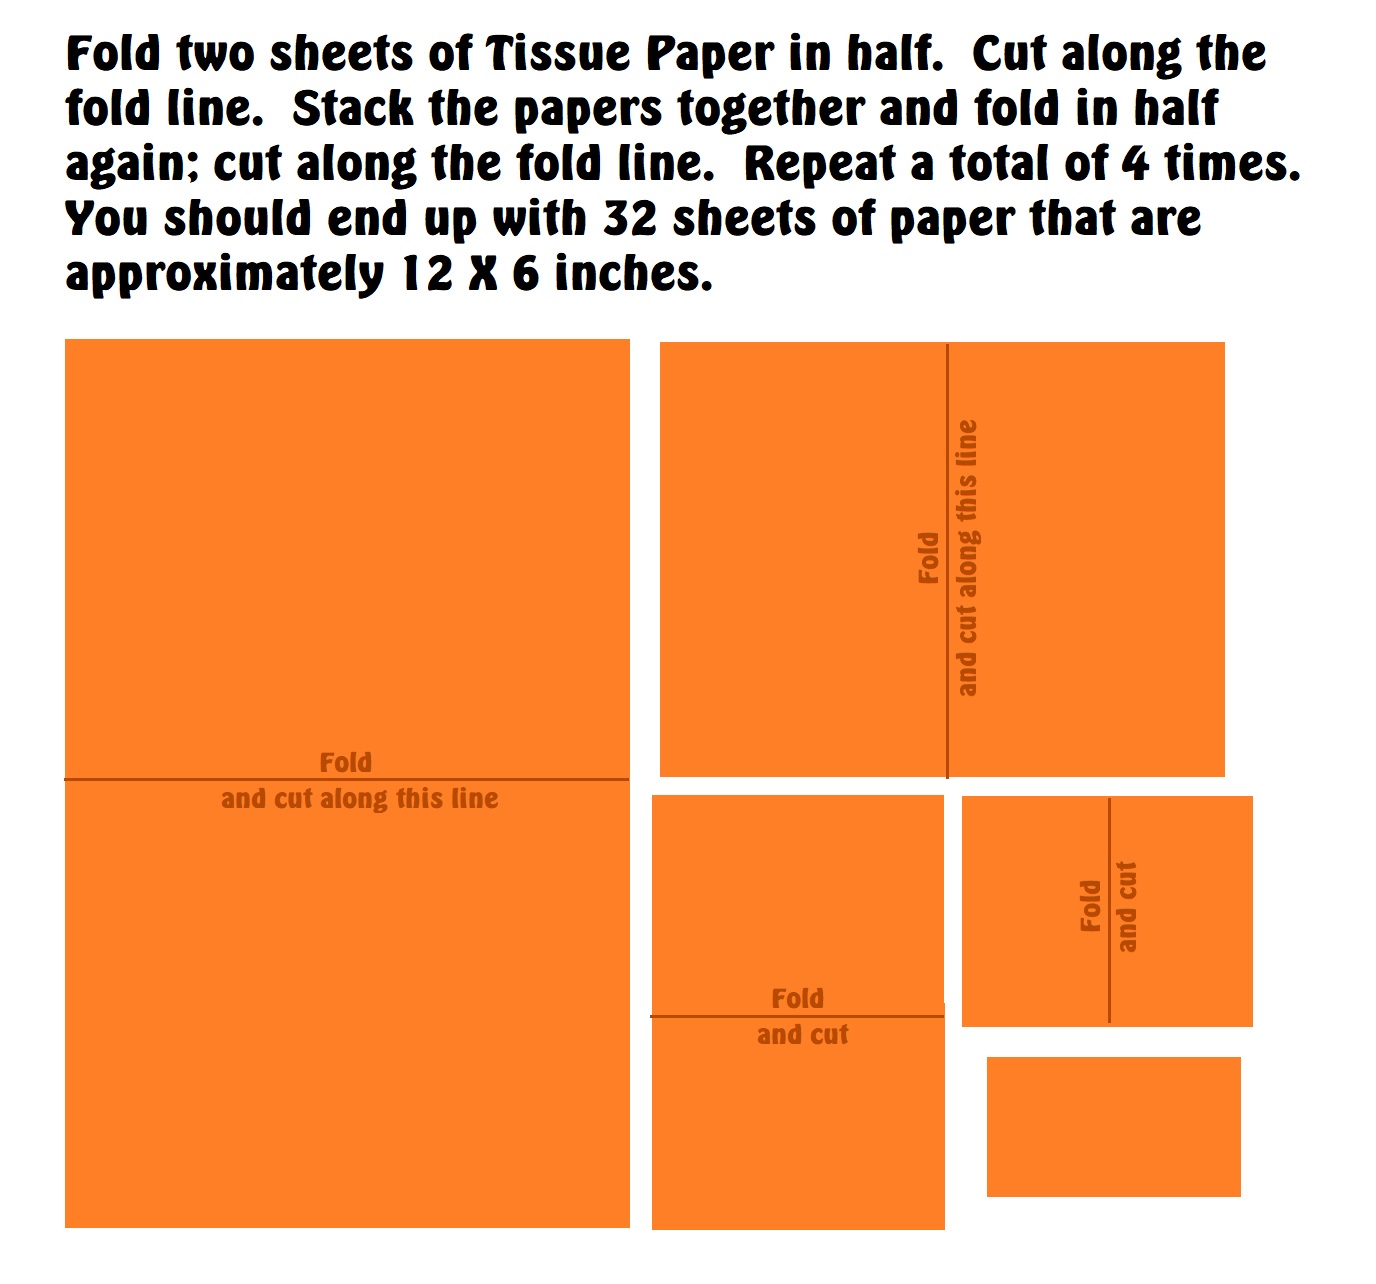


 The center pom kind of makes a flower that looks like a cactus flower. You can do the same sort of thing with green tissue going out the bottom to look like the bud part of the bloom (just cut it with deep zig zags instead of the fringe). You can also experiment with various cuts, and you can also layer two colors of tissue together to make more interesting options. Here are some samples of the flowers I made. They turned out soooooo pretty?