7th– 8th Grade Unit Study on Australian Culture
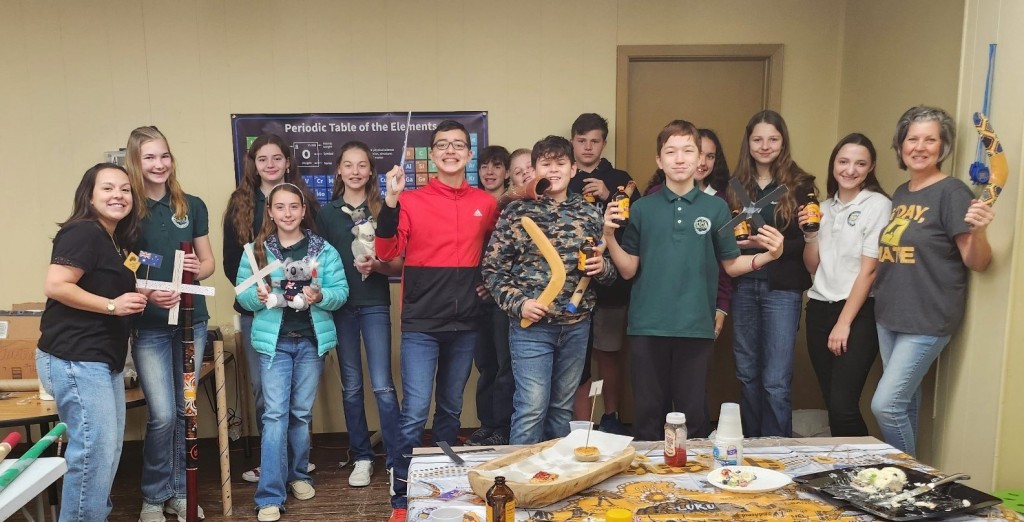
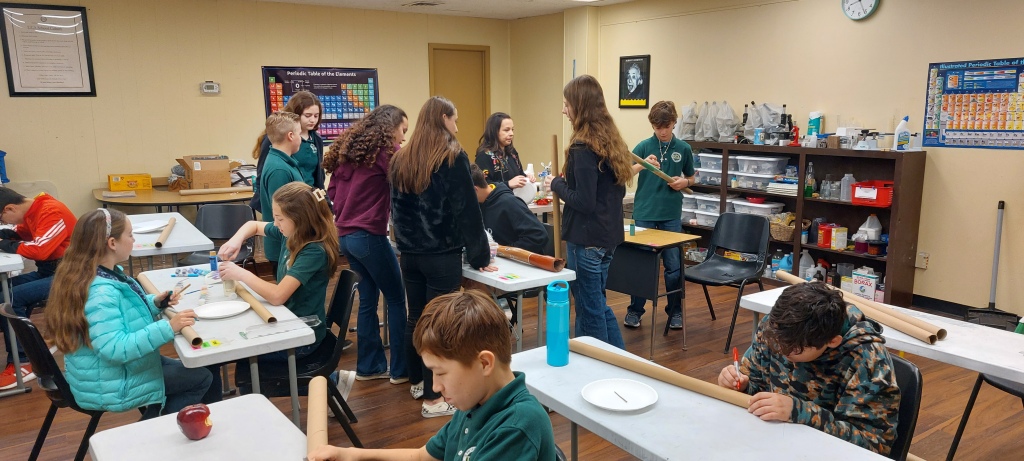
Well, y’all, today was a privilege of privileges! I got to throw another school party for my grand’s World Studies class. We seriously had sooooooo much fun! Praise the Lord for His graciousness. I love sharing these class parties with you all in the hopes that you will find something inspiring, or useful, that you can do with your kiddos. I can barely organize my thoughts to tell you about it all. I’m blogging about it with a full heart that truly did not want the time with them to end. It was a case of having too many things that I wanted for the kids to experience (story of my life), and having much too small of time for us to actually accomplish it all with quality. We managed to squeeze everything in, but we sure could have used another couple of hours.
Their teacher very capably led their studies through the chapter on Australia and Polynesia in their World Studies book, and then generously and graciously allowed me to step in for a brief moment at the end of the chapter, to share the things I’ve collected from all over the world, which in this instance were a few things from the Land Down Under. The Lord has graciously provided over the years for me to get to have these things, and not only that, but also to allow me the opportunity to utilize the deeply compelling, God-given passion that’s in my heart, which is to research, and plan, and cook, and decorate, and bring the cultures of other peoples to life.
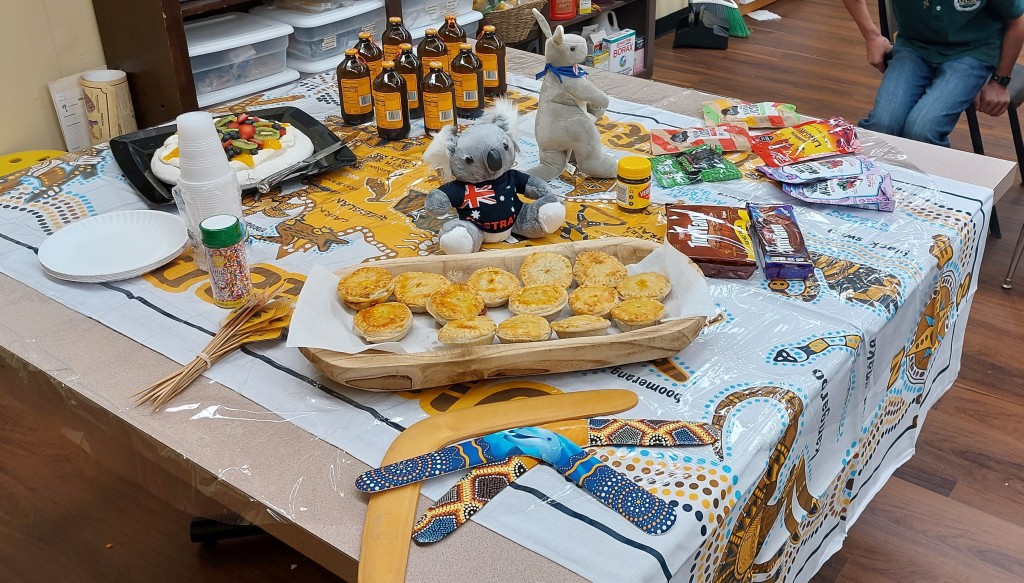
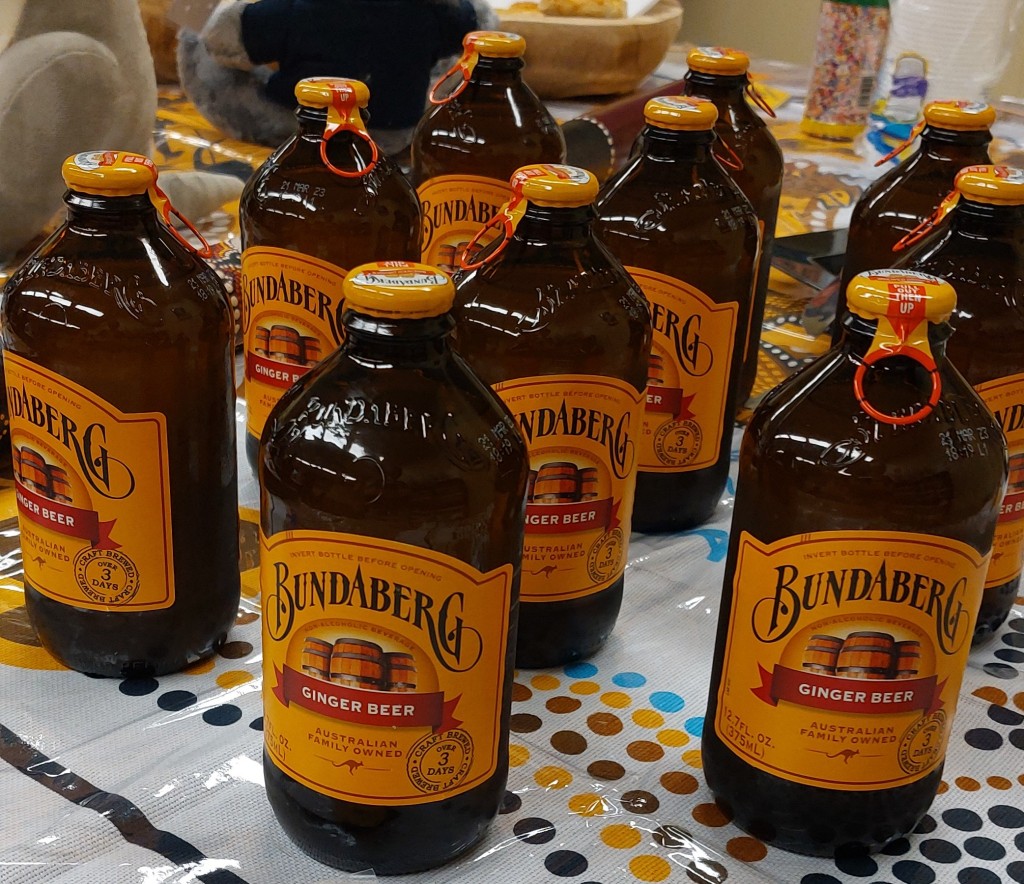
This party was all about Australia, from the indigenous peoples to the settlers. We learned about Digeridoos, Dancing Sticks, Boomerangs, and Bull-roarers. We ate Aussie Meat Pies “with sauce” – the national food of Australia, Tim-Tams, Pavlova, and some varieties of licorice “lollies.” We were able to experience a sniff of Vegemite (the kids were too chicken to taste it – although I had snuck some into the meat pies when I made them, so they actually had tasted it and didn’t know it – Ha!) And we all got to taste a glassful of Bundaberg Ginger Beer. So delicious!!!! We also listened to some Australian music, a mix of both the indigenous peoples and some modern top-50.
Side note: Ask me how glad I am to have a Cost Plus World Market fairly close-by. Unfortunately, they have discontinued carrying ANZAC Biscuits and didn’t have any Lamingtons. The even more sad thing was that I was too pressed for time to be able to make very many of the things at home that I wanted to this go around – but I have included all the recipes below for you (and myself), in case you (or I) ever want to try this party (again) at home for a Birthday, or dinner party, or family get-together, or for your school, or Homeschool World Studies unit, or for a church function (perhaps you have some displaced Aussies in the congregation who are maybe feeling homesick, or missionaries to the Outback whom you could honor), or whatever the occasion!!! Perhaps you just want to try some of the lovely foods from down under?
Okay, I’ll start with
Music and Decorations…
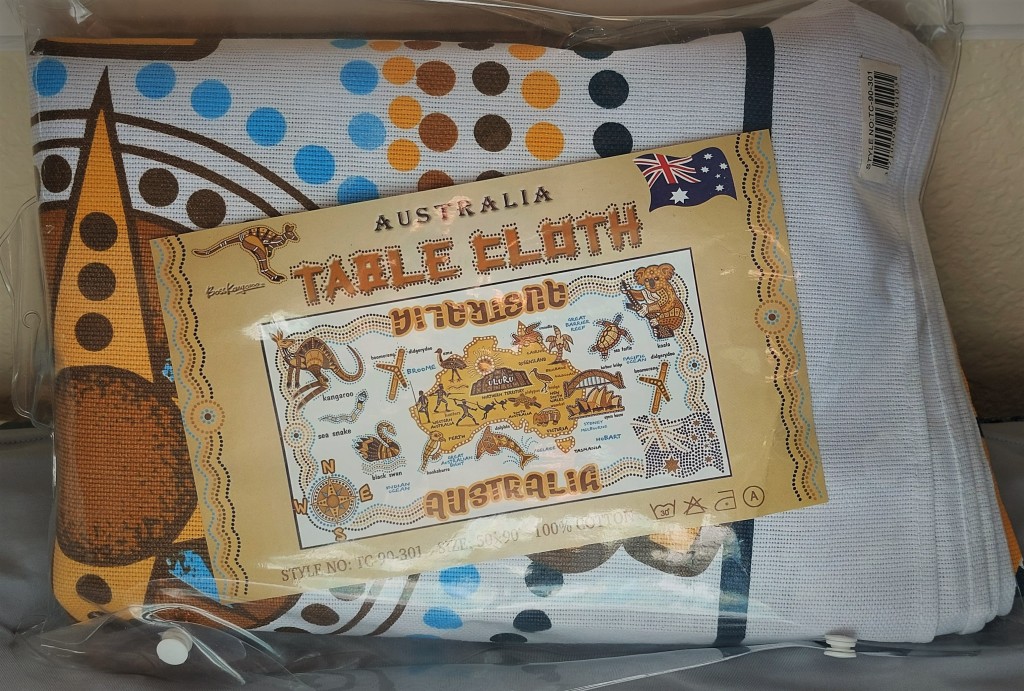
I had ordered this tablecloth (above) on Amazon, but it never came. ☹
Fortunately, I found this one on eBay and it arrived just in the nick of time. 😊
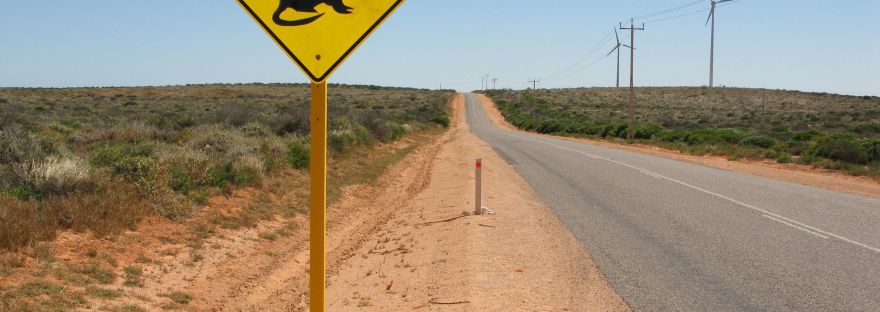
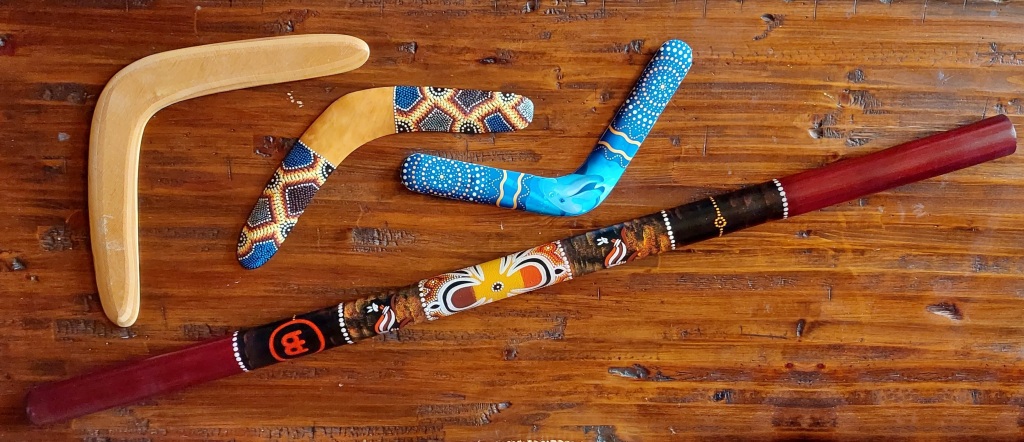
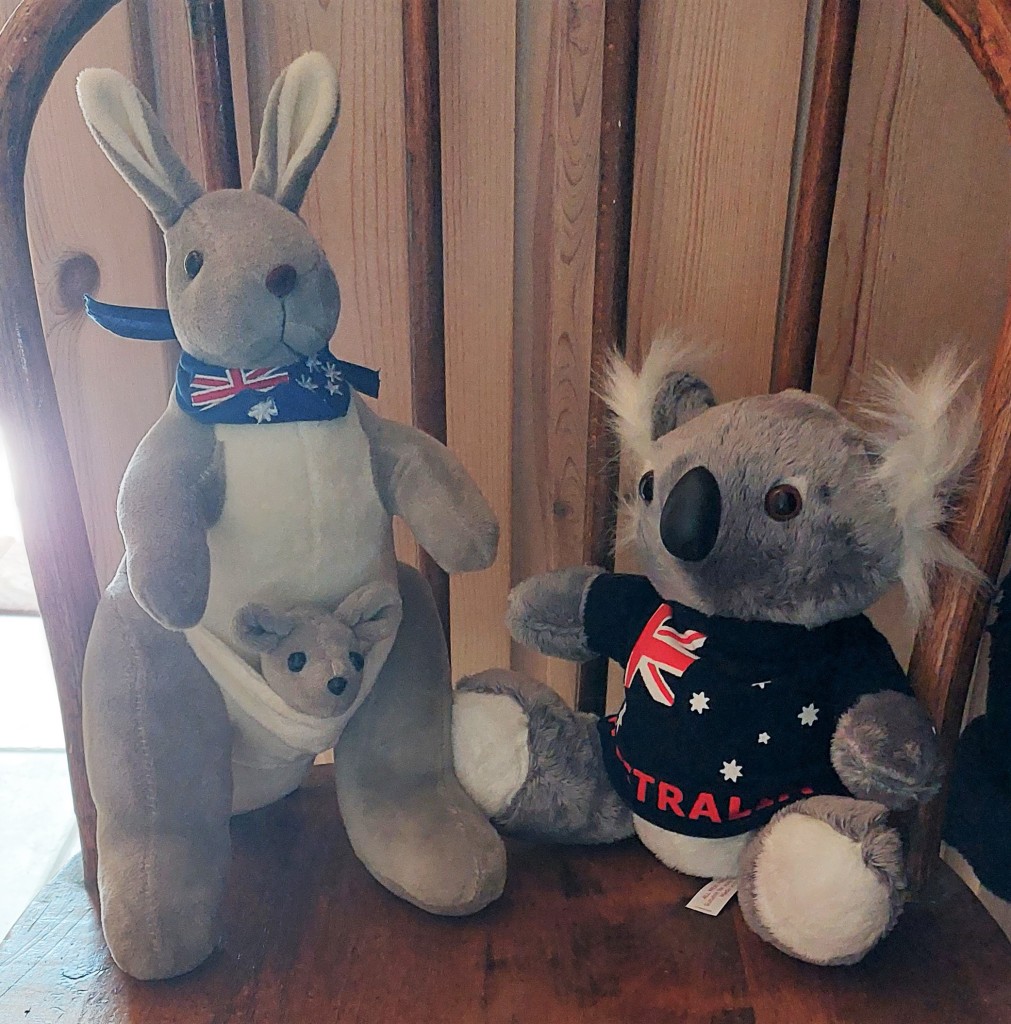
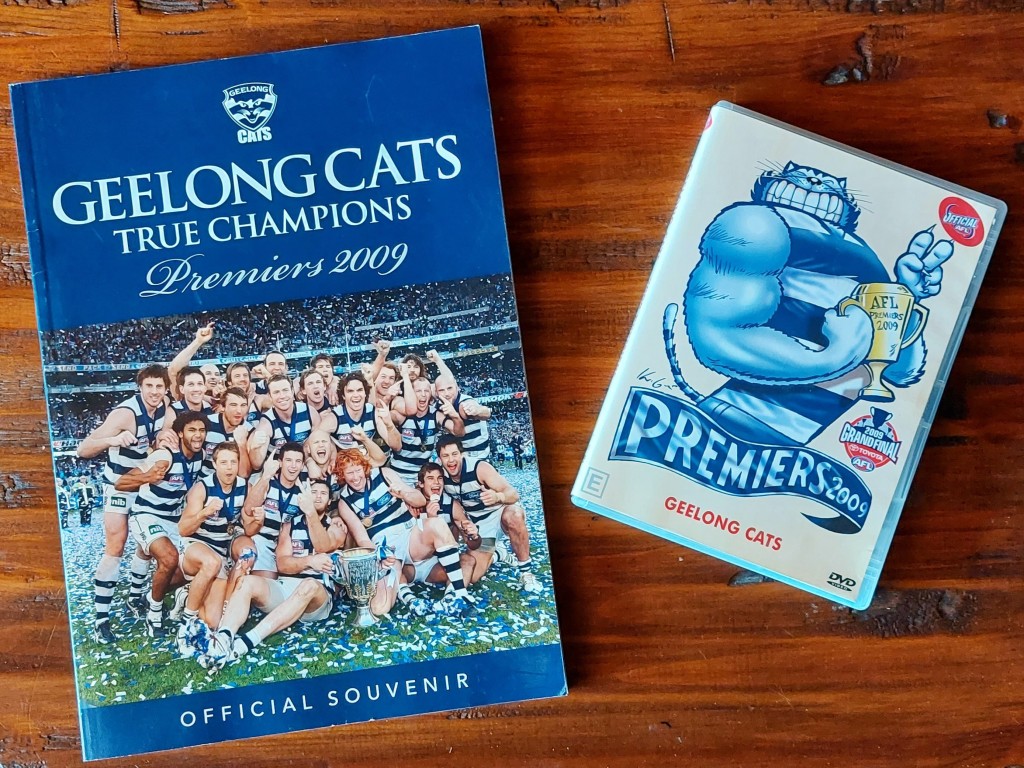
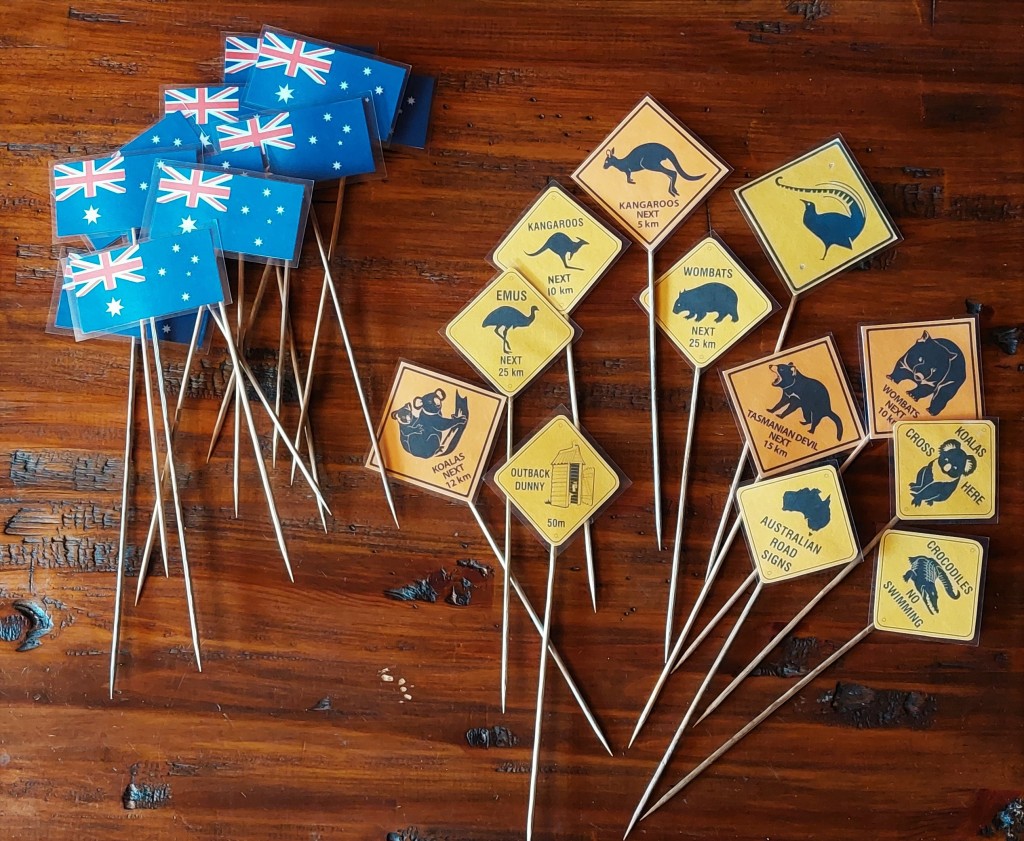
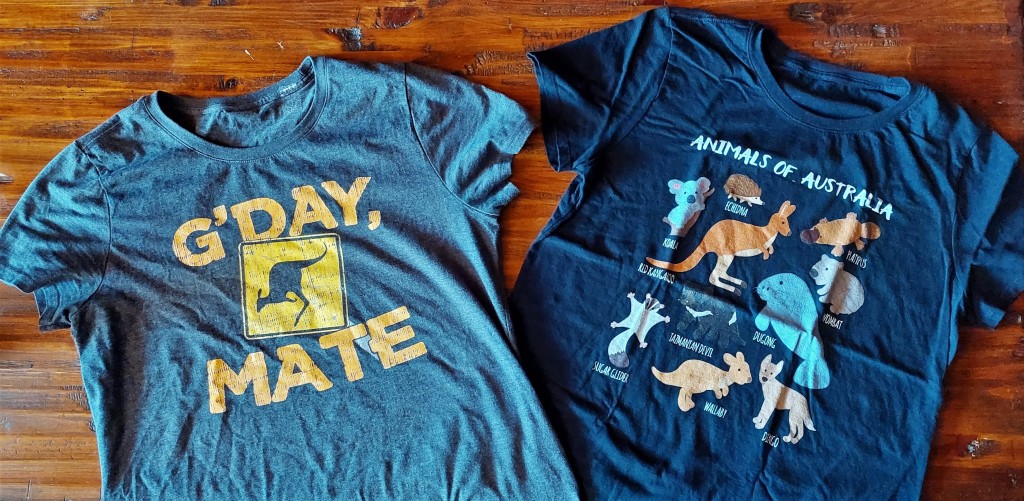
The food on the table also served as decoration (more on that below), but I also tossed around a few stuffed animals, some real boomerangs, and some Aussie flags and road signs to lend atmosphere. One of the student’s fathers had a real digeridoo, which he allowed his son to bring to the party. It was really heavy, made from a real tree, and decorated with real tribal designs. It was very cool. I also contributed to the party decoration by wearing a t-shirt that said “G’day Mate!” on the front of it. It made me happy all day just wearing it. And I had made some little road signs and Aussie flags to scatter around on the table. I have a friend who lives in Geelong and is a huge “footy” fan, the Cats in particular. She sent me some souvenirs of the 2009 Premiers, because of course the Cats were champs that year!!!!! I wished I could have found stuffed animals of all the Aussie animals, instead I ended up getting a t-shirt, which featured at least 10 of them.
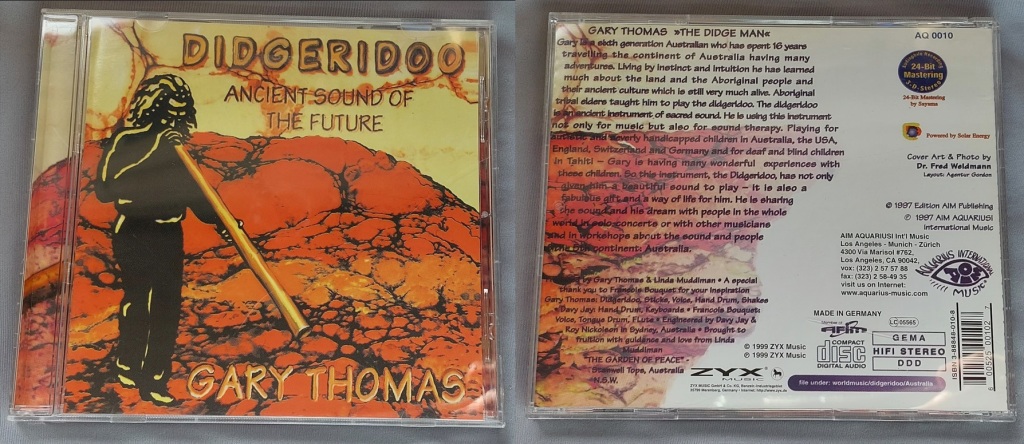
This is the music I had playing when the kids entered the classroom, so they could hear what digeridoo sounds like, but I was cautious about playing it for a long length of time, or too loudly, or to meditate on the sounds too closely, since the indigenous people call it “dream music.” I don’t know if the sound of it opens you up to a spirit world (the way worship music does for Christians), but I didn’t want to go there.
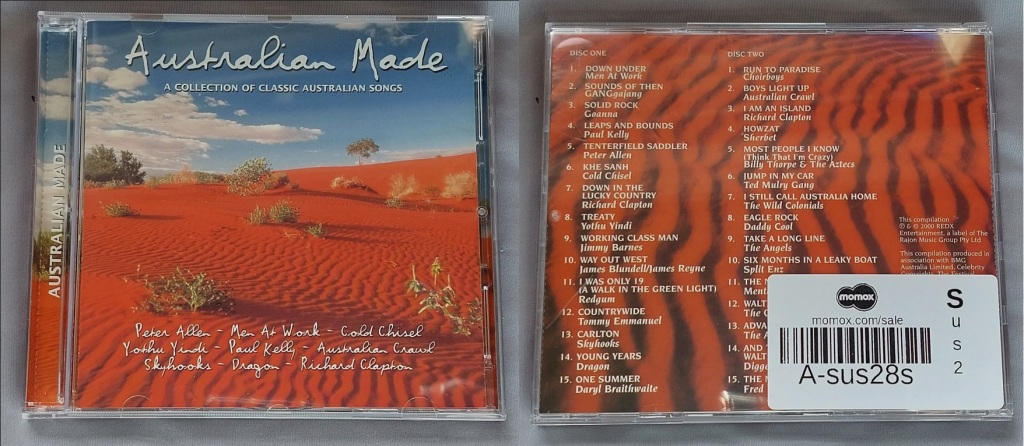
And this is the CD that I played after we had made our dancing sticks. I found a used original online for $6 – a find of the century as it is out of print. It has all the favorites on it. “Down Under” by Men at Work, Waltzing Matilda by The Outback Singers, and an audio passage from The Man from Snowy River by Fred Hollows. Absolutely perfect!!!!
Crafts
Digeridoos
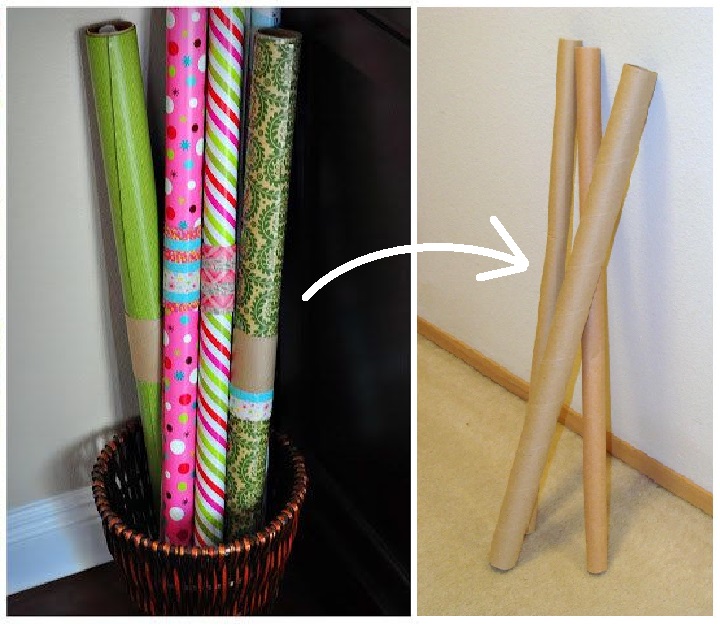
So, I wanted the kids to have an opportunity to try playing a digeridoo, but I didn’t want them passing around my real digeridoo and spreading germs during cold and flu season. So, we made one per kid using gift wrap tubes (which I had asked parents to provide, while they were massively available during the holiday season). The kids then used paint to decorate their digeridoos with various tribal designs.
How to make a Digeridoo out of wrapping paper rolls: https://www.koolkidscrafts.com/make-a-didgeridoo.html
How a real Digeridoo is made, by David Hudson: https://youtu.be/2lBZ6yPW9WU
How to play a Digeridoo, by David Hudson: https://youtu.be/0XlEkeot7HM
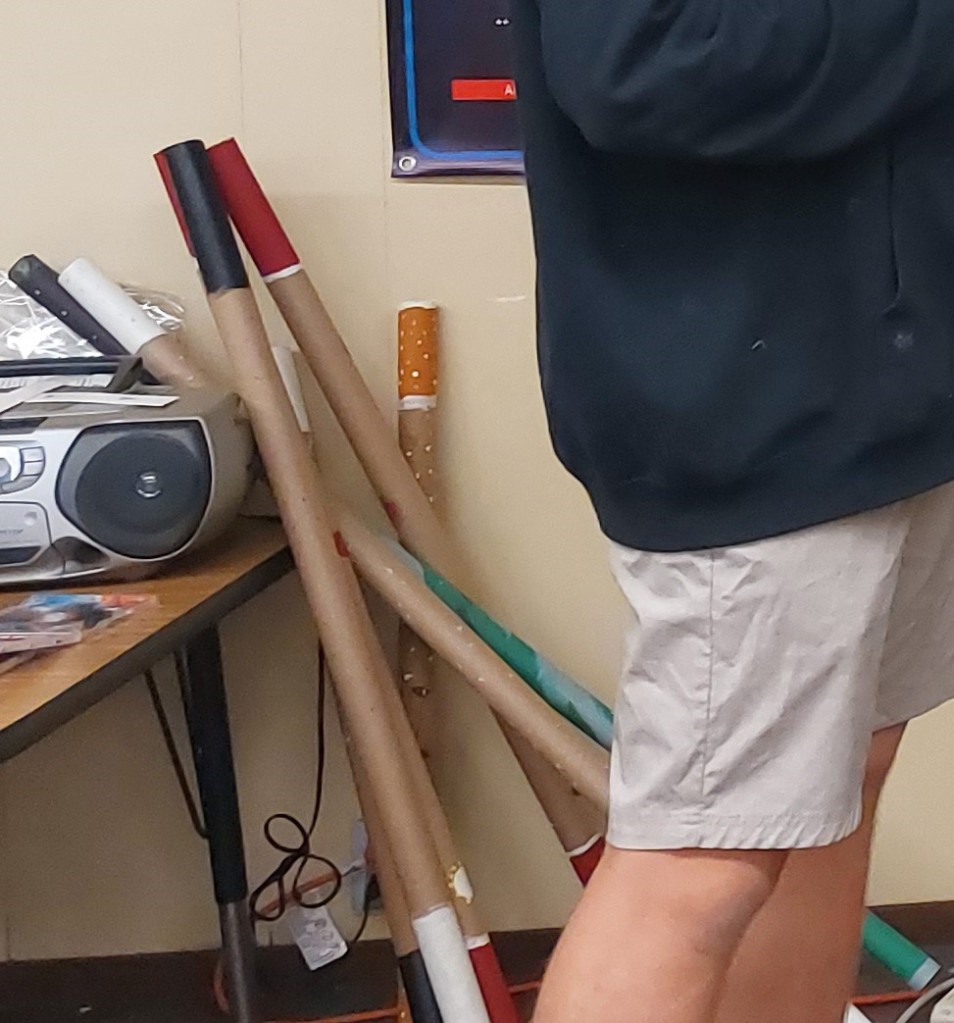
And then we all tried to play them. It definitely takes some skills. I didn’t manage to get a photo of the kids playing them, but I did nab this photo of some decorated ones that the boys had done.
Bullroarers
The first thing was to show the kids the video clip of Crocodile Dundee demonstrating his Bullroarer skills in a scene from the second movie:
Normally Bullroarers are heavy pieces of carved wood threaded with a strong thick string or thin leather strap, but I found a kid’s craft version that worked like a snap:
How to make a kid’s Bullroarer:
https://www.schooloftoy.com/freeprojects/
Click on the link above and then scroll down to the bottom of the webpage until you see this video, pictured below:
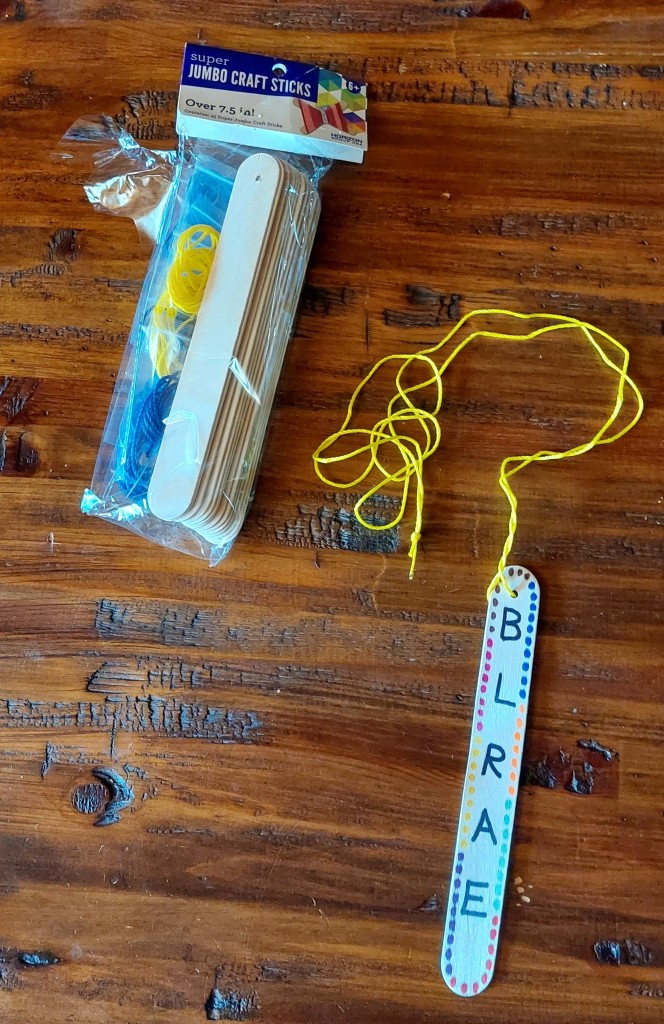
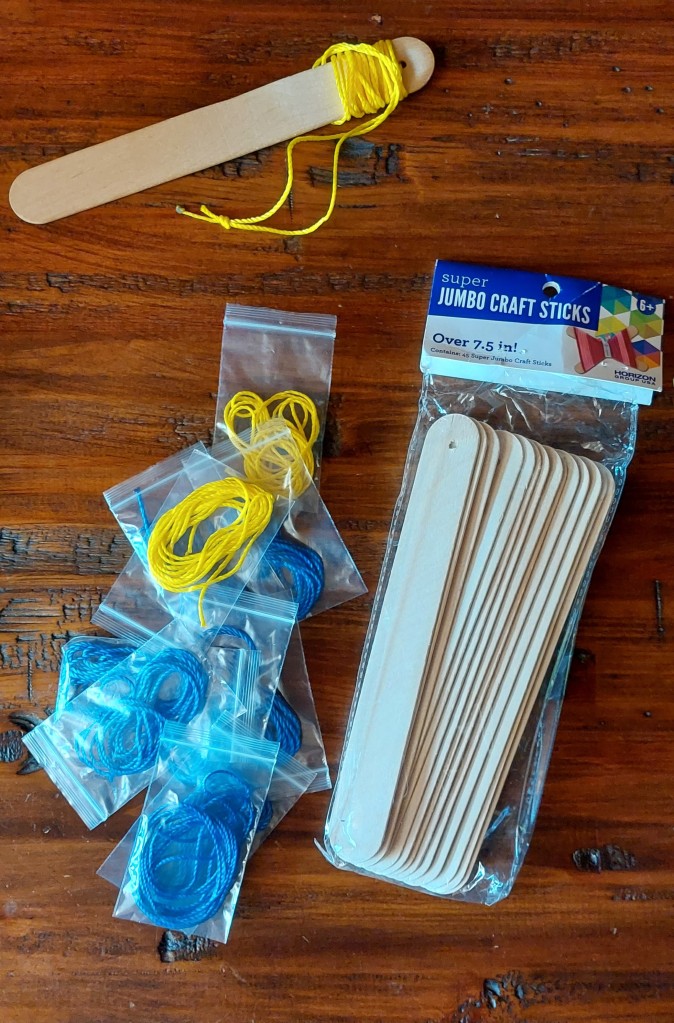
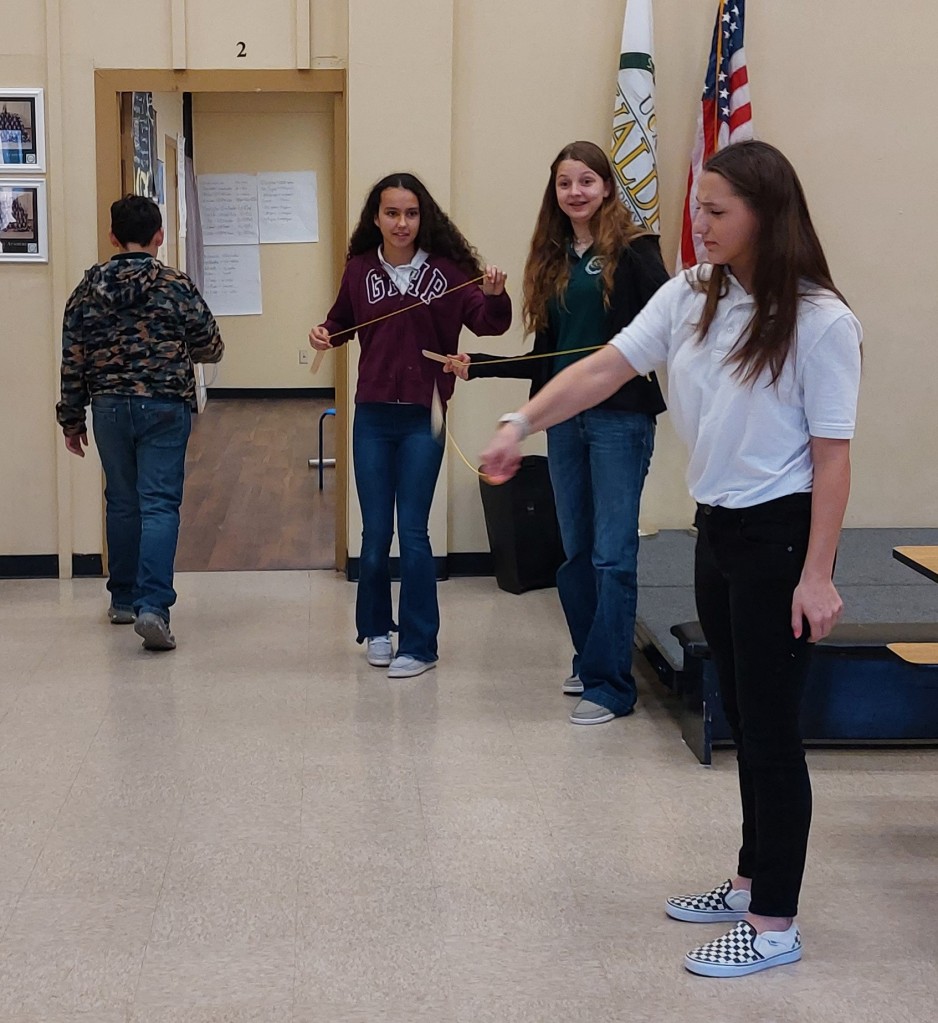
I premeasured lengths of thin paracord and stuffed them in baggies, and I also predrilled holes in the jumbo craft sticks (tongue depressors). It made it super easy to pass out the elements. All the kids needed to do was thread the string through the hole and they were ready to use. I had the kids decorate their sticks with Sharpie markers, and then we all went out into the great room to give them a whirl, (literally)! This was probably the most fun experience of the whole party.
Boomerangs
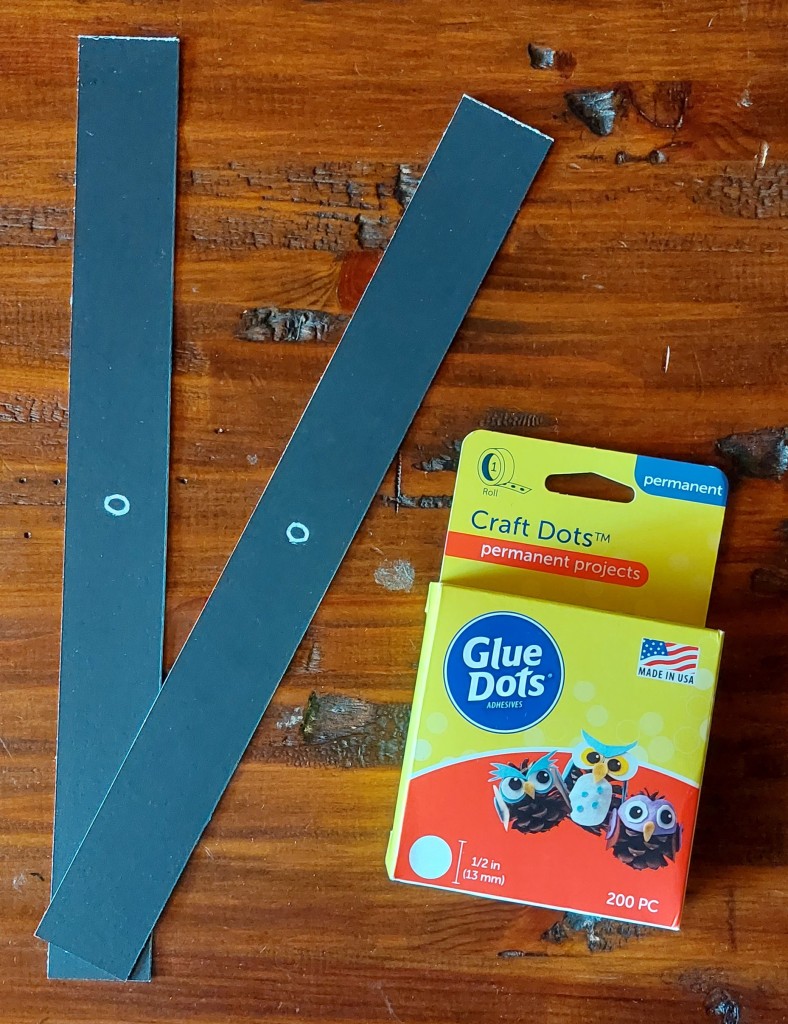
The same man (David Hudson) who did the video on digeridoo playing also did one on how to make a cardboard boomerang, which he called a “Roomerang.” The kids watched the video, and then I passed out the strips of cardboard that I had precut. I marked the center to help the kids be able to attach the two pieces properly, and we fastened them with glue dots, which worked like a charm. I had made a few as examples, and also so that I could test them to see if they really worked. They did, but, not as well as his did in the video, but maybe with practice. I found that they worked best when held between thumb and pointer finger right at the base and flicked vertically, and sort of towards your right (if you are right-handed). It takes a little practice.
How to make a kids’ Carded Boomerang (“Roomerang”) with David Hudson:
https://triballink.com.au/wp-content/uploads/2020/03/How-to-Make-a-Roomerang.webm
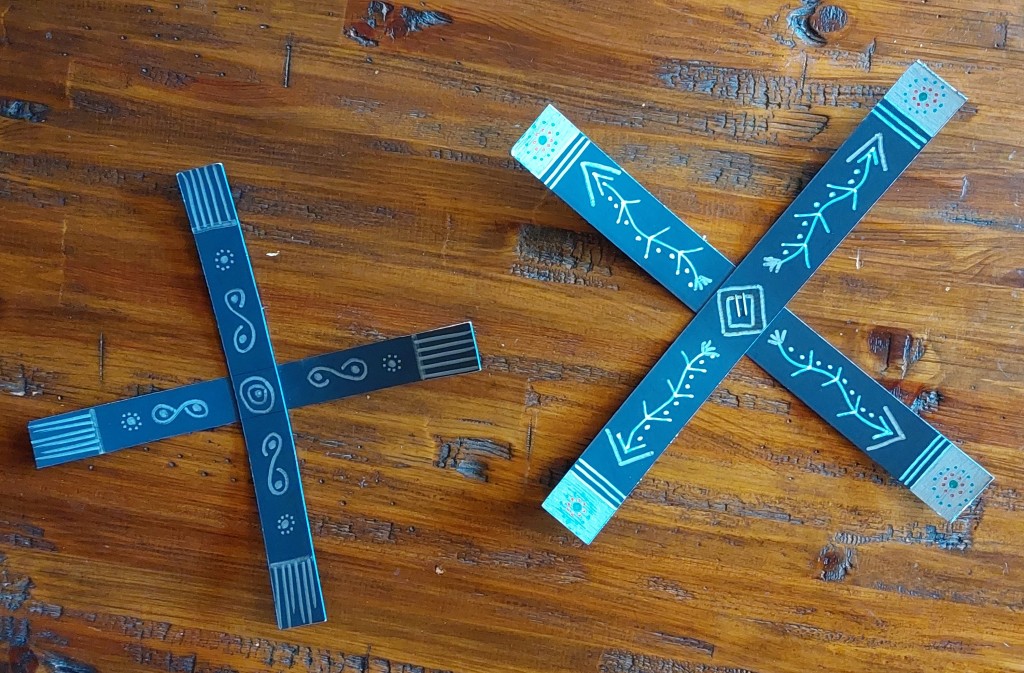
In this video (link above) he also talks about the designs, which are special to the Gubbi Gubbi/ Kabi Kabi people. These were my examples:
Dancing Sticks
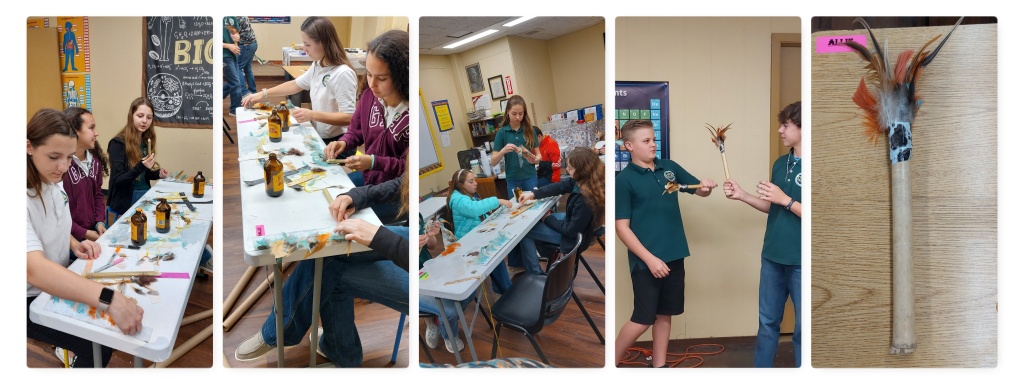
And finally, our last activity was to make the dancing sticks. The same David Hudson as did the Roomerangs, and Digeridoo has a teaching video on how to make the dancing sticks, I basically followed his instructions, except instead of using the clear shipping tape that he uses, and then wrapping it with string, I used a decorative Duct tape to save a step. I also used Bamboo because I have it growing in abundance in my yard and am always looking for useful opportunities to get rid of it. Come to find out, bamboo does grow in the very northern area of Australia.
How to make Dancing Sticks, video featuring David Hudson: https://youtu.be/u-6yEYPiYsE
Food
What Australian party would be complete without food? Top of the list has to be the national dish of Australia – the Aussie Meat Pies, and then Tim-Tams, Vegemite, and Pavlova! I really had ambitious plans for this party, and although I didn’t have time to make everything I wanted to, I’m including the recipes for everything I wanted to. That way, if you (or I) ever want to make these lovely morsels, we’ll know where to find all the recipes in one place.
First things first, Americans need to know how to eat a Vegemite Sandwich, because most of us try it and do it all wrong, and end up spitting the nasty gack substance out into the garbage can with a majorly disgusted look on our faces. So, I thought it fitting to let Hugh Jackman give us a proper demonstration:
Hugh Jackman on Jimmy Fallon: https://youtu.be/P_sUhTWtvG4
I found Vegemite at Cost Plus World Market, but unfortunately the parent who was supposed to bring the white bread and butter for the party, well ooops they forgot. Meh! It happens. 😦 So, I wasn’t able to make a Vegemite Sandwich for the kids to try, nor was I able to make Fairy Bread for the kids to sample either. I was disappointed, but we had lots of other stuff to eat and do, so I eventually got over it. LOL
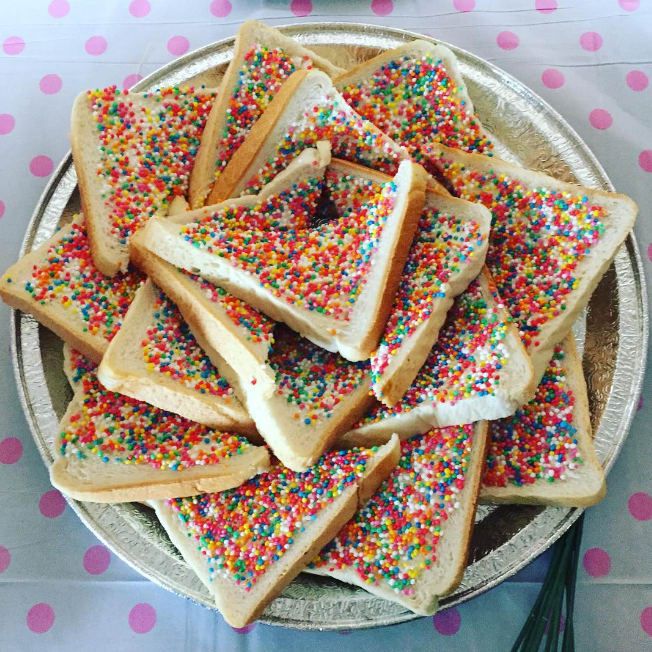
This is Fairy Bread:
All you do to make the Fairy Bread is toast and butter some slices of the cheap, soft, white bread (just like you do for the Vegemite Sandwich) and then cover the topside with sprinkles. They can’t be just any sprinkles though; to be truly OZ-thentic they need to be the tiny round sprinkles you see in the photo.
Aussie Meat Pies
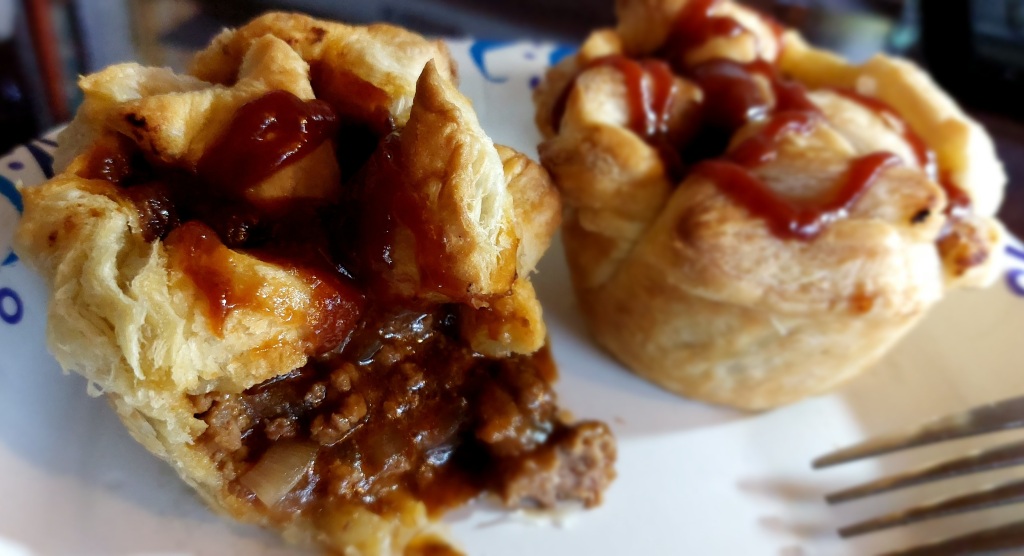
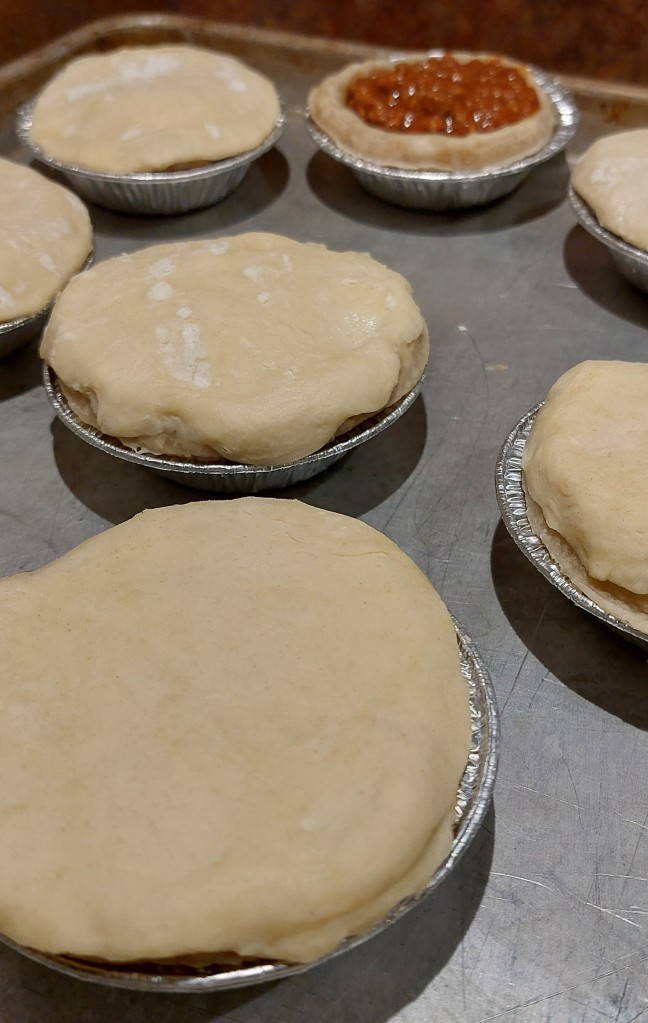
I made a batch of these before the party just to see what they tasted like, and I think they are quite similar to a sloppy joe in a pie crust. I did them exactly the way Aussie Girl Can Cook does in her video, but to be authentic the bottoms of the pie are supposed to be a “short crust,” which, in America, is just a regular pie crust, and only the tops of the Aussie pies are supposed to be puff pastry. I made mine in a muffin pan. And I didn’t have enough puff pastry to do the tops properly, so I used the little bits of corners that I had snipped from the squares to make them round. Didn’t have to cut a vent hole that way.
So, because I was extremely pressed for time, this is how I made mine for the party:
Mrs H’s Aussie Meat Pies
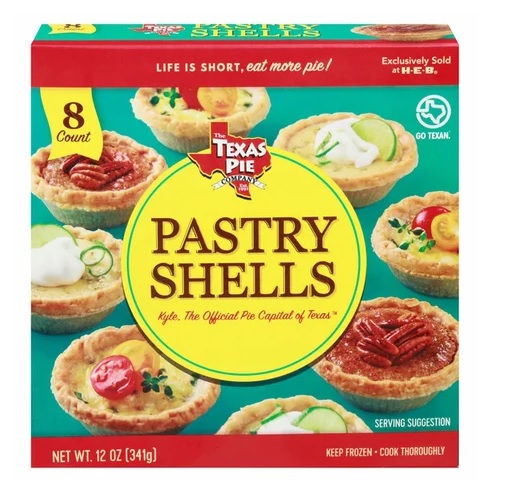
3 12-oz. packages (8-count each) of Texas Pie Company Pastry Shells, sold exclusively at HEB
1 17.3 oz. package Pepperidge Farms Puff Pastry Sheets
2 pounds ground beef
1 onion finely chopped
1 24-oz. can Hunt’s Manwich Sauce
Enough chicken stock to make a little gravy
1 tsp. Vegemite
I started my process 2 days before the party by cooking the beef filling first and then placing it in the fridge. Cook the ground beef until browned, add onion and cook until slightly softened. Pour in the Manwich sauce and stir. Let simmer on stovetop for about 10 minutes. Add enough chicken stock to make the gravy and let it cook down to thicken. Stir in the Vegemite and remove from heat. Let cool slightly and transfer to a food storage container. Place in fridge overnight.
The next day take the frozen Puff Pastry out of the freeze and set on counter top to thaw. Take the Pastry Shells out of the freezer also and arrange on a cookie sheet. Flatten the edges of each shell to remove the decorative ridge, then put the shells in a 350 degree F oven for 20 minutes (as directed on the package). Pull the shells out of the oven and immediately begin filling each with about a small ice cream scoop full of the chilled meat mixture.
On a slightly floured work surface, unwrap and gently unfold one sheet of puff pastry. Use a drinking glass or biscuit cutter (that is roughly the size of the tops of each pie), cut circles in the pastry. If you run out of dough, the bits can be collected and gently kneaded on a floured surface and then rolled out with a rolling pin. Let rest a few minutes and then cut more circles. One package should cover 24 little pies, if you are frugal. Take a circle of puff pastry and hold it in one hand, dip a finger of your other hand in a cup of water and moisten the pastry all the way around the edge on one side. Lay the moistened side down on top of a meat pie, stretching if needed, and then press it against the pastry below with your thumbs. Use a fork to seal the edge all the way around. Continue with the next pie, and the next, until you have finished covering all your pies.
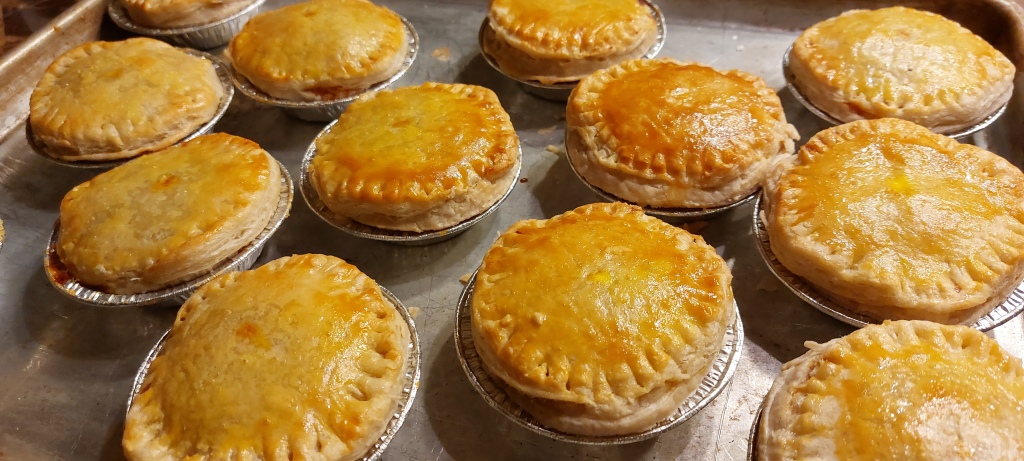
Beat an egg or two in a small bowl and then using a pastry brush, brush the egg over the top of each puff pastry top. A little milk can be added to the egg if you need to stretch it to have enough for all the pies. Use a knife to cut a little vent hole in the center of each pie.
Place the pies in a 350 degree F oven for 20 to 30 minutes, or until the top crusts are shiny and golden brown. I think mine might have baked longer than 30 minutes, but my oven has been weird lately. Just keep an eye on them to get that beautiful golden-brown color. Remove from oven. Let them cool slightly and then remove them from the pie tins. They can be served hot at this point, plain, or with sauce (ketchup).
If you want to serve them the next day, just let the little pies cool completely on a baking rack (removed from the tins) for about 10 or 15 minutes. Place the cooled pies in a single layer in a large zip-loc bag and then pop them into the refrigerator for overnight storage, or they can be individually wrapped, tightly, in plastic, and then placed into a zip-loc bag and into the freezer for longer storage.
The next day place the pies on a cookie sheet and pop them into a preheated 350 degree F oven for about 20 to 30 minutes. If they are frozen they can be removed from their wrapper and baked in the same temp oven, but may take a little longer to reach a safe 165 degree internal temperature. We also tried reheating them in the microwave for about 3 minutes and that worked also. Serve plain or with sauce. (My hubby likes salsa on his – he likes salsa on everything. Ha!).
Outback Barbie (what we States-side would just call a BBQ
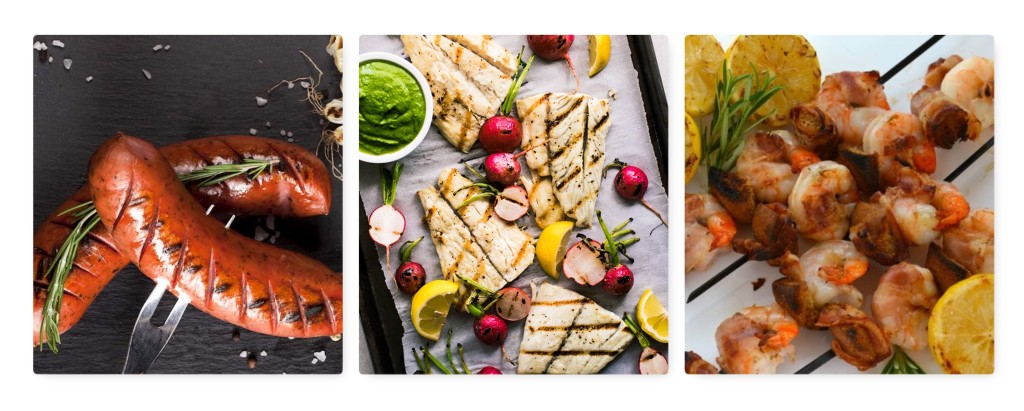
Once a good fire is established in the firepit, put on some shrimp (what we call prawns), snags (sausages – kind of look like fat hot dogs or short smoked sausages), and Barramundi (a type of fish). There’s also many things that are and have been cooked up over fire in the wild, and that’s what Australians call Bush Tucker (Bush Food).
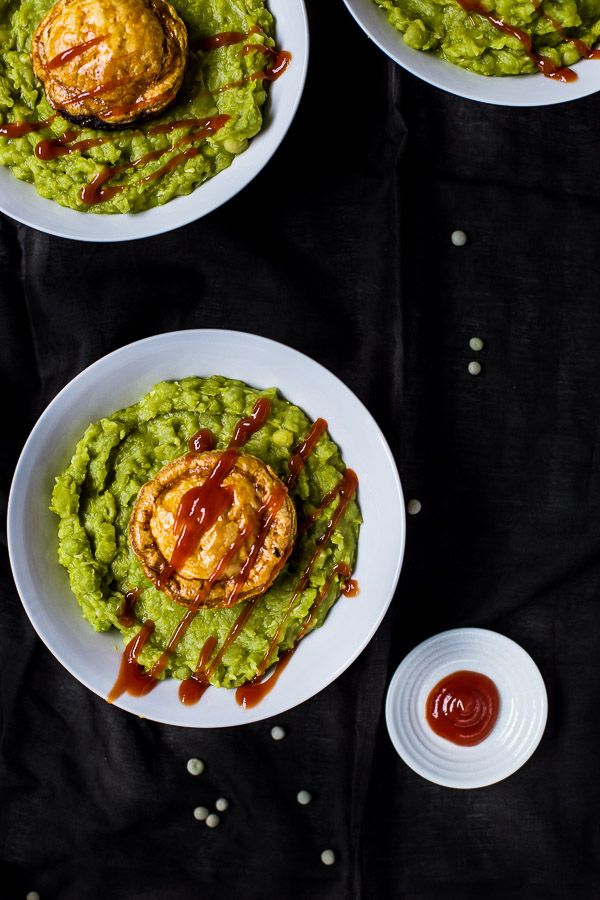
NOTE: many of the foods in Australia are like the foods we have in America. They harken back to both of our British roots. In Great Britain the meat pies are often served as a pie floater, which means they are perched in a pool of mushy peas.
Other common foods are beef stews, chicken and dumplings, pot roast, meatloaf, baked chicken, and that sort of stuff. There is a large Malaysian, Polynesian, and southern Asian influence also, just as there is Chinese food, Italian, French, Cajun, etc. foods here in the U.S. There are also animals, berries, fruits, and herbs (and even bugs) that are native to Australia, like Wattleseed and Lemon Myrtle, that are often used in Australian cooking. I enjoy watching Marion Grasby’s You Tube channel. She makes lots of Asian infused Australian foods.
Tim Tams
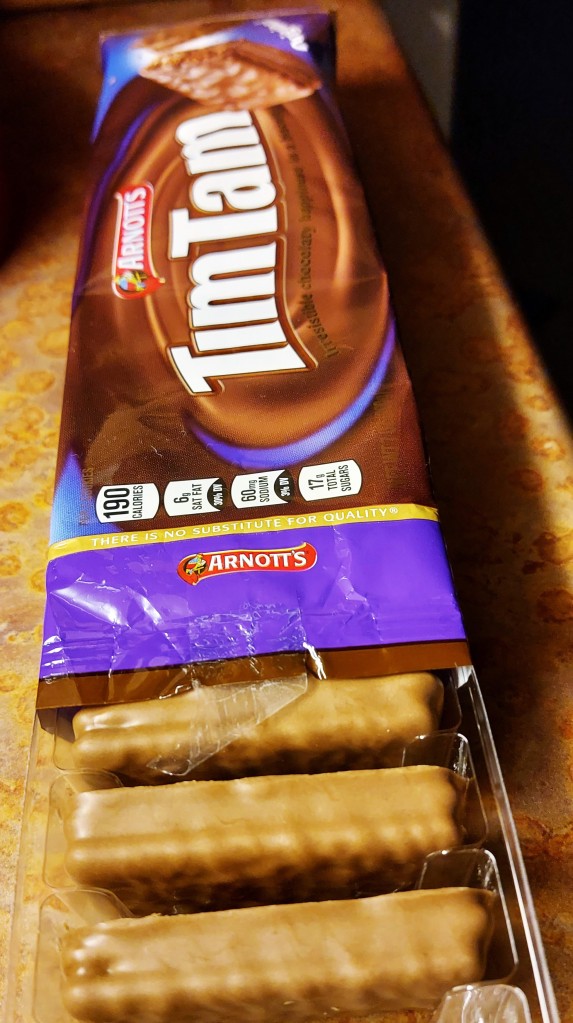
Tim-Tams can be purchased in the U.S. Amazon has them, and they are at World Market. They are kind of like a chocolate wafer/biscuit sandwich with cream filling, and then coated in chocolate.
ANZAC Biscuits
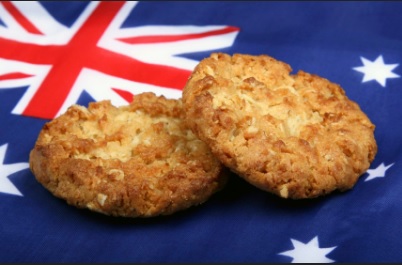
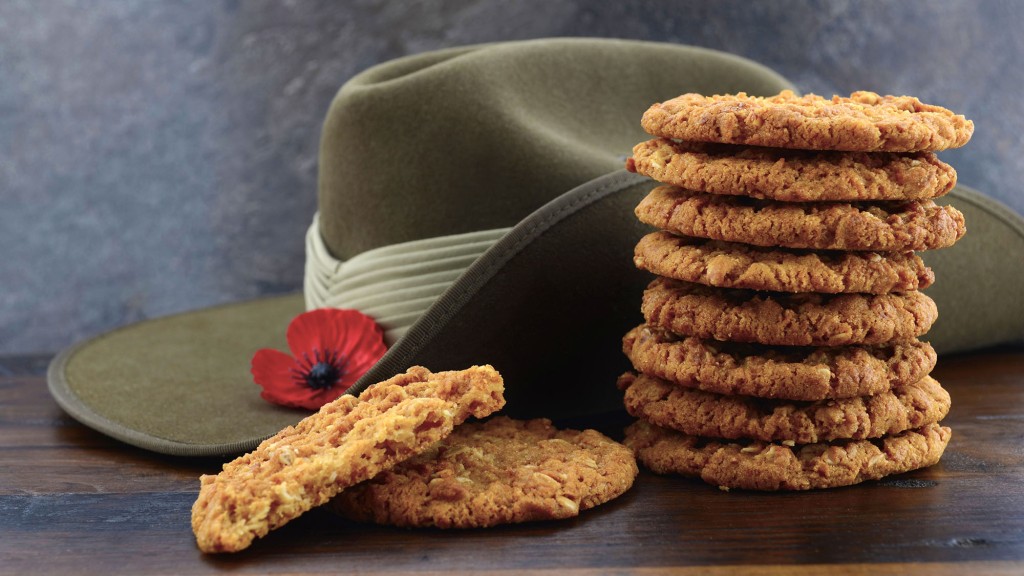
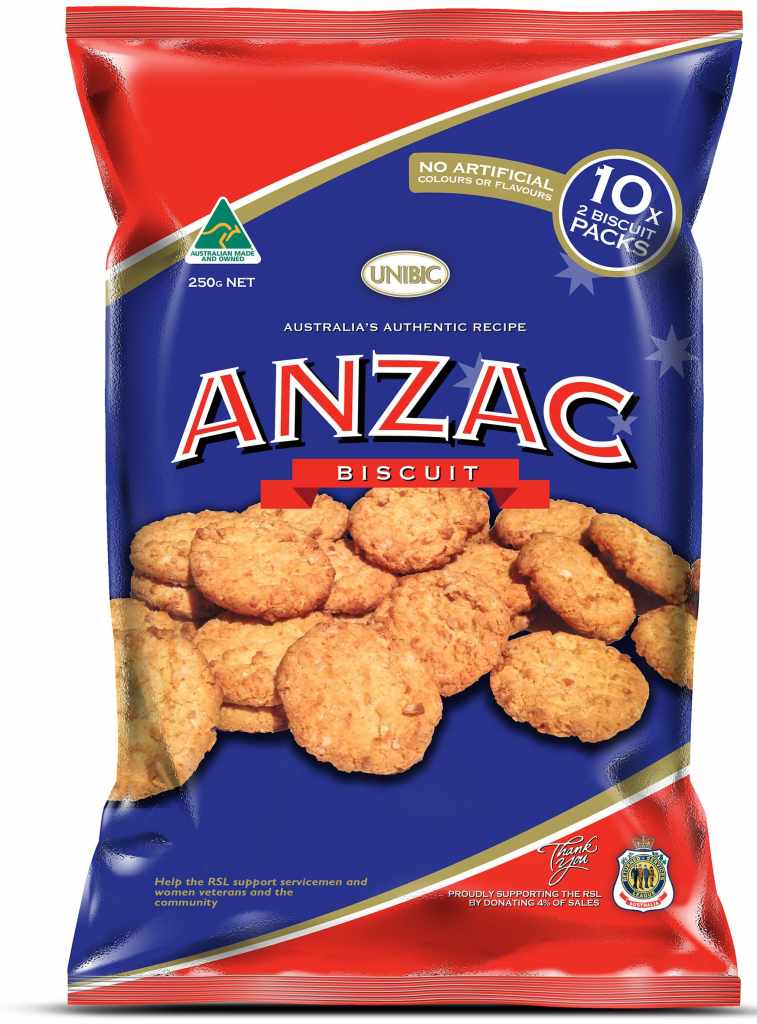
ANZAC Biscuits were a type of eggless oatmeal cookie that were sent to the soldiers who were off fighting in war. They are made of oatmeal and coconut, and to make them properly you must use Lyles Golden Syrup. Australia celebrates a national holiday called ANZAC Day every April which gives the whole country a public holiday from work. It is a day for Aussies and New Zealanders to honor those who fought and lost their lives at war and also to honor those who serve in the military for the freedom of their country. Similar to our “Memorial Day” in the USA.
Australian Women’s Weekly published this “Best ANZAC Biscuit Recipe of All Time.” I say we give it a try!
Ingredients
4oz butter, chopped
2 tablespoons golden syrup or treacle (see tips)
1/2 teaspoon bicarbonate of soda (baking soda)
2 tablespoons boiling water
1 cup rolled oats (see tips)
1 cup plain (all-purpose) flour
1 cup firmly packed brown sugar
3/4 cup desiccated coconut
Method
Preheat oven to 350°F. Grease two large 9 X 13” baking pans; line with baking paper.
Stir butter and syrup in a medium saucepan over low heat until smooth. Stir in combined soda and the water, then remaining ingredients.
Roll level tablespoons of mixture into balls; place 2 inches apart on lined trays, then flatten slightly.
Bake for 12 minutes or until golden. Cool biscuits on trays.
Notes
Spray your measuring spoon with a little cooking oil spray before scooping up the golden syrup; this will help prevent the syrup from sticking to the spoon. Make sure you use rolled oats rather than quick-cooking oats as they will produce a different result. Store biscuits in an airtight container for up to 1 week.
Lamingtons
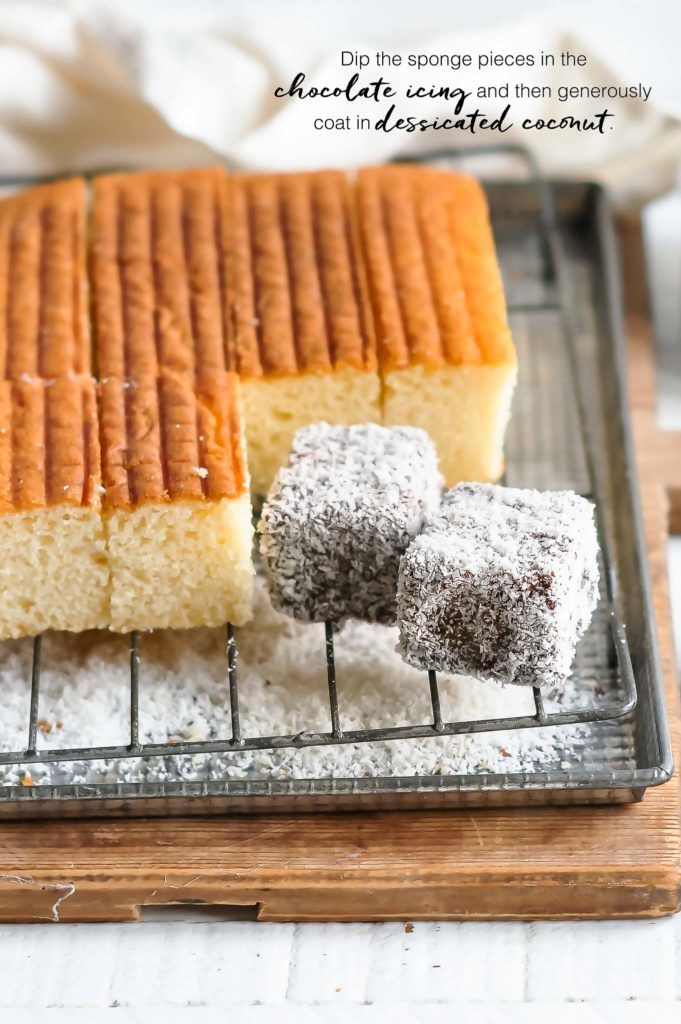
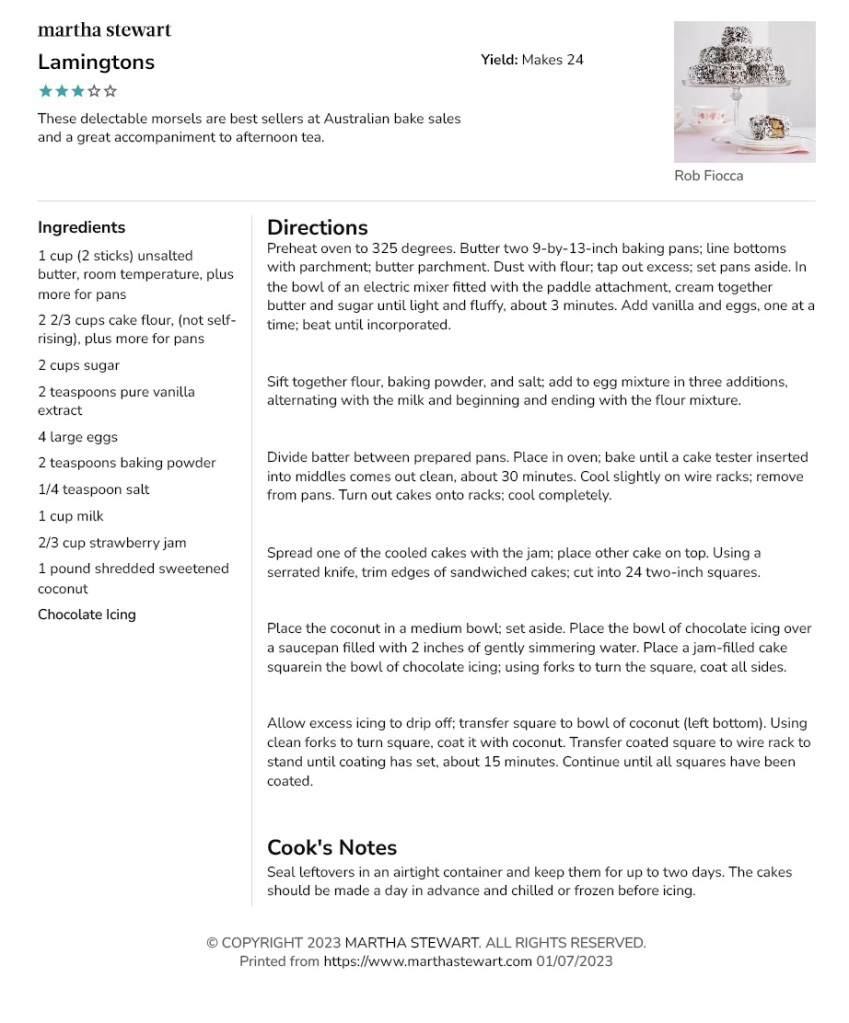
These can be purchased, but are not difficult to make. They are basically a sponge cake cut into blocks, dipped in chocolate icing, and then rolled in finely chopped desiccated coconut. Martha Stewart has a lovely recipe; click on this link (Martha Stewart’s Lamingtons) and you should end up there, unless they have moved it since this post was created. In that case here is a print out:
Lollies
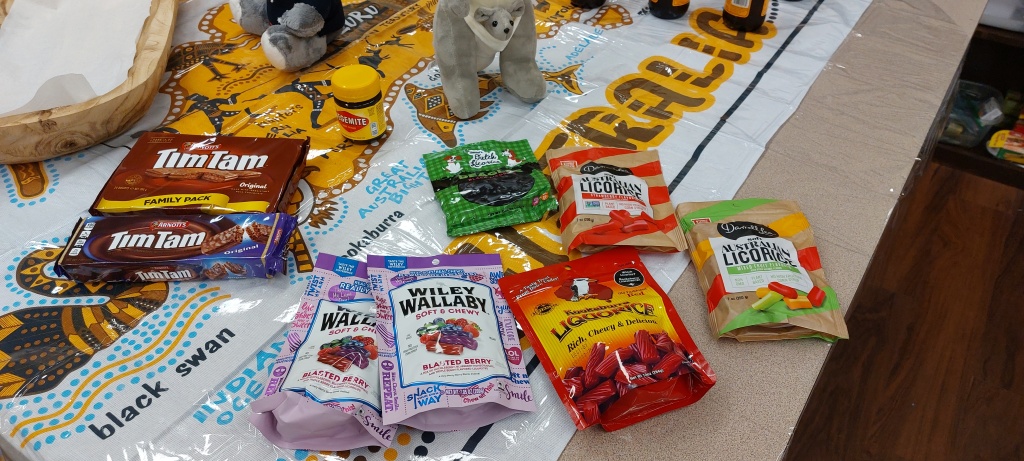
I found a variety of licorice at World Market. It’s a little bit different from the licorice we’re used to. Sooooo yummy!!!
Pavlova
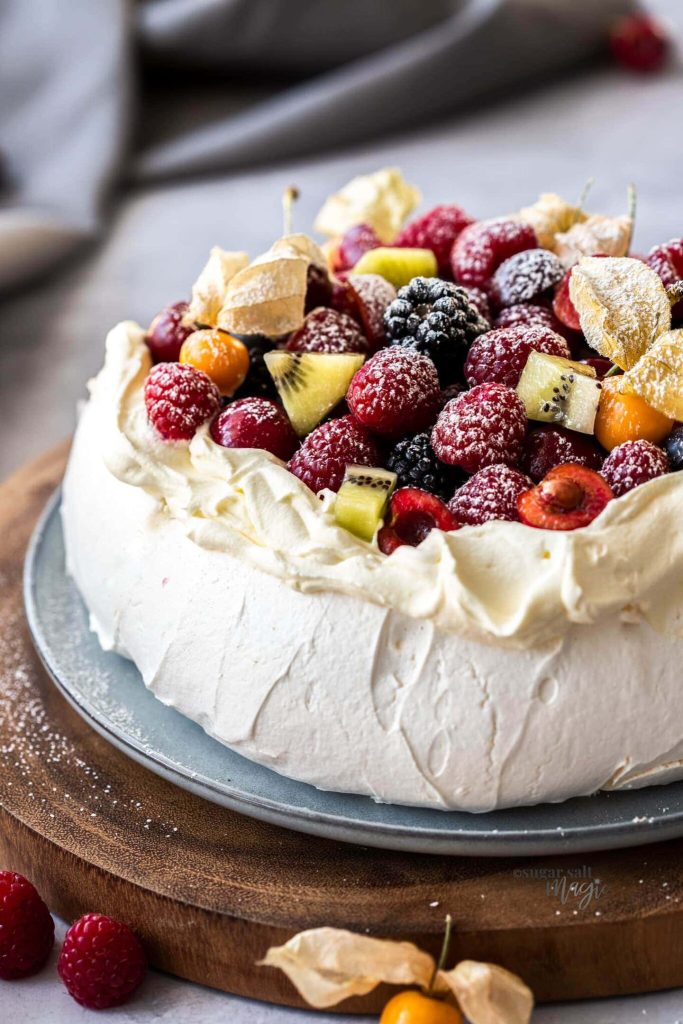
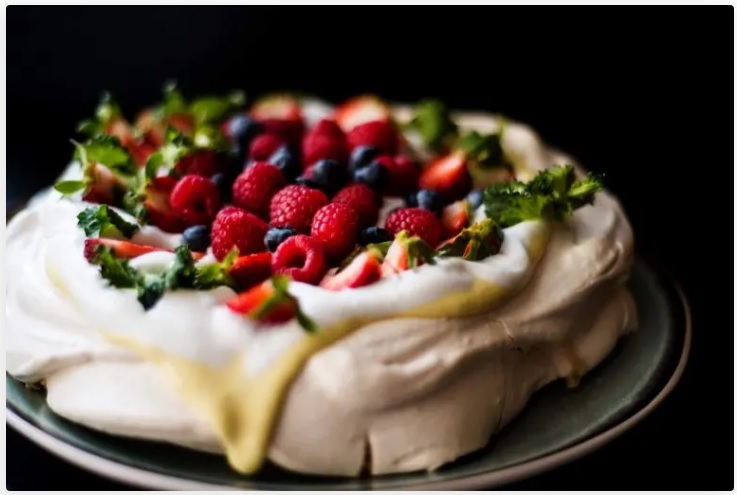
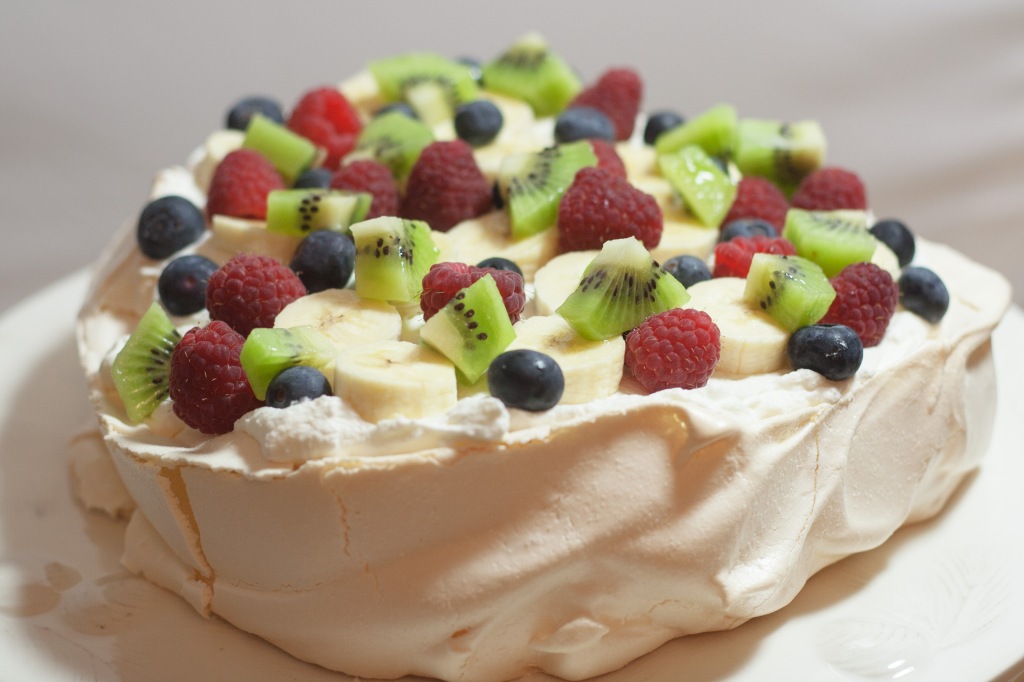
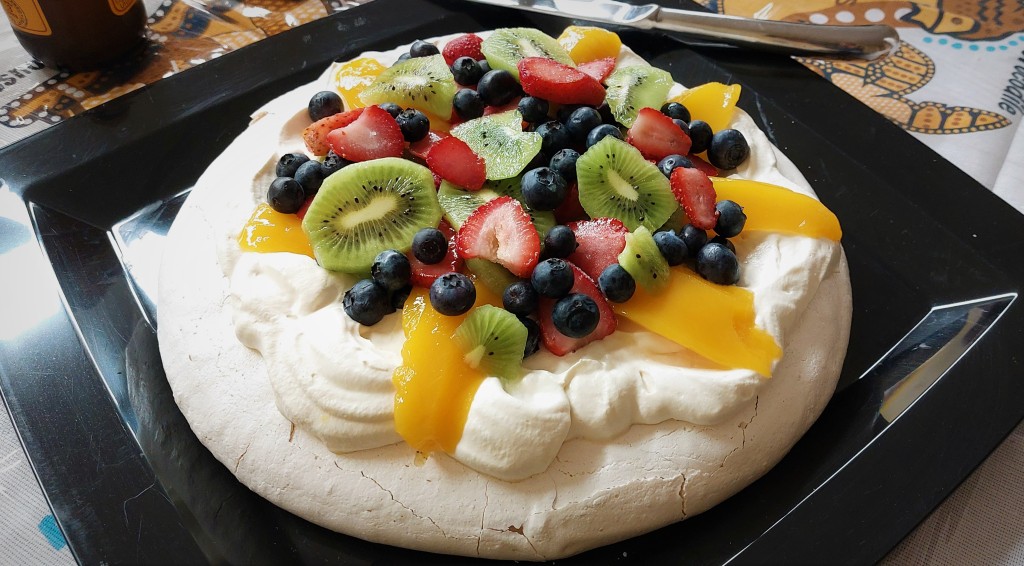
The utter queen of desserts. It is a meringue-based dessert named after the Russian ballerina, Anna Pavlova. It is said to resemble her flowing layered ballerina skirts. It is crisp on the outside and marshmallowy on the inside, and topped with whipped cream and various fruits. There are vanilla Pavlovas, and chocolate Pavlovas, and I even saw a lemon Pavlova – which would be a perfect way to use all the egg yokes (lemon curd) and help counter balance all the sweetness.
I decided to try using a carton of liquid egg whites to see if it would work, rather than have several egg yokes to have to deal with. It didn’t work quite as well as it probably would have with freshly cracked egg whites, but it did work, and got raves from all of those who sampled it at the party for the first time ever in their lives.
1 cup cage-free 100% liquid egg whites + 1 freshly cracked egg white (save the yoke to brush on meat pies)
2 cups of regular white sugar
½ teaspoon of pure Vanilla
1/8th teaspoon of Cream of Tartar (or may substitute 2 tsp of lemon/lime juice or white/apple cider vinegar)
2 teaspoons Corn starch
You will also need parchment paper, a large cookie sheet, a 340 degree preheated oven, a pan with water, and a rubber spatula, and then some fresh sweetened whipped cream, and an assortment of fresh fruits.
I decided to do the Swiss Meringue technique, which is to dissolve the sugar in the egg whites in a double-boiler before whipping. I placed about 2 inches of water in a saucepan and turned it on to boil. While I waited for that, I measured my egg whites and sugar into a stainless steal bowl that I could perch on top the pot of water. As soon as the water boiled, I turned off the heat and let the water cool for a few minutes. Then I set my bowl of egg whites and sugar on top and used a whisk to stir, stir, stir, lifting the bowl from the pan of water occasionally, just to make sure I didn’t cook the eggs at all. I reached in and mushed the mixture between my fingers a couple of times to see if it was still gritty, and once it felt not gritty I took it off the water completely and started mixing it with the mixer.
I only have a hand-held Kitchen-Aide mixer, and wasn’t sure if it was powerful enough to do the job. It seemed like it took forever for the eggs to start turning a glossy white. Finally, after 10 minutes or so I began to see a soft white mixture, and that is when I added all the other ingredients (vanilla, Cream of Tartar, and Corn Starch, and I also added a splash of lemon juice in case my cream of tartar wasn’t up to snuff – it’s not something I use very often). I scraped down the sides of the bowl and went back to mixing. It took a really long time, maybe 20 minutes or so, but it finally started getting the stiffer peaks. The videos I watched said you can’t over whip it, so I just kept whipping, and whipping, hoping to achieve stiff peaks I saw in videos. When I thought I had achieved it finally, I stopped whipping. My poor little mixer was getting warm.
I got a large cookie sheet, put a dab of meringue in each corner, and placed a sheet of parchment paper to cover the pan (the dabs of meringue keep the parchment from moving around. Then I dumped the meringue in the middle of the pan. I didn’t fuss with trying to shape it. I just sort of made a depression in the center and called it good. Mine didn’t set up tall and hold its shape like the ones in the videos, which is when I realized I probably gave up beating it too soon. Oh well. I guess we’ll see.
I placed the meringue into the oven and immediately turned the temperature down to 190 degrees F, and set the timer for 65 minutes. After the 65 minutes I turned the oven off, but did NOT OPEN THE DOOR. I left the meringue in the oven overnight. I did peek through the window though and it looked to be the same size and shape as when I put it into the oven (hallelujah), only it had a slight baked tint to it, and only had a couple of hairline cracks on the side. Praise the Lord – so happy!!!!!! Hoping for the best.
While the Pavlova was in the oven, I made my whipped cream. I put about 2/3 of a pint size carton of heavy whipping cream into a cold bowl. I added about 2 slightly heaped Tablespoons of powdered sugar, and ½ a teaspoon of pure vanilla. I started the whipping process slowly to incorporate the sugar, and then as the mixture started to thicken a little, I increased the speed. It was messy and there was spatter, but as soon as firm peaks appeared, I whipped a smidge more and then stopped beating (fearing I’d end up with butter). I immediately transferred my whipped cream to a covered container and into the fridge to be used on my meringue first thing in the morning.
I decided on the following fruits: Strawberries, bananas, canned mango drained, blueberries, and kiwi. I waited until right before serving to top and decorate my Pavlova. I started by removing the meringue from the oven and carefully and gently peeling away the paper. I placed my meringue in the center of a large platter, and then dumped my whipped cream on top and spread it out a little. Then I started decoratively piling on the sliced fruits and blueberries (Uh Oh, what happened to my banana? Okay, minus the banana, I must have dropped it on the sidewalk somewhere between my car and the school).
OMGosh, it looked amazing!!!! The kids thought it was fantastic, and the teacher and other staff who sneaked in to try it said it was to die for. No one had ever eaten Pavlova before – which is probably my saving grace.
This is a photo of my attempt:
And what to drink? …
—————————————————————————————————
In conclusion, if we want to sound like Aussies for a day here are some Australian Vocabulary Words:
G’day Mate = hello
No worries = not a big deal
Sanga = sandwich
Lollies = sweets/candies
Bush Tucker = Outback Food (that’s native to Australia, and grows in the wild)
Aussie (pronounced Ozzie) and is why Australia is sometimes called Oz
The land down under = Australia
Wallabys = kangaroo (aka ROOs)
Joey = baby kangaroo
Billabong = a pond in a dry river bed
Dingo = a wild dog native to Australia
Footy = What Aussies call football
Kookaburra = a type of bird native to Australia
Walk-a-bout = a hike or vacation (traveling)
To “Captain Cook” something = is to Take a Look at something
To “John Dory” = is to tell the story
Dunny = Toilet
Bloke = male
Sheila = female
Crickey = WOW!
Snag = a sausage
• Other Links:
David Hudson website: https://www.davidhudson.com.au/
(Bullroarer, You Tube video) https://youtu.be/Gy05kWu88u0
2nd Digeridoo playing instruction: https://youtu.be/F1hnDwjuLGM
• Movies featuring the Land Down Under:
The Man from Snowy River
Quigley Down Under
Crocodile Dundee

