
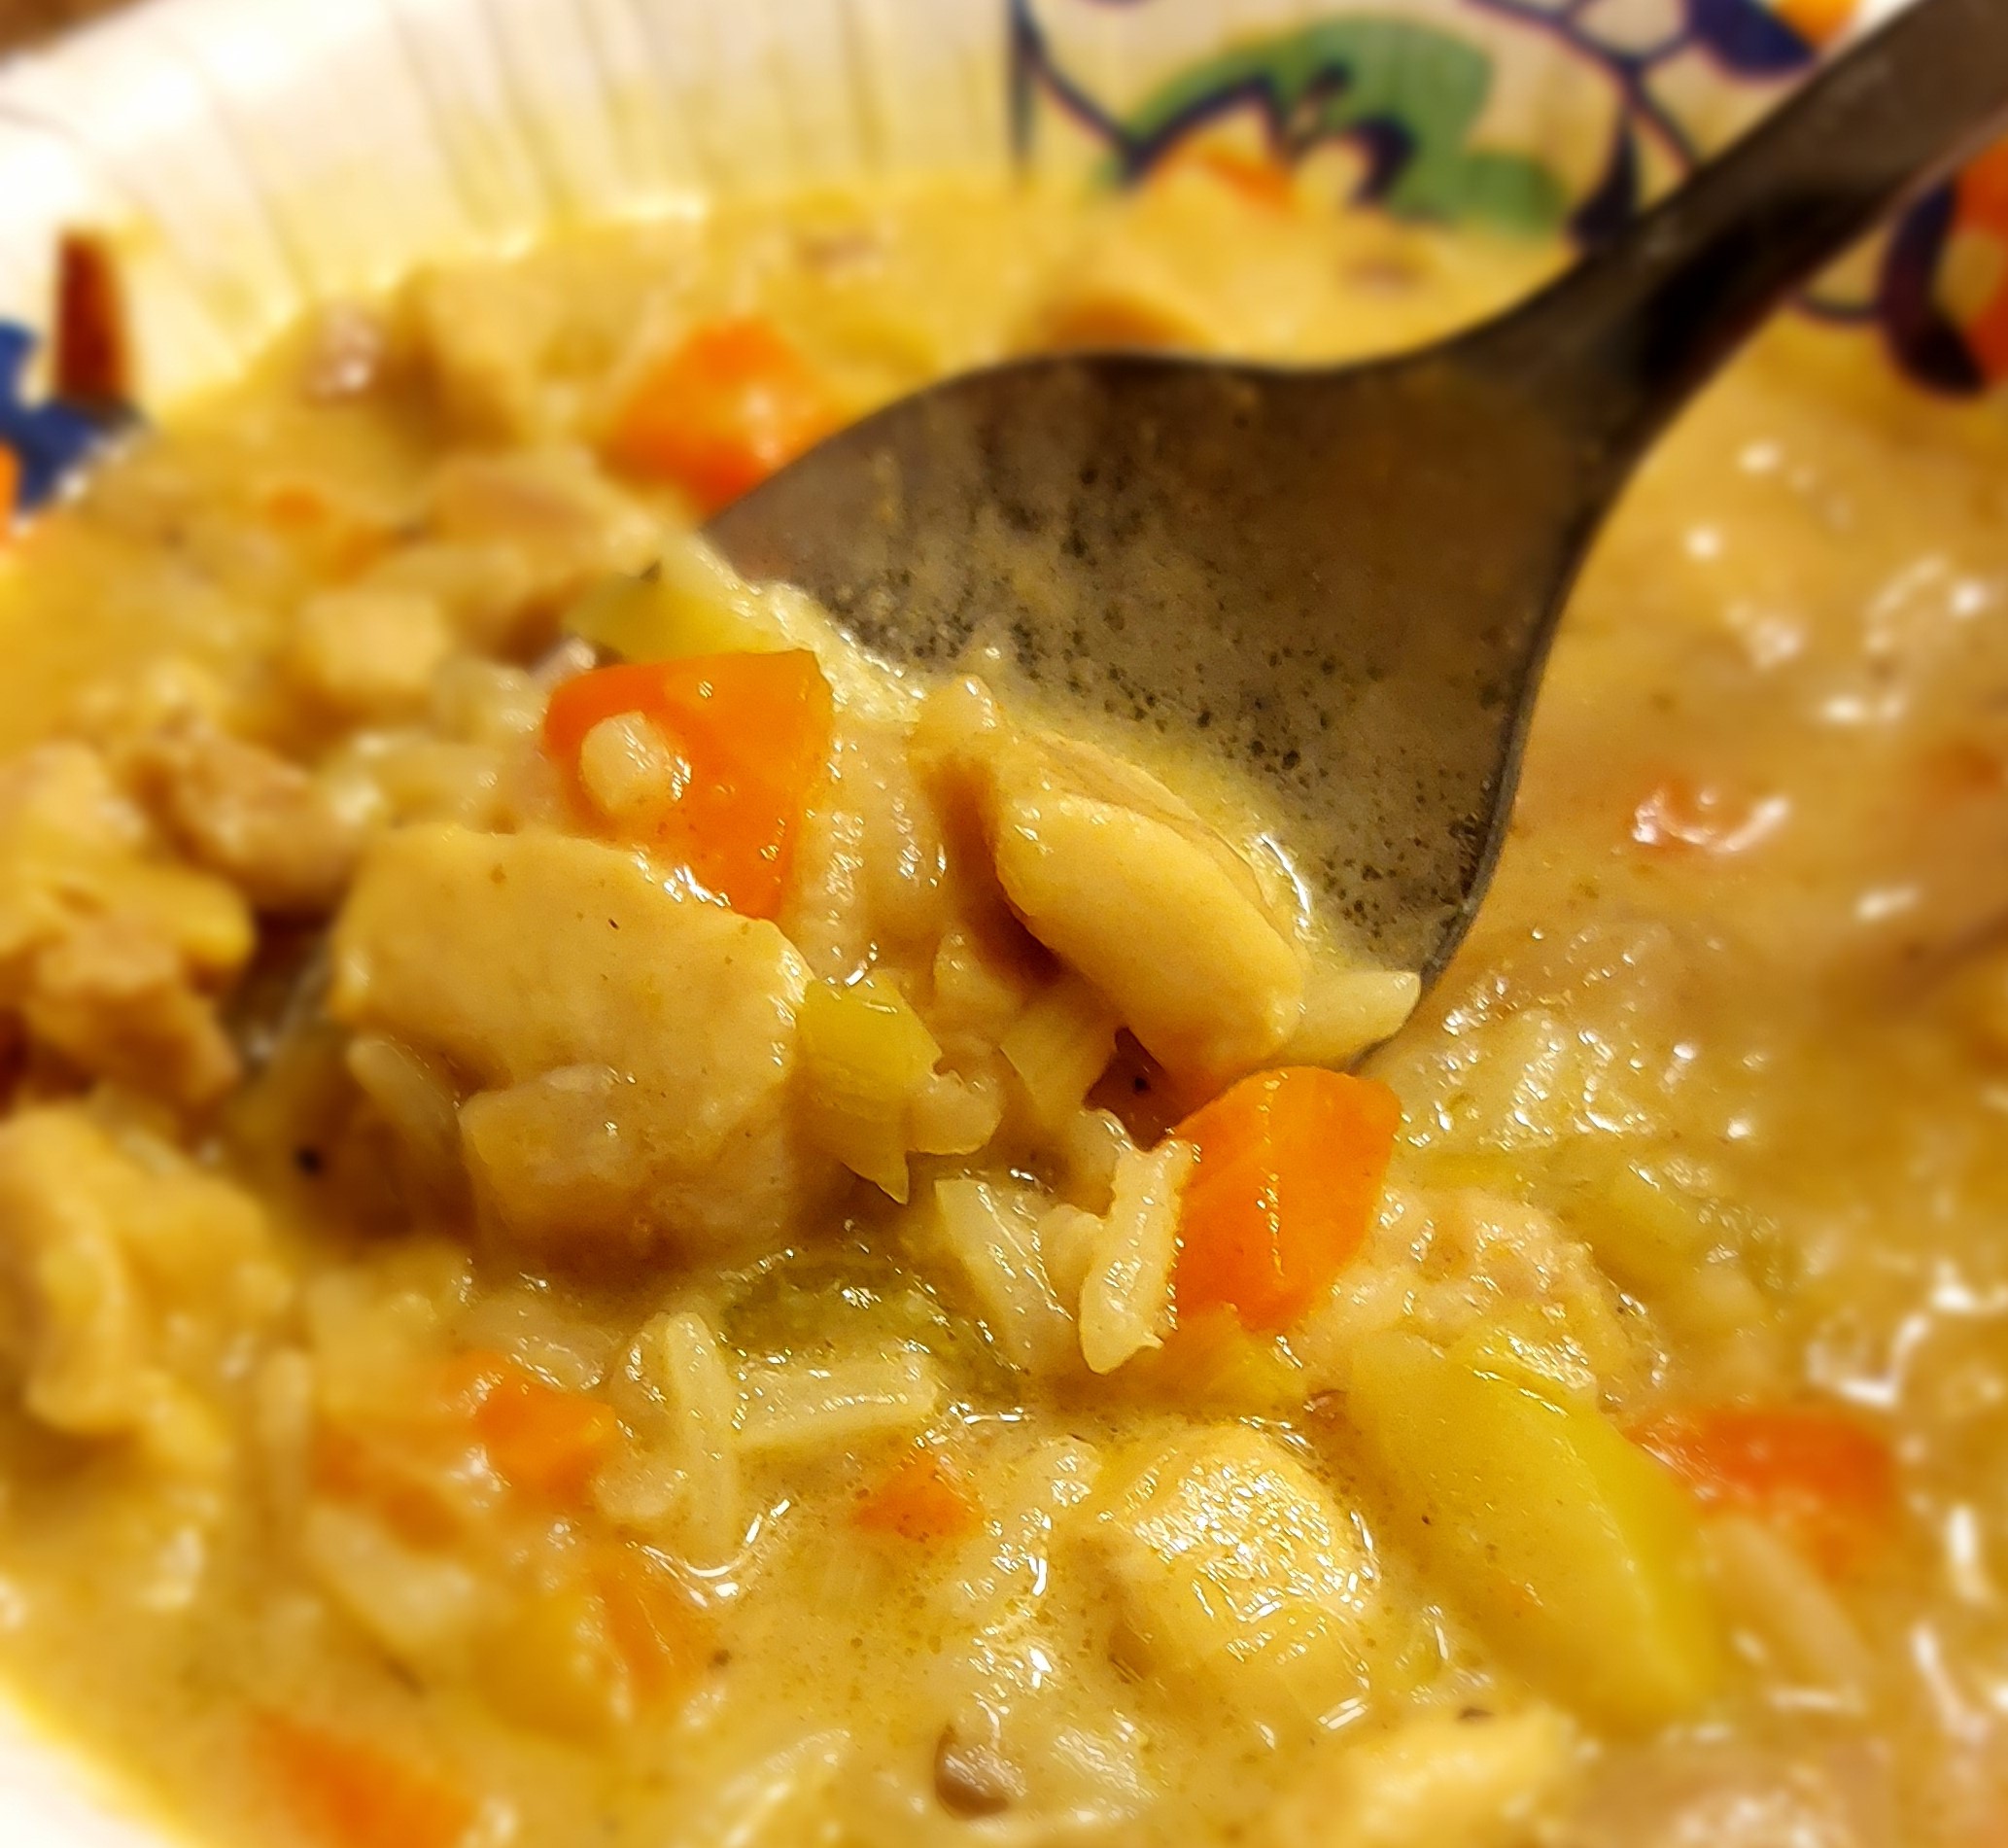
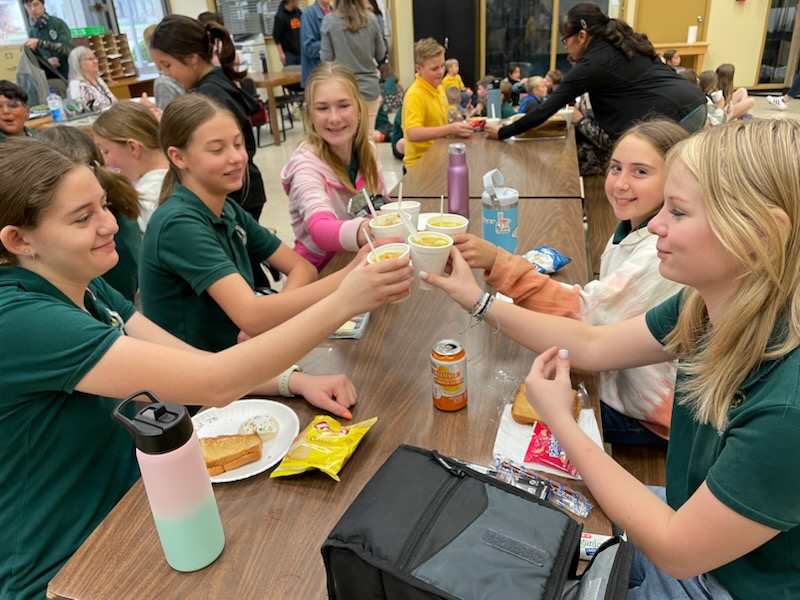
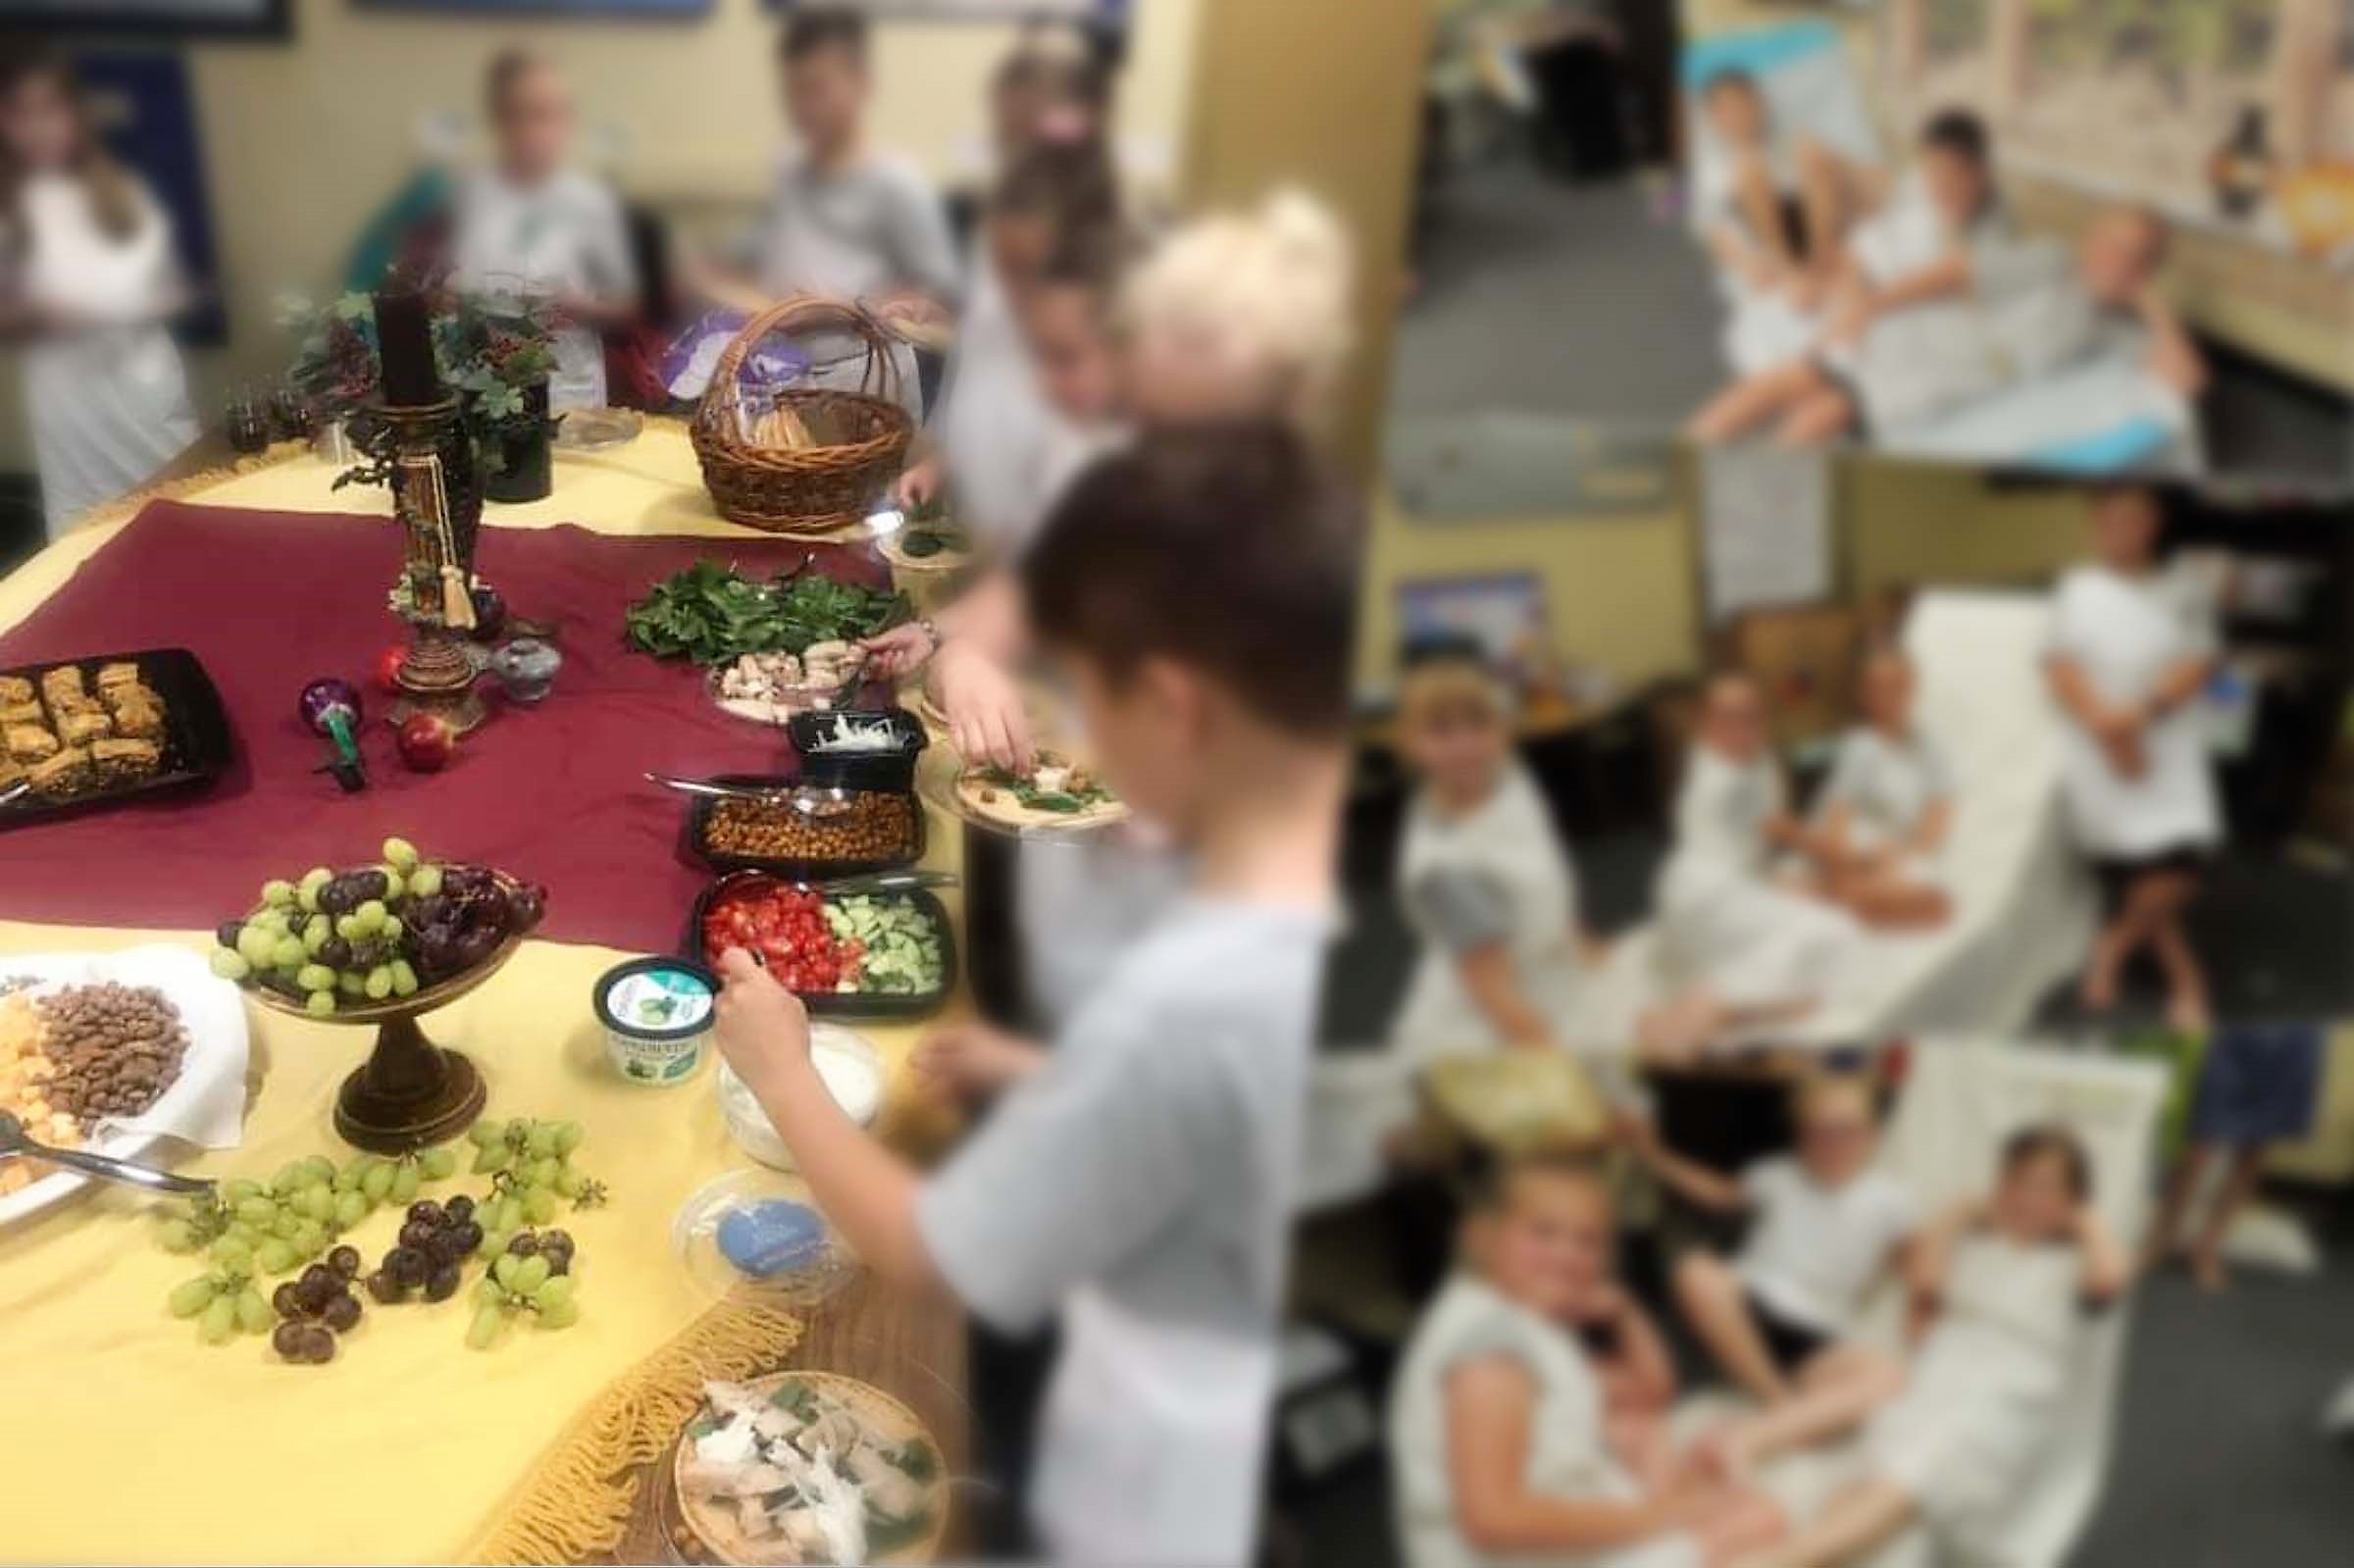
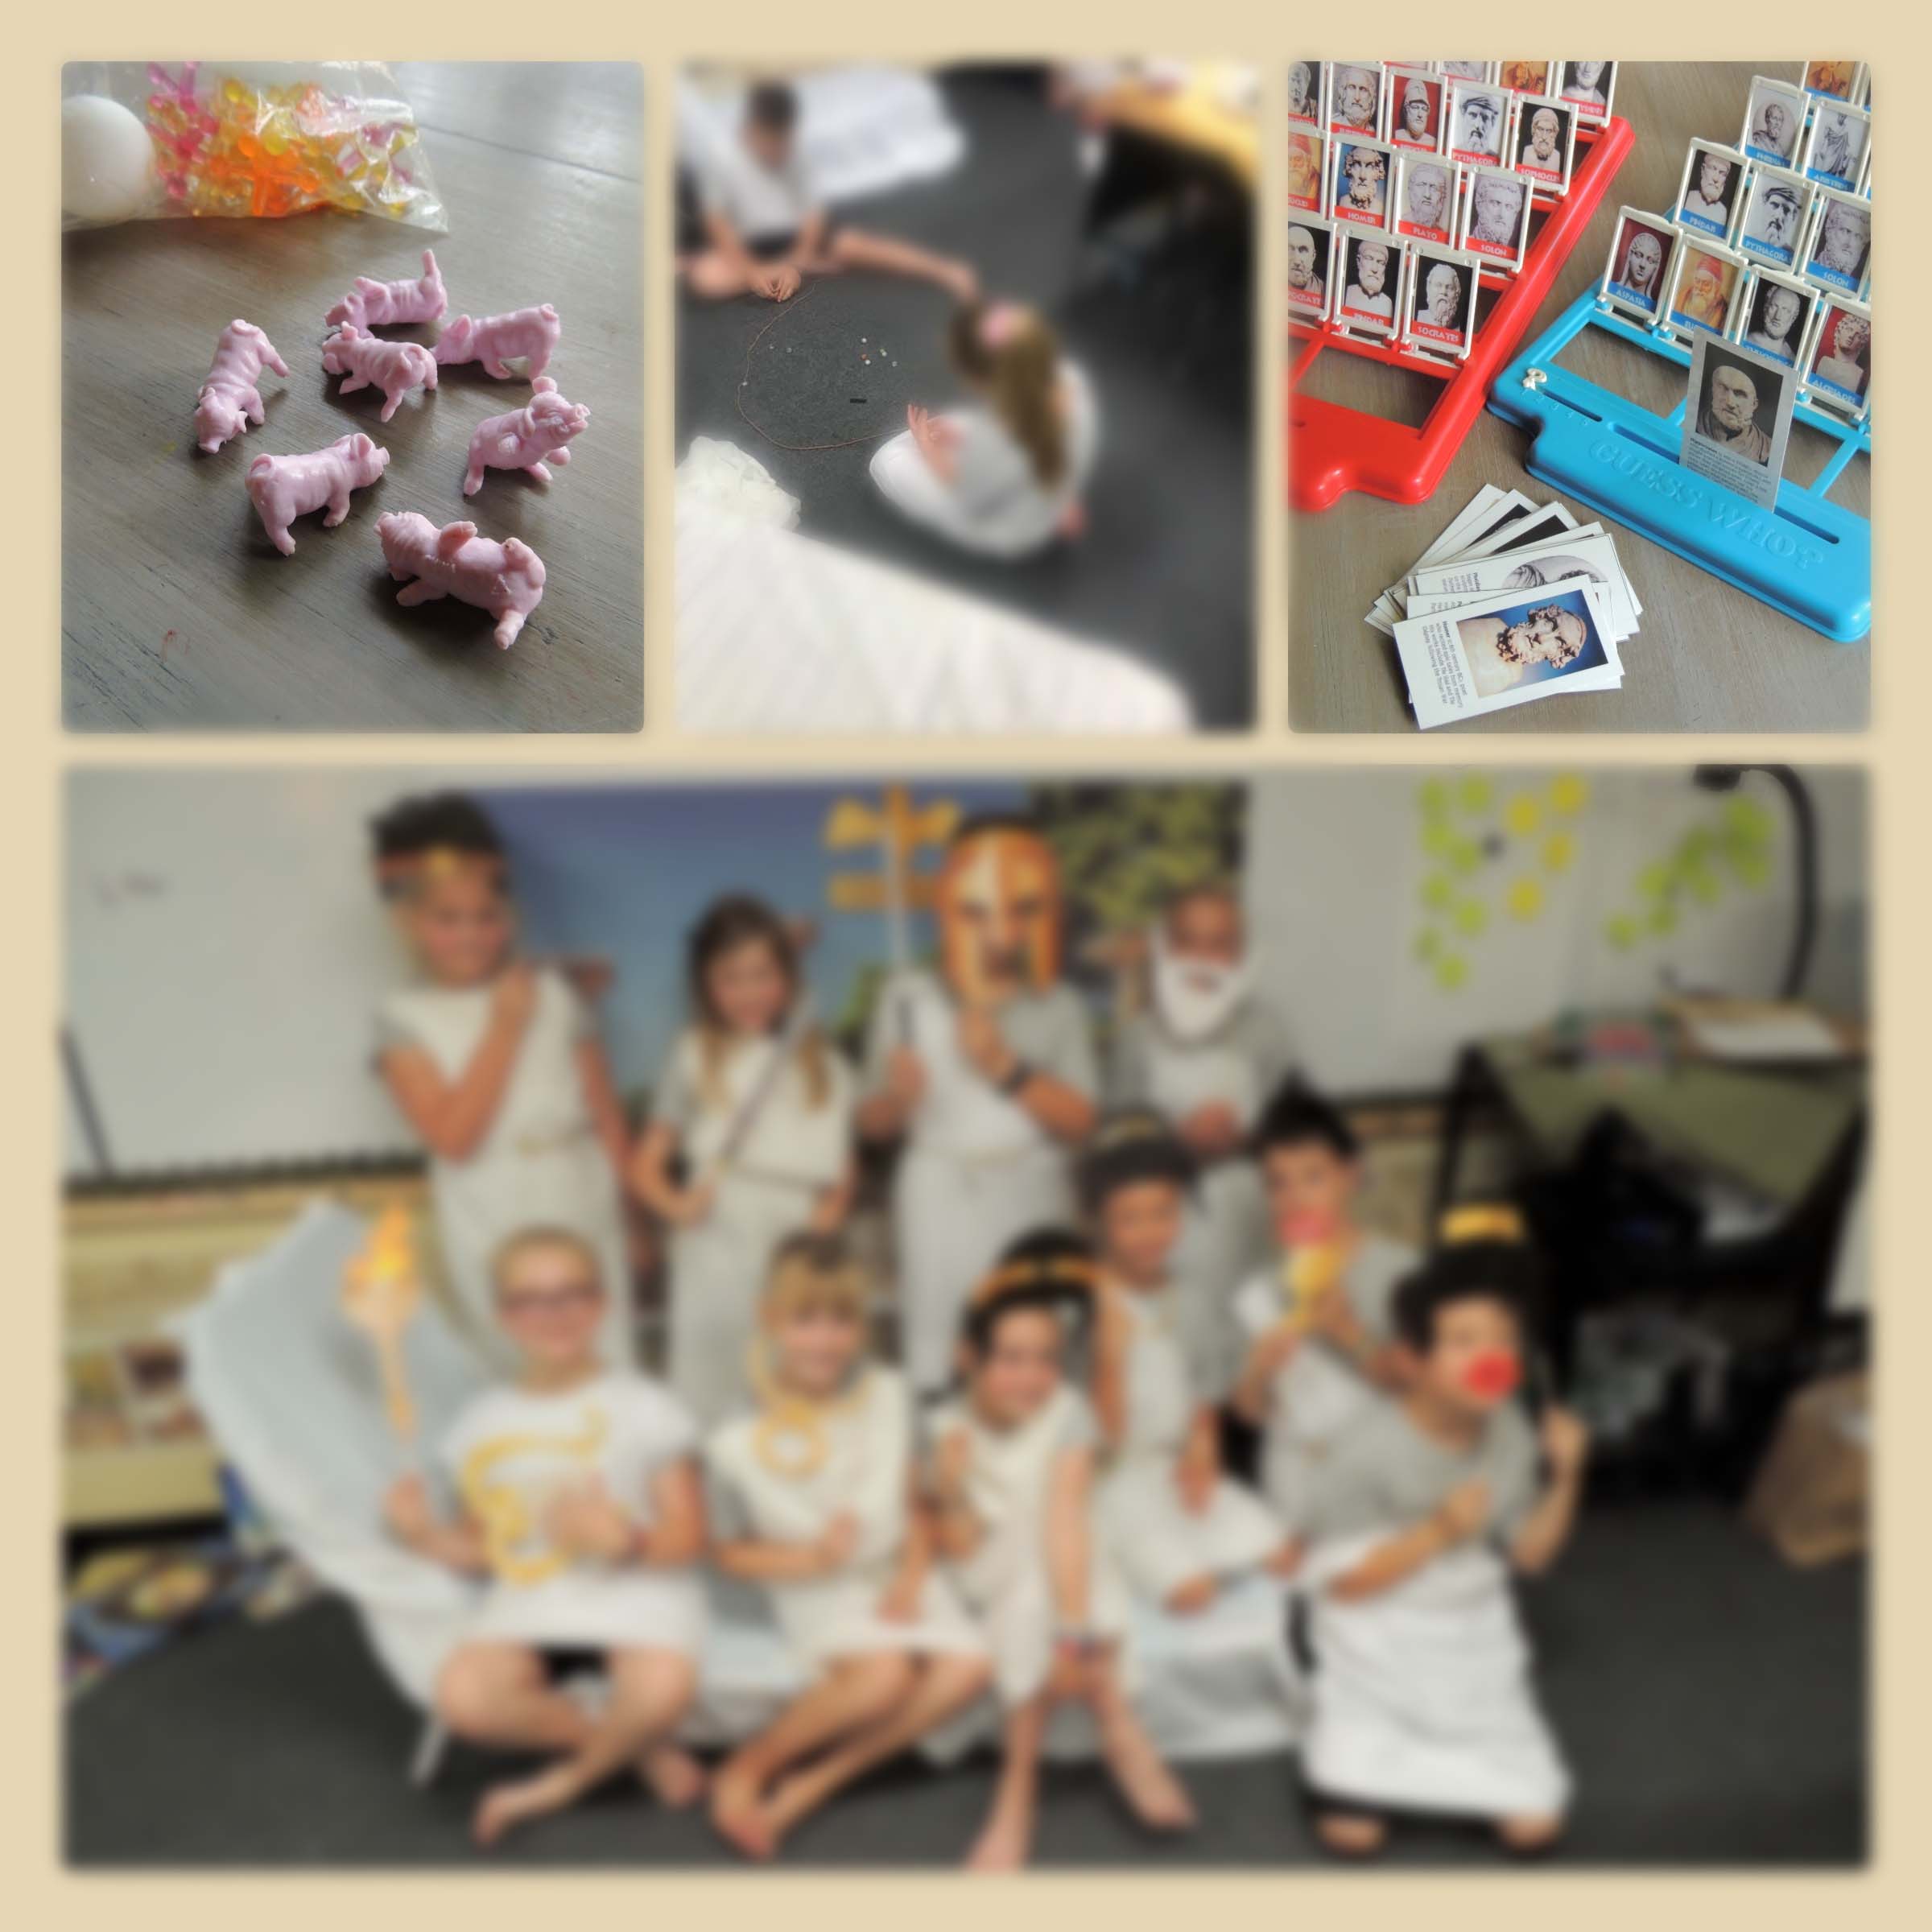
I have two avenues that I want to venture down with this party. The first is to use this party as a project for school. I was blessed to get to make food for my granddaughter’s World Studies classroom! Her teacher was about to embark on the British domination of India and I was invited to come and do an activity with the kids. We made Mulligatawny Stew.
While we chopped the veggies we talked about what all they had learned in this chapter of their book and some of their favorite things that they now know about India. Then I taught them a brief history of this quirky little dish. The kids finished chopping vegetables and before long the bell rang for them to shuttle off to their next class. I gathered up all the veggies and assembled everything in a big stew pot in the lounge/kitchen, and had it cooked and ready for them by their lunch period.
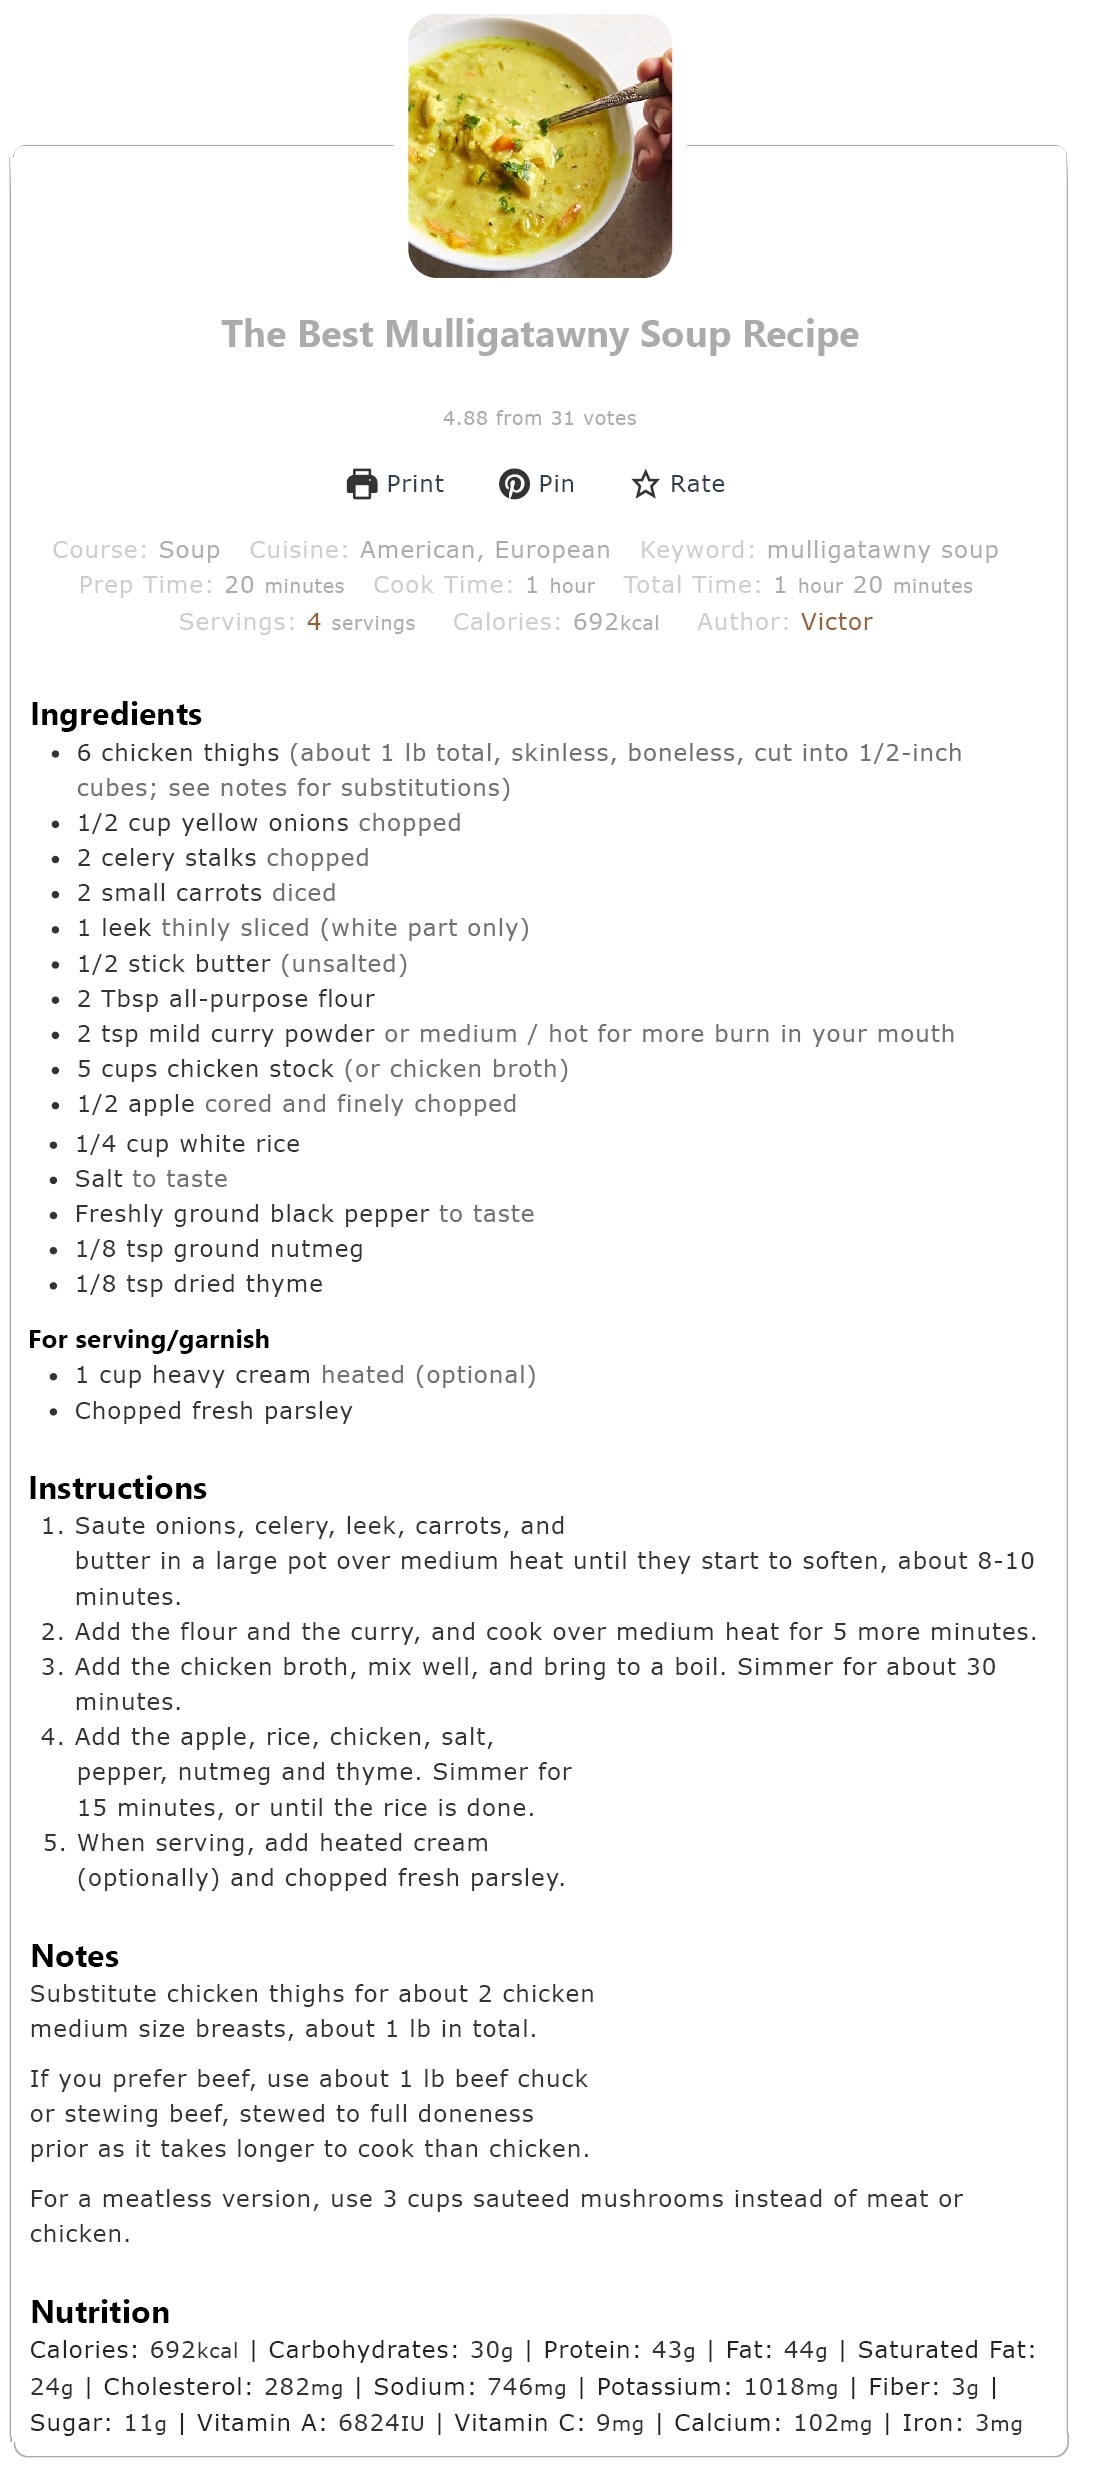
Here is just a brief history of the soup from the *www* titled, “The Not So Innocents Abroad,” as well as a recipe which was featured in the article:
THE ORIGINS OF MULLIGATAWNY SOUP
Indian meals are traditionally served all at once, the containers placed in the center of the table, family-style, with everyone digging in and helping themselves to the shared dishes.
During the British Raj, between 1858 and 1947, when the sun never set on the British Empire, the fussy British colonists and soldiers refused to alter their way of dining, which I’m sure they felt was much more civilized. And that included a soup course.
Well, there wasn’t really an Indian soup, per se, so the servants would water down one of their occupiers’ favorite dishes, milagu tannir, which translates to “pepper water” in Tamil, a southern Indian dialect. (One source says the dish was molegoo tunes, a broth drunk by poor Sri Lankans.) The British never seemed to worry about pronouncing things incorrectly, and they garbled the dish until it came out mulligatawny, as it’s known today.
The colonists brought mulligatawny back to Britain, where it’s a staple on pub menus, though the recipe varies widely. We’re partial to the version my mom makes. Apples, curry, carrots, garam masala, chicken, green chilies and onions all come together in a surprisingly cohesive and delicious meal
INGREDIENTS
- 2-3 stalks celery, thinly sliced
- 2 chicken breasts, cooked, cooled and shredded
- 5 garlic cloves, minced
- 3 tablespoons garam masala
- 2 teaspoons curry powder
- 8 cups chicken broth
- 2 bay leaves
- 1 teaspoon ground ginger
- 2 tablespoons olive oil
- 2 tablespoons unsalted butter
- 2½ cups onion, chopped
- 3 large Granny Smith apples, diced
- 1 small can diced green chilies
- 2 cups carrots, chopped
- 3 tablespoons lemon juice
- 1 14-ounce can diced tomatoes
- Salt and pepper to taste
- 1 cup heavy cream
PREPARATION
Put oil and butter in a skillet until it melts.
Sauté onion for 4-5 minutes.
Add garlic, sautéing for 2 minutes.
Add the rest of the ingredients to a large pot, except the heavy cream. Cover and simmer.
Ladle out some of the warm liquid and slowly add the heavy cream while stirring. This will help prevent the cream from curdling. Add it back to the pot and cover.
Simmer for at least an hour. The longer the better.
Serve with fresh parsley (and a dollop of sour cream if you’d like).
Back in the day, the heavy cream was coconut milk, so feel free to substitute that.
The original recipe also called for a potato (peeled and chopped), but the Shirl swaps this out for another apple. You can’t tell the difference, she says, and she likes the added sweetness. –Wally
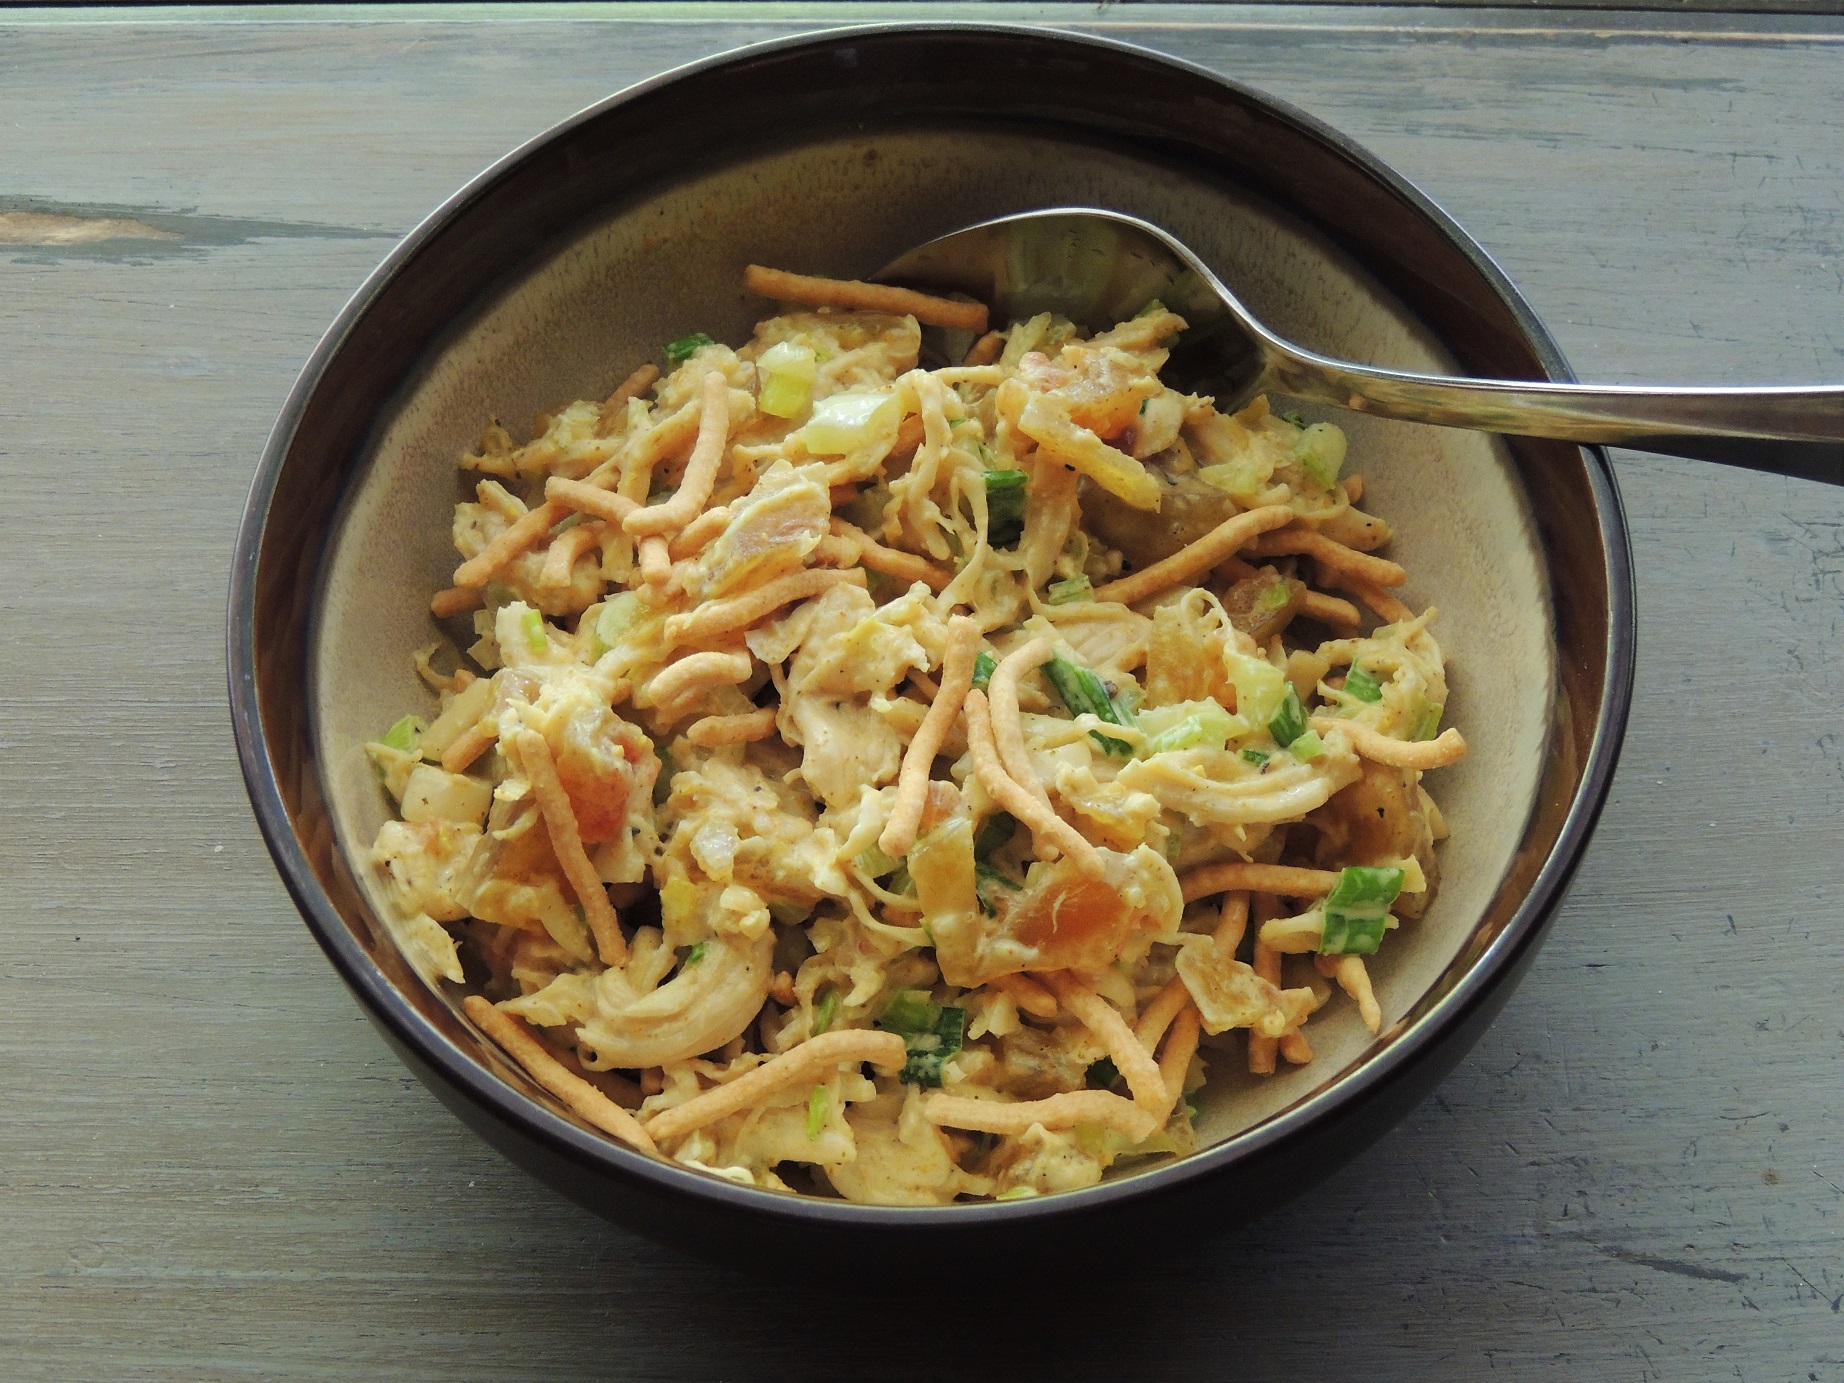
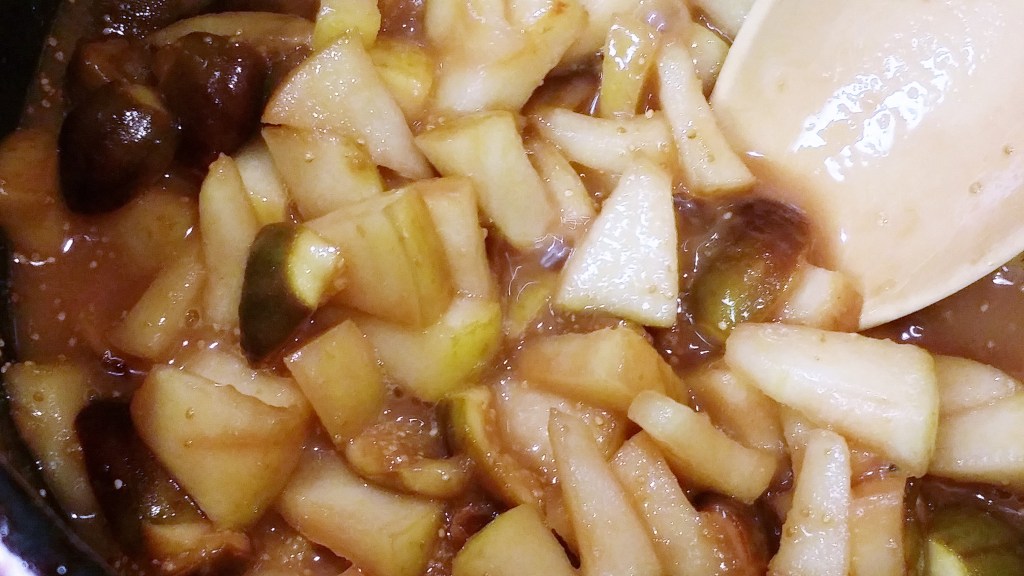
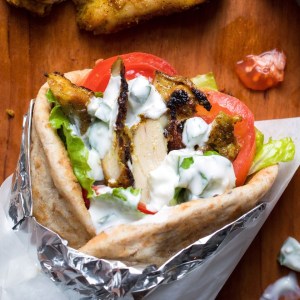
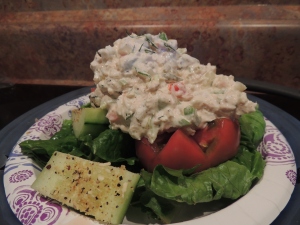
This is what our stew looked like. We served it with warmed naan (flat bread).


The recipe we prepared had rice in it (there are literally dozens to choose from on the Internet):
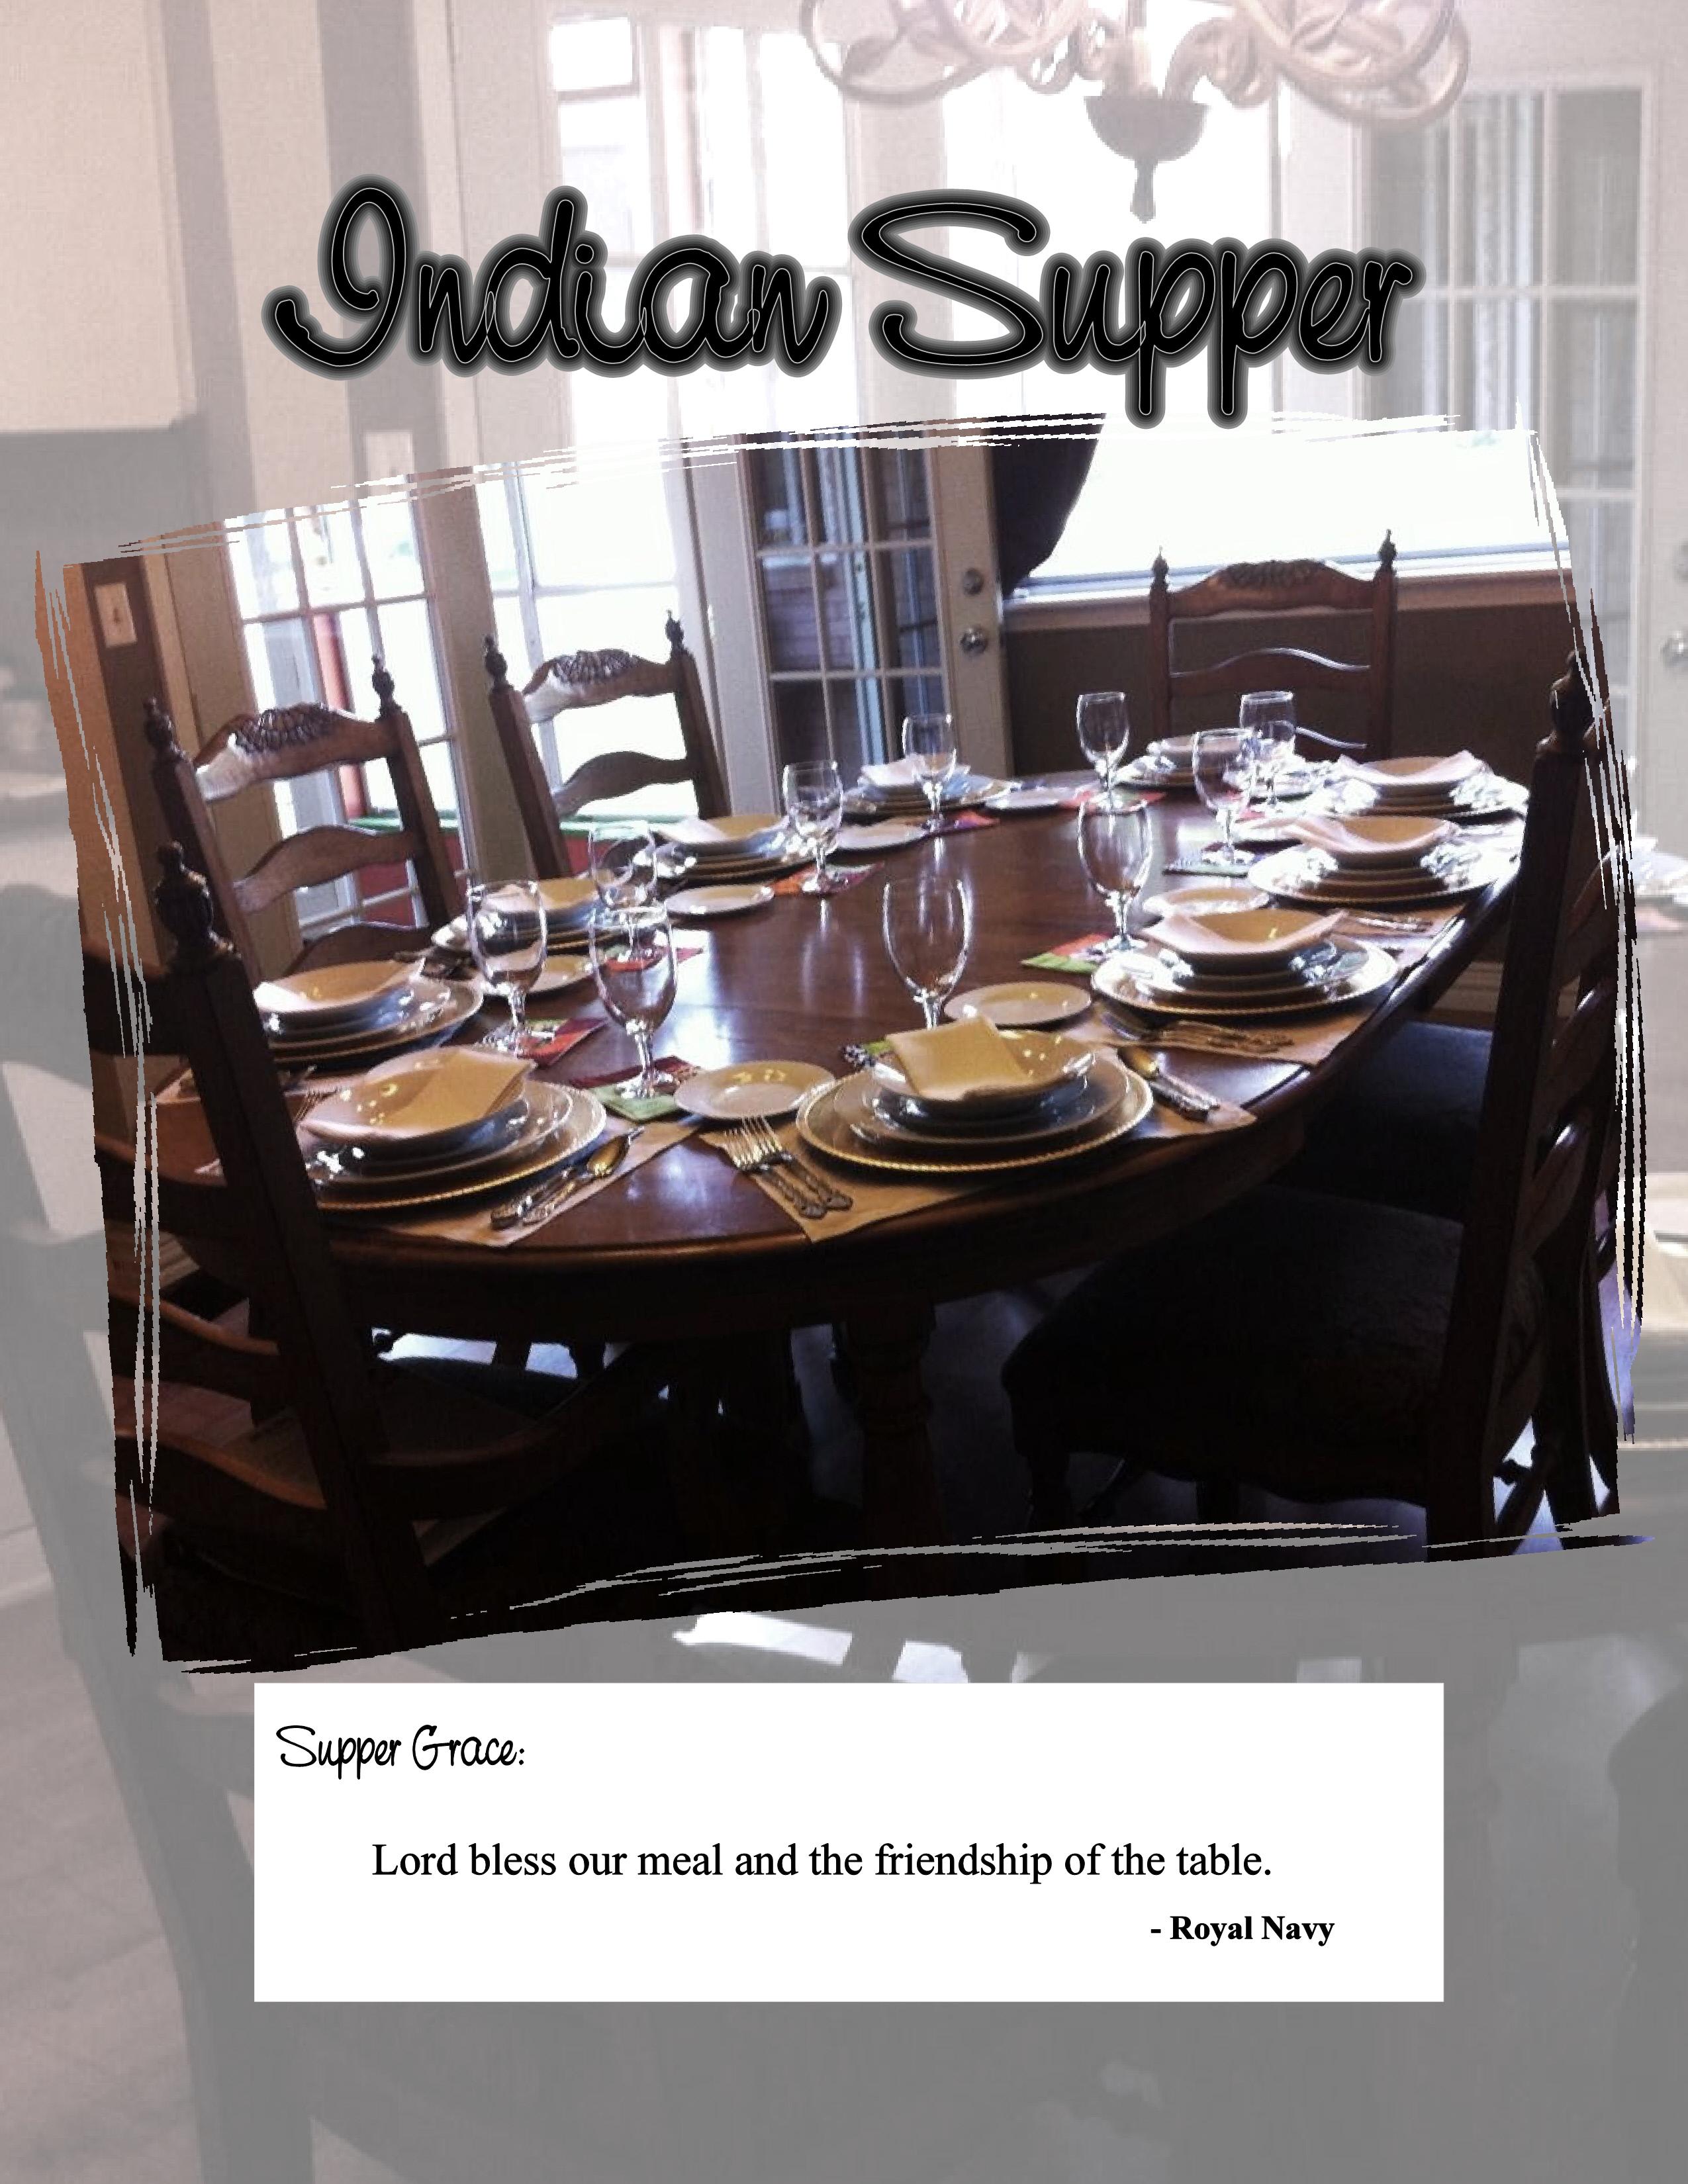
AVENUE #2 – MAKE IT A DINNER PARTY!
When my kids were little, I loved introducing them to world cuisine and culture by having theme suppers. These often were extended to our larger family, Mom and Dad, my sisters, and my kids’ friends, and often were a way to celebrate birthdays.
I spent weeks collecting recipes, researching clothing and decorations, and always tried to come up with some fun activities to make the night extra memorable. Secondhand stores and yard sales were my go-to’s for finding clothing, serving items, decorations, tablecloths, etc.
As luck would have it, my husband and I were on a flight from Los Angeles to Denver when a beautiful Indian (Pakistani actually, but lived in both places) family boarded last minute and took up the remaining seats scattered throughout the plane. The woman sat next to me. I wasn’t sure if she spoke English, but eventually I took a chance and said hello. She had a very heavy accent that was a bit hard for me to understand at first, not being terribly familiar with it, especially with the loud droning of the airplane competing with her rather quiet voice, but she did speak English and was very friendly, and we managed to have a wonderful conversation that lasted the whole flight.
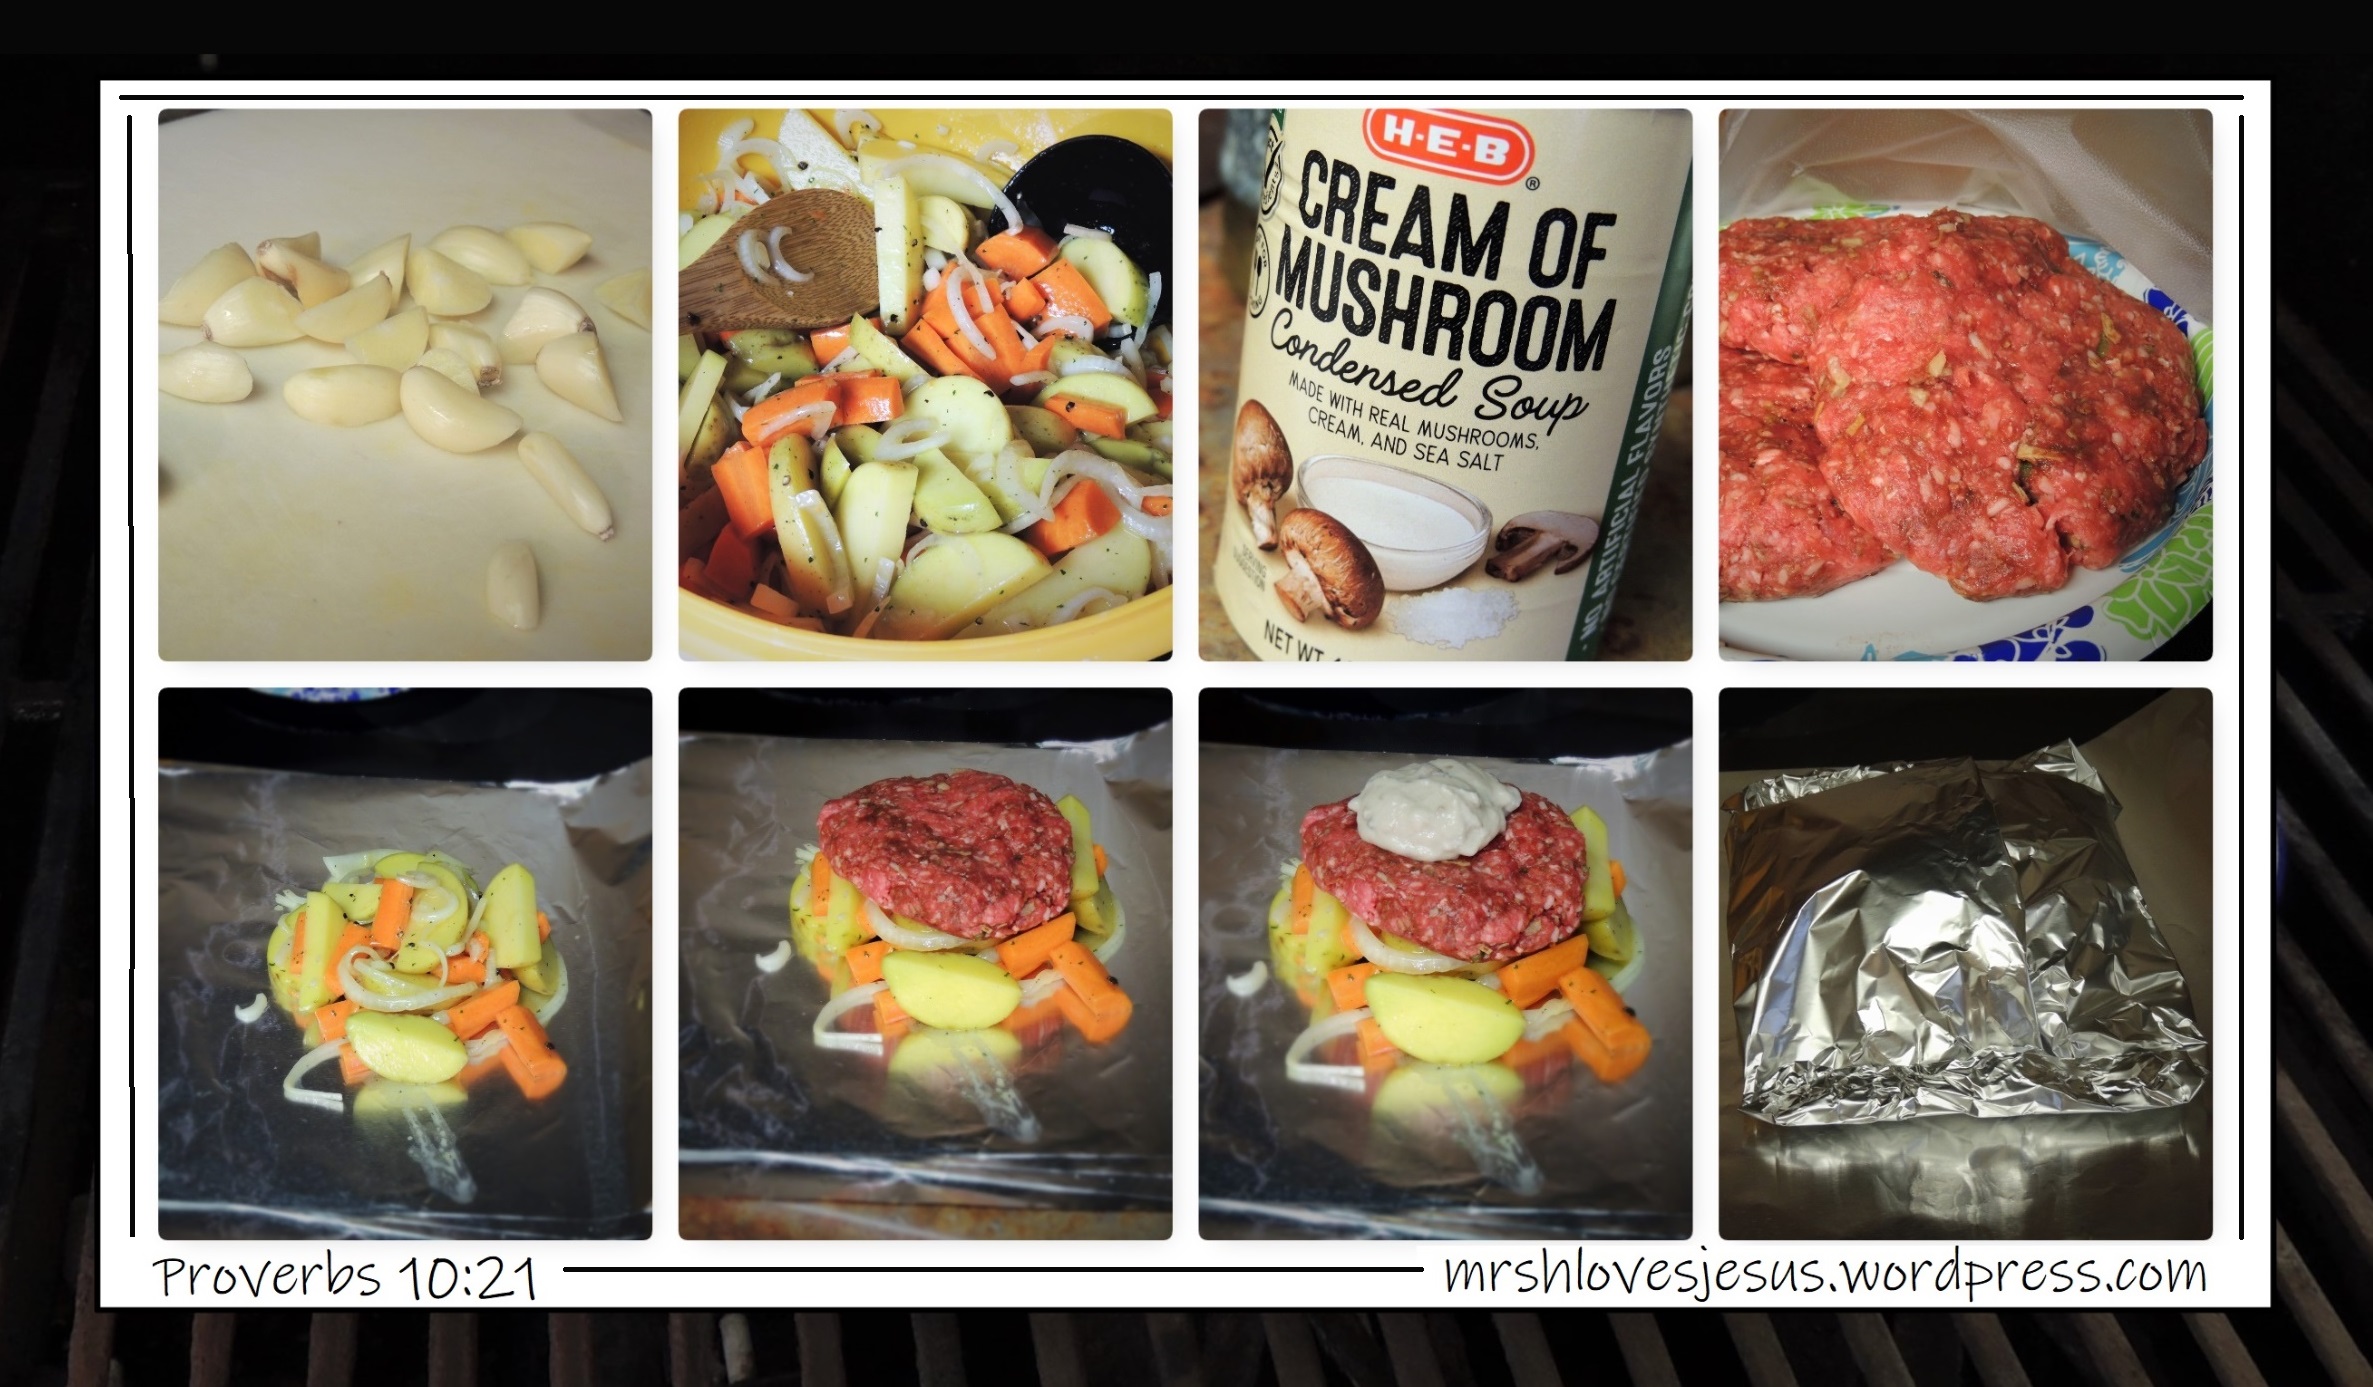
I confessed that I thought this was curiously fortuitous that our paths should cross, because I was planning an Indian dinner party and was just in the stage of deciding on recipes. She gave me several suggestions and also some ideas about culture and entertainment. The flight went by so quickly, it seemed like the blink of an eye and we were landing. Before the plane arrived at the gate we had become fast friends. We exchanged phone numbers and email addresses, and I deplaned armed with all the information I would ever need to throw my party. In fact, as soon as she and her family returned to Los Angeles, she went shopping at her neighborhood grocery store and purchased several Shan box mixes which she sent to me, explaining that this way I wouldn’t have to spend a fortune on spices and impossible to find ingredients to make my dishes. My favorite was the Chapli Kabab – a spicy ground beef mixture that is shaped into patties or logs and then grilled on the BBQ!!! She also sent a box full of decorations, clothing items, and bracelets.
Isn’t it a wonderment how THE TABLE unites us? No matter what our color or creed or religion or customs or politics even, food has an amazing way of bringing us all together. Over the next months and years she and I discussed many topics – our religions, the things that were similar and the things that weren’t. We talked about her amazing world travels, her beautiful and accomplished daughters, and all the things she’s seen from the Taj Mahal to the world’s tallest building in Dubai, to the streets of Anaheim. We remained friends for many years until our several moves caused us to lose track of each other. I’m thinking of her fondly as I jot down these lines of prose. What a beautiful person that God placed in my path for such a time in my life.
The following is the Indian soiree I ended up putting together and my family loved it. My friend had warned me to take it easy on the spices, as most Indian food is extremely spicy to the American pallet, but we love spicy food so I threw caution to the wind. She wasn’t kidding. It was hot! But DELICIOUS!
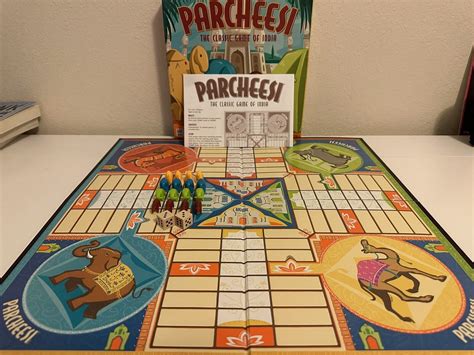
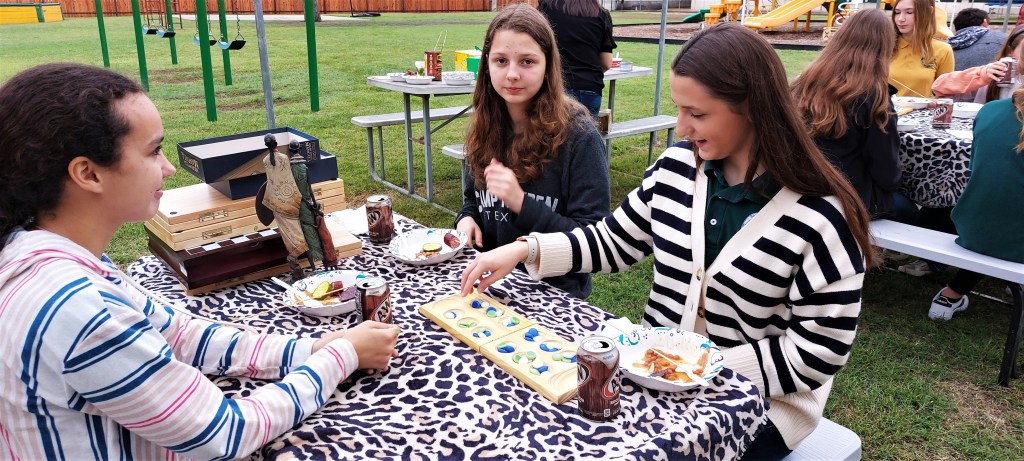
I cannot remember if I suggested this dinner for my Yum Yum’s Cooking Club or not? That was another fun outlet for all the theme meals I wanted to try and a great way to get to know the neighbors. We all got together once a month for a carry-in meal. Each one brought a dish from whatever cookbook we were working our way through. Each person signed up for a part of the meal – appetizer, main dish, side dish, dessert, beverages, etc. Sometimes all we did was eat and talk and laugh. Sometimes we played a game, like Mexican Train Dominoes, or something that would match our theme. In this case Parcheesi would be a perfect accompaniment.
Anyway, I hope you all find something that you can use out of all these words and pictures. God’s blessings on you!!!!
– – RECIPES – –
SHRIMP CURRY
p. 196 The Around the World Cookbook, serves 4
Ingredients
1 ½ lb uncooked jumbo shrimp
4 dried red chilies
1 oz. or ½ cup desiccated coconut
1 tsp black mustard seeds
1 large onion, chopped
2 Tbsp oil
4 bay leaves
1 inch piece root ginger, finely chopped
2 garlic cloves, crushed
1 Tbsp ground coriander
1 tsp chili powder
1 tsp salt
4 tomatoes, finely chopped
Plain rice, to serve
Directions:
Peel the shrimp and discard the shells. Run a sharp knife along the center back of each shrimp to make a shallow cut and carefully remove the thin black intestinal vein.
Put the dried red chilies, coconut, mustard seeds, and onion in a large heavy-based frying pan and dry-fry for 8-10 minutes or until the spices begin to brown but not burn. Put into a food processor or blender and process to a coarse paste.
Heat the oil in the frying pan and fry the bay leaves for 1 minute. Add the chopped ginger and the garlic and fry for 2-3 minutes.
Add the coriander, chili powder, salt and the coconut paste and cook gently for 5 minutes.
Stir in the chopped tomatoes and about 6 fl. Oz. or ¾ cup of water and simmer gently for 5-6 minutes or until the sauce has thickened.
Add the shrimp and cook for about 4-5 minutes or until they turn pink and the edges are curling slightly. Serve with plain boiled rice.
CHICKEN BIRYANI
p. 194 Around the World cookbook – serves 4
Biryanis originated in Persia and are traditionally made with a combination of meat and rice. They are often served at dinner parties and on festive occasions.
Ingredients
10 oz or 1 ½ cups basmati rice
2 Tbsp oil
1 onion, thinly sliced
2 garlic cloves, crushed
1 green chili, finely chopped
1 inch piece root ginger, finely chopped
1 ½ lb. Chicken breast fillets, skinned and cut into 1 inch cubes
3 Tbsp curry paste
¼ tsp salt
¼ tsp Garam Masala
3 tomatoes cut into thin wedges
¼ tsp ground turmeric
2 bay leaves
4 green cardamom pods
4 cloves
¼ tsp saffron strand
Tomato and Onion Chutney, to serve
Directions:
Wash the rice in several changes of cold water. Put into a large bowl, cover with plenty of water and leave to soak for 30 minutes.
Meanwhile, heat the oil in a large heavy-based frying pan and fry the onion for about 5-7 minutes until lightly browned. Add the garlic, chili and ginger and fry for about 2 minutes.
Add the chicken and fry for about 5 minutes, stirring occasionally.
Add the curry paste, salt and Garam Masala to the chicken mixture and cook for 5 minutes. Gently stir in the tomato wedges and continue cooking for another 3-4 minutes, then remove from the heat and set aside.
Preheat the oven to 375 degrees. Bring a large saucepan of water to the boil. Drain the rice and add it to the pan with the turmeric. Cook for about 10 minutes, or until the rice is almost tender. Drain the rice and toss together with the bay leaves, cardamoms, cloves and saffron.
Layer the rice and chicken in a shallow, ovenproof dish until all the mixture has been used, finishing off with a layer of rice. Cover and bake in the oven for 15-20 minutes or until the chicken is tender. Serve with Tomato and Onion Chutney.
TOMATO AND ONION CHUTNEY
p. 210 The Around the World Cookbook, serves 4
Ingredients
8 tomatoes
1 medium onion, chopped
3 Tbsp. Brown sugar
1 tsp Garam Masala
1 tsp ginger powder
6 fl. Oz. or ¾ cup malt vinegar
1 tsp salt
1 Tbsp clear honey
Plain yogurt, sliced green chili, and fresh mint leaves, to garnish
Directions:
Wash the tomatoes and cut them into quarters.
Place them with the onion in a heavy-based saucepan
Add the sugar, Garam Masala, ginger, vinegar, salt, and honey, half-cover the pan with a lid and cook over a low heat for about 20 minutes.
Mash the tomatoes with a fork to break them up, and then continue to cook on a slightly higher heat until the chutney thickens. Serve chilled, garnished with plain yogurt, sliced chili, and mint leaves.
Tip: This chutney will keep for about 2 weeks in a covered jar in the refrigerator.
INDIAN CHICKEN CURRY
Submitted by: Amanda Cutting to allrecipes.com
“This is an adaptation of yellow chicken curry from India. The aromas and flavors are a delight to the senses! It is best served with fresh Naan bread and Jasmine or Basmati rice.”
Original recipe yield: 4 to 6 servings
Ingredients
3 tablespoons olive oil
1 small onion, chopped
2 cloves garlic, minced
3 tablespoons curry powder
1 teaspoon ground cinnamon
1 teaspoon paprika
1 bay leaf
½ teaspoon grated fresh ginger root
½ teaspoon white sugar
salt to taste
2 skinless, boneless chicken breast halves – cut into bite-size pieces
1 tablespoon tomato paste
1 cup plain yogurt
¾ cup coconut milk
½ lemon, juiced
½ teaspoon cayenne pepper
Directions:
1. Heat olive oil in a skillet over medium heat. Sauté onion until lightly browned. Stir in garlic, curry powder, cinnamon, paprika, bay leaf, ginger, sugar and salt. Continue stirring for 2
minutes. Add chicken pieces, tomato paste, yogurt, and coconut milk. Bring to a boil, reduce heat, and simmer for 20 to 25 minutes.
2. Remove bay leaf, and stir in lemon juice and cayenne pepper. Simmer 5 more minutes.
BALTI STIR-FRIED VEGETABLE WITH CASHEW NUTS
p. 204 The Around the World Cookbook
Ingredients
2 medium carrots
1 medium red bell pepper, seeded
1 medium green bell pepper, seeded
2 zucchini
4 oz. green beans
1 medium bunch scallions
1 Tbsp oil
4-6 curry leaves
½ tsp cumin seeds
4 dried red chilies
10-12 cashew nuts
1 tsp salt
2 Tbsp lemon juice
Fresh mint leaves, to garnish
Directions:
Prepare the vegetables: but the carrots, peppers and zucchini into matchsticks, half the beans and chop the scallions. Set aside.
Heat the oil in a wok or heavy-based frying pan and fry the curry leaves, cumin seeds and dried chilies for about 1 minute.
Add the vegetables and nuts and stir them around gently. Add the salt and lemon juice. Continue to stir and cook for about 3-5 minutes.
Transfer the vegetables to a serving dish, garnish with fresh mint leaves and serve immediately.
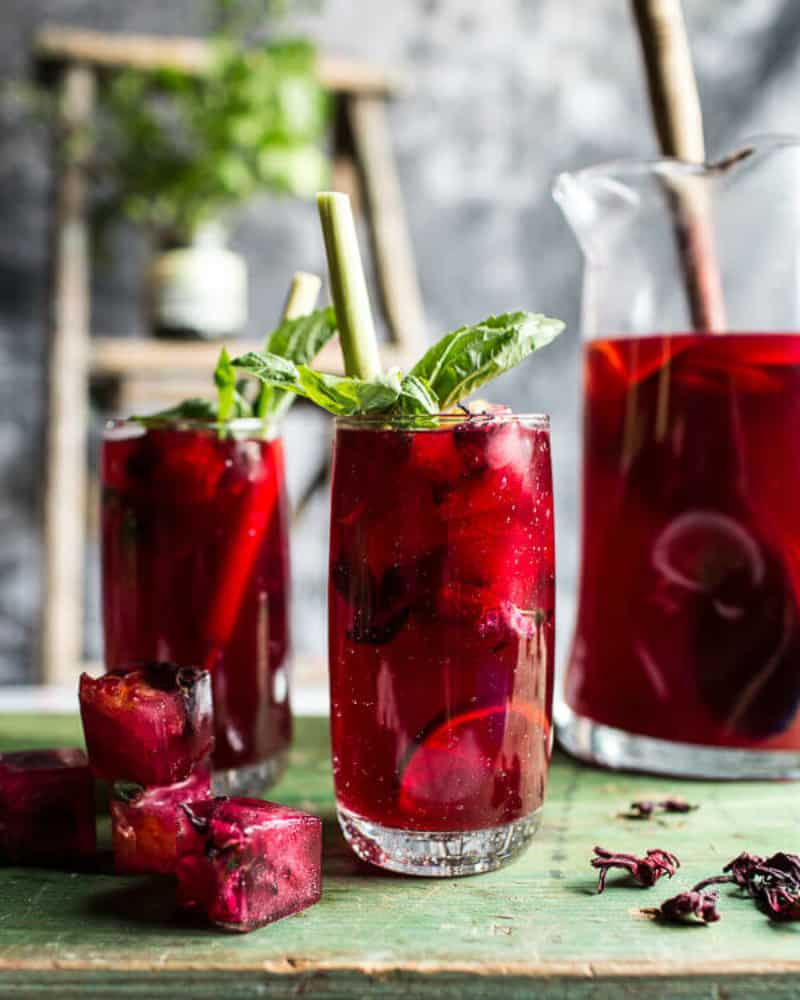
Beverages:
Masala Chai (Darjeeling tea with a mixture of spices boiled in milk)
Mango Nectar
Arabica Coffee
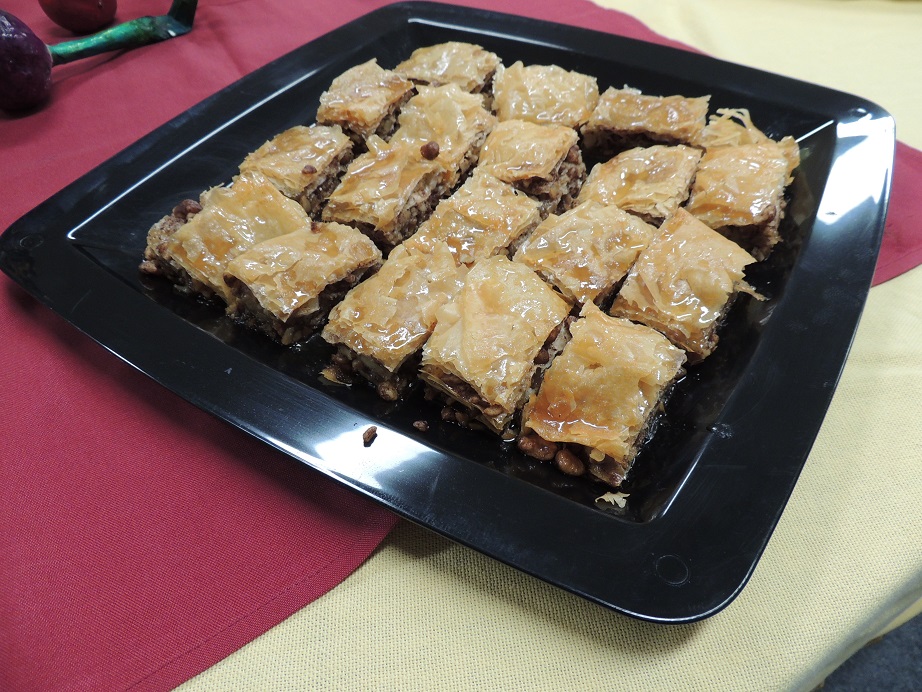
Dessert:
GROUND RICE PUDDING
Around the World Cookbook, p.212
This delicious and light ground rice pudding is the perfect end to a spicy meal. It can be served either hot or cold. Serves 4 to 6.
Ingredients
2 oz./ ½ cup coarsely ground rice
4 green cardamom pods, crushed
1 ½ pints or 3 ¾ cups semi-skimmed milk
6 Tablespoons sugar
1 Tablespoon rose water
1 Tablespoon crushed pistachio nuts, to garnish
Directions:
1. Place the ground rice in a saucepan with the cardamoms. Add 1 pint or 2 ½ cups milk and bring to boil over a medium heat, stirring occasionally.
2. Add the remaining milk and cook over a medium heat for about 10 minutes or until the rice mixture thickens to a creamy consistency.
3. Stir in the sugar and rose water and continue to cook for a further 2 minutes. Serve garnished with the pistachio nuts.
Tip: Rose water is a distillation of scented rose petals which ha the intense fragrance and flavor of roses. It is a popular flavoring in Indian cooking. Use it cautiously, adding just enough to suit your taste.
– – ENTERTAINMENT – –
• Background Music: Vision of Peace: The Art of Ravi Shankar (2-disc CD set, the second CD is perfect)
• Watch a movie: Slumdog Millionaire; or the foreign film, Mother Teresa (2006), starring Olivia Hussey, about her life as a missionary to Indian orphans.
• Ask guests to purchase a Sari to wear, and we can all learn how to wrap and tie it.
♥ Make a low table in the middle of your room and toss pillows all around it to sit on.
• Batik: Batik craft kits can sometimes be found at craft and hobby stores. It is sort of like tie-dying, only instead of twisting and rubber banding you use wax to protect parts of the fabric from the dye. It is actually an Indonesian invention. I would maybe go with a bandana size piece of fabric for each person. The finished product could be made into a throw pillow, a place mat for your dining table, or a table covering for an end table. Or, you could use the cloth to decorate a lamp shade and glue beads along the edge.
• Henna: In India, young ladies get their palms and sometimes also their feet henna tattooed, as part of a marriage ritual. Henna artists are often employed, or the bride’s closest girlfriends make it a kind of a bachelorette party of sorts the days before the wedding.
 My youngest daughter was assigned Indian culture for a presentation in one of her classes at school her junior year. These are her hands that we did from a kit that I found at at our local Herbal Remedies store. The kit came with premeasured ingredients and the little applicator bottle. We just mixed the compound, placed it in the special applicator bottle and let it sit for a little while.
It can be prepared ahead of time and kept in the refrigerator overnight. You prepare the skin by rubbing on a special cleaning solvent (included), then cut a design from the stencil sheet (also included) and transfer it to the skin with a wet cloth. The henna is then squeezed out over the design, kind of like how you would pipe frosting decorations onto a cake. The henna compound is a baby-poop-green color when it is wet, and when it dries it looks black.
You apply the henna in the evening and sleep with it on overnight. The next day when it has completely hardened you chip it off and it leaves behind a reddish/brownish stain on your skin that lasts about 5 days. We did the tops of her hands, but normally it is the palms that are done.
• Belly dancing: Belly dancing is a hot new way to exercise. Introduce your guests to the art of belly dancing using belly dancing instructional videos. Here is a highly rated DVD to try: Amira’s Belly Dance 101 DVD, a quality instructional video of belly dancing basics for beginners. Remember to get some belly jingles for each of your guests.
Until writing this chapter, I didn’t realize how much influence Indian culture has had on American life. Yoga, for instance is huge in the physical fitness industry. Yoga mats are available for sale in all the big box stores, and classes are available in almost every American community little and big. Yoga is a regimen of stretching and breathing and meditation that is supposed to be good for mind, body, and spirit. As with all things Indian, it is nearly impossible to separate physical things from their spiritual connections. So, I think it is probably the safest thing for me, a Christian woman wanting to get a taste of India, to stay as close to the table as possible and tip toe very carefully around the spiritual customs and traditions, since they are mostly steeped in Eastern mysticism. Hinduism isn’t just a religion in India, it is a way of life. And Indians who are not Hindu are likely Muslim.
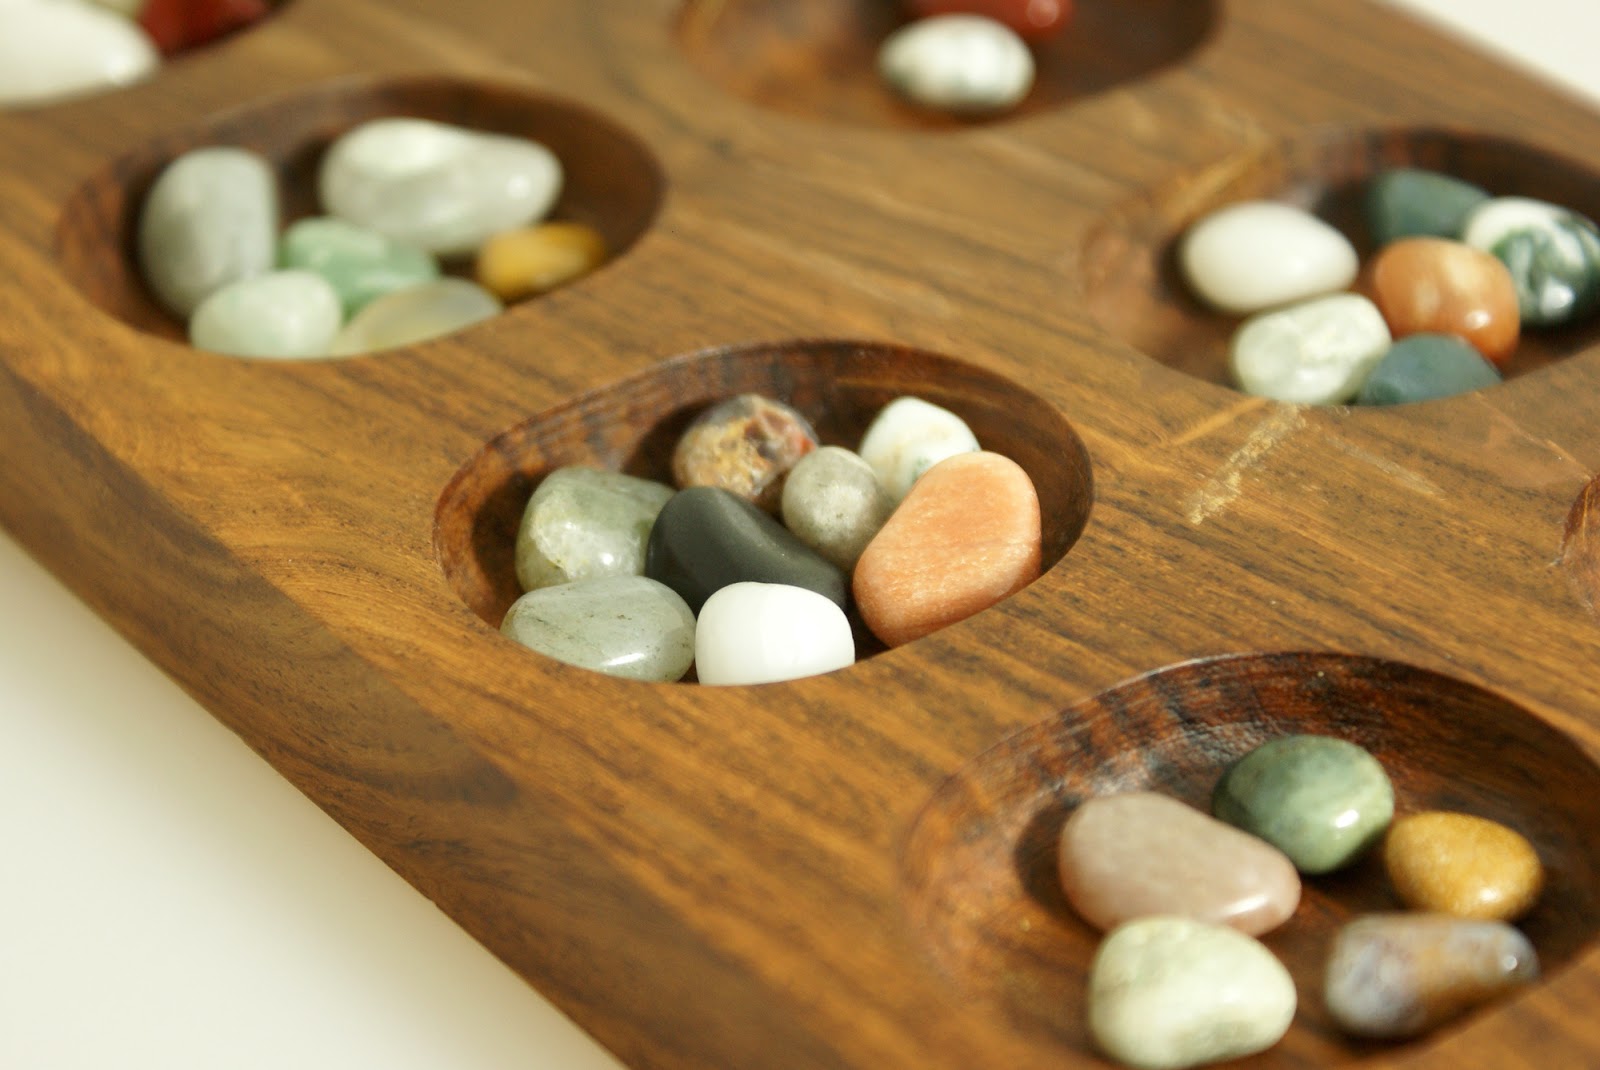
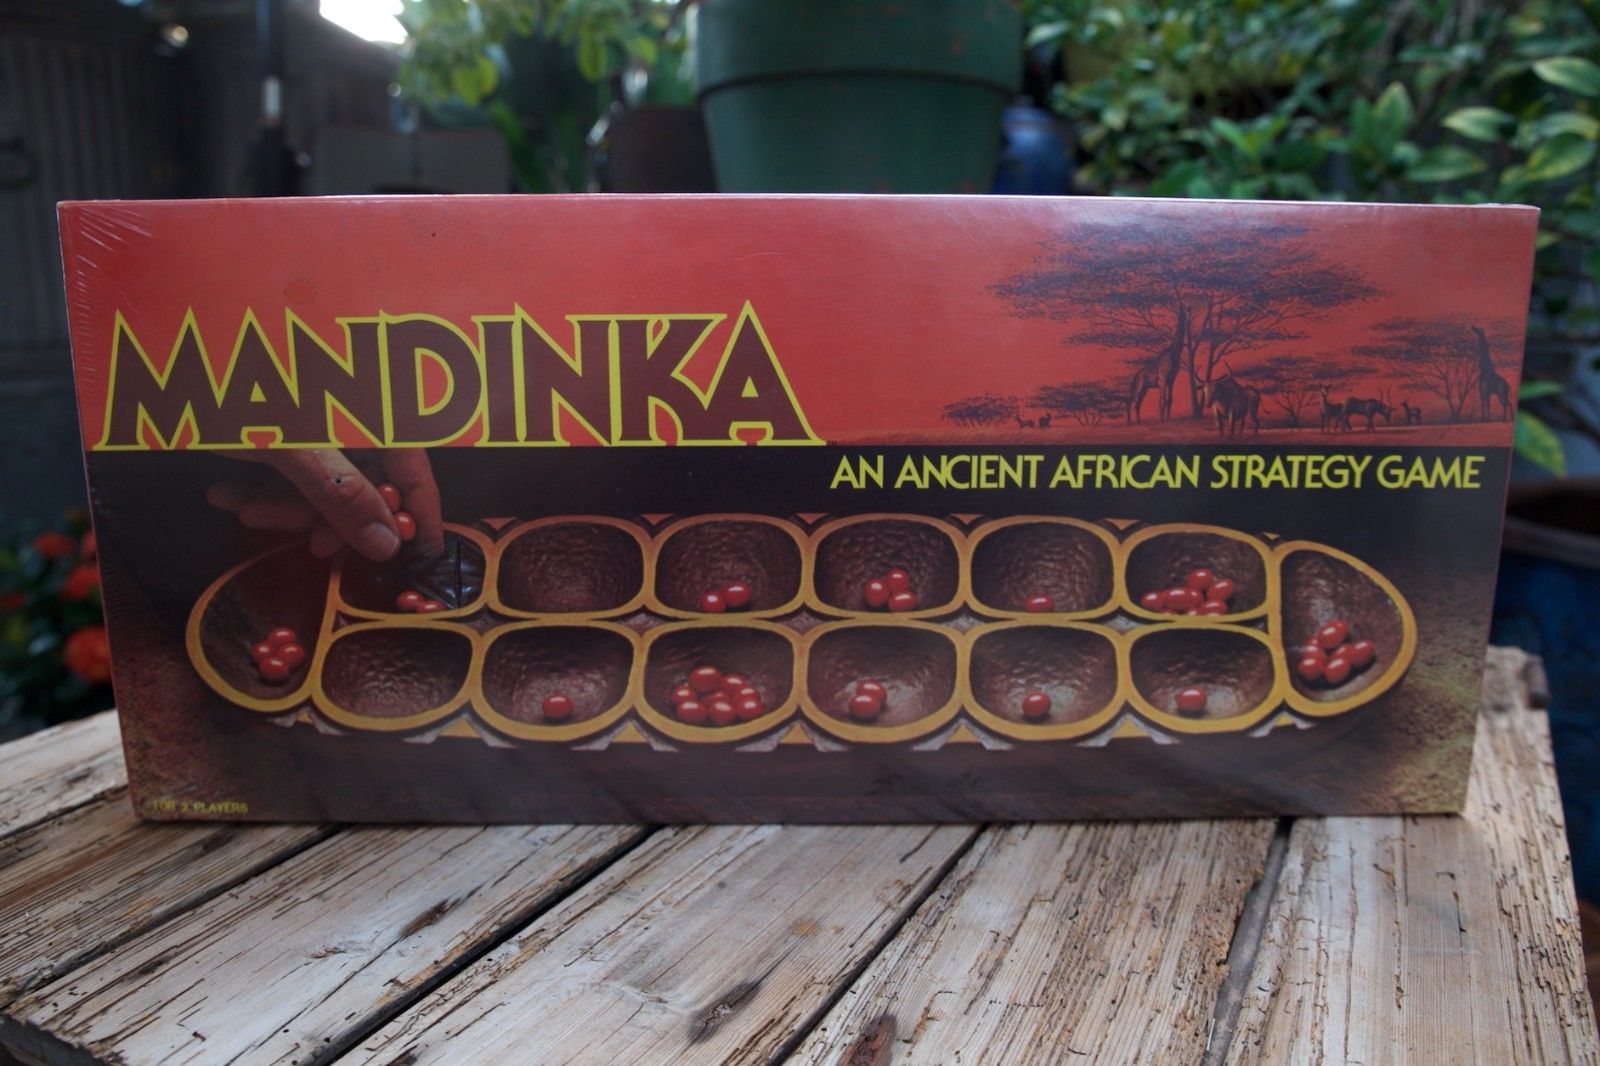
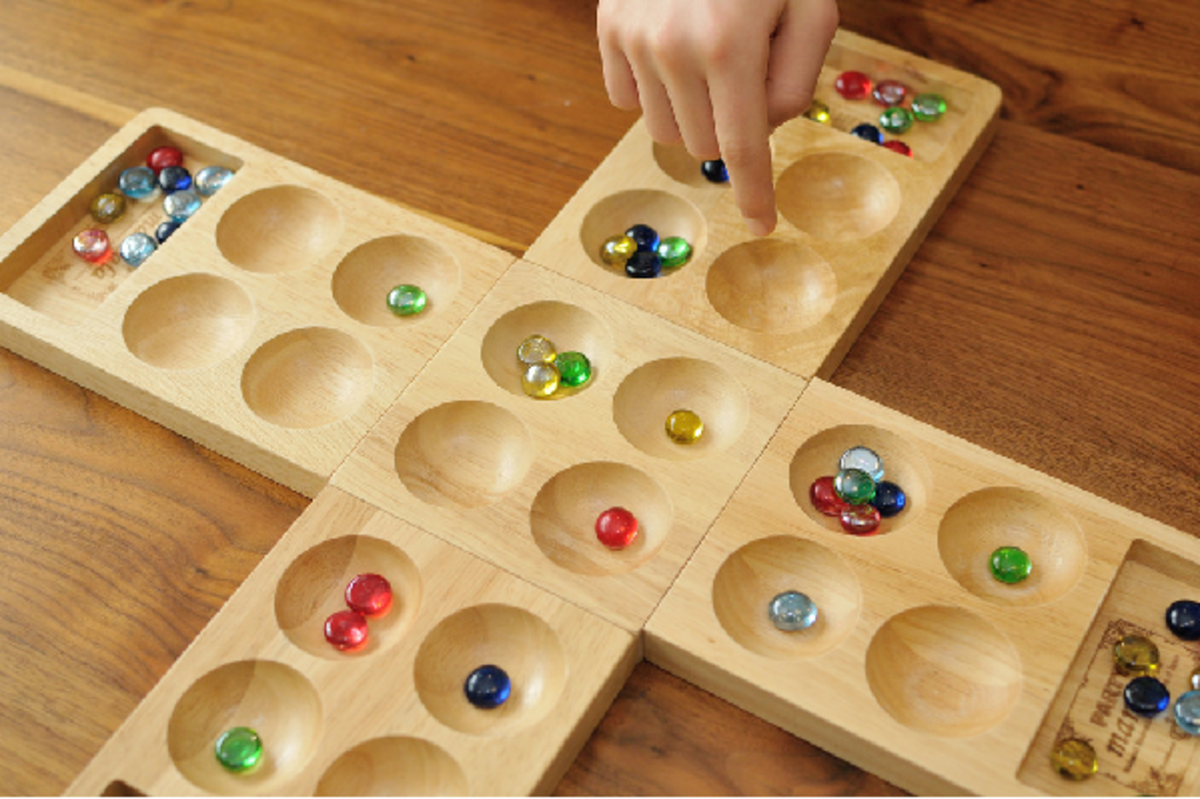
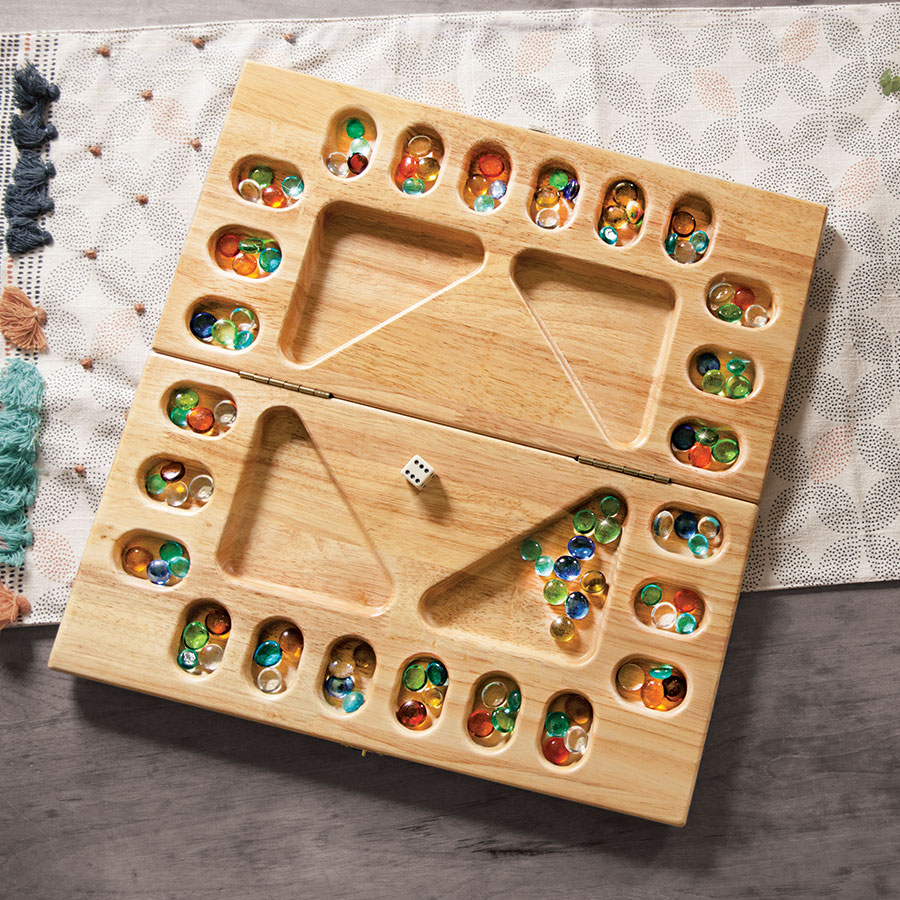
• Play a Board Game: Parcheesi (this is an Americanized version of the Indian game, Pasha or Pachisi). The following link will take you to a You Tube video which explains how to play: https://youtu.be/M5pXXEfIuO4?si=Jg0Hf9iN6f_Fndvd. In India this game was known as the cross and circle game.
CONVERSATION STARTERS
How much do you know about Mother Teresa? Bollywood? Mohandas Gandhi? Ghost chilis? The Taj Mahal? Well there you go. Now you have something to talk about and research and learn about. You’re welcome. BTW: Did you know that there are more honor students in India than there are students in the USA? Crazy huh?
“Use hospitality one to another without grudging.”
1 Peter 4:9


 Penguin Rice Crispy Treats
  Penguin Banana Snacks
 Snowcones in a cup – our little school happens to have a snowcone machine – hurray!!!!


