While the rest of my fellow “gringos” are having “Ugly Sweater” parties, Cookie Exchanges, and Gift Wrapping/Mulled-Wine drinking parties for Christmas wouldn’t it be fun to host a TAMALADA just to be different?
I recently tried my hand at making Tamales, and to my delight they turned out, and were actually delicious (thank God), but boy howdy were they a ton of work. Took me ALL DAY! I’m absolutely addicted to tamales at Christmas, but I’m thinking if I ever decide to make them again I will want to make a party out of it, because many hands make light work. So here’s what I’m thinking…
Who to invite? Hmmm, well they’ll need to be reliable guests, who promise to make their dish and show up for the assembly process.
I could send them each a recipe card, after they RSVP and volunteer for a portion of the tamale-making they want to do. The host (which will be me, if I manage to muster the courage to actually do this) will provide snacks, and beverages – I’m thinking some fun drink choices would be Sangria; a Hot-Mexican-Chocolate Bar; Horchata Smoothies; and blended Margaritas. I’ll need to remember to find a good Latino Christmas Album or two or three to play for ambiance during the party, and also dig out an entertaining game to go with the party, that we can play while we’re waiting for the first batch of tamales to come out of the steamers. A couple of my favorites are Mexican Train (dominoes) and Canasta (cards)!
Or, if my family/friends want to bring their Christmas cards, stamps, address labels, and stationery we could get our Christmas cards ready to mail out while we wait for tamales, and we can snack and visit while we write and fold and lick and stamp! Make it kind of a working Tamale party! I can offer this on the invitations, and then discuss it with everybody when they RSVP.
Here’s how I’m thinking we can split up the cooking…
Guests #1, 2, & 3 could each make a 3-lb pork roast (half of the recipe listed below) and shred it, discarding any bone or cartilage, and reserving and bringing the strained pork broth to the party.

.
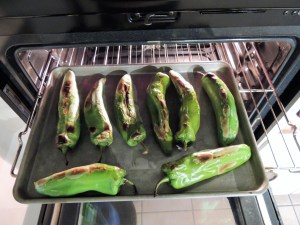
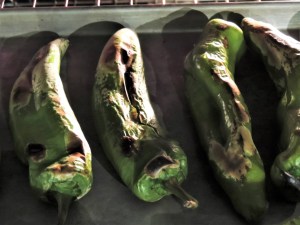
Guest #4 could make the Chili sauce up to the point of adding the broth and blending it, and bring the cooked chilies with them to the party.

.
HOST: could prepare corn husks

.
Guest #5 could make the Masa, up to the point of adding the broth and mixing, and bring it to the party

.
Click this link for a FREE PRINTABLE of the Recipe cards for Tamalada!
(((((-Full recipes are further down on this page-)))))

Click this LINK for the printable Tamalada Invitation!
So, I know from experience that it’s going to take at least 4 hours to make the finishing touches on the meat and masa, then assemble, and steam the tamales. So I’ll plan my party accordingly when filling out the details on the invitation. Maybe I should have it on a Saturday or Sunday afternoon?
Once my guests have RSVP’d and volunteered for the dish they want to make, I’ll send them out the recipe card for their items (shown above, in case you missed them).
((((( Click here for the FREE PRINTABLE Recipe cards for Tamalada! )))))
.
PREPARING FOR MY PARTY:
Buy whatever groceries and beverages I’ll need and give myself time to prepare them before the party.
Set up a station for the final masa preparation. I will need counter space, a large bowl, a mixer, and a cup of warm water to test the masa in.
Set up a work station for the final preparation of the red sauce. I will need a large sauce pot for the stove, and a blender or food processor. Someone will be making a roux in the sauce pot, and another person will be blending the red sauce (softened chilies and broth from pork). The pork and the red sauce will be added to the roux.
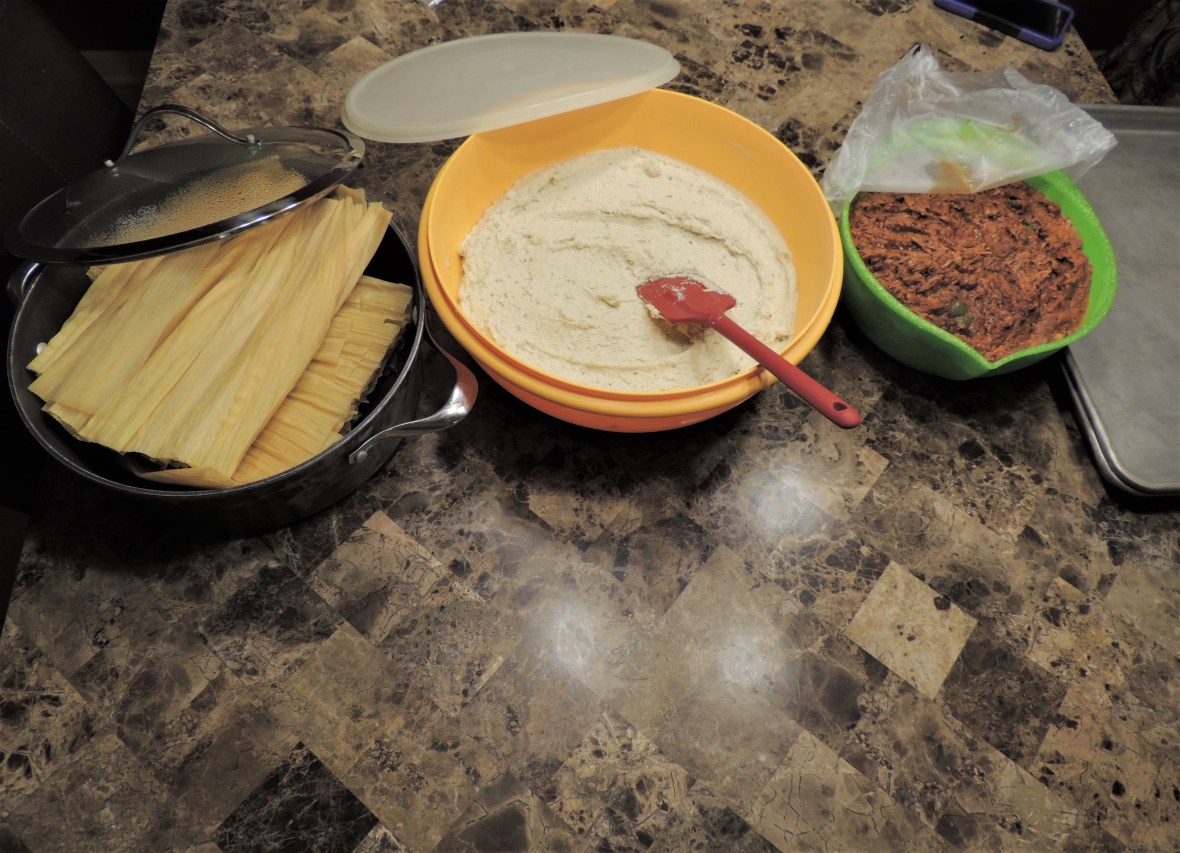
I’ll set up a large table for assembly. Place the ingredients down the center of my table, the husks next to the masa, the masa next to the meat, and finally a cookie sheet at the end to pile the tamales on. I’ll put a person at each ingredient and we’ll pass each tamal along. They’ll go together pretty quick. I will need some clean kitchen towels and possibly a roll of paper towels, also a masa spreader or spatula, a spoon to measure the masa, a spoon to measure the meat, and a large cookie sheet. And afterward some tin foil to wrap the tamales in for sending home or freezing.
Make room in my refrigerator for whatever uncooked tamales, and whatever else needs refrigerated.
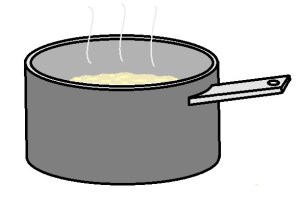
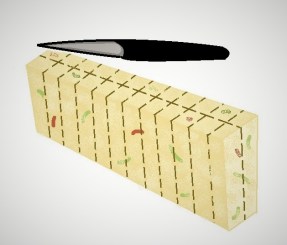
Set up the steamer pots (illustrated below). I will need two large canner size pots with lids and a steamer basket for each inside. I will also need two clean kitchen towels and water for those.
Set up a beverage station with various beverages as mentioned earlier. I can set up a hot cocoa bar, I can also set out a large thermos of blended Margaritas, and a pitcher of Sangria. I might also want to set out some iced tea and water and a cooler of ice, and a variety of glasses and mugs.
Set up an appetizer/snack table where guests can nibble as we wait for the tamales to cook. Decide what appetizers I will serve at my party, and have them ready when guests arrive. I will need serving plates, bowls, spoons, etc. I might want to have a pretty tablecloth for this table, and some festive table decorations.
Set up the music that I will have playing in the background of my party.
Set out a couple of game choices (mentioned earlier), so that once the tamales are all assembled, and the table has been cleared, we can start having some fun. Or if we all prefer doing Christmas cards, I will need to *be sure to note this in my party reminder call, so my guests will know to bring their supplies!
Of course I’ll want a clean house, a spotless kitchen, and a tidy bathroom at least. Ugh! Sometimes this keeps me from throwing parties! My house is truly never clean enough. Oh suck it up girl, get to scrubbin’ it’s gonna be fun!!!!!!!!!
A day or two before the party I can send a reminder via Text/eMail/Phonecall, so my guests will know if we’ll be doing Christmas cards during the party, or just playing games and eating. They might need the prodding for the dish they are making too!
Day of the party designate various ASSEMBLY LINE jobs:
Someone to wash all the dirty dishes and clean counters (my least fav job)
Someone to make the roux, and mix the meat with the sauce
Someone to finish making the red sauce
Someone to finish making the masa
Assembly line Husk Person, who will dry and pass the husks
Assembly line Masa Spreader person
Assembly line Meat person, who will also wrap tamales
Tamale tie person, who will tear off strips of husk to tie around tamales and stack them on a cookie sheet
And finally someone to set up and load steamers, and babysit them with water
Full RECIPES

.
Pork for Tamales
2 3-lb pkgs Pork Carnitas or a shoulder roast
1 large onion, chopped
5 cloves garlic, broken in pieces
3 jalapenos, chopped
1 Tbsp salt
Enough water to cover
DO AT HOME: Place pork roast, onion, garlic, and salt in a large pot. Cover with water. Bring to a boil, then reduce heat to simmer over medium heat until pork is very tender, about 3 hours. Remove pork from water and shred. Store in a Ziploc bag and keep in refrigerator for up to a day, until ready to use. Strain liquid and reserve for use in making the red sauce and the masa. Place in sealed jars in refrigerator for up to a day. Skim the fat off the broth and place it in a separate ziploc bag to use for the roux. Bring the pork, broth, and skimmed fat to the party.

DO AT THE PARTY: Once at the party someone will need to make a roux (see recipe below) and then the pulled pork can be combined with the roux and the red sauce.

.
Red Sauce
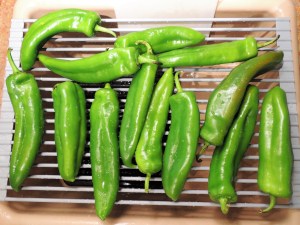
4 ounces California (or Cascavel) chile pods, seeds and stems removed
4 ounces New Mexico chile pods, seeds and stems removed
1 1/4 cup reserved pork broth
1 1/4 cup water
1 Tbsp salt
3 cloves garlic, broken in pieces
1 heaping teaspoon ground cumin seeds
DO AT HOME: Toast chilies in a hot skillet over medium high heat for 2 to 3 minutes, until fragrant. Rinse chile pods. Fill a large pot with water and bring to a boil. Add rinsed chile pods and cook until chile pods are softened, about 15 minutes. Drain water off chilies and discard the water. Add salt, garlic, and ground cumin. Seal in a plastic bag until ready to blend at the party. This can be done up to a day ahead.


DO AT THE PARTY: Pour chilies, broth, and water into a blender and blend until smooth. Place in large kettle until ready to mix with the pork.
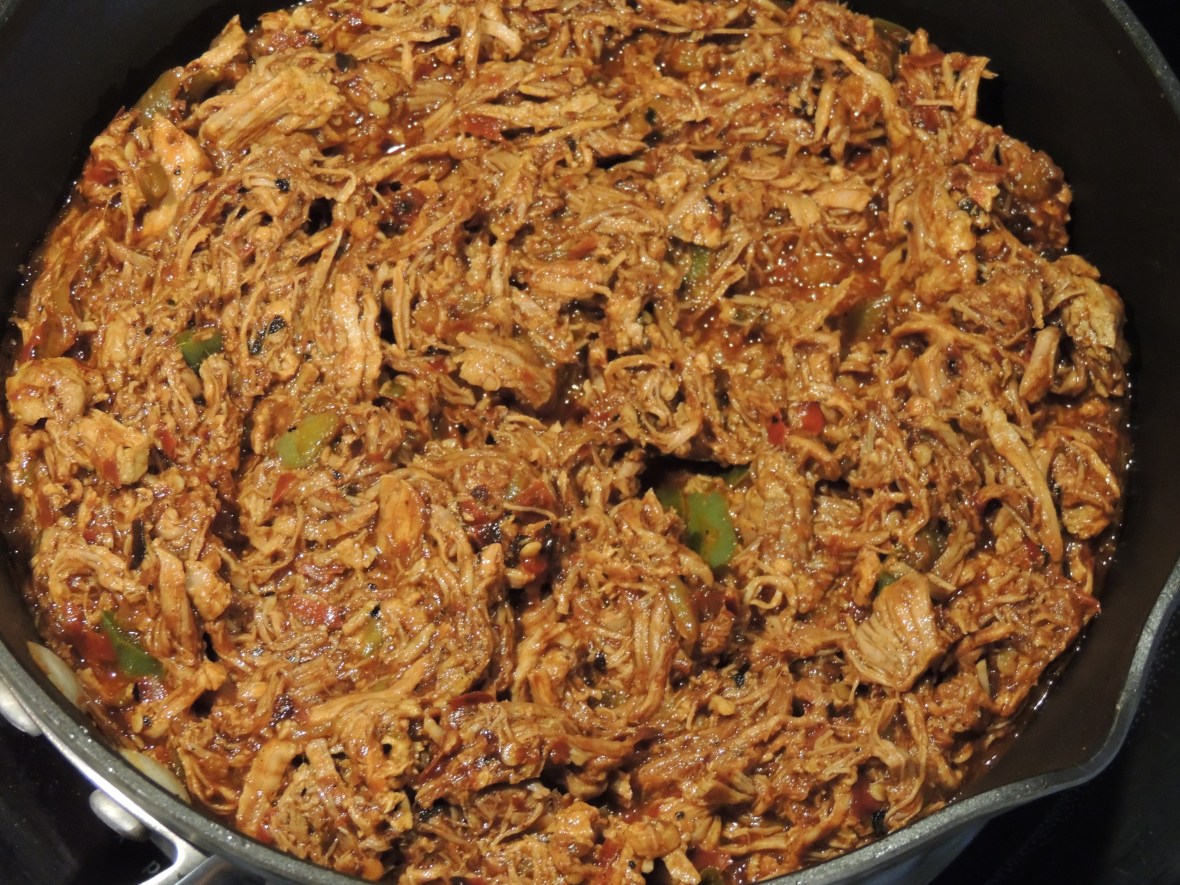
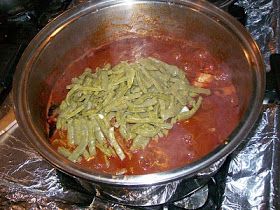
Roux: Someone will need to make a roux using ½ cup lard, reserved from roast, and ½ cup flour. Cook on the stove, stirring continually until peanut butter colored. Toss in the pork and red sauce and mix well. I also like to chop another jalapeno or two to add to the meat. Cover and refrigerate, or if near to being ready to assemble, place on the assembly line.
.

.
Masa
2 pounds Manteca lard, divided
2 teaspoons baking powder, divided
2 tablespoons salt, divided
5 pounds ground masa harina, divided
2 to 3 cups broth reserved from cooked pork roast (or chicken broth), divided
½ bunch Cilantro, finely minced
Small white onion, very finely minced
½ cup Tomatillo Salsa, or Salsa Verde
Reserved pork broth with skimmed fat
DO AT HOME: Place 1 pound of lard in a KitchenAid® Stand Mixer and mix until fluffy, scraping sides so the lard stays in the center of the mixing bowl. (The flat beater is the ideal accessory for mixing.) Add half the baking powder and half the salt to the lard and mix together. Add half the masa harina and mix together. Seal in a ziploc bag in the fridge.
Now do the other half of the same ingredients, and store in the fridge in a ziploc bag for up to a day. Please bring to room temp before bringing to the party.
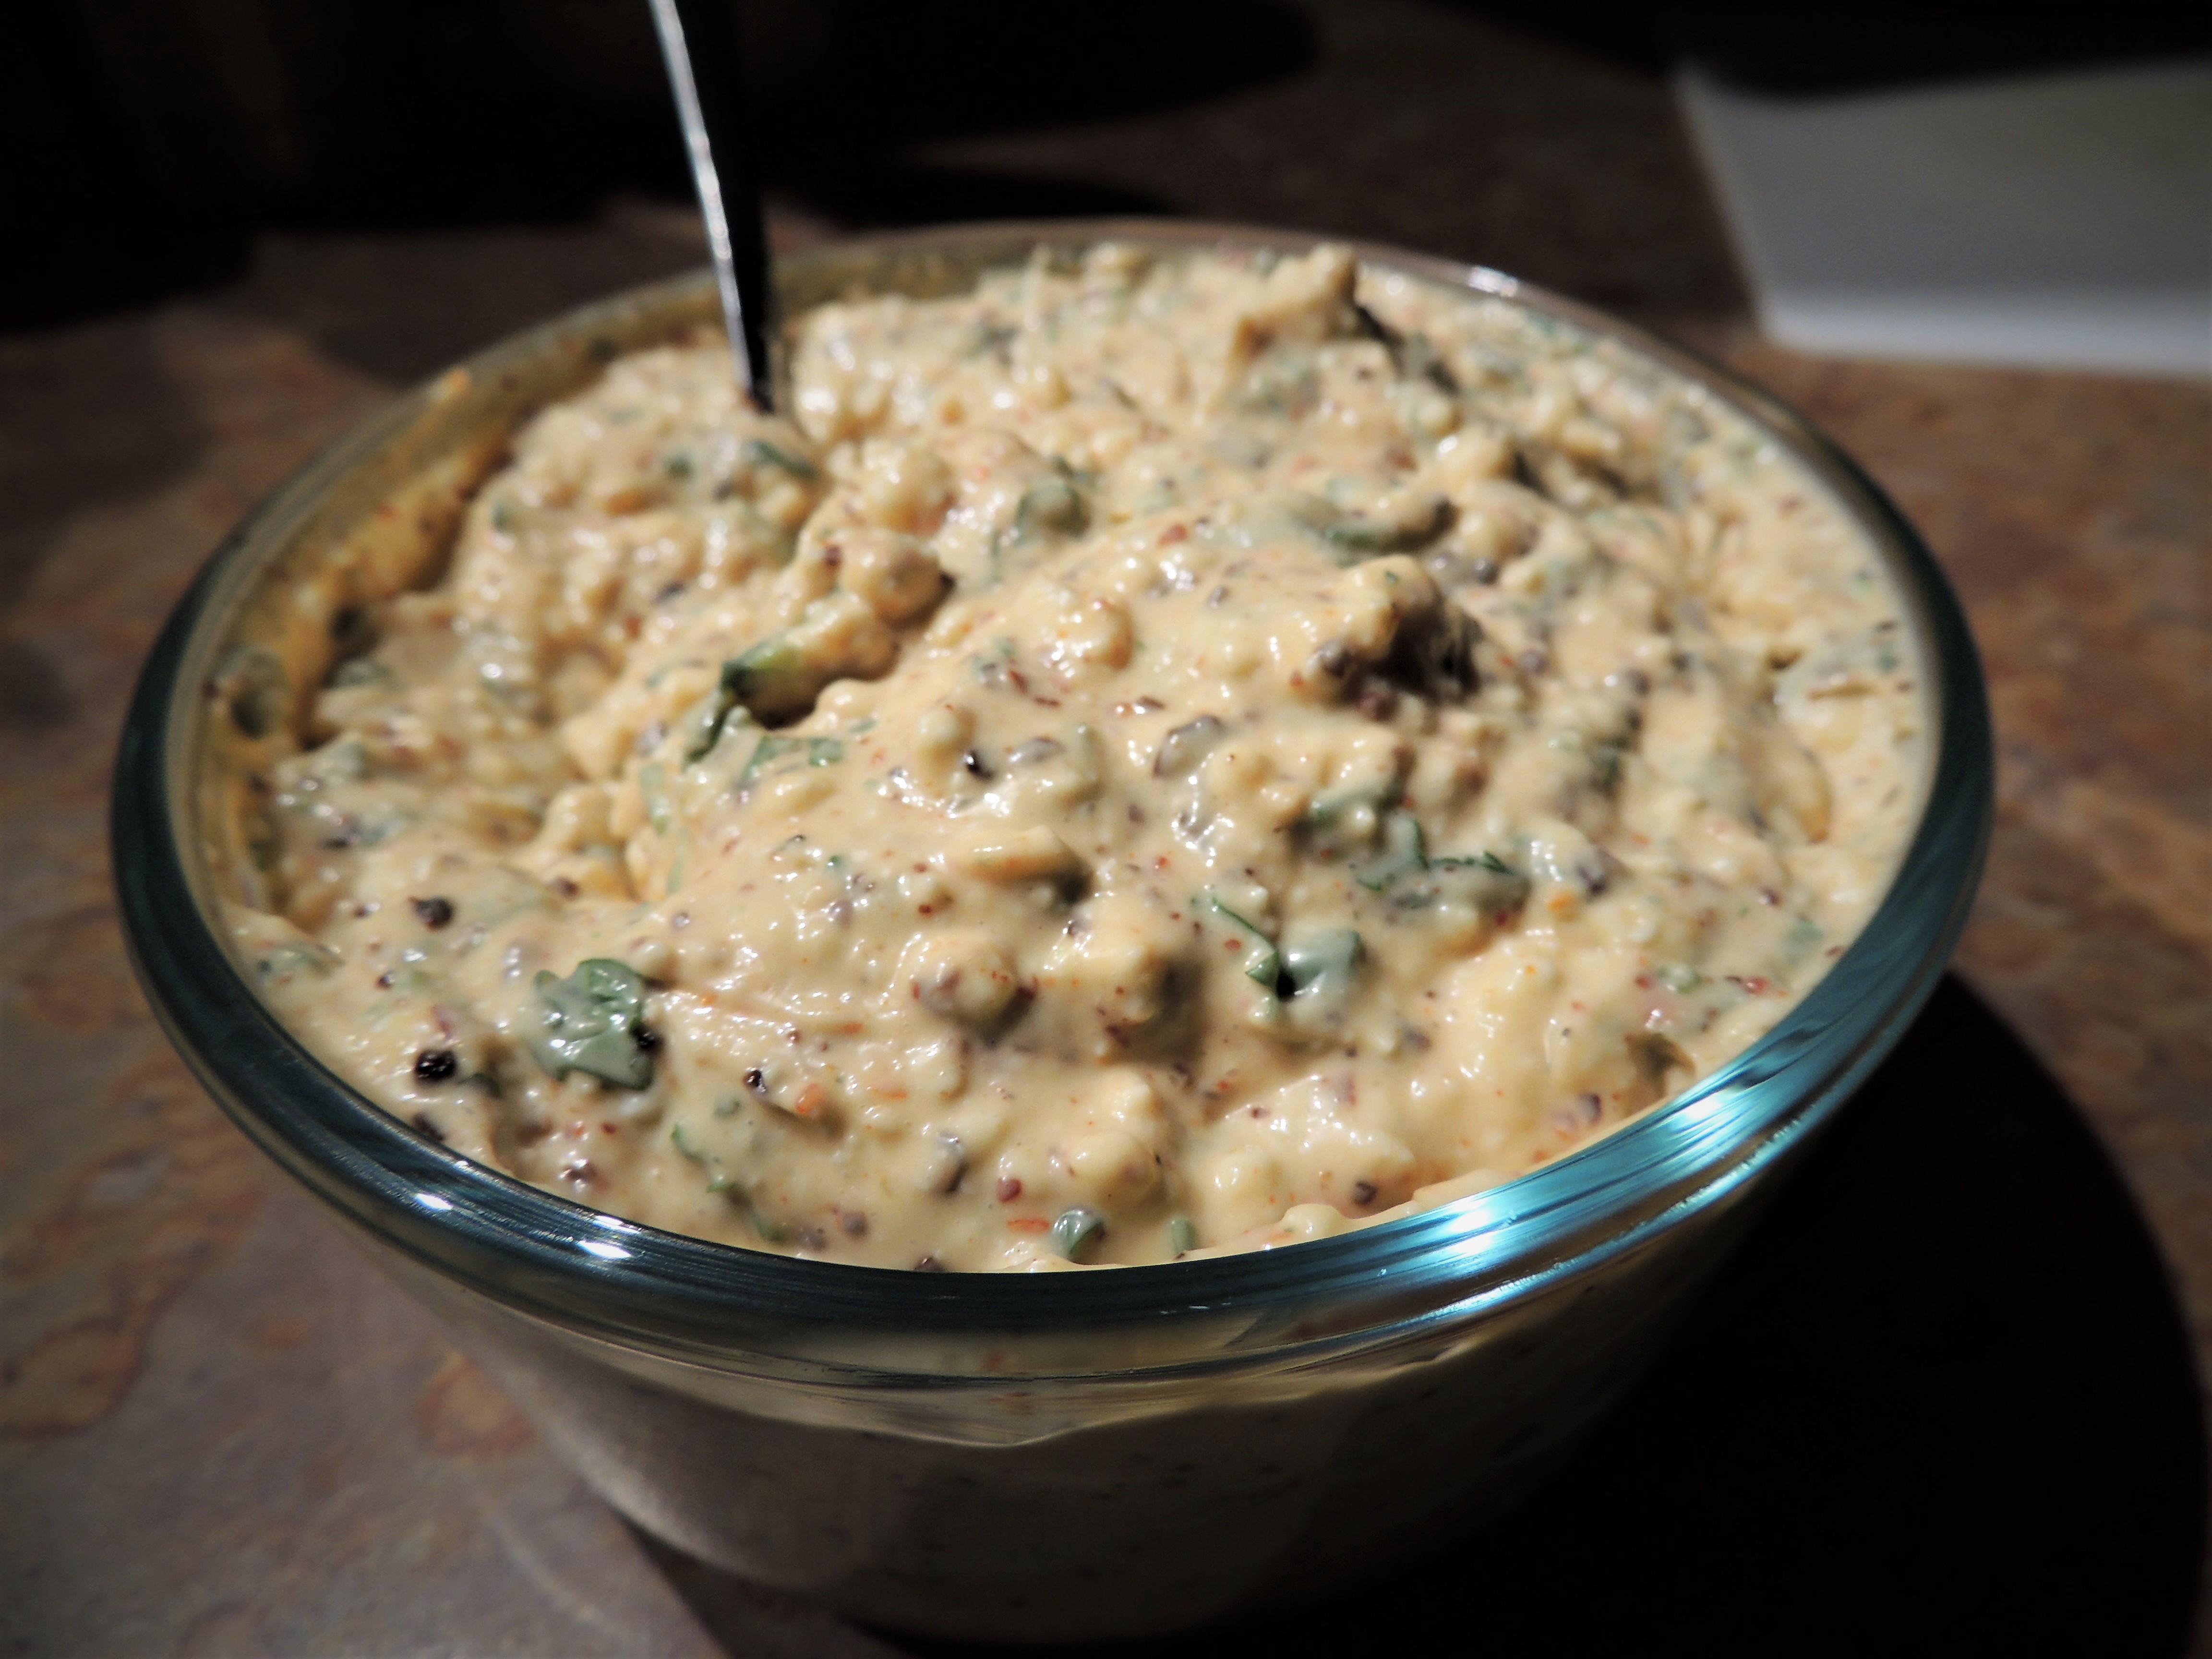
DO AT THE PARTY: Place one room temperature batch of the masa in a large bowl. Slowly add half the broth, half the onion and cilantro, and half the salsa verde, to and mix until combined. The mixture should be about the consistency of smooth peanut butter. If not, add more broth as necessary. Test the masa by taking a small piece (1/2 teaspoon) and dropping it into a cup of warm water. If it floats it is ready; if it sinks, add a little more lard, beat for another minute and test it again. Repeat this process until the masa floats. Cover and set on the assembly table.
Repeat the process with the remaining batch of masa.


.
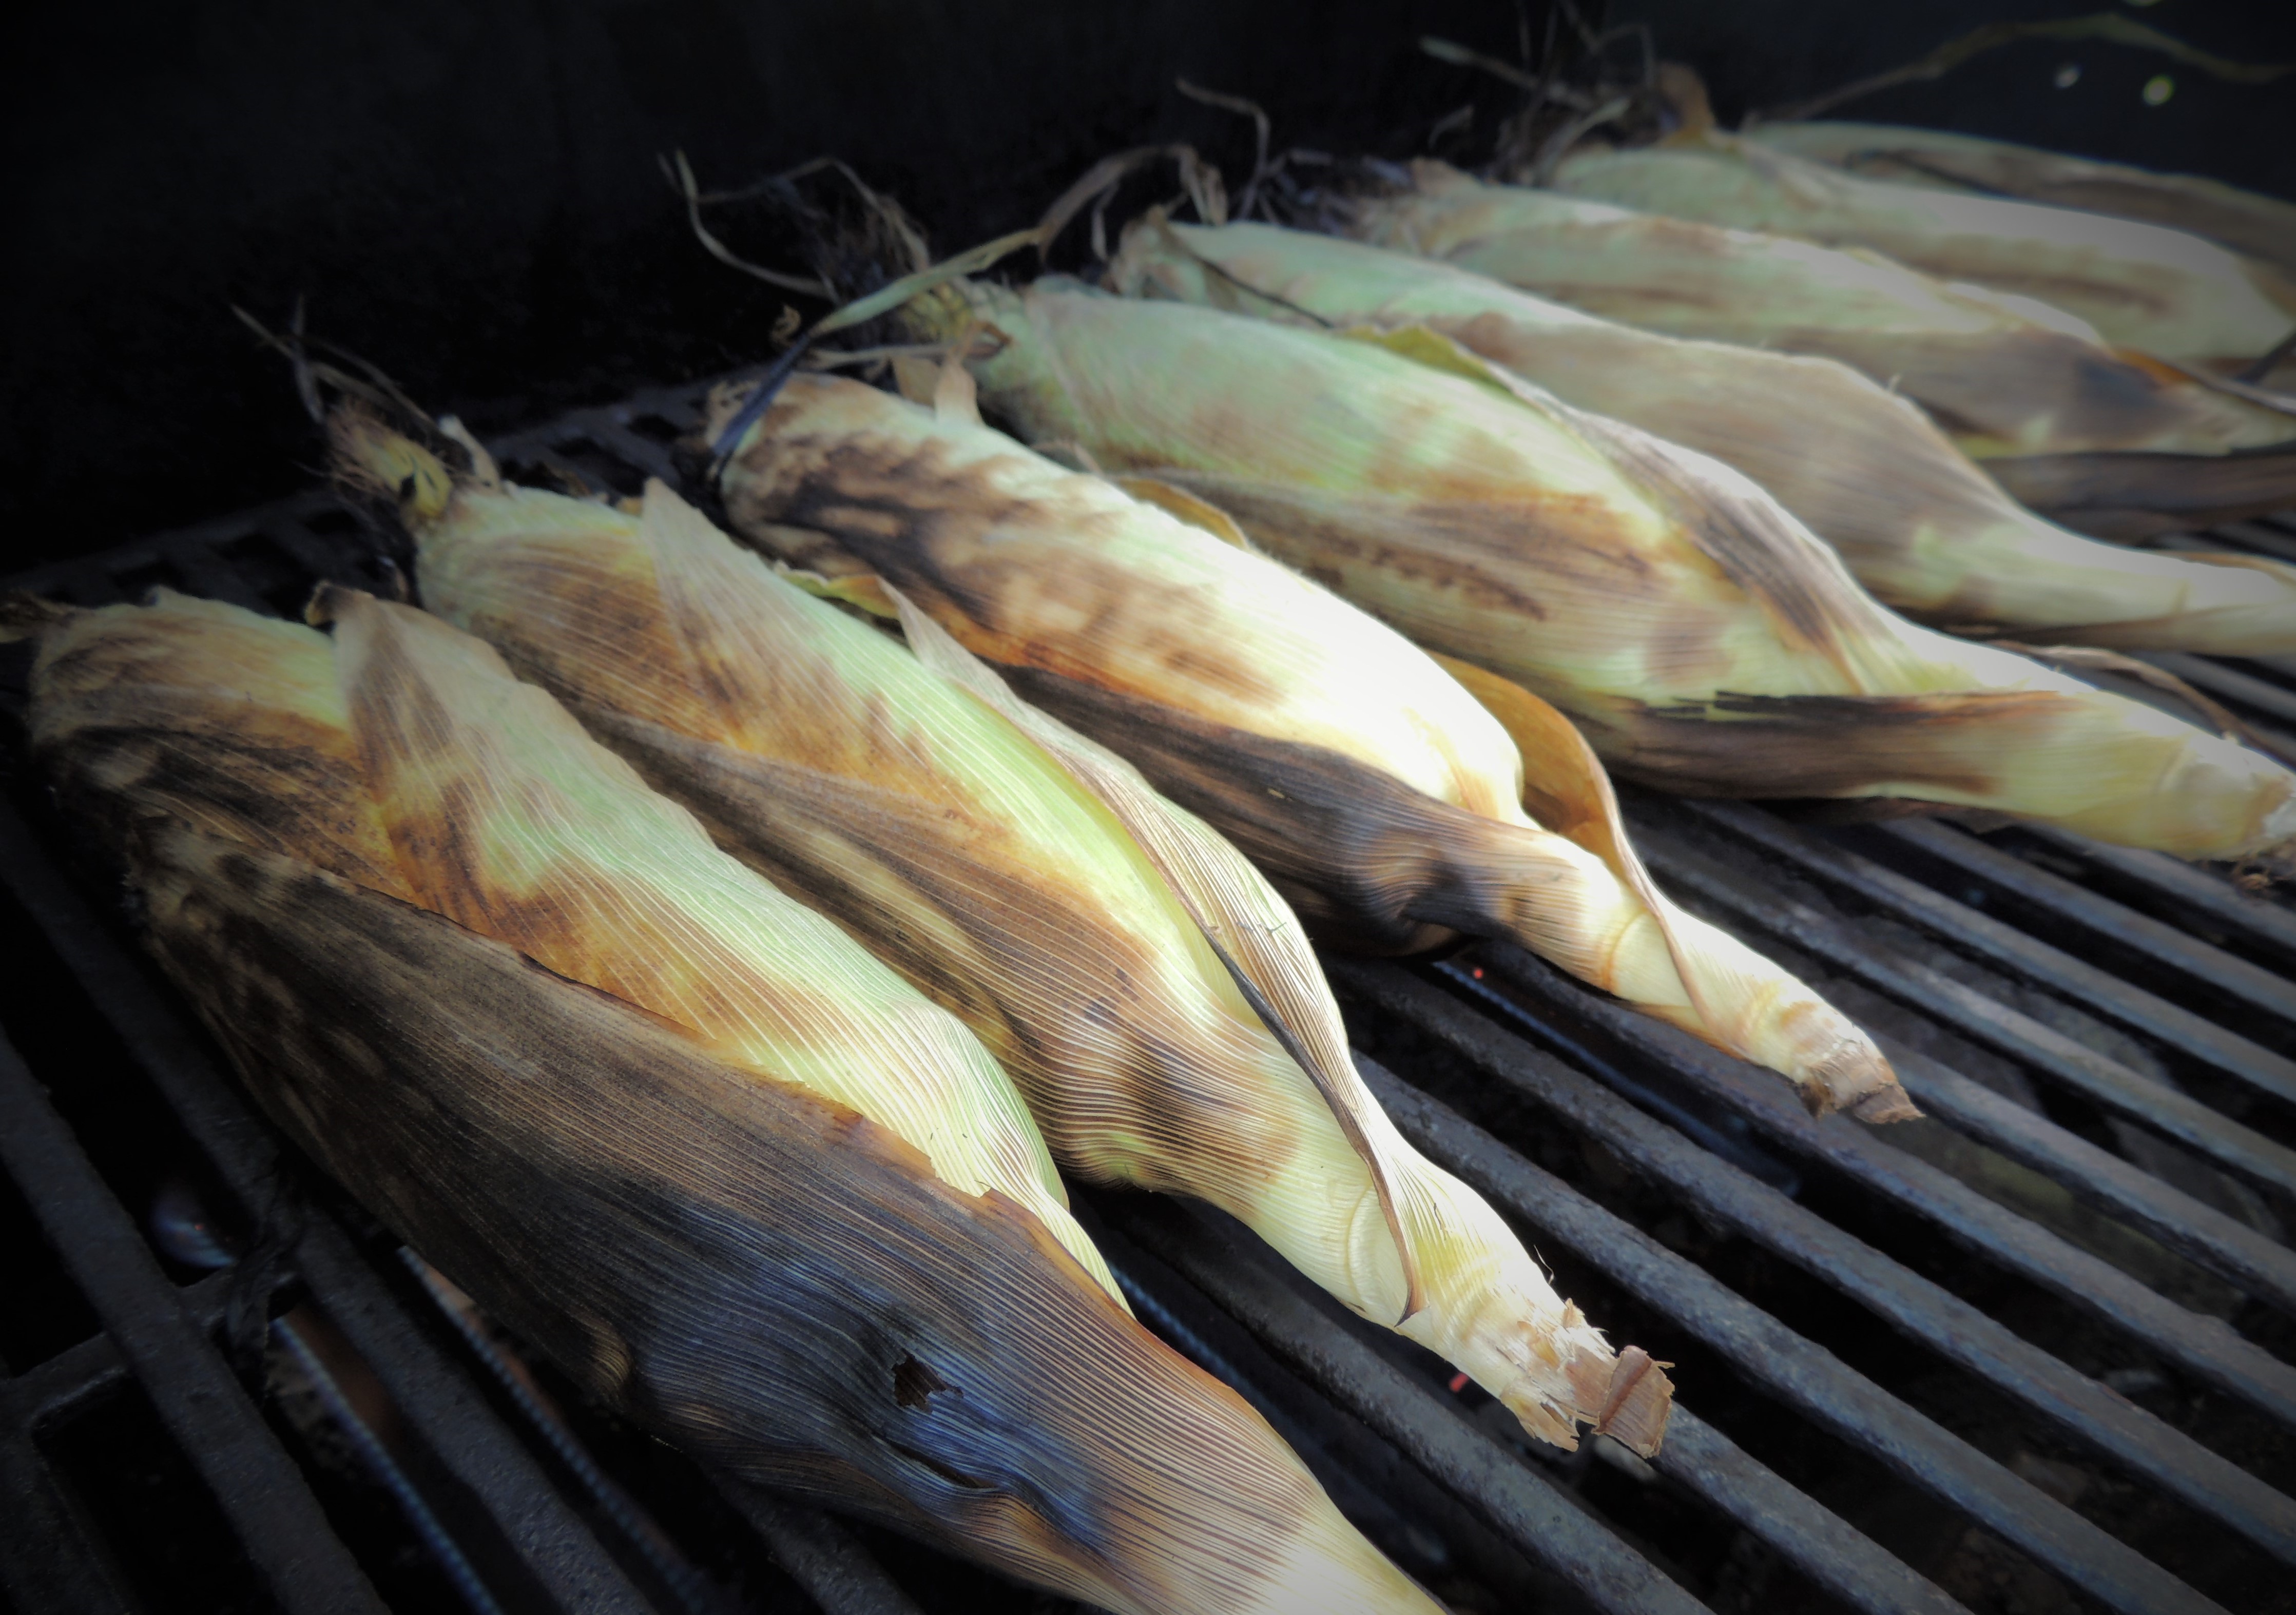
Corn Husks
DO AT HOME: Take husks from package and rinse well in the sink, removing any silks or debris. Fill a large stock pot with water and press the clean husks down to submerge them. Bring water to a boil and soak husks in gently boiling water for about 1 hour. You may need to flip the stack occasionally so the top ones get pliable. Drain water from husks but keep husks in the kettle with the lid on.


DO AT THE PARTY: Set warm, soaked husks, in covered pot on the assembly table. Keep a clean kitchen towel nearby to dry the husks just before spreading them with masa, otherwise the masa won’t stick.
.
ASSEMBLY LINE

Place the husks, masa, meat, and cookie sheet down the center of a table, and seat my guests all around it, except the guest who volunteered to do the mountain of dirty dishes. Assembly will start with corn husks being dried off and passed to the masa person next to them, that person will spread it with masa and pass it to the meat person next to them; that person will top it with meat and wrap it and hand it across to the tie person; that person will tear off a little strip from a boiled husk and use it to tie around the tamal and lay on the cookie sheet. Once the cookie sheet is full and heaping, the last person (ME) will pack the tamales vertically in the steamer with the open end up and start them steaming.
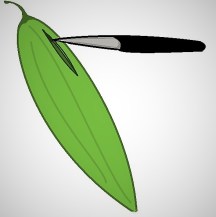
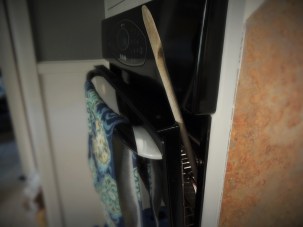
SPREADING THE MASA: Place the wide end of the husk on the palm of your hand (or on the flat work surface), narrow end is at the top. Starting at the middle of the husk spread 2 tablespoons of the masa with a spatula or masa spreader in a rectangle shape, using a downward motion towards the wide-bottom edge. Do not spread the masa to the ends; leave about a 2-inch border on the left and right sides of the husk. Pass to the person with the meat (or other) filling. There is too wide of a swath of masa on this husk shown below, and also it’s not quite thick enough. You only need enough masa to wrap around the meat and a little extra to hold the husk closed.

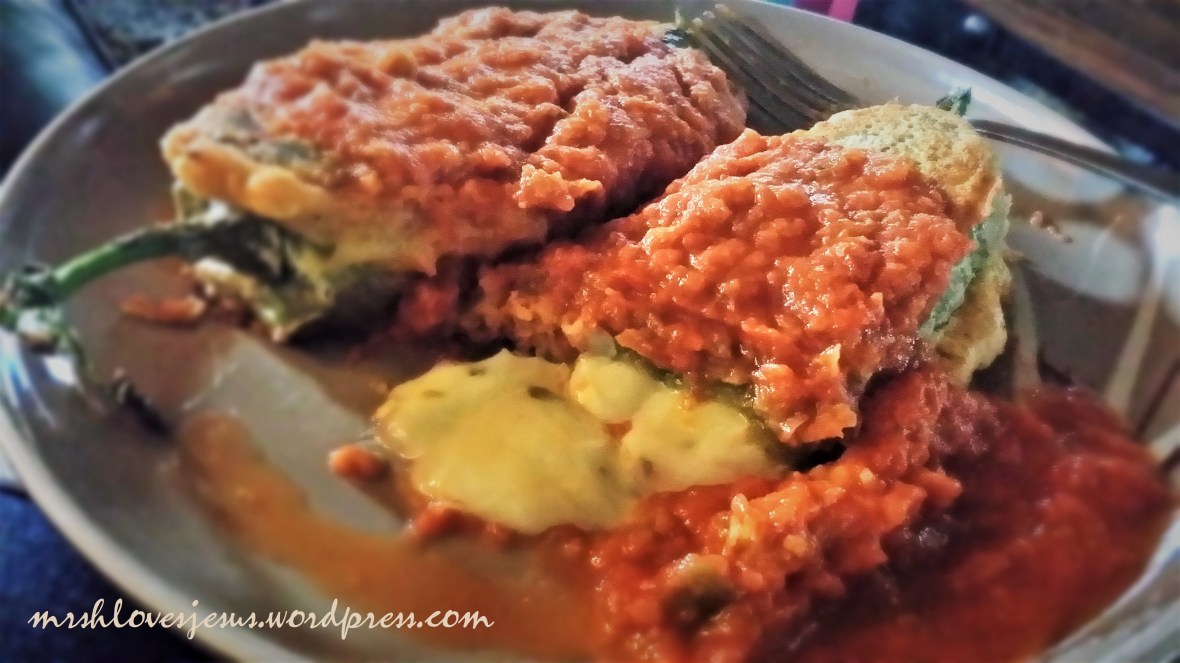
ADDING THE MEAT: Spoon 1 1/2 tablespoons of your chosen filling down the center of the masa. (When I ran out of meat filling and still had masa, I started making Pepper Jack Cheese and Jalapeno filling. Fold both sides of hust to the center over the top of the meat; finish off by bringing the pointed end of the husk toward the filled end. Pass tamale to the person who will tie the tamales closed.

TAMALE TIE PERSON: Make sure each tamal is snuggly closed and will not open during steaming. You can secure by tying a thin strip of corn husk around each tamal. This will keep the tamal from unwrapping during the steaming process, especially if the husk is too thick and will not stay folded. Stack wrapped tamales on a cookie sheet.

HOST: Prepare the steamer pots… (You will also load the steamer pots)


Steamer Pot
This is my tamale steamer. I can only fill water up to the little rack, but not above it, and start it simmering on the stove. The steamer pot needs to be tall enough for our tamales to sit up vertically above the water and still fit the lid on. (If you don’t have a double boiler, you can improvise like I have. All mine is, is a round cooling rack setting on top of a brick, which I’ve washed several times in the dishwasher, or I could also use a small colander placed down into the bottom of my soup kettle and my rack on top. This set up works perfectly. Each steamer will need to have a clean kitchen towel and a lid.
When a cookie sheet of tamales is piled up high, they can be loaded in the steamer…
Fill the top part of the steamer with tamales. Stand the tamales up vertically, open ends up and folded ends at the bottom, and make sure the folded part is either tied up, or held in place with another tamal. Pack the tamales snug enough so that they won’t fall over during cooking, but not so tight that the steam can’t get in around them. In other words, don’t cram and squish them as tight as they will go, but let there be too much space or they will collapse and mush over. If there are not enough tamales to fill the steamer, use canning jars to take up the spaces so the tamales don’t fall over.
Turn heat up on the water until it boils. Cover the tamales with a clean kitchen towel and then the lid of the pot. Turn the heat down to medium so that it stays gently boiling, but not raging boiling. Set timer for 2 hours. Check every 20 to 30 minutes or so to make sure the water is not boiling dry, and add boiling water as necessary. Make sure the tamales are above the water line and that the bottoms are not siting in water at all.

Tamales will need to steam for 2 hours or more. After 2 hours we can test for doneness. Remove one tamale and check if the masa holds together and slips easily off the husk. If so, it is done, if not it needs to steam some more. Check again in 15 minutes when I check the water level.

When a batch of tamales is done they can be eaten right away, or wrapped in foil (1 dozen at a time) and refrigerated or frozen for later.

Divide the wrapped dozens of tamales among the guests. There should be about 1-2 dozen per guest.
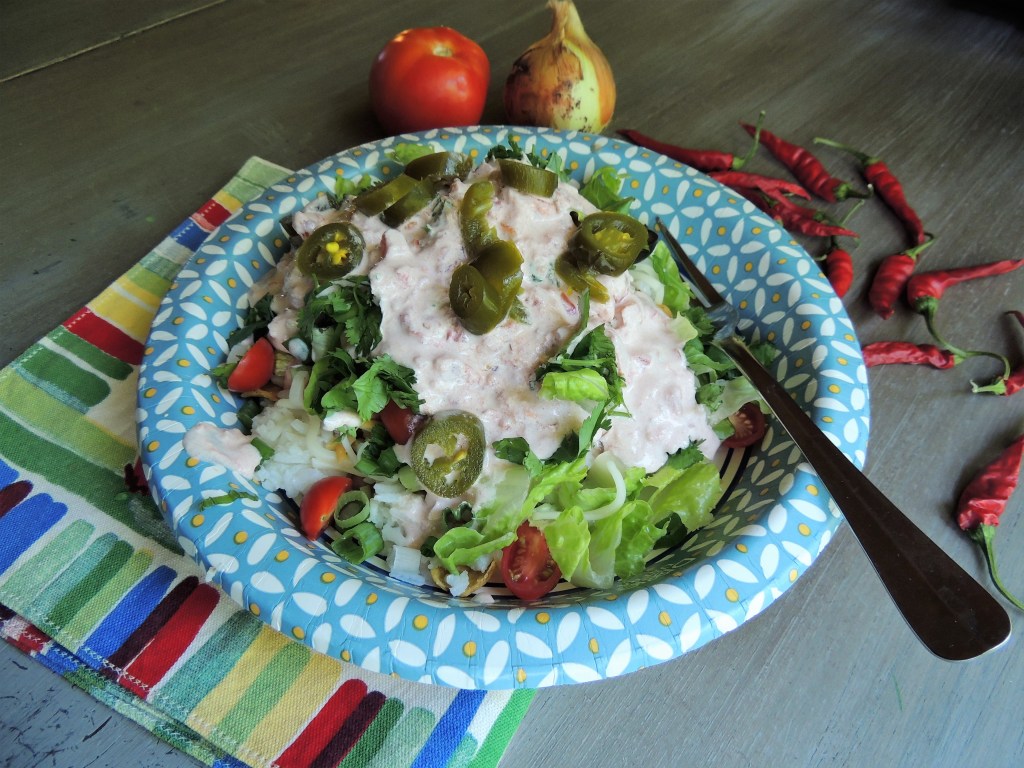
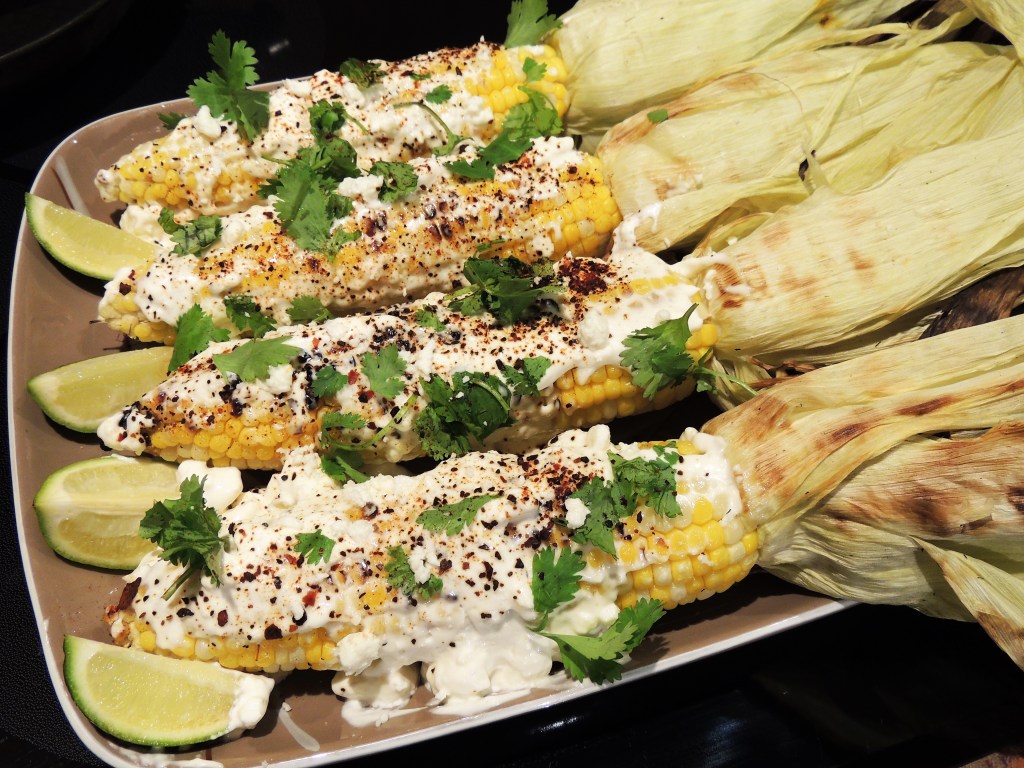
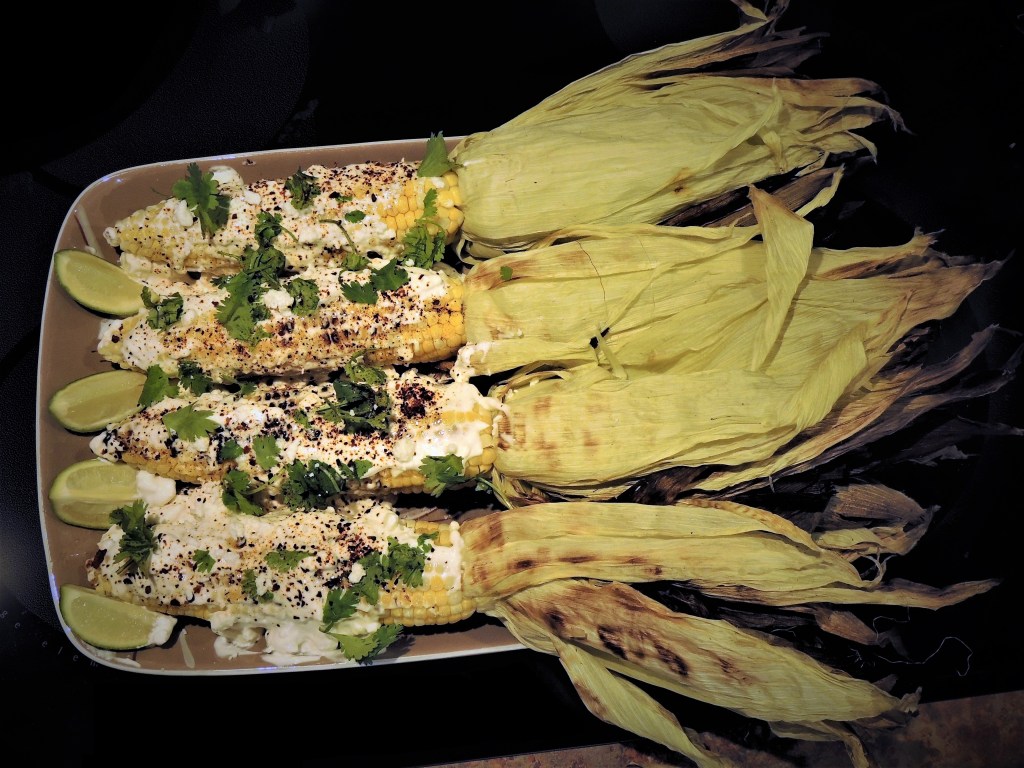
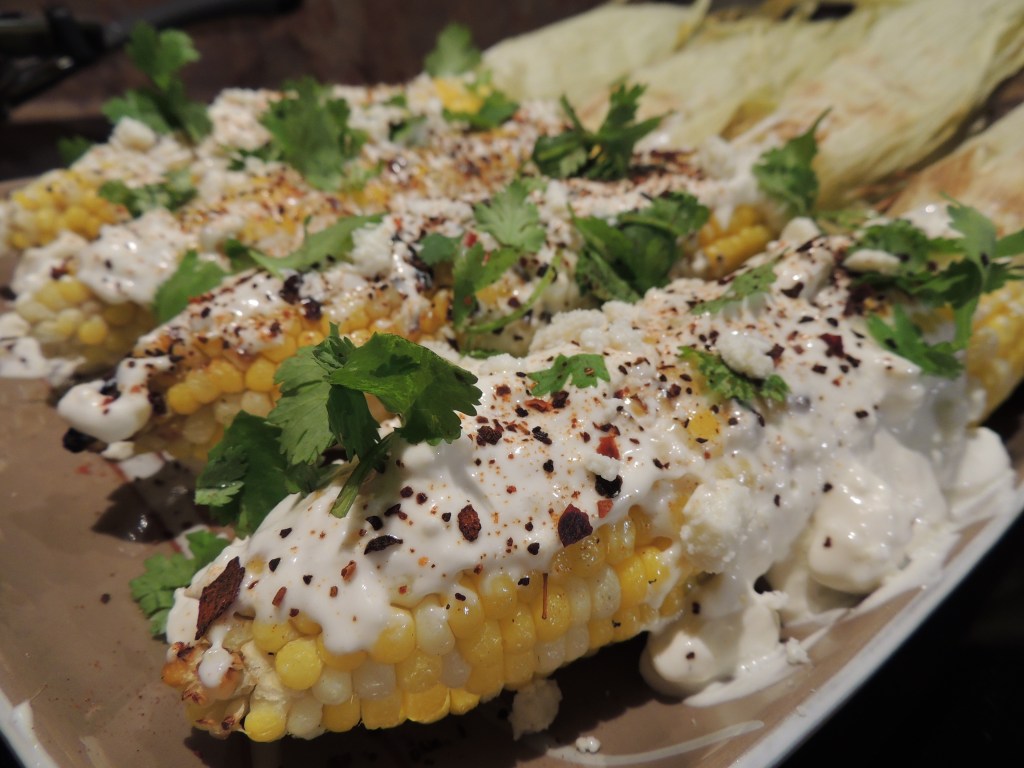
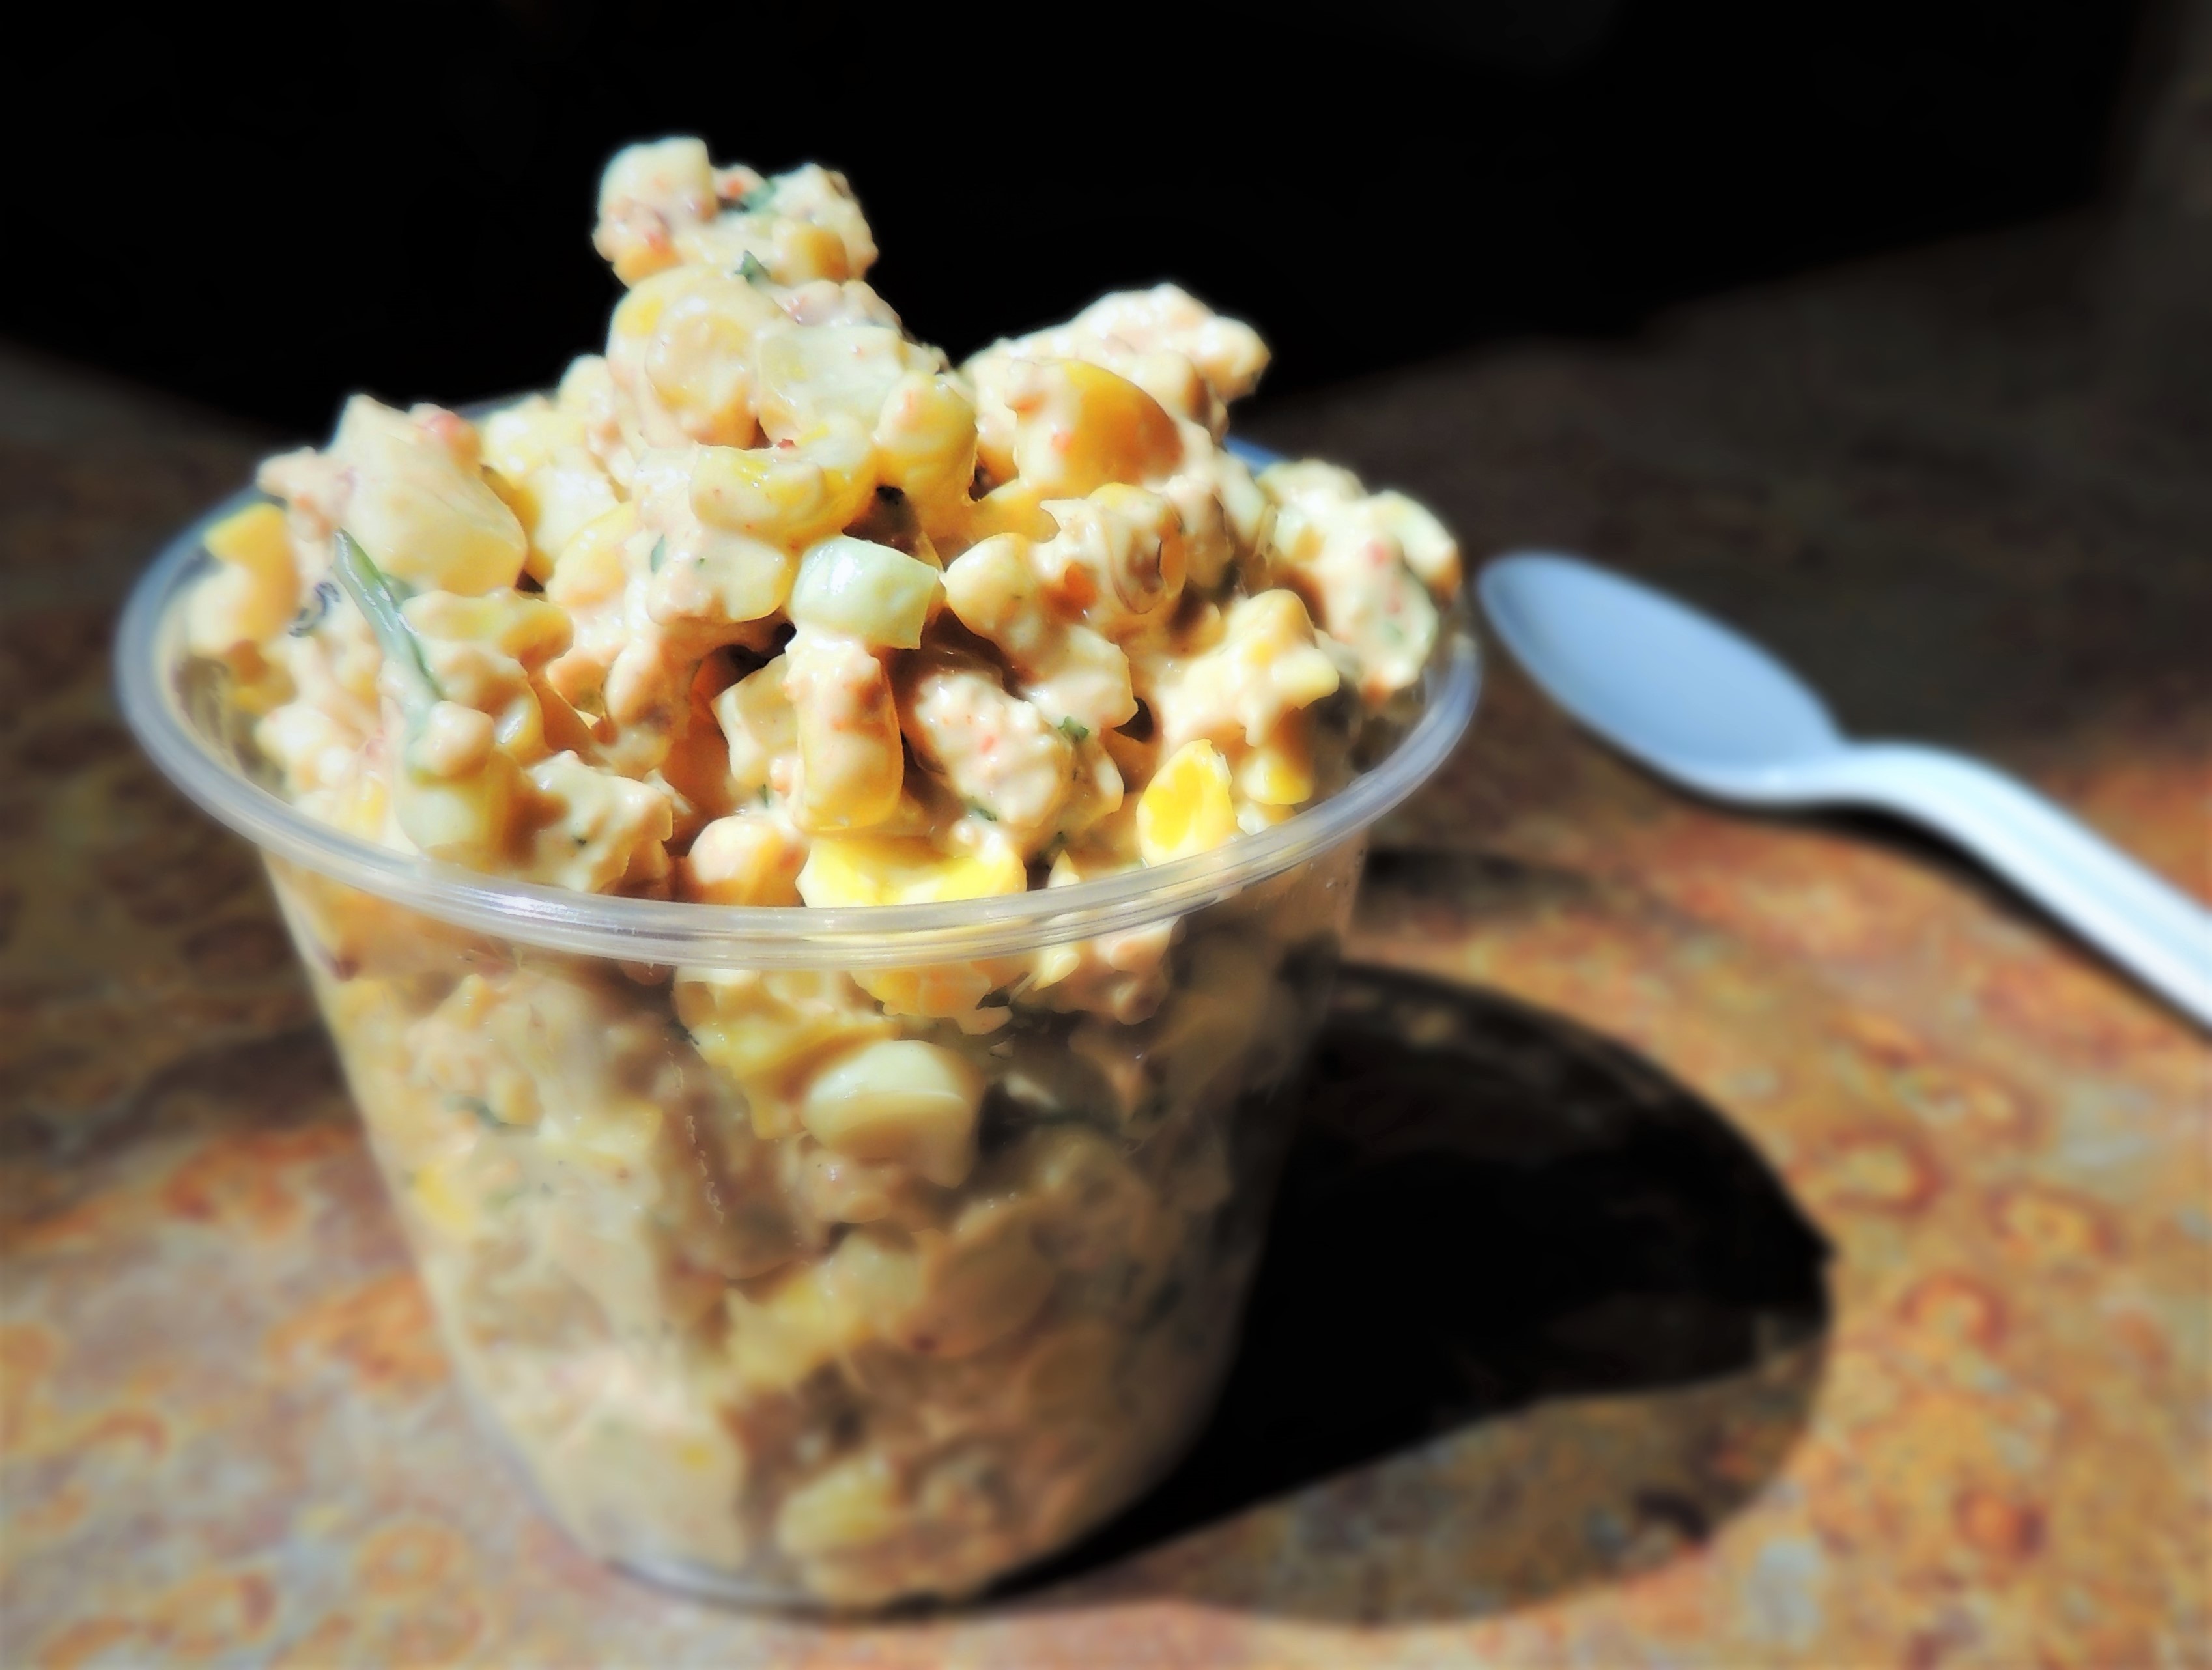
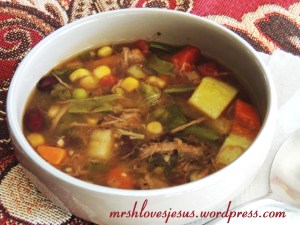
You will want to eat some at the party!!!! There are lots of ways to eat tamales. Some like them topped with just a little of the red sauce, which you can make another batch of while the tamales are steaming. I like mine all different ways. Straight out of the steamer and burning my fingers and tongue as I shove them into my mouth, or if I have all the toppings on hand for Tortilla Soup or Carnitas tacos, I like all of those (minus the tortilla strips) on top of my tamales. I also like them with salsa verde, chopped onions, cilantro, and jalapenos, and a little dallop of sour cream (as pictured below). And I also like them loaded up with red sauce, pepper-jack cheese, black olives, corn and black bean salsa, shredded lettuce and pico de gallo. There is just about no wrong way to eat a tamale.

So there you have it. Sound like fun to you? I’m pretty sure all my Mexican friends reading this are laughing at my gringo-ness; all having hosted and attended a hundred Tamaladas, so hopefully one of you will take pity on me and invite me to your next one, to show me how it’s done! My hat’s off to whoever invented tamales, for passing on this wonderful food, and to my friends south of the border for keeping going this fun tradition. Feliz Navidad!
.
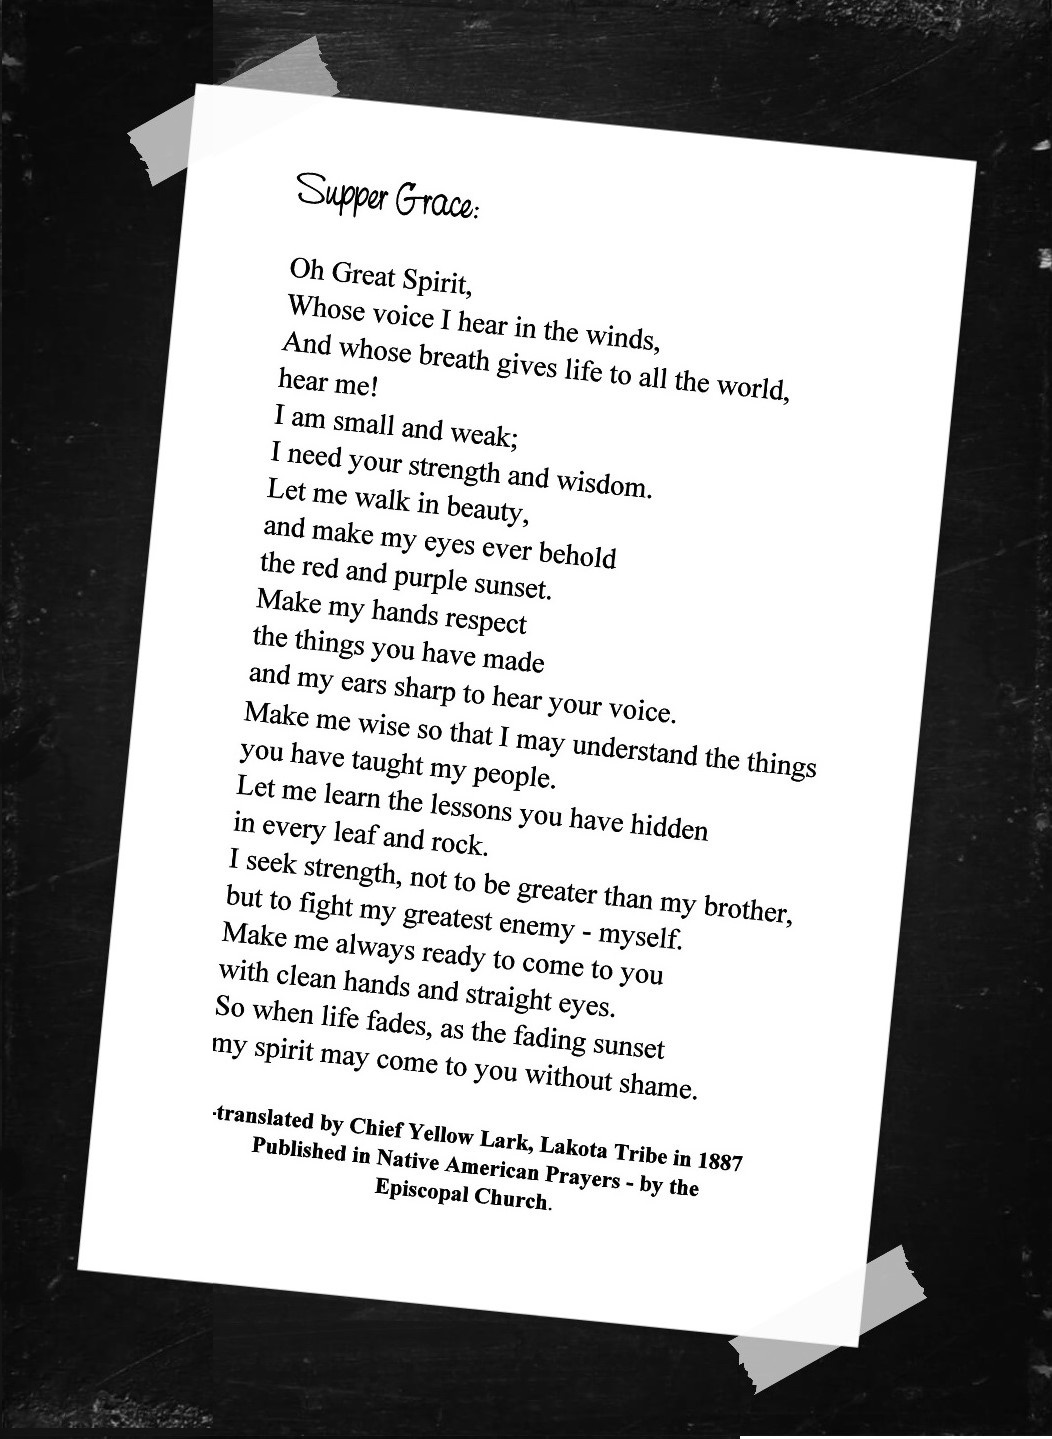
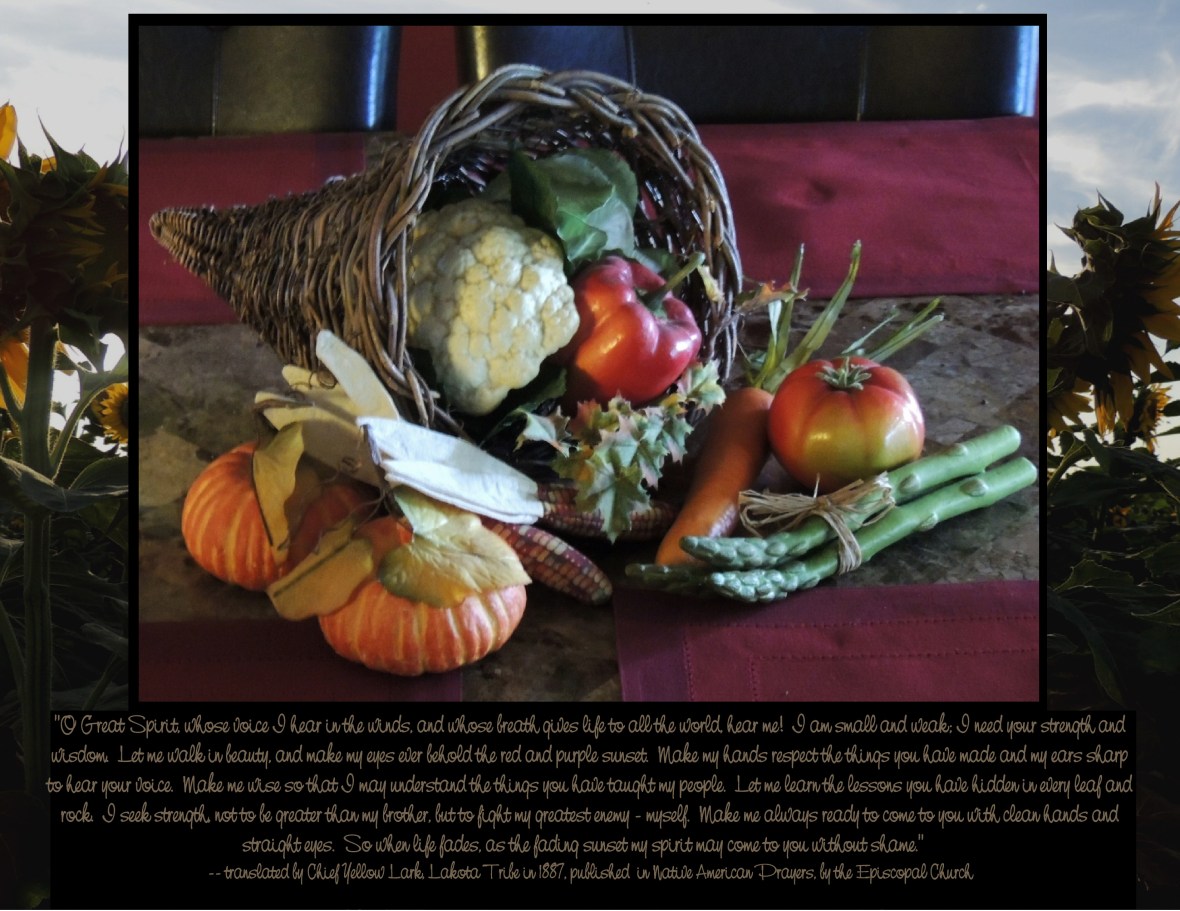
“The LORD of hosts will prepare a lavish banquet for all peoples on this mountain; a banquet of aged wine, choice pieces with marrow, and refined, aged wine.” Isaiah 25:6
.
.


 To prepare the anasazi beans, soak overnight in water to cover. The next day, drain the beans and place them in a saucepan with fresh water to cover. Bring to a boil, reduce the heat, and let the beans simmer until the skins break, about 3 hours. It may be necessary to add water as the beans cook to prevent them from burning and sticking. After the beans are cooked, remove from the heat and set aside. You should have about 3 cups cooked beans.


 There is a Hopi Squash Kachina (Patung). He is Chief Kachina (wuya) for the Hopi Pumpkin Clan. He runs with men of a village in spring ceremonial dances to attract rain clouds.


 .
.
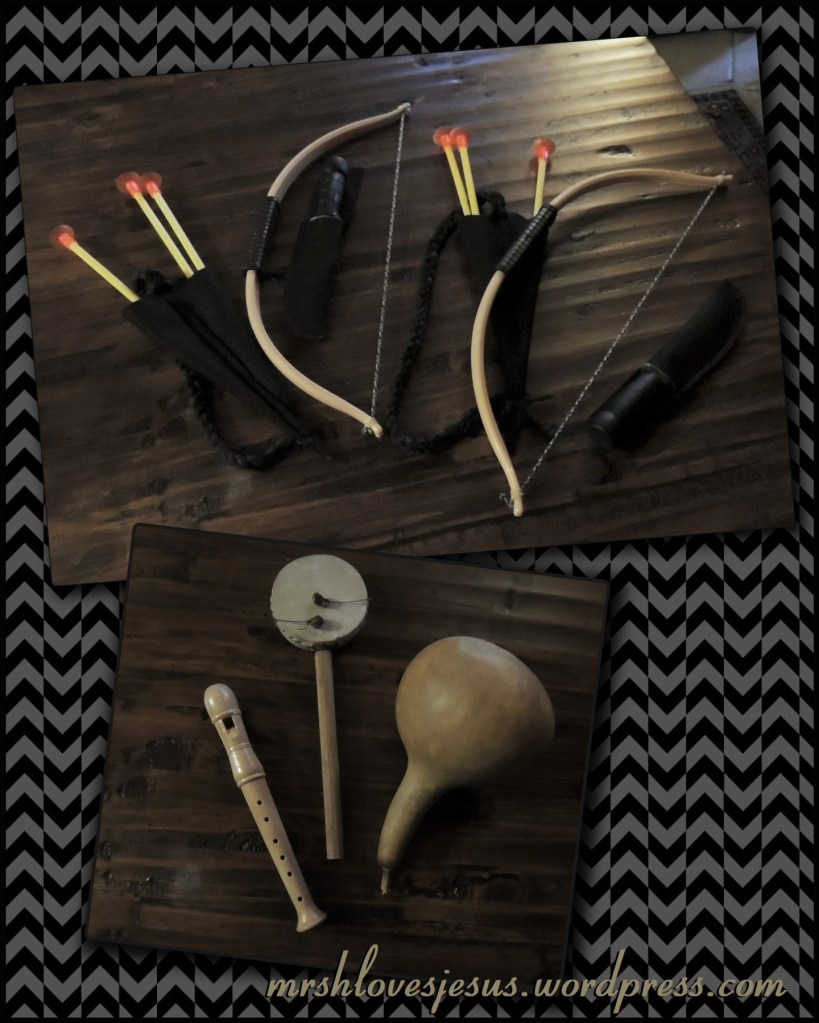
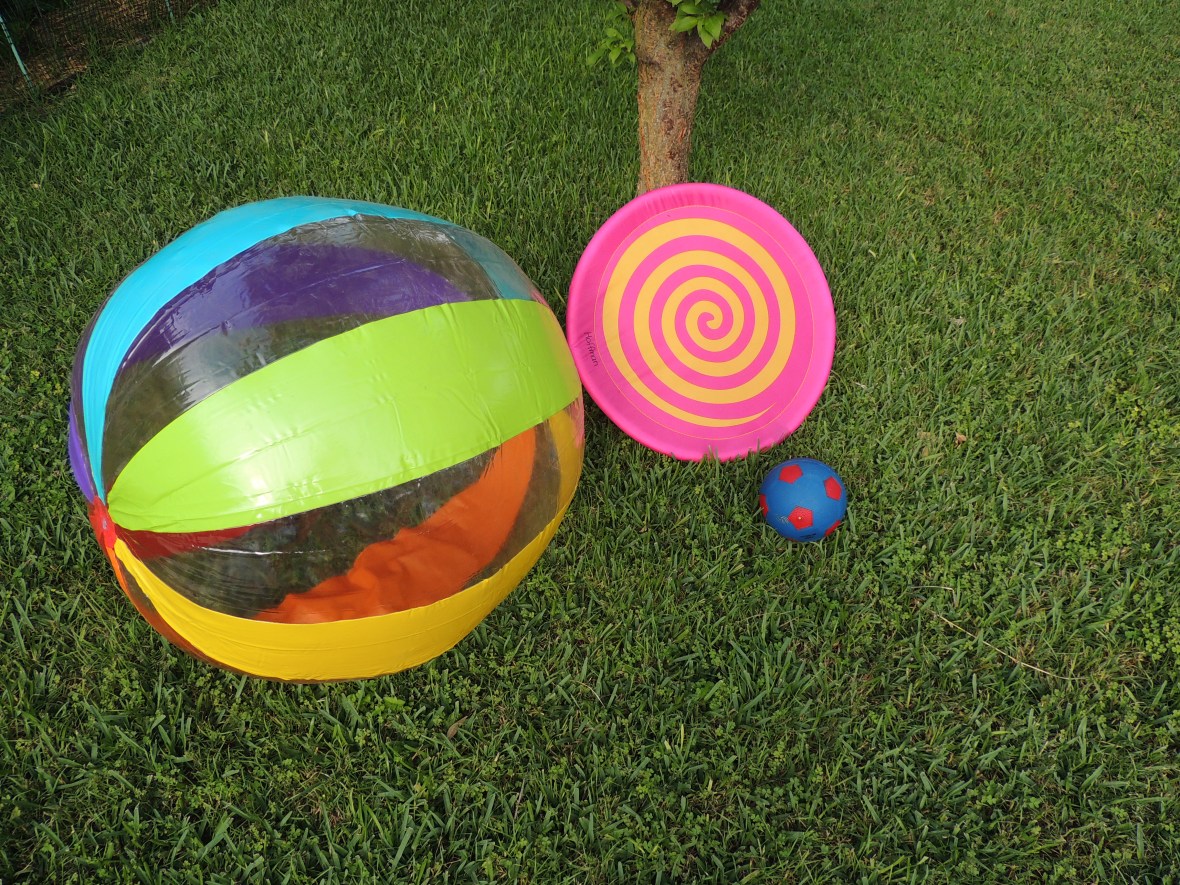
 Hoop and Pole Game
 throw their pole as the hoop rolls in front of them. The score depends on how or if the pole falls on or through the hoop. Netted hoops are made by the Arapaho of Wyoming and other tribes.


 Using scripture to understand scripture let’s see if 2 Timothy 3 might shed a little light on who some foolish virgins could be.
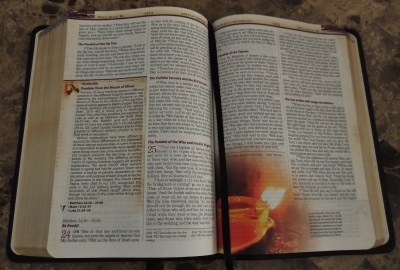


 Cheesy Green Chili Rice


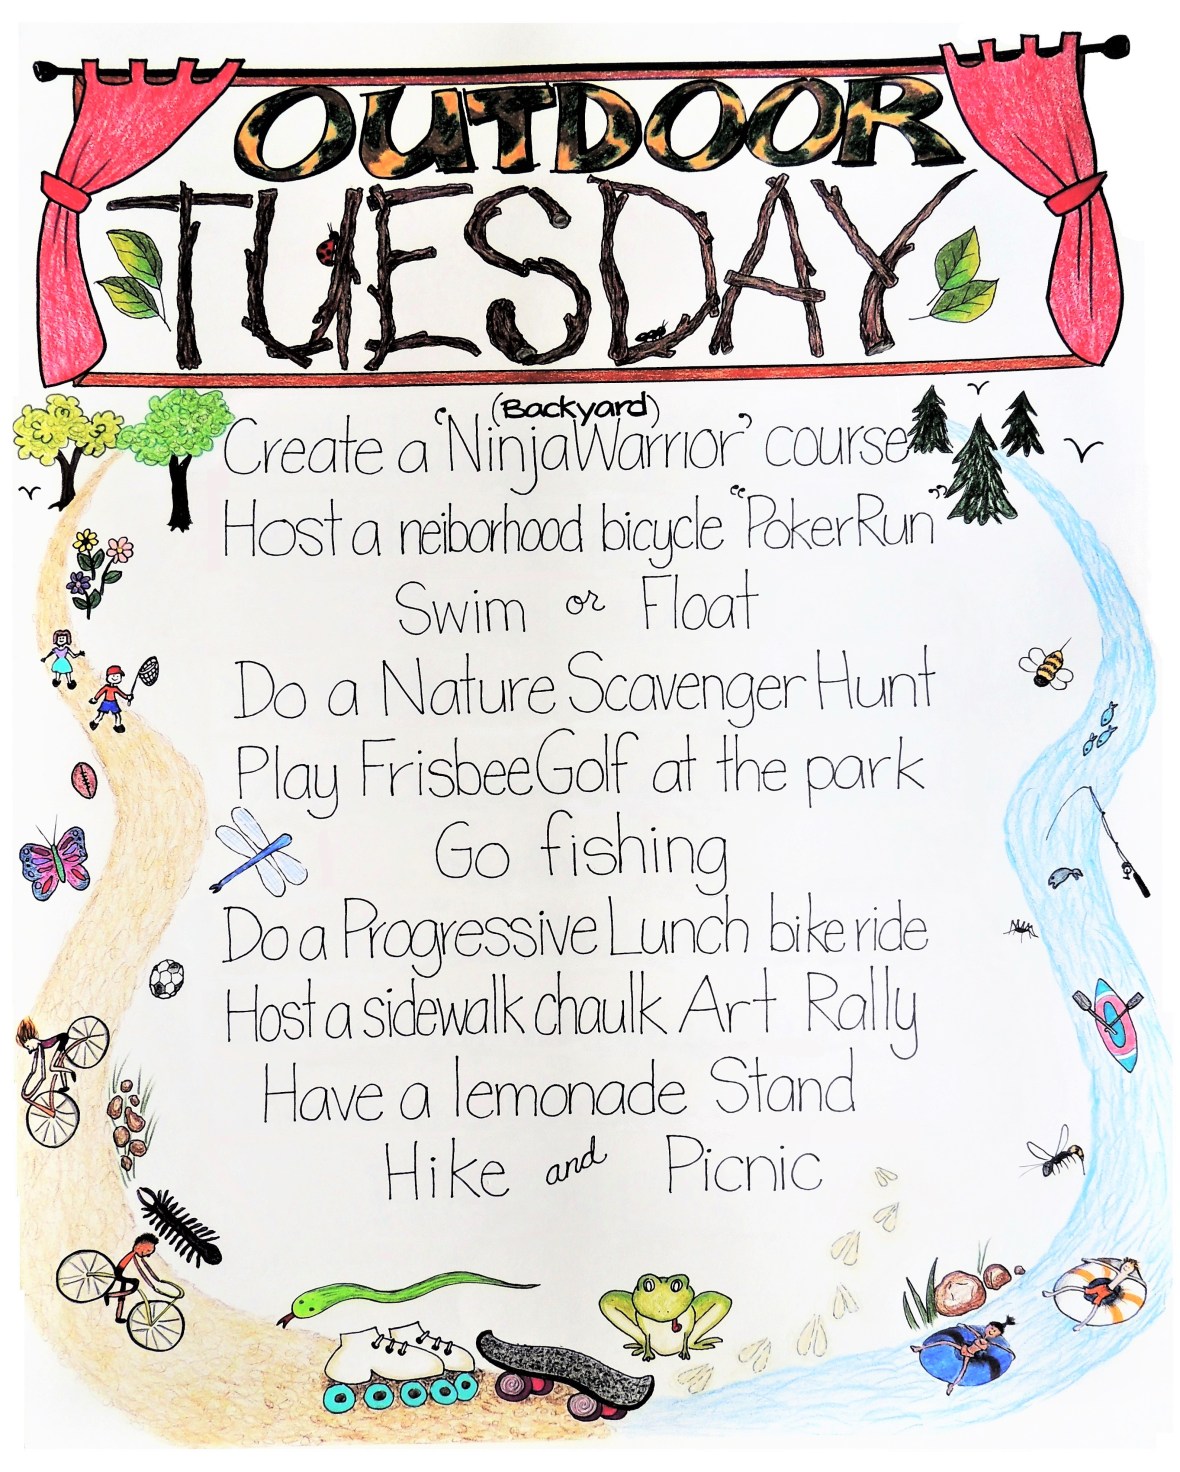
 Summer’s comin’! Are you ready? This was another bulletin board I dreamed up for my grandkid’s school.