Read Genesis, chapters 1 through 8
So, I guess God likes BBQ as much as the rest of us. Lol! It is a pleasant aroma, isn’t it? Thank you for joining me on this great adventure!!!!!!! Studying the Bible is going to be work, but with a great reward. I hope you are up to the task. I pray I am as well. If you would like to be informed when a new post for this study is posted, please click on the blue follow button under my profile (on the right side of this screen). There should also be a button that pops up at the bottom of the screen when you scroll up.
I’ve thought a lot about why Noah’s altar is the first one to start us out. It certainly couldn’t be more relevant for our day. The Bible tells us that the “last days” shall be as the days of Noah (Matthew 24:37). Therefore I feel like God really wants us to pay close attention to all the details and compare similarities. This might be a great time to research all the places in the Bible where Noah appears (https://bible.knowing-jesus.com/topics/Noah). I feel like the study of Noah’s altar is like the sounding of a trumpet in our day, to help us to be ready. And just as Noah was “taken up” in the ark, so shall believers in Christ be taken up at some point (pre, mid, or post) the Great Tribulation of the last days. (Have you studied the three viewpoints of the rapture? You may be interested in Perry Stone’s perspective, or Joel Richardson’s, and you might find these websites interesting: https://www.midtribulationrapture.com/index.html and https://www.gotquestions.org/midtribulationism.html). I’m personally praying that I may escape all that is about to happen (Luke 21:34-36; Romans 2:3; 1 Corinthians 10:13), that I may be ready, watching, and worthy to stand before the LORD if He should come today! How do I make myself ready? I first have asked Jesus to come and live in me, forgive my sins and wash me clean of them, and I fill my lamp with oil daily by being in the word and prayer, and living for Jesus instead of chasing after worldly desires. I pray that I will know His voice when He calls. I pray for a spirit that yields to the desires of the Father and not my flesh. I pray to be a blessing in this world, which means I pray that I will be a friend to you and that my words will encourage you, and make you to seek the Lord in your life.
I want to begin our studies in Genesis, chapter One. I believe that reading the Bible through with this theme in mind is a great way to read the Bible through.
Write Genesis 1:1-5 in a notebook:

Thinking about verse 1… Have you ever heard of the “Chaotic Earth” or “Gap” theory? Research it.
http://www.doctrinalstudies.com/pdf/D051009.pdf
http://www.doctrinalstudies.com/pdf/D160315.pdf
Let us test the things we’ve heard (1 John 4:1; 1 Thes 5:21), and study to show ourselves approved, workers who need not be ashamed, rightly dividing the word of truth (2 Tim 2:15).
This gray area (gap, perhaps, in verse one), some believe, is the golden age, from where all myths and legends originate. The first thing I want for us to do is investigate the original Hebrew for these first verses to see where there might be room for such theory in the word of God.
This is a terrific resource for study: https://biblehub.com/text/genesis/1-1.htm. When you view that page, click the arrow to continue to verse two, etc. Did you notice the little Hebrew word that isn’t translated into anything in English (on this website)? Here is a neat explanation of that little Hebrew word here: https://www.oneforisrael.org/bible-based-teaching-from-israel/a-little-word-with-a-big-meaning/
Please notice the word “was” in verse 2. The Hebrew word which has been translated into “was” here, also appears elsewhere in scripture (111 times), and is usually translated into these words: become, has become, became, have, has been, etc. (https://biblehub.com/hebrew/hayetah_1961.htm). So what happens to the nuance of that sentence when we use the word “became” instead of “was?”
And now notice the word “darkness.” The Hebrew word used is CHOSHEK. The Word Study Old Testament dictionary defines this word literally as darkness or obscurity, but also figuratively as falsehood, ignorance, blindness, hiddenness, judgment, misery, destruction, death, sorrow, and wickedness. It has a negative spiritual connotation. Exodus 10:21-22 and Isaiah 45:7. Choshek accompanied God’s appearance on Mount Sinai (Exodus 14:20; Deut. 4:11; 5:23). It can refer to the darkness of the grave (1 Sam. 2:9; Job 10:21; 18:18; 34:22; Ps. 88:12; Eccl. 6:4). (http://www.doctrinalstudies.com/pdf/D051009.pdf)
Matthew 4:16 2 Corinthians 4:6 Acts 26:18
Isaiah 9:2 1 Peter 2:9 Matthew 10:27
John 1:5 Ephesians 5:8 Mark 4:22/Luke 8:17
Luke 1:79 John 8:12 Luke 12:3
The Apostle John expounds on the Light of Genesis 1 verse 3. And he does it again in Revelation 21:23-24. If the “light” is a person (John 1:1-14), then it stands to reason that the “darkness” could be also. In this particular passage there is a conjunction added to the beginning of the word so that it isn’t just darkness, but and darkness. The deep is also the same reference as Sheol, Tartarus, Gehenna, the Bottomless Pit, the Abyss, the Lake of Fire, and Outer Darkness – chambers of the underworld. Look up Strongs 8415 and the word it comes from 1949. Was Satan here on the earth trying to interfere with what God wanted to do? (2 Peter 2:4) See this article: https://reasonsforhopejesus.com/sheol-hell-torment-abyss-tartarus-gehenna-fire-darkness/. This is also another resource you may want to visit: https://www.abarim-publications.com/NaLi/2darkness.html.
For some reason I keep thinking of Job in my spirit as I review this. Where was Satan in Job 1:7 & 2:2? Gen. 1:2
God confronted Satan, knowing his thoughts that he had set his wicked heart on the servant Job, who was unlike anyone else on the earth. What were Job’s character traits in verse 8? In the same way Satan set his wicked heart on the creation and Adam and Eve, who were like nothing else God had ever created. They were made in God’s own likeness.
God made a garden for Adam (Gen.2:8), God made a hedge around Job (vs 10).
Satan accused God, saying Job only loved Him because God had blessed him and made his life easy. In the garden Satan accused Eve of being naïve, and God of having secrets. Satan is the ultimate busy-body who sows discord among the brethren. God gave man the freewill to choose, good or evil. And it’s important for us to realize that our lives, our birthright has been challenged from the very beginning. It is important for us to understand that there is a battle going on here.
If there is a prophecy in Genesis 3:15 about the “seed” of the serpent and the “seed” of the woman, that the serpent’s seed will bruise the heel of the woman’s seed, but that her seed will crush the serpent’s head, and that this is speaking of the Christ as the woman’s seed (Jesus’ geneology traces back to Adam and Eve (Luke 3:23-37) through their son Seth, and Satan as the serpent, then it leaves the door open for the theory that Satan spawned a race of beings. This is 100% conjecture on my part, but I’m also just throwing out a thought, that Cain’s story could also be a sort of parable and a prophecy of the same. Two begotten, one with a good heart and one with a dark heart. One approved by God and one warned of the evil in his heart. The one, with evil crouching at his door, is consumed with hate for the goodness of his brother and he kills him (as Christ was killed). In fact, the Bible says that Satan entered into Judas, and then Jesus commanded him to go and do quickly what was in his heart to do (Luke 22:3; John 13:27). There is a mark associated with Cain (Genesis 4:15), as there is also a mark associated with the Beast of Revelation 13:16-18. God made Cain a vagabond and a fugitive on the earth (the word Nod means wandering), and where does Satan say he comes from when he presents himself before the throne of God – Job 1:6-7 and 2:1-2 – as a wandering nomad with no home. Why did Jesus use parables in His ministry? I believe for the same reason that the whole Old Testament is a book of parables – true stories with hidden meanings – so that only those with righteous souls, who search for the Lord with all of their hearts will find what they are really saying.
Notice Cain’s descendents (Genesis 4:16-25): Enoch built a city (a kingdom of his own) and called the name of the city Enoch (could his city be in the area of Memphis or Cairo and the great pyramids of Giza?) Below is a fascinating interview with Ken Klein (he made several documentaries) which investigates the origin of the great pyramids. It begins with some alien stuff that I’m not sure about and honestly makes me uncomfortable, but if you fast forward to about a quarter way into it, it gets interesting. I am not convinced that his theory that Enoch-of-Seth built it though (no documents, no writings on the wall, nothing has been found inside to support his thesis), and I’m also questioning that it could be the altar and pillar of Isaiah 19:19-20 for a few reasons, and I’ll get into all of that in a later chapter of this study, so you’ll want follow so you don’t miss anything, but his explorations of the pyramids themselves, and the details that he brings to light about them are what is incredibly fascinating.
Using the DuckDuck search engine, type in “Enoch and the Great Pyramid” to find many interesting websites on the subject.
Four (or is it 5) generations from Enoch-(of-Cain) were these descendants who had amazing knowledge of things: Jabal, knew about geography and survival skills, as a dweller in tents and expert in husbandry; Jubal, was a gifted musician and perhaps the inventor of the listed musical instruments (which in those days was a way of passing along history, myths, and legends); and Tubal-Cain, who was an instructor of every craftsman in bronze and iron – which were needed for building and hunting and warfare. These, I suspect, were the people who would want to preserve knowledge, and make sure it was flood-proof and fire-proof. Why would God’s people be afraid of vital information perishing in a flood or a fire? Why would they think God would not teach them all that they needed to know again after a catastrophic event? Man, and evil beings have always been attracted to knowledge, for instance, the tree of knowledge in the garden. The fallen ones are the ones who would want to preserve knowledge and be afraid of God destroying things. Fallen ones would also be interested in marking a “portal” to the heavens (in my humble opinion).
There are interestingly three ages of man, history tells us: the Stone Age, the Bronze Age, and the Iron Age. The Bronze age was approximately in 3300 to 1200 BC (BCE). Interestingly this age ended abruptly with a simultaneous collapse of several prominent civilizations (The History Channel – http://www.history.com). The Iron Age was approximately 1200 to 600 years Before Christ, a long time after Enoch’s descendants walked the earth.
So, did Cain’s descendants die off completely in the flood, or could some of them have survived the flood? Did the Nephilim, the giants, all die off in the flood, or did some survive the flood? Genesis 6:4 seems to concur that there were survivors after the flood. Why, might we wonder, did God allow survivors? I go back to the garden and the two trees. Choice. Free will.
What if the gods of Greek, Roman, Norse, Egyptian, Babylonian, etc. “mythology” aren’t myths after all? What if they are really the sons of Cain, who received their amazing gifts of knowlege from fallen angels, or were they the Nephilim, and everything we’ve ever read about them (being myths) is actually myth itself? The stories of them have no doubt been greatly convoluted and extravagantly exaggerated, but could there be a hint of truth to the fables?
Check out this website which lists all the “other gods” mentioned in the Bible: (https://www.abarim-publications.com/NaLi/Other_gods_Bible.html). They also have a list of all the giants too (https://www.abarim-publications.com/NaLi/Giants_Bible.html).
- At this point in my personal studies is where I happened to find Skywatch TV on one of the religious networks on my TV. Derek and Sharon Gilbert teach quite a lot about the little g gods, the titans of old, and have also written several books on the topic. I encourage you to go look them up and consider prayerfully what they have to say. It is extremely interesting and scholarly information. Here is the link to another one of their videos: Giants of the Underworld.
Derek and Sharon Gilbert do an excellent, in-depth Bible Study called, Unraveling Revelation. You can view an episode of that series (( HERE )) <–this link will open in a new window and take you to their channel on Rumble. All of their programming is also available for free on their TV and phone apps, available for Roku, Android, and iPhone.
Also, Timothy Alberino has authored a book titled, Birthright, which I recommend. If you are not a reader you can find Rumble interviews (( HERE )). He has been a guest on SkywatchTV, Prophecy Watchers, and others.
What do the Hebrew words for “sorry” and “grieved” mean in Gen. 6:7
When the Bible says that God was sorry that He had made man, and that He was sorry that He had made man on the earth, what are your thoughts? Was God disappointed in man? Angry with man? Or was He sorry to see how completely corrupted man’s DNA had become through the cunning of the evil one? Noah was the only human that “was perfect in his generations.” Noah was the only uncorrupted human DNA left on the earth. When God saved Noah, He saved His seed from the brink of extinction. Is our DNA being manipulated today? Is there anyone alive today who’s DNA has not been corrupted? Our food is genetically modified. The animals we eat may also be altered with horomones, etc. Have immunizations altered our DNA? Hmmmm, food for thought.
Who are the daughters of men? Could they be the daughters of Cain – the son who became jealous and angry with Abel and God (Gen. 4:5-8; Ephesians 4:26-27; Romans 12:18-19; James 3:14-16)? Was it eventually all women, including Noah’s wife? We know that somehow the giants survived the flood as Gen. 6:4 tells us they were here afterward, and were living in Canaan (Numbers 13).
Who are the “sons of God?” Were they fallen angels (Job 1:6 & 2:1; Luke 10:18; John 12:31-32; Isaiah 14:12; Revelation 9:1; Hebrews 12:22; Revelation 12:3-9), who brought into existence the race of “giants” (Nephilim)? …The “mighty men who were of old, men of renown?” …the corrupt beings (6:2,4,13)?
Are these Nephilim the serpent’s “seed” (Gen. 3:15)? Were angels created with the ability to “be fruitful” or to “become one flesh” (Matthew 22:30)? Did they have knowledge of another way to make children? Perhaps Satan counterfeited what he saw (at the time of the curse upon him) would be God’s technology for placing a baby into the womb of Mary? The thing is, when God creates, His creation is perfectly “good,” but when Satan counterfeits, it all becomes chaos, violent, and ugly. Wheat vs tares. Could the Nephilim, when they died, be demons today?
(The Book of Enoch could shed some light on this. The Book of Enoch is not considered “inspired” to be included in the Bible, but is valued for its historical content, and passages of the Bible do refer to its writings, such as Jude 1:6-7 and 2 Peter 2:4. What is interesting is that there is evidence of “giant’s” all over the world. There are curious stone structures all over the world that one has to wonder how they could have been built, if not for giants, and what were they built for? L.A. Marzulli has been on the trail of the Nephilim for many years, and has documented many, many, many of the strange stone structures on many continents. You can find the DVD’s and books of his research at ProphecyWatchers.com). And Derek and Sharon Gilbert have written books, such as Giants, Gods, and Dragons, and Veneration, which delve into this topic. Perhaps one explanation for the similar structures being all over the world is found in the 10th and 11th chapters of Genesis, the tower of Babel (11:9), and Peleg (10:25). I wonder if God broke the continents apart at that time. The families of the Canaanites were dispersed (Noah’s son Ham being the father of the Canaanites, and Nimrod being his grandson). All the inhabitents of the earth would have had the shared knowledge of the building of the tower of Babel. They would have wanted to preserve their collected knowlege of the celestial maps and the seasons. Meh, it’s a good theory anyway.
Are these large humans mentioned anywhere else in scripture (Ezekiel 32:27; Numbers 13:33; “Rephaim” Deut. 2:11,20,21; 3:11; 2 Sam. 21:19; Josh. 11:22)?
Were angels intended to marry (Matthew 22:30)?
Isn’t it curious that our months, days, planets, and many of the constellations are named after mythological entities? Is it possible that they aren’t “myths” after all?
What might be the rulers, powers, principalities, and spiritual hosts of wickedness in the heavenly places (Ephesians 6:12)?
As the days of Noah were, so also will the coming of the Son of Man be. For in the days before the flood, they were eating and drinking, and ____________________________________________________________________________ (Matthew 24:38) (Luke 17:26-27).
What was the earth filled with (Gen. 6:11,13)?
What does Noah’s name mean?
What does it mean to be perfect in one’s generations as Noah was (Gen. 6:9)?
What were the names of Noah’s sons (Gen. 9:18)?
What did his son Ham see and do to his father in Gen. 9:22, 24? Please research this, because the wording in the Hebrew suggests an act of incest. Keep an eye out going forward in this study for perverted sexual activities and who it is connected with. Is Ham the reason that there were giants in the land “and also afterwards?” Genesis 6:4
Who was Ham the father of (Gen. 9:22)?
Where did the Canaanites go to live (Gen. 10:18-19)?
What do the Hebrew words for “sorry” and “grieved” mean in Gen. 6:7?
Was man almost at the point of extinction? Was Noah the last man alive with pure DNA? Did God save humanity from the brink of extinction in order to preserve the “seed of the woman?”
Highlight CURSED in verse 9:25 and BLESSED in verse 9:26. Why was Ham cursed?
Who did Noah bless?
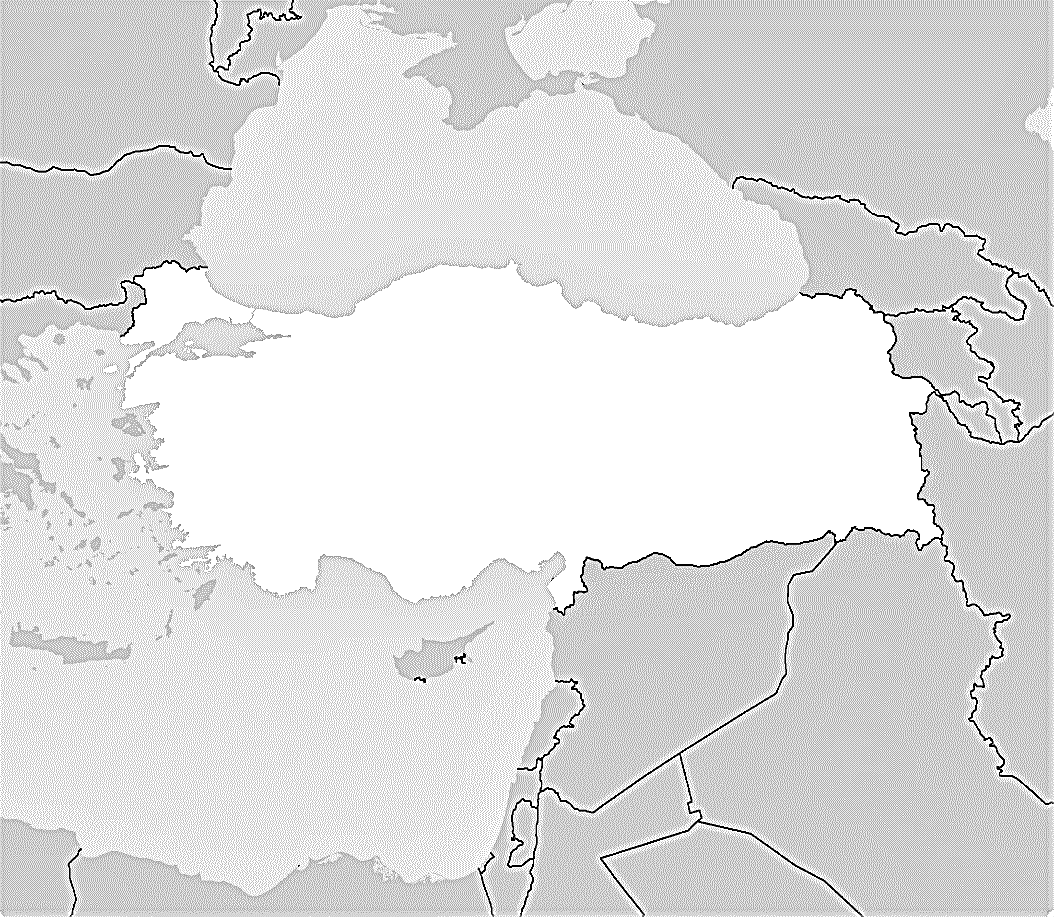
Look on the map and find Mount Ararat in eastern Turkey. Turkey is the area shown in white with light gray bodies of water just above and below it. Going south from the center of Turkey you can see the darker gray areas and Israel, which is cut off on the bottom of the map. If you follow the eastern border of Turkey, and continue on the squiggly line, it leads to the Persian Gulf. That squiggly line divides Iran from Iraq.
Did you know that the highest point of Mount Ararat is 16,854’ above sea level? That’s a no kidding mountain. Mount McKinley in Alaska, renamed Denali, is North America’s tallest mountain at 20,310 ft. above sea level. Mount Whitney in the Sierra Nevadas in California stands at 14,500 ft. Mount Rainier in Washington State is 14,417 ft. Pike’s Peak sits at 14,115 foot, and the Grand Teton, sits at 13,775 feet. That makes Ararat taller than any mountains in the lower 48 – just to give some perspective. The tallest mountain in the world is of course Mount Everest in the Himalayas. It towers into the heavens at 29,029 ft. After the Himalayas are the Andes Mountains, and then the Alaskan.
What time of year was it when Noah and the ark began to float, and when it was able to be exited (https://biblicalcalendarproof.net/articles/noahs-flood-and-gods-calendar)? I’m sure no matter what time of year it was, that it was cold up there where the ark landed. I’ll bet Noah didn’t stay up in that mountain for long.
Do you remember what Noah planted after he left the ark, perhaps at the foot of Mount Ararat?
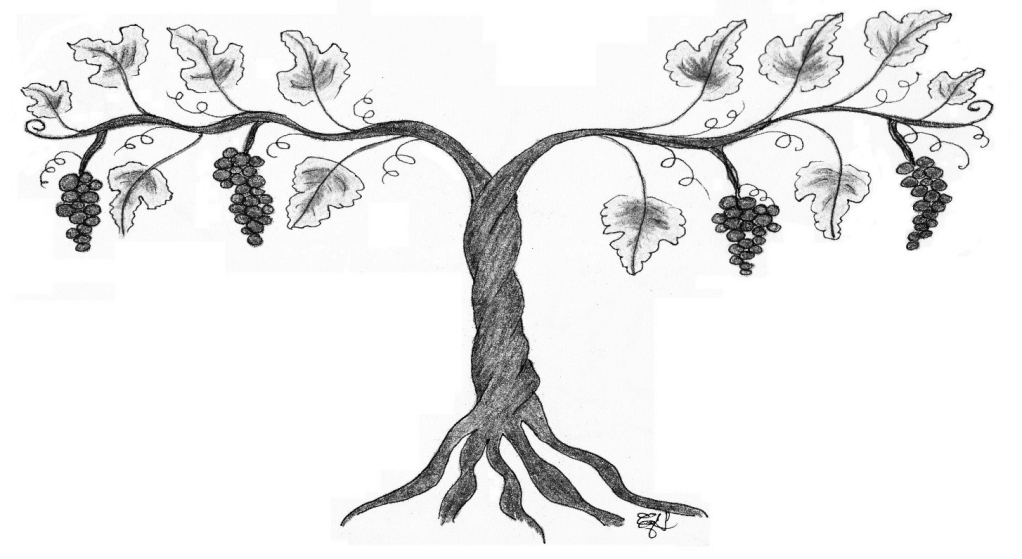
Piece of trivia: Turkey and Iran have an ideal climate for grape cultivation, and both are the most massive producers of grapes in the world today (according to WorldAtlas.com), so if we have the chance to nibble a grape from Turkey, how cool to think they might be a descendant of the very grapes Noah planted.
As you are reading your Bible for this Bible study, be on the lookout for every time a mountain is mentioned in scripture. Highlight every time you see one and draw a little diagram of a mountain in the margin of your Bible. 🗻
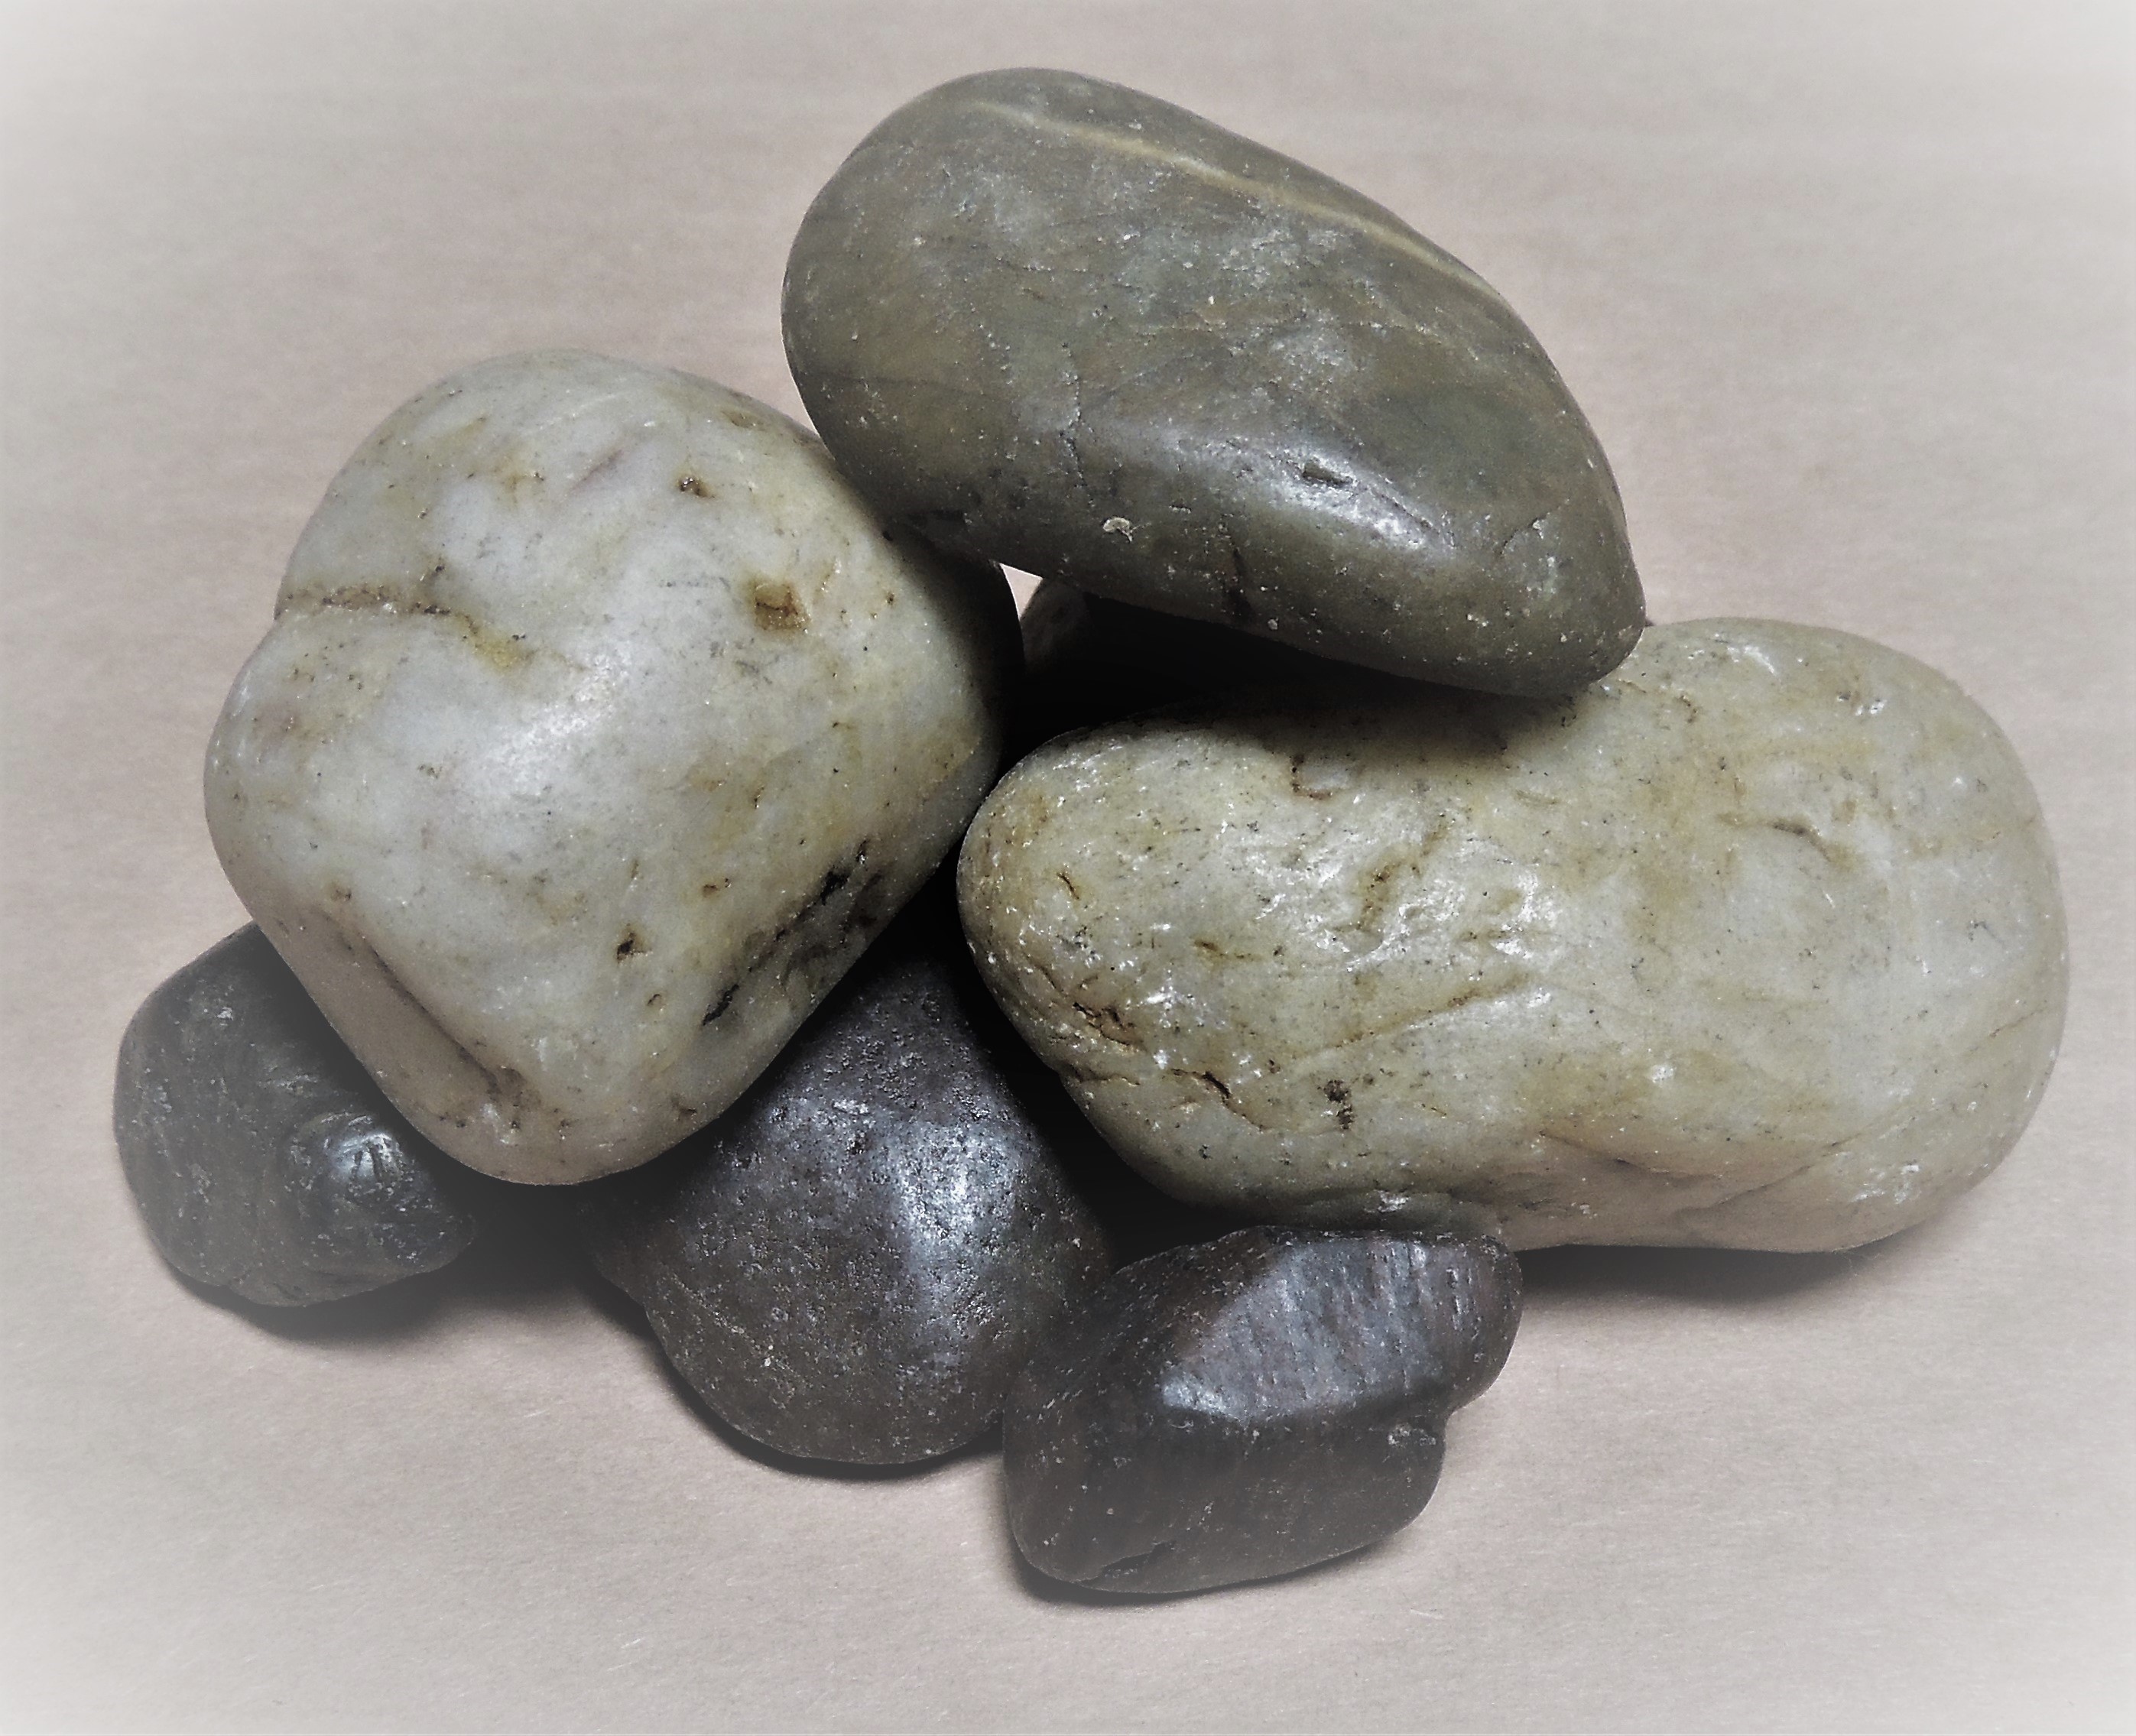
Draw a rock in the margin of your Bible every time a rock, or stone, or pillar, or rock pile is mentioned. 🪨
Watch also for names given to God. You can circle them if you’d like. The first title for “God” in the Bible is the Hebrew word Elohim. It appears in Genesis 1:1. It is Strong’s #430. In this first usage it is a masculine noun in plural form. In Genesis 2, LORD is added to God to become “LORD God” in English. LORD is Strong’s #3068 and is the Hebrew word Yahweh. It is the covenant name of God connecting Him with His people Israel. The Jewish people never pronounced this name, and only used the consonant letters when writing the name. They often substituted Adonai (Strong’s #136) in its place out of reverence. By Genesis chapter four, “the LORD” is starting to be used. Noah built his altar to “the LORD” Yahweh.
What does the Bible say the flood is an antitype (foreshadowing) of in 1 Peter 3: 18-22; Romans 6:4-5; John 3:5?
Personal application: How does all of this apply to me?
Have you ever felt alone in a crowd? Ever been in a situation like Noah, where you might have felt like a square peg in a round hole? Perhaps persecuted and battered verbally for being so goody-goody? Perhaps you sometimes feel utterly alone, a total misfit in society, with no one to really hang out with, except perhaps maybe your family; where you feel surrounded by evil, violent people whom you definitely can’t trust? Noah had no friends. His descendant Abraham had no friends. His ancestor Adam had no friends. He only had his family. But, these men all had one friend in common – Proverbs 18:24; Luke 7:34; Hebrews 13:5; and John 15:14, the same friend we also have in common with them (https://www.gotquestions.org/friend-stick-closer-brother.html).
Have you ever felt God calling you to do something and as you submitted to His will endured great criticism from just about everyone around you? Did you let it dissuade you, or make you more determined?
Have you ever been on the side of evil, violent people who persecuted faithful believers (Saul/Paul, Acts 22)? Would you consider yourself perfect in your generations, or a sin sick person from a long line of sin sick persons? Has God delivered you from the familial curses passed down to you from sin sick ancestors? Has God ever knocked you off your high horse and showed Himself to you in such a way that it led to your spiritual salvation? Have you been born again? Water baptized? Received the baptism of the Holy Spirit? Do you know if you were to die today where you would go…heaven or hell? Why?
The word of God tells us that Jesus is the Way, the Truth, and the Life, and that no man comes to the Father but by Him (John 14:6)! There is no one good. No one righteous. No one deserving of God’s mercy. There is no other name under heaven by which we can be saved (Acts 4:12). We must confess Him in order to have eternal life (Romans 10:9-10). His sacrifice saves us, if we will accept it, reach out and take His free gift. Have you reached out and taken His free gift?
A very bold woman once asked me if I were to die today would I know where I was going? The Holy Spirit would not let her words fall to the ground until I made a decision. I’m so eternally grateful that God put her in my path, that she had the courage to be obedient to the feeling in her heart, and I want to be that person for you. Not only has God given me peace in my Spirit that I belong to Him, but Jesus has, over time, made me a better person. He has washed my sins away and turned my heart of stone into a heart of flesh. I make mistakes from time to time, but my Savior always gently disciplines me and sets my feet back on the right path.
Would you like someone to pray with you to receive Jesus as your Savior? You are welcome to leave a comment and I will pray for you, but there are also people you can call who will pray with you. Please call 1-888-NEED-HIM, there is someone waiting and available who will pray with you at any time of the day or night.
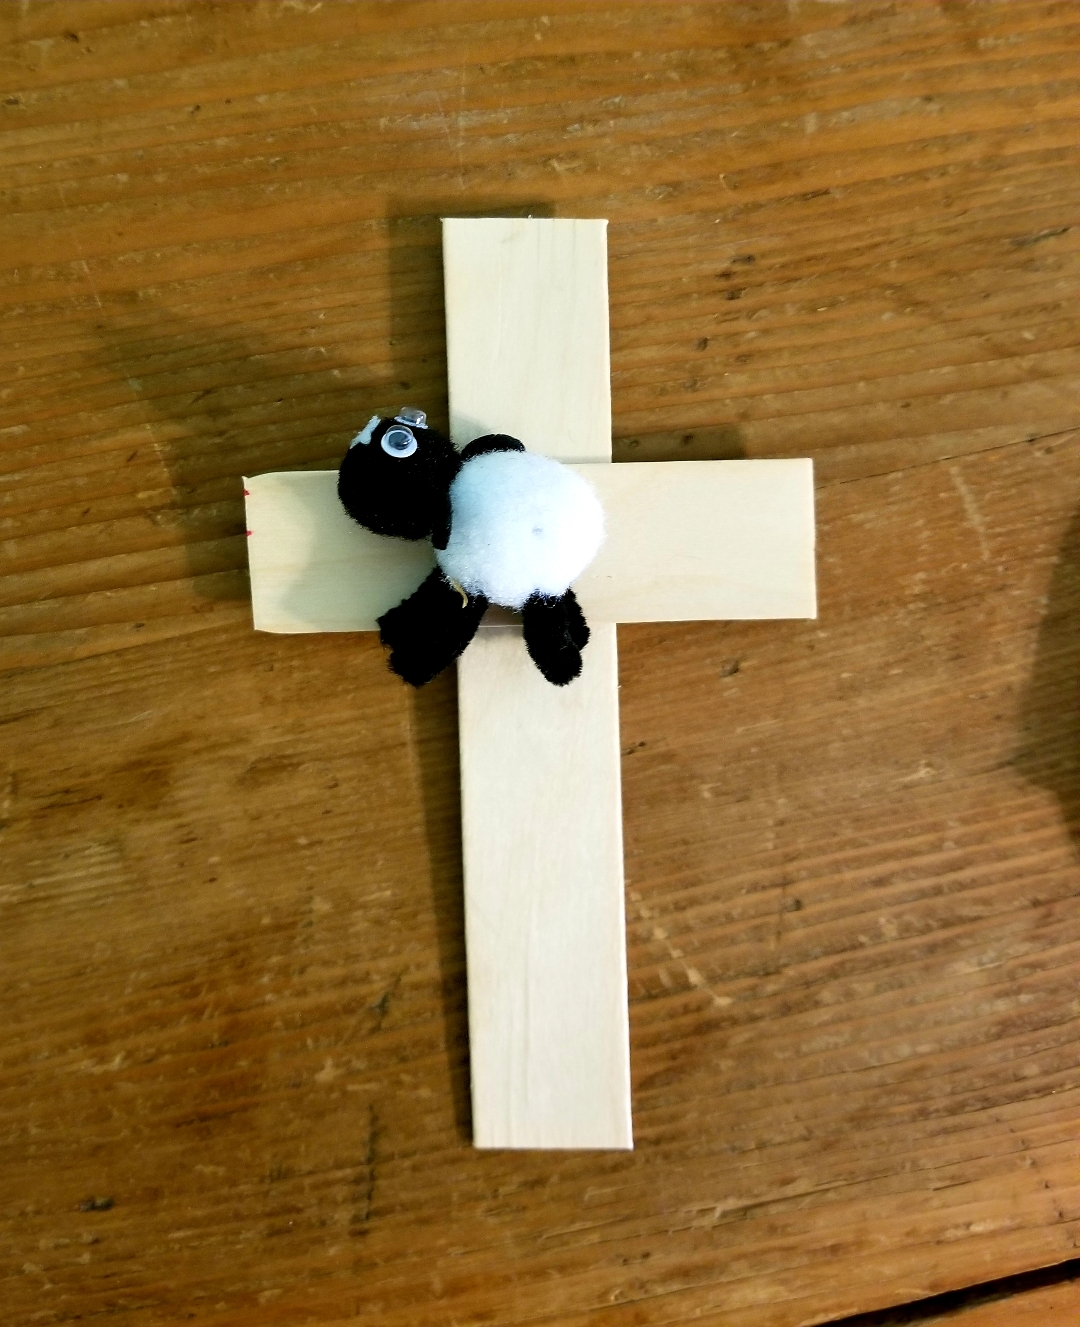
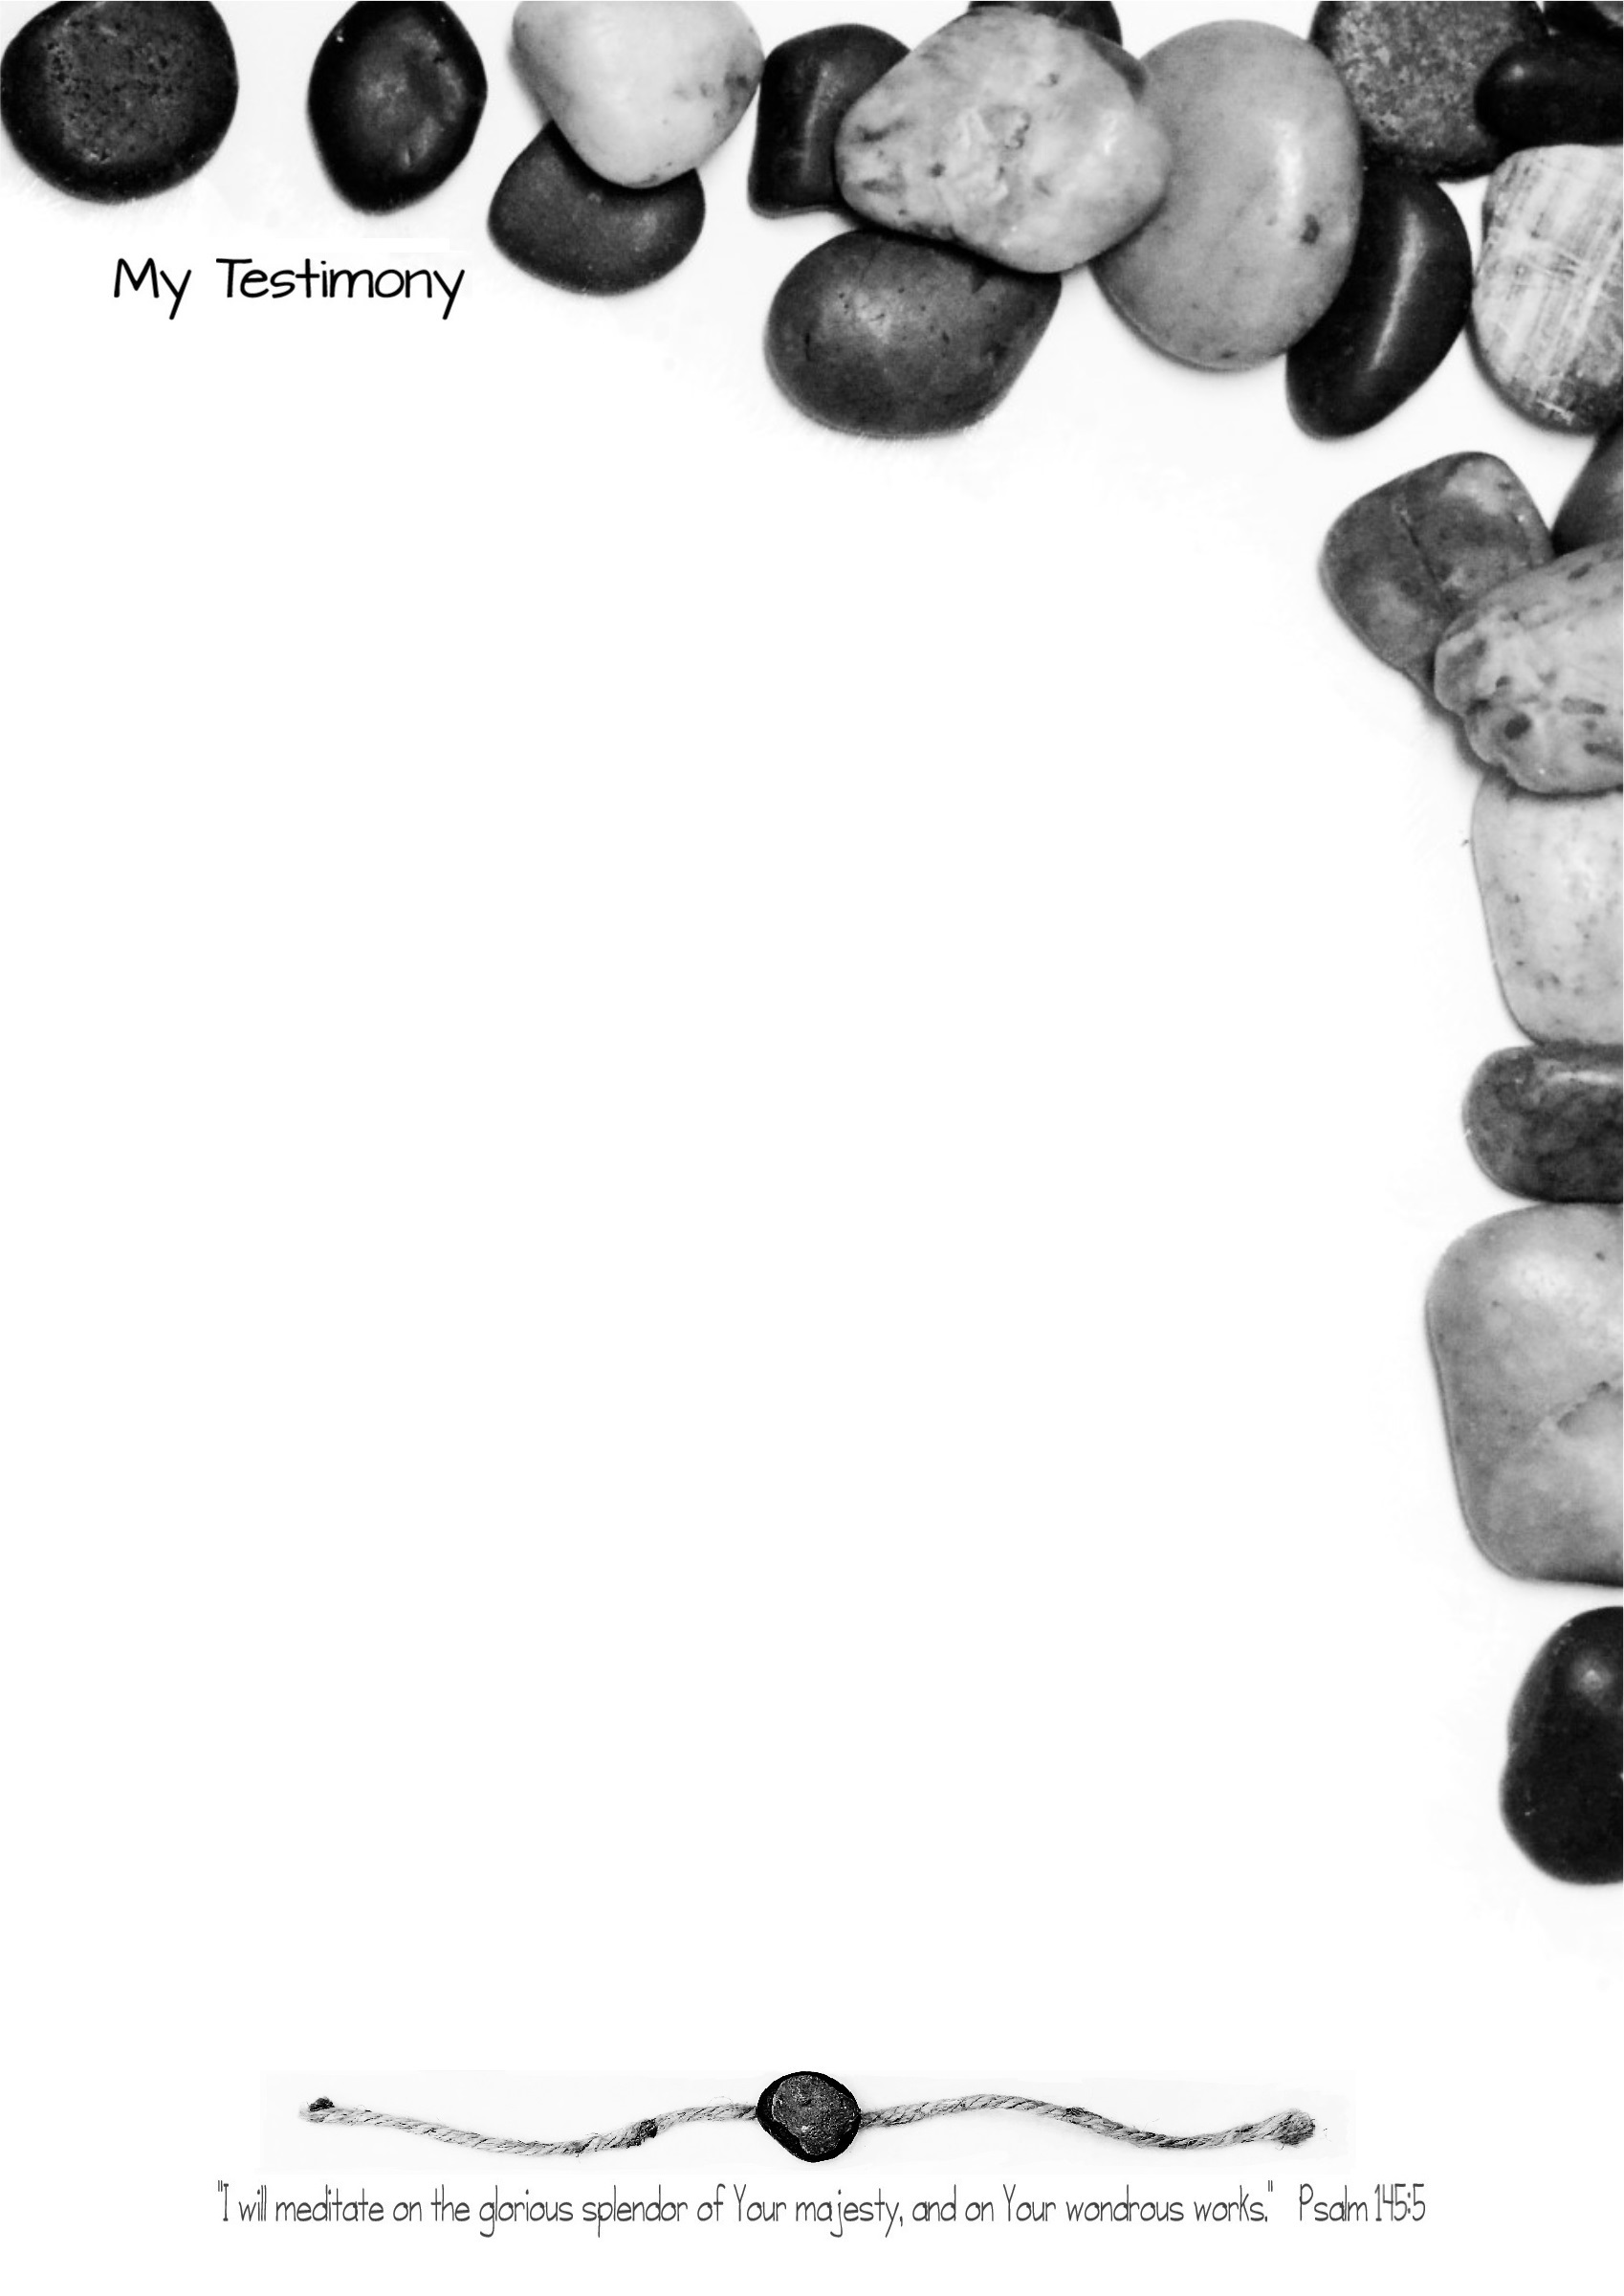
Project (an altar that I can build):

I had the idea to make a little altar of my own that would help me to remember Noah’s altar in the scriptures, and also give me a way to start a little converstation with others if they should happen to see my altar and ask what that rock, or pile of rocks means. For this chapter, Noah’s Altar, I thought to make a time capsule from a waterproof container (perhaps a mason jar with a tight fitting lid, or an ammo box, or a large geocache container). Fill it with a hand-written copy of my testimony of salvation, along with a small Bible (with the Roman’s Road verses marked in it (or printed out and tucked in at the first address – which is Romans 3:16-19). I thought to also make a copy of the old hymn, Amazing Grace, and tuck that in there too. Once I had everything assembled I could go bury the container somewhere in my yard, perhaps under a tree, or by my fence at the corner, or maybe in one of the flower beds, Once buried I could place a stone on top of it with the name “Elohe Yeshua” (God of my salvation) painted on the stone with a good weather-resistant, outdoor acrylic paint.
Wouldn’t it be neat if perhaps someday, when I’m dead and gone, someone, perhaps new owners of the house, found my little time capsule? I will pray my little altar is a blessing to the finder, and life-changing for them. Will you make one with me?

“He only is my Rock and my salvation; He is my defense; I shall not be greatly moved. He only is my Rock and my salvation; He is my defense; I will not be shaken.” Psalm 62:2, 6
“The LORD is my Rock and my fortress and my deliverer; my God, my strength (rock), in whom I will trust; my shield and the horn (strength) of my salvation, and my high tower (stronghold). For who is God except the LORD? And who is a Rock, except our God?” Psalm 18:2, 31
“‘You are my Father, my God, the Rock of my salvation.” Psalm 89:26
“I will remember the works of the Lord: surely I will remember thy wonders of old. I will meditate also of all thy work, and talk of thy doings.”
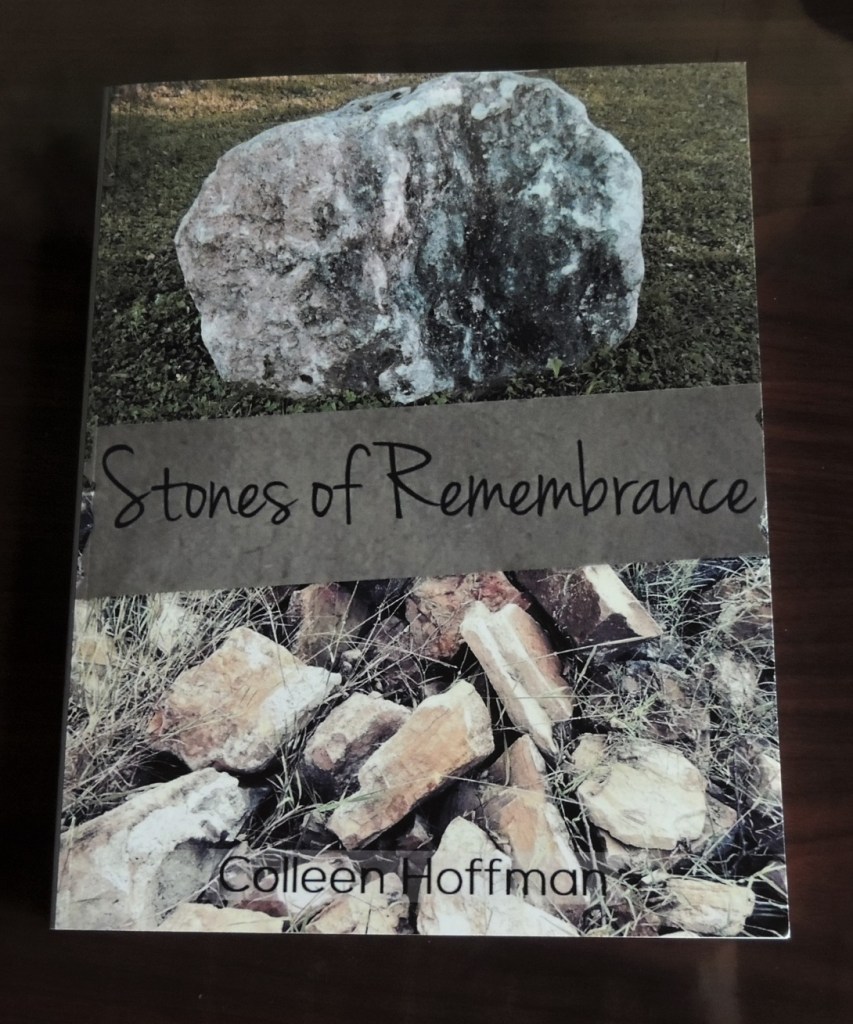
Holy Bible
Psalm 77:11-12 (KJV)


 Penguin Rice Crispy Treats
  Penguin Banana Snacks
 Snowcones in a cup – our little school happens to have a snowcone machine – hurray!!!!


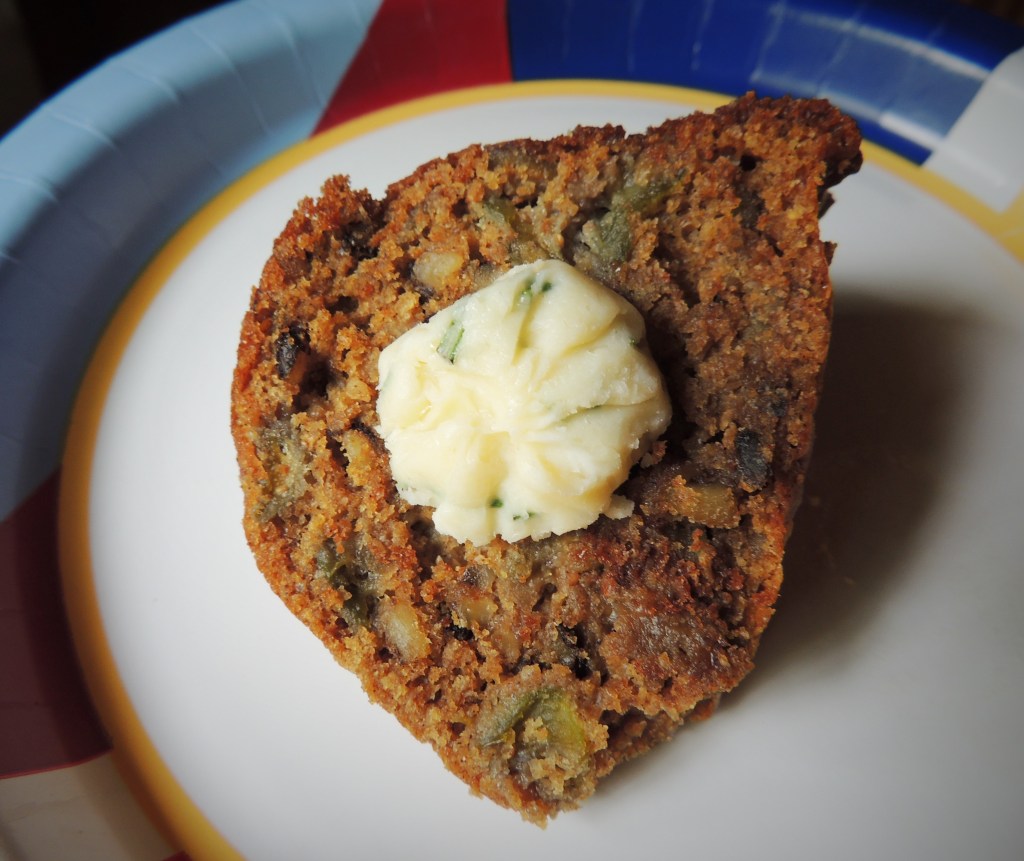
 Make Butter from Heavy Whipping Cream: Fill 2 or 3 pint-sized glass jars about half way with the heavy cream. Screw the lids on tight. Have the kids take turns shaking the jars vigorously, and passing to another kid when their arms get tired, until the heavy cream separates into butter and buttermilk. Use the butter to spread on their bread. The kids can drink the buttermilk if they want, or it can be saved to make cornbread or pancakes.